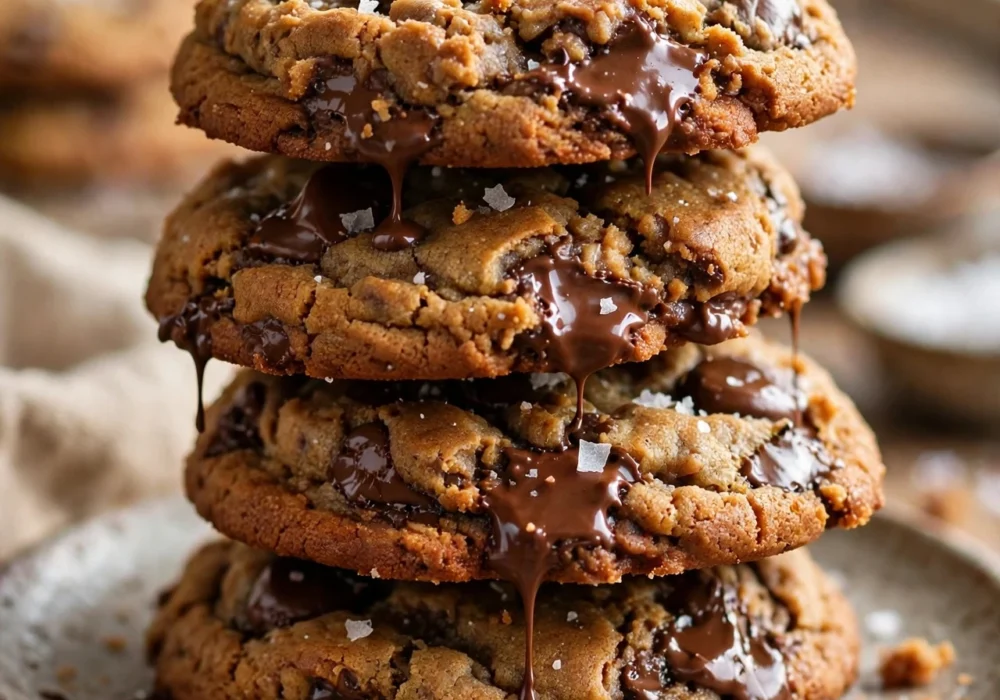

A Christmas Red Velvet Cheesecake can look like a bakery dessert while still being manageable for a first-time baker. The key is to work with room-temperature cream cheese, mix the filling at a low speed, and stop baking while the center still has a small wobble. These details help prevent lumps, trapped air, and deep cracks.
This guide walks you through a chocolate cookie crust, a smooth red velvet filling, and a soft whipped cream topping. You will also learn how to use a water bath without soaking the crust. The finished cheesecake has a mild cocoa taste, a bright red center, and enough structure to hold clean slices.
Plan for about 45 minutes of active work, followed by baking, slow cooling, and at least 6 hours of chilling. Most of that time is hands-off. For the best result, make the cheesecake one day before you plan to serve it. Clear one refrigerator shelf, bring the cold ingredients to room temperature, and gather every tool before you begin.
Preheat the oven to the correct temperature
Set the oven to 325°F or 165°C and place one rack in the lower-middle position. Give the oven at least 20 minutes to heat fully. A steady, moderate temperature cooks the filling slowly and helps keep the edges from becoming firm before the center is ready.
Prepare the springform pan
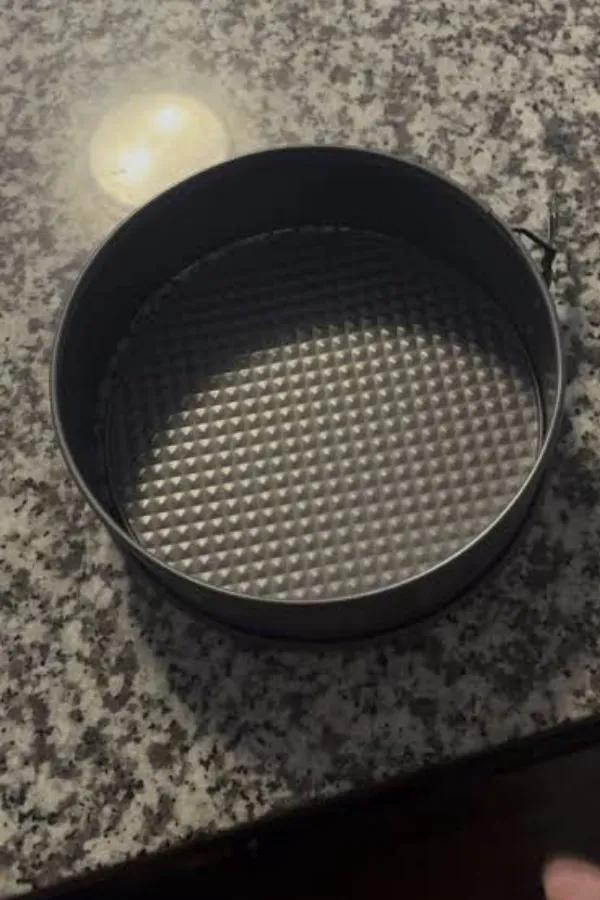
Lightly grease the base and sides of a 9-inch springform pan. Cut a circle of baking paper to fit the bottom, then press it flat over the greased base. Wrap the outside of the pan with three wide layers of heavy-duty foil. Bring each layer high up the sides without tearing it. The foil will protect the crust when the pan is placed in hot water later.
Crush the cookies into fine crumbs
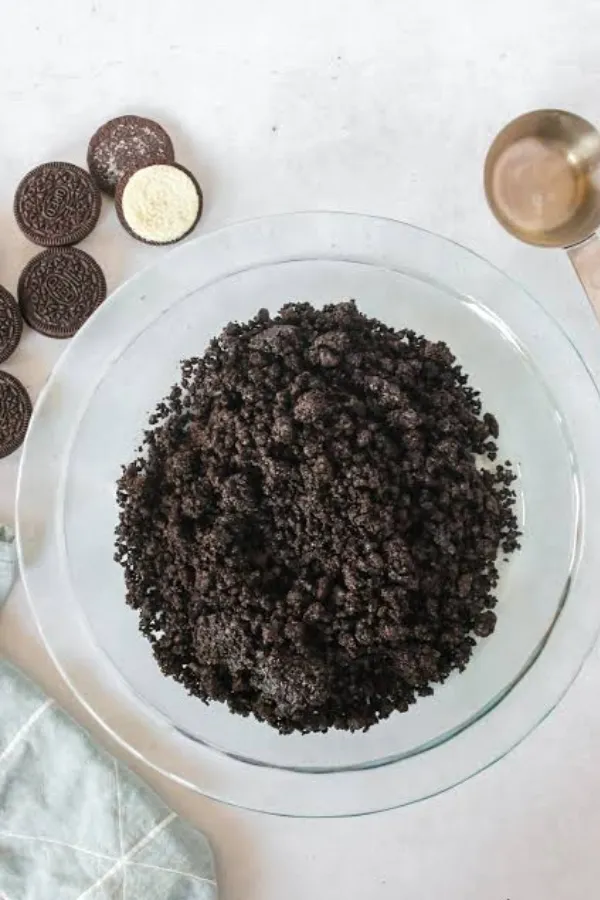
Place 24 chocolate sandwich cookies, including their cream filling, in a food processor. Pulse until the crumbs look like fine, damp sand with no large pieces left. Without a food processor, seal the cookies inside a thick food bag and roll over them with a rolling pin until evenly crushed.
Press the chocolate crust into the pan
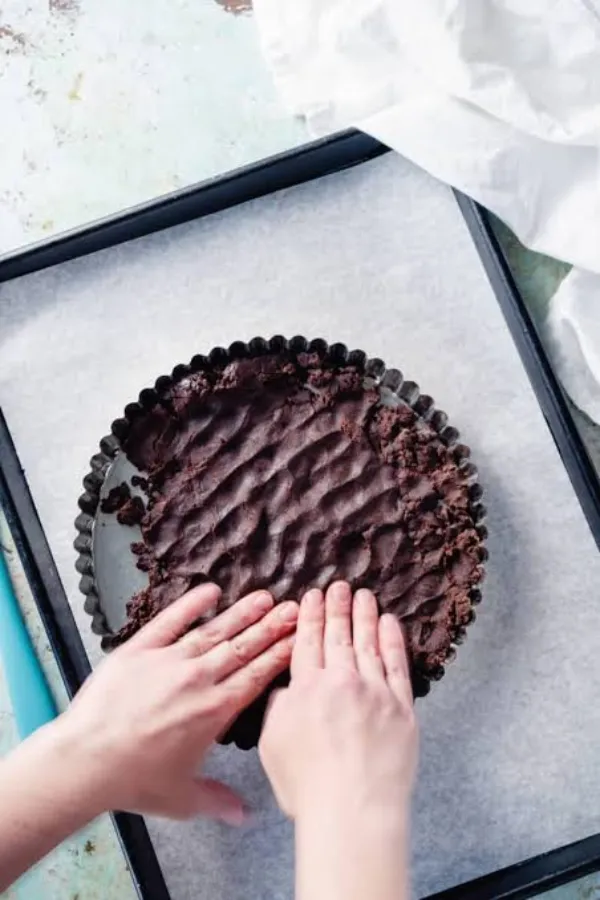
A firmly packed base is less likely to crumble when you cut the cheesecake. Stir the cookie crumbs with 5 tablespoons of melted unsalted butter until every crumb looks evenly coated. Tip the mixture into the prepared pan. Use the flat bottom of a measuring cup to press it across the base in an even layer. Keep the crust flat rather than pushing it up the sides.
Bake the crust until set
Place the pan on the lower-middle oven rack and bake at 325°F or 165°C for 10 minutes. The surface should look dry and smell lightly toasted, but the edges should not turn dark. Baking the crust first keeps it firm beneath the moist cheesecake filling.
Cool the crust before adding the filling
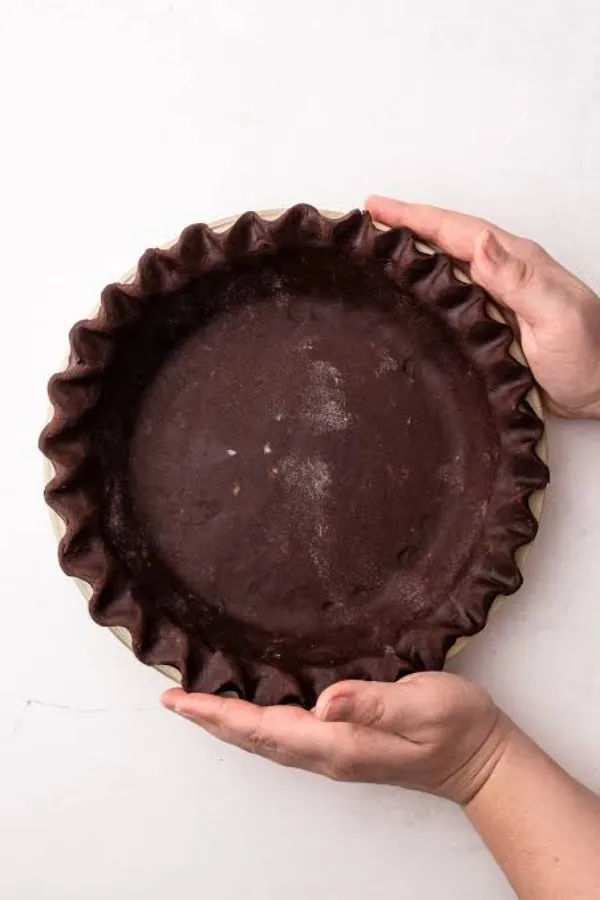
Transfer the pan to a wire rack and leave it untouched for at least 15 minutes. A hot crust can warm the filling too quickly and affect how evenly the cheesecake bakes. Keep the oven running at 325°F or 165°C while the crust cools.
Beat the cream cheese until smooth
Use 32 ounces of full-fat block cream cheese at room temperature. Beat it on low speed for 1 to 2 minutes, stopping once to scrape the bowl and beaters. The texture should look creamy with no visible lumps. Cold cream cheese will leave small white bits in the finished cake, so let it soften for 60 to 90 minutes before mixing.
Mix the red velvet cheesecake filling
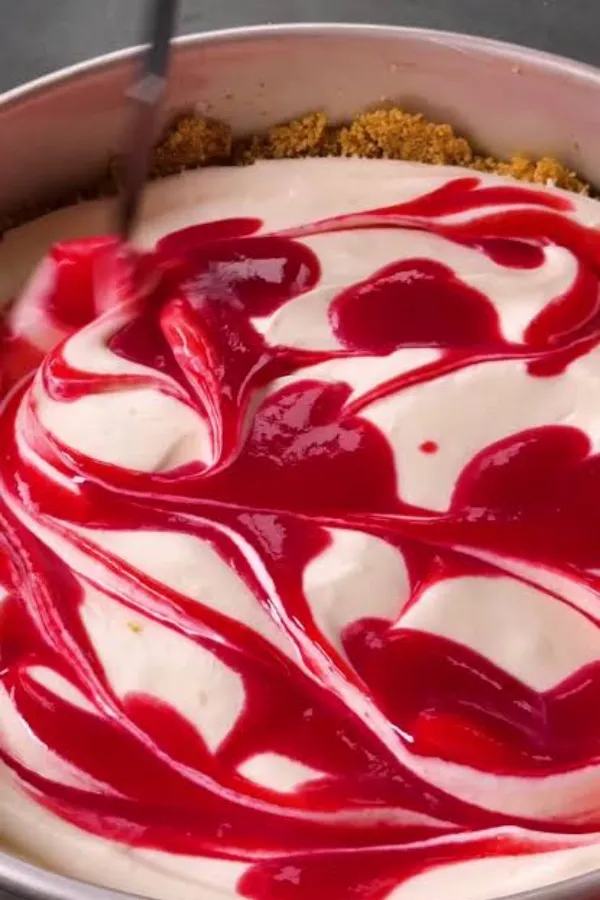
Keep the mixer on low speed to avoid adding too much air. Add the ingredients in this order: 1¼ cups sugar, 3 tablespoons cocoa powder, ¼ teaspoon salt, 1 cup sour cream, 1 tablespoon vanilla, 1 tablespoon white vinegar, and 1 tablespoon red gel food coloring. Mix only until the color is even. Add 4 large eggs, one at a time, mixing for a few seconds after each egg.
Pour the filling over the cooled crust
Check that the crust feels cool or only slightly warm. Pour the red filling into the center of the pan and let it spread toward the edges. Scrape the bowl with a rubber spatula so the filling stays even. Tap the pan lightly on the counter two or three times to bring large air bubbles to the top, then pop any visible bubbles with a toothpick.
Set up a leak-resistant water bath
Place the foil-wrapped springform pan inside a large roasting pan. Set the roasting pan on the lower-middle oven rack before adding water, since it will become heavy. Pour hot water into the roasting pan until it reaches about 1 inch up the outside of the springform pan. Keep the water below the top edge of the foil. The steam helps the filling cook at a steady rate and lowers the risk of dry edges.
Bake the cheesecake until the center jiggles
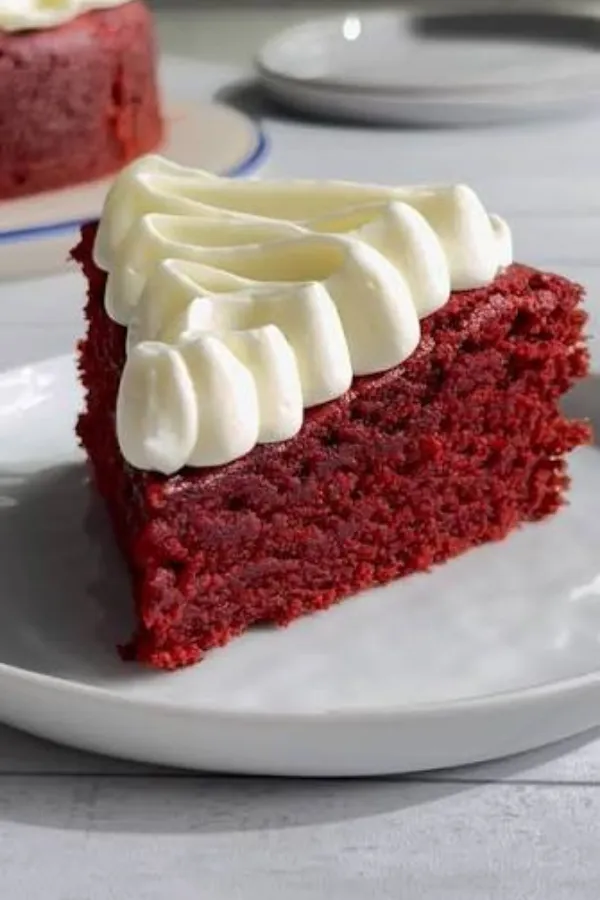
Bake at 325°F or 165°C for 60 to 70 minutes. Avoid opening the oven during the first 50 minutes, since a sudden drop in heat can make the center sink. The outer 2 inches should look firm, while the middle 3 inches should wobble like soft gelatin when you move the roasting pan gently. The center should not look wet or move like liquid.
Cool the cheesecake inside the oven
Turn off the heat and leave the cheesecake in the water bath. Prop the oven door open about 1 inch with a wooden spoon and let the cake cool inside for 1 hour. The slow drop in temperature keeps the filling from shrinking too fast. Large cracks often appear when a hot cheesecake is moved straight into a cool room.
Cool the cheesecake at room temperature
Lift the springform pan out of the water bath and set it on a wire rack. Remove the wet foil or roasting bag so trapped moisture does not soften the crust. Let the cheesecake cool for 1 hour, or until the pan no longer feels warm. Do not release the springform ring yet. The filling is still delicate and can split or slump while warm.
Chill the cheesecake until fully set
Cover the top of the pan loosely with foil or reusable wrap, taking care not to touch the surface. Refrigerate for at least 6 hours; overnight chilling gives the cleanest slices. This time allows the center to firm and the cocoa flavor to settle. Avoid freezing the warm cheesecake to speed things up, since the sudden temperature change can create condensation and a soft, damp surface.
Whip the cream topping
Pour 1 cup cold heavy whipping cream into a chilled bowl. Add ¼ cup powdered sugar and 1 teaspoon vanilla extract. Beat on medium speed until the cream forms medium peaks, about 2 to 3 minutes. When you lift the beaters, the peak should hold its shape with a slight bend at the tip. Stop before the cream looks grainy, which means it is starting to turn into butter.
Decorate the Christmas Red Velvet Cheesecake
Run a thin knife around the chilled cheesecake before releasing the springform ring. Spread or pipe the whipped cream around the top edge, leaving some red cheesecake visible in the center. Finish with chocolate cookie crumbs, fresh raspberries, sugared cranberries, or red and green sprinkles. Add decorations no more than 4 hours before serving so the berries and sprinkles do not release moisture onto the cream.
Slice the cheesecake with clean edges
Dip a long, sharp knife into hot water for 10 seconds, then wipe it dry with a clean towel. Press straight down through the cheesecake instead of dragging the blade back and forth. Clean and warm the knife again before every cut. For generous servings, divide the cake into 12 slices; for a larger gathering, cut 16 smaller slices. Keep leftovers covered in the refrigerator for up to 5 days.
Your Christmas Red Velvet Cheesecake is now baked, chilled, and ready for the holiday table.
The slow baking and cooling method gives you a creamy center, firm crust, and neat slices without needing advanced baking skills.
Store any leftovers covered in the refrigerator for up to 5 days.
Save this recipe to your Christmas dessert board so it is ready when holiday baking begins.
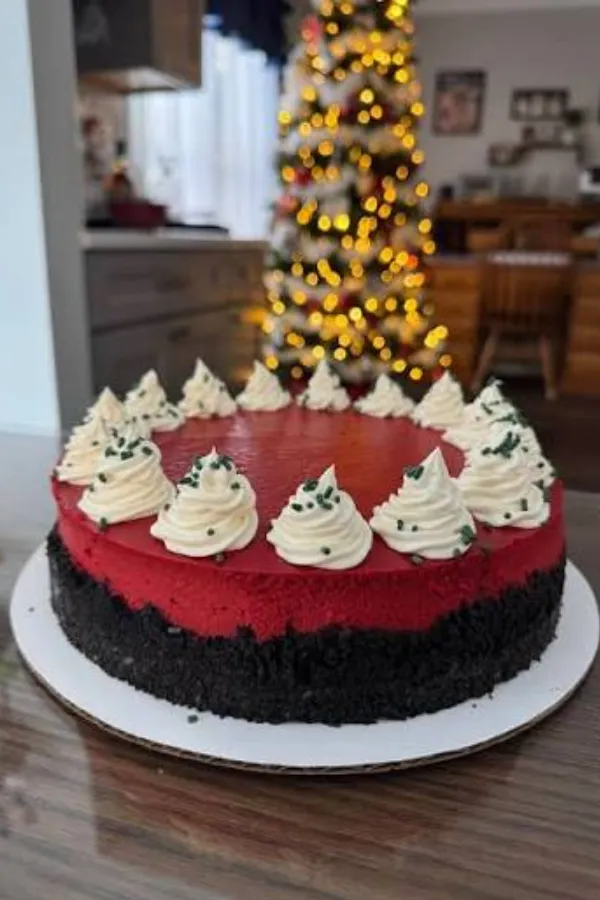
Christmas Red Velvet Cheesecake
Ingredients
Equipment
Method
- Preheat the oven
- Prepare the pan
- Make the cookie crumbs
- Form the crust
- Bake the crust
- Beat the cream cheese
- Add the sugar and flavorings
- Mix in the eggs
- Fill the pan
- Prepare the water bath
- Bake the cheesecake
- Cool it slowly
- Cool at room temperature
- Chill until firm
- Make the whipped cream
- Decorate the cheesecake
- Slice and serve
Notes
- Use block cream cheese: Cream cheese sold in tubs often contains more moisture and may produce a softer filling.
- Soften the ingredients: Room-temperature cream cheese, sour cream, and eggs blend more smoothly and reduce lumps.
- Choose gel coloring: Gel food coloring creates a deeper red shade without thinning the batter.
- Do not overbake: The center must still wobble when the cheesecake leaves the oven. It will continue to set as it cools.
- Plan ahead: Prepare the cheesecake one day before serving for the best texture.
- Cover small cracks: A cracked surface does not affect the flavor. Whipped cream and decorations will hide it.