
Most scone recipes lie to you. They tell you it’s a quick, easy bake, then you pull out something dense and dry that crumbles into sand. The truth is that flaky cranberry orange scones come down to one thing: keeping everything cold. Warm butter is the enemy here it melts into the flour instead of staying in little pockets, and those pockets are what puff up into flaky layers in the oven.
This guide walks you through the exact order that keeps your butter cold, your dough tender, and your scones tall. You’ll grate frozen butter instead of cutting it in, chill your shaped dough before it ever sees the oven, and use real orange zest and juice for flavor that actually tastes like oranges instead of vague citrus. The hands-on work takes about 25 minutes. The chilling and baking add more, but most of that time you’re just waiting, not working.
By the end, you’ll have a batch of scones with craggy, golden tops and soft, tender centers — the kind you’d pay $5 for at a coffee shop. Grab your ingredients, clear some counter space, and let’s get your butter into the freezer first. <
What You Need
- 2 cups (250g) all-purpose flour
- 1/3 cup (67g) granulated sugar
- 1 tablespoon baking powder
- 1/4 teaspoon salt
- 1/2 cup (113g) unsalted butter, frozen
- 3/4 cup (150g) fresh cranberries
- 1 large orange (zest and juice)
- 1 large egg
- 1/2 cup (120ml) heavy cream, plus more for brushing
- 1 teaspoon vanilla extract
- Coarse or turbinado sugar, for topping
- Box grater
- Baking sheet and parchment paper
- Bench scraper or sharp knife
At a Glance
- Freeze your butter and chill your bowl
- Whisk the dry ingredients together
- Grate the cold butter into the flour mixture
- Rub the butter into the flour with your fingertips
- Zest and juice your orange
- Whisk the wet ingredients separately
- Fold in the cranberries
- Pour the wet ingredients into the dry
- Bring the dough together gently
- Pat the dough into a disc
- Cut the disc into wedges
- Chill the shaped wedges before baking
- Brush with cream and sprinkle with sugar
- Bake until golden and firm
- Cool on a wire rack before glazing
Freeze Your Butter and Chill Your Bowl
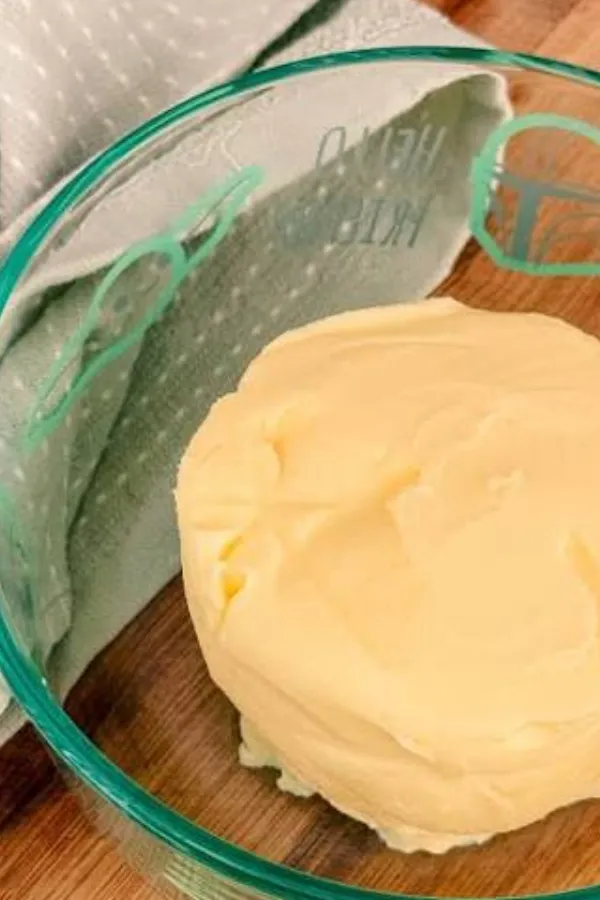
Cold is the whole secret to a flaky scone, so start here. Cut your butter into a few chunks and pop it in the freezer for 15 minutes. While it firms up, stick your mixing bowl in the fridge too. A cold bowl keeps the flour from warming the butter the second they touch. If your kitchen runs warm, chill the bowl for the full 15 minutes as well.
Whisk the Dry Ingredients Together
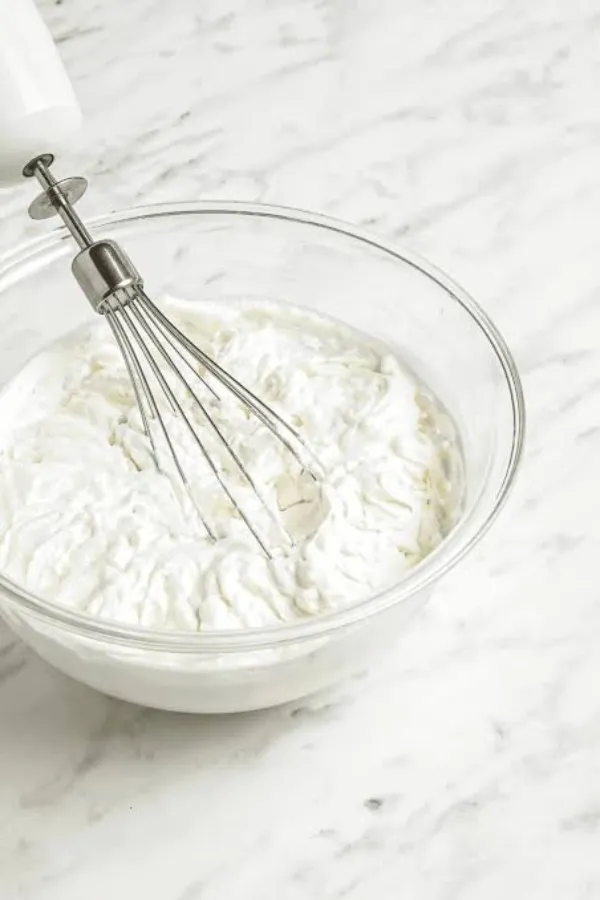
In your chilled bowl, combine the 2 cups flour, 1/3 cup sugar, 1 tablespoon baking powder, and 1/4 teaspoon salt. Whisking instead of stirring with a spoon spreads the baking powder evenly through the flour. Uneven baking powder means some bites rise more than others, and you end up with lopsided scones. Give it a good 30 seconds of whisking before moving on.
Grate the Cold Butter Into the Flour Mixture
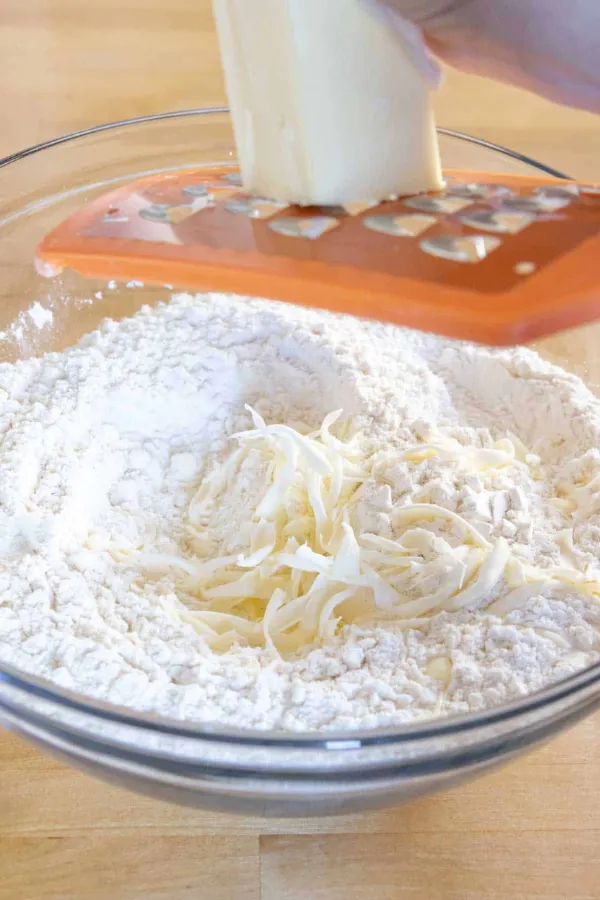
Pull the butter from the freezer once it’s firm all the way through. Using the large holes on a box grater, shred the frozen butter directly into the flour bowl, working quickly before it softens. Grating creates thin butter shreds that coat easily and melt in the oven into steam pockets — this is what makes the layers flaky instead of dense. If the butter starts sticking to the grater, dip your hand in flour and keep going.
Rub the Butter Into the Flour With Your Fingertips
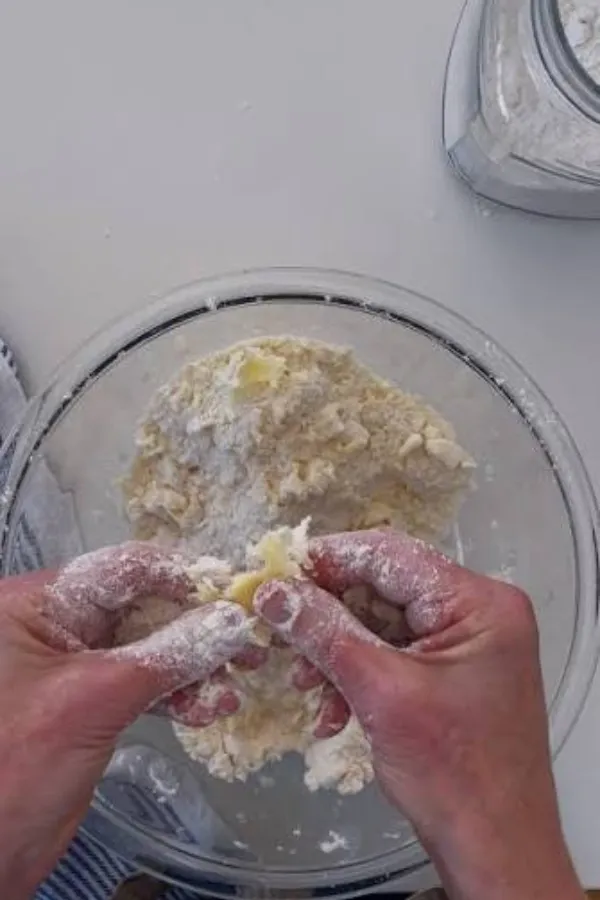
Work fast here. Using your fingertips — not your palms, which are warmer rub the grated butter into the flour until the mixture looks like coarse sand with some pea-sized bits still visible. Those larger pieces matter. They’re what puff into flaky pockets during baking. If your kitchen is hot, stop every 20 seconds and set the bowl in the fridge for a minute to keep things cold.
Zest and Juice Your Orange

You’ll need both parts of the orange, so handle the zest first. Using a microplane, zest the orange directly over the flour mixture, stopping before you hit the bitter white pith underneath. Set the zested orange aside. Once you’ve whisked your wet ingredients in the next step, cut the orange in half and squeeze out 2 tablespoons of juice — no more, or the dough turns sticky and hard to shape.
Whisk the Wet Ingredients Separately
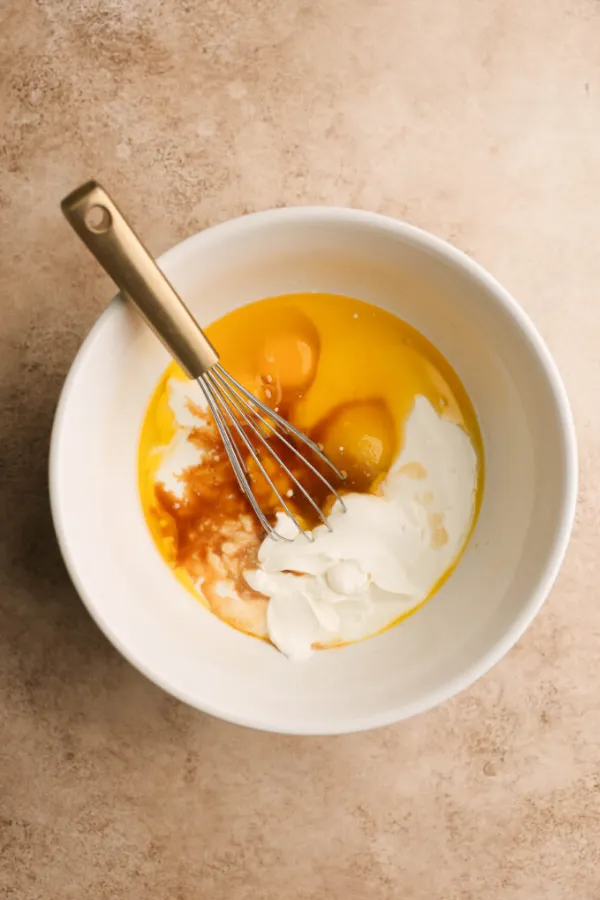
In a separate bowl, combine the 1 large egg, 1/2 cup heavy cream, 1 teaspoon vanilla extract, and the 2 tablespoons of fresh orange juice. Whisk until the mixture looks pale and slightly foamy, about 20 seconds. Keeping the wet ingredients apart from the dry ones until the last possible moment stops the flour from developing gluten too early, which is what leads to tough, chewy scones instead of tender ones.
Fold in the Cranberries
Add the 3/4 cup of fresh cranberries straight into the butter and flour mixture, then toss gently with your hands until they’re evenly scattered throughout. Fresh cranberries hold their shape better than frozen ones, which tend to bleed pink streaks into the dough as they thaw. If fresh aren’t in season, frozen cranberries work too — just don’t thaw them first, and toss them in still frozen.
Pour the Wet Ingredients Into the Dry

Make a small well in the center of your flour mixture and pour in the wet ingredients all at once. Don’t stir yet. Let the liquid sit in the well for a few seconds so it starts soaking into the surrounding flour on its own before you touch anything with a spoon. This little pause makes the next step faster and gentler.
Bring the Dough Together Gently
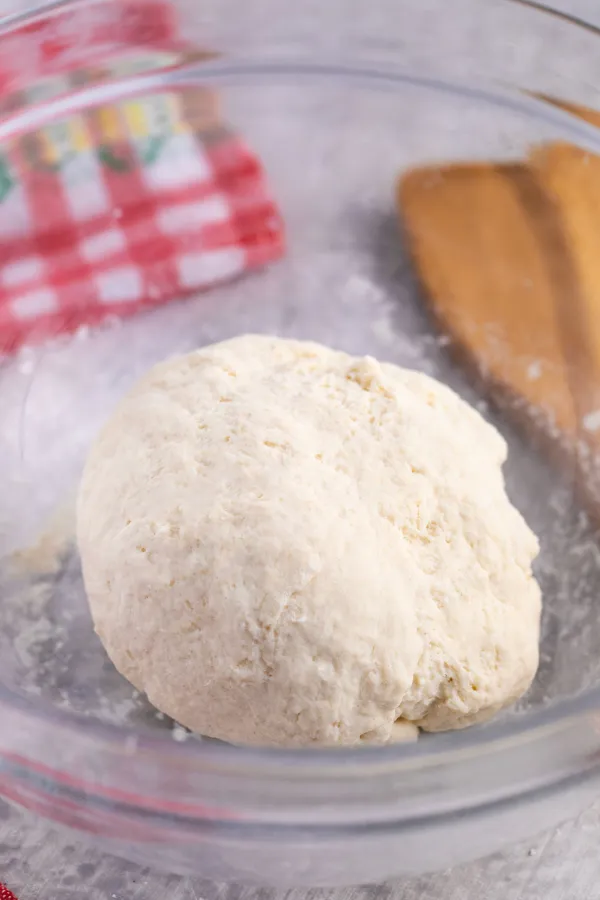
Using a rubber spatula or your hands, fold the mixture together with as few strokes as possible aim for around 10 to 12 folds. The dough will look shaggy and a little dry in spots, and that’s exactly right. Resist the urge to keep mixing until it looks smooth.
Pat the Dough Into a Disc
Turn the shaggy dough out onto a lightly floured surface. Using your hands, press and pat it into a round disc about 7 inches wide and 1 inch thick. Avoid using a rolling pin here the weight flattens the butter chunks instead of keeping them intact, and those chunks are what create flaky layers. Work quickly so the butter stays cold throughout.
Cut the Disc Into Wedges
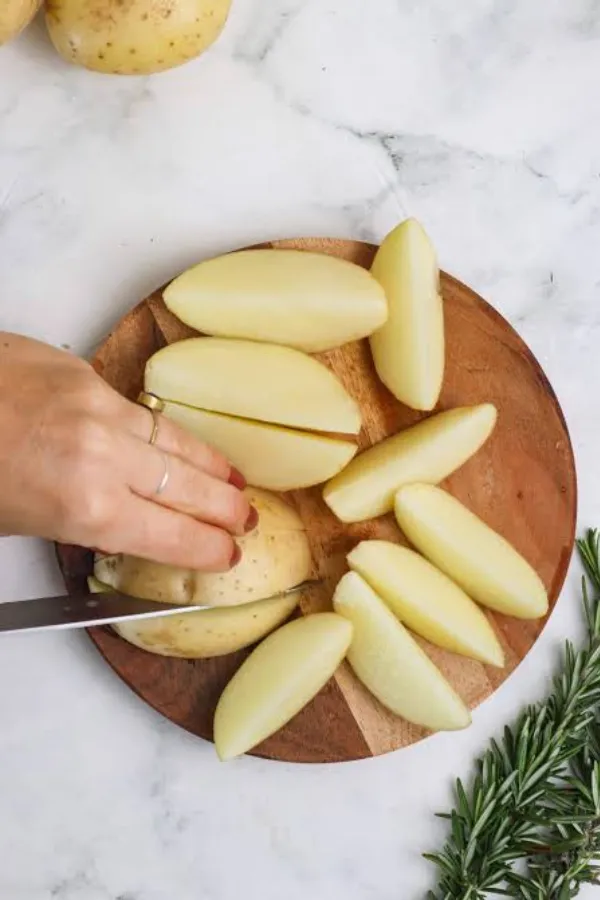
Using a bench scraper or sharp knife, cut the disc into 8 even wedges, like slicing a pizza. Press straight down in one motion for each cut instead of sawing back and forth. Sawing drags the edges and seals them shut, which stops the scones from rising into tall, flaky layers. A clean cut keeps those edges open and free to puff up.
Chill the Shaped Wedges Before Baking
Arrange the wedges on a parchment-lined baking sheet, leaving space between each one. Slide the whole tray into the freezer for 15 minutes while your oven preheats to 400°F. This second chill re-firms any butter that softened while you were shaping the dough, so it can melt on schedule once the scones hit the hot oven instead of leaking out early.
Brush With Cream and Sprinkle With Sugar
Pull the tray from the freezer once your oven has finished preheating. Brush the top of each wedge with a thin layer of heavy cream using a pastry brush this helps the tops turn deep golden instead of pale. Then sprinkle coarse or turbinado sugar generously over each one. The bigger sugar crystals give a light crunch that regular granulated sugar can’t match.
Bake Until Golden and Firm
Place the tray in your preheated oven and bake for 18 to 20 minutes, until the tops are deep golden brown and the scones feel firm when you press them lightly. Every oven runs a little differently, so start checking around the 16-minute mark. A pale top usually means they need more time, not less resist pulling them early just because the kitchen smells done.
Cool on a Wire Rack Before Glazing

Transfer the scones to a wire rack right away using a spatula, rather than leaving them on the hot tray. The tray holds heat and keeps cooking the bottoms, which can dry them out. Let them cool for at least 10 minutes before adding any glaze or icing, or it will melt straight off instead of setting into a nice coating.
Common Mistakes
Warm butter blends into the flour instead of staying in visible chunks. If your dough ever feels soft or sticky while shaping, stop and chill it for 10 minutes before continuing.
Any twisting motion seals the cut edges shut, which stops scones from rising tall and flaky. Always cut straight down in one motion.
Extra folding or kneading builds gluten, which makes scones tough and bread-like instead of tender. Stop mixing the moment the flour disappears.
Shaped wedges that go straight into the oven without chilling tend to spread out flat instead of rising up tall.
A rush of cold air can stop the rise before it’s finished. Wait until at least the 16-minute mark before checking.
FAQ
Yes. Use 1/2 cup of dried cranberries instead of 3/4 cup fresh, since dried ones are more concentrated and sweeter.
Shape the wedges and freeze them on a tray until solid, then transfer to a freezer bag. Bake straight from frozen, adding about 3 to 4 extra minutes.
This almost always means the butter warmed up too much before baking. Chill the dough longer next time and work faster during shaping.
No. The cream and coarse sugar topping is enough on its own. A simple orange glaze of powdered sugar and orange juice is a nice extra touch if you want one.
Keep them in an airtight container at room temperature for up to 2 days, or freeze baked scones for up to 2 months.
Quick Reference Card
2 cups flour · 1/3 cup sugar · 1 tbsp baking powder · 1/4 tsp salt · 1/2 cup frozen butter · 3/4 cup fresh cranberries · 1 orange (zest + 2 tbsp juice) · 1 egg · 1/2 cup heavy cream · 1 tsp vanilla · coarse sugar for topping
- Freeze butter, chill bowl — 15 min
- Whisk dry ingredients
- Grate frozen butter into flour
- Rub butter into flour with fingertips
- Zest and juice orange
- Whisk wet ingredients separately
- Fold in cranberries
- Pour wet into dry, let sit briefly
- Fold gently, 10-12 strokes
- Pat into a 7-inch disc
- Cut into 8 wedges, straight down
- Freeze wedges 15 min, preheat oven to 400°F
- Brush with cream, top with sugar
- Bake 18-20 min until golden
- Cool on wire rack 10 min before glazing
Conclusion
You just made a batch of flaky cranberry orange scones from scratch, and you didn’t need a bakery to get there. That golden, craggy top and tender crumb came from one habit: keeping everything cold, every single step. Next time, try swapping the cranberries for chopped dried apricots or blueberries using the same method. Save this recipe now so it’s ready the next time you want a warm scone with your coffee.
Flaky Cranberry Orange Scones
Ingredients
Equipment
Method
- Freeze butter and chill mixing bowl, 15 minutes.
- Whisk flour, sugar, baking powder, and salt.
- Grate frozen butter into the flour mixture.
- Rub butter into flour with fingertips until pea-sized crumbs form.
- Zest orange into the bowl; juice it after making wet mixture.
- Whisk egg, cream, vanilla, and orange juice separately.
- Fold cranberries into the flour mixture.
- Pour wet ingredients into dry; let sit briefly.
- Fold gently, 10-12 strokes, until shaggy.
- Pat dough into a 7-inch disc.
- Cut into 8 wedges with straight downward cuts.
- Freeze wedges 15 minutes; preheat oven to 400°F.
- Brush wedges with cream; top with coarse sugar.
- Bake 18-20 minutes until golden and firm.
- Cool on a wire rack 10 minutes before serving or glazing.