There’s a reason a homemade bacon cheeseburger can taste better than the one from your favorite drive-through and it has nothing to do with fancy equipment. It comes down to three things most beginners rush: how the meat is handled, how hot the pan gets, and when the cheese goes on. Skip any of those, and you end up with a dry, gray patty instead of a juicy, restaurant-style burger.
This guide walks you through the whole process, from forming the patties to building the final stack, so your bacon cheeseburger turns out thick, juicy, and loaded with real flavor. You don’t need a grill. A regular skillet on your stovetop works just as well, sometimes better, because it gives you a deep, crusty sear.
What You Need
- • 1 lb ground beef, 80/20 blend
- • 4 slices bacon
- • 4 slices cheddar or American cheese
- • 4 burger buns
- • Salt and black pepper
- • Butter or oil for toasting buns
- • A heavy skillet (cast iron works best)
- • A sturdy metal spatula
- • Optional: lettuce, tomato, onion, condiments
- • A meat thermometer (recommended)
At a Glance
- Gather your ingredients and tools
- Form the patties without overworking the meat
- Season both sides generously
- Cook the bacon until crispy
- Preheat your skillet or grill
- Sear the patties on the first side
- Flip the patties and add the cheese
- Toast the buns
- Build your bacon cheeseburger
Gather Your Ingredients and Tools
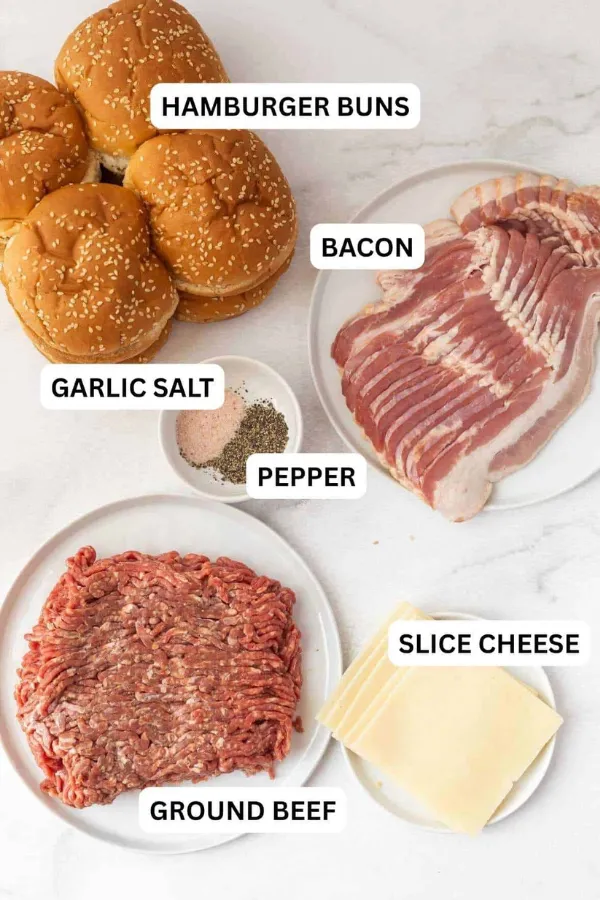
Pull everything out before you turn on the stove. Ground beef, bacon, cheese, and buns should all sit on the counter, along with your skillet, spatula, and a small plate for the cooked bacon. Cold meat is harder to shape evenly, so let the beef rest at room temperature for 10 minutes while you set up. This one pause saves you from scrambling mid-cook, when the pan is already hot and waiting.
Form the Patties Without Overworking the Meat
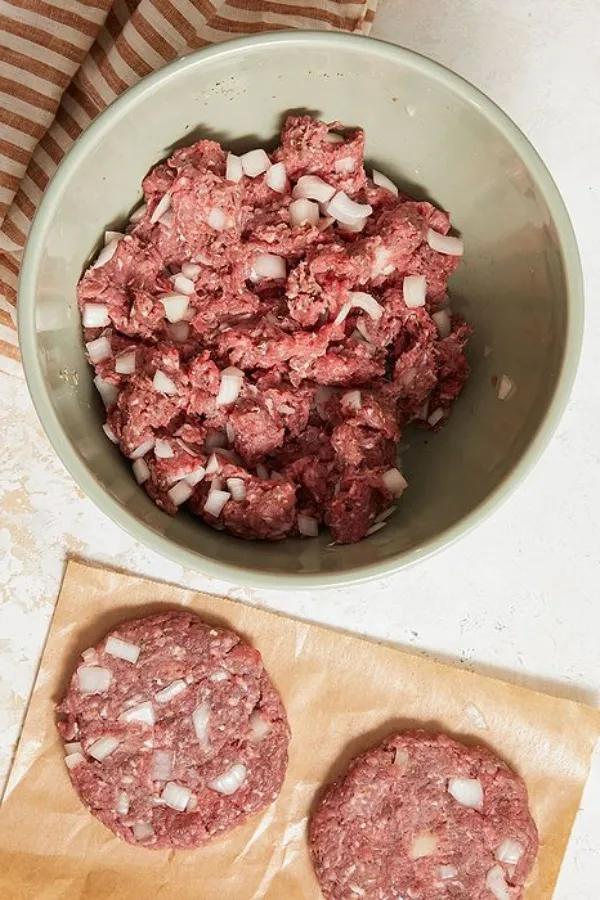
Divide the beef into four equal portions, about 4 ounces each. Gently shape each portion into a ball, then flatten it into a disc roughly 4 inches wide. Handle the meat as little as possible squeezing or kneading it packs the fibers tight, and tight fibers cook up dense and rubbery instead of tender. Press a shallow dimple into the center of each patty with your thumb; it stops the middle from puffing up like a dome as it cooks.
Season Both Sides Generously
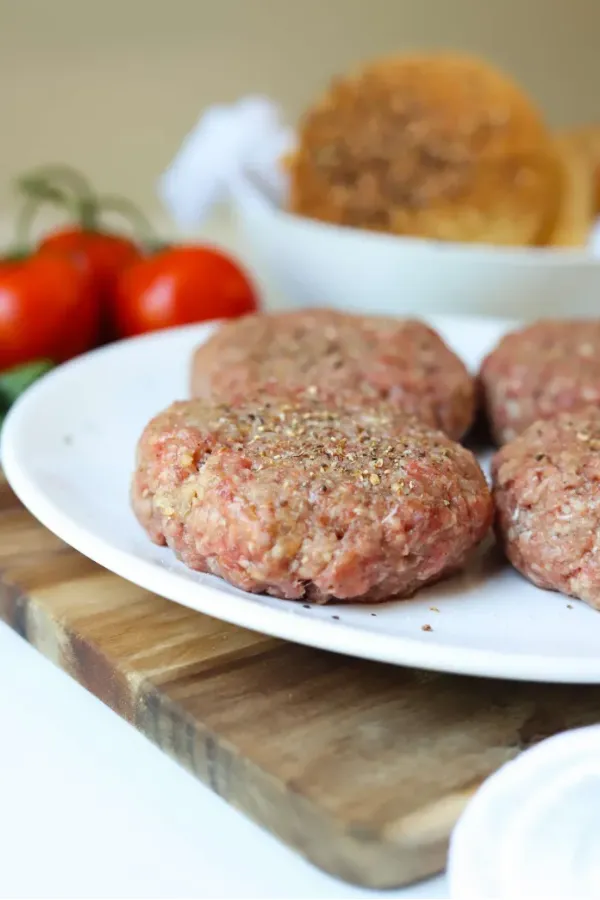
Sprinkle both sides of each patty with salt and black pepper right before cooking, not earlier. Salt draws moisture out of meat over time, and if it sits too long, that moisture pools on the surface and stops a good crust from forming. Use a heavier hand than feels natural plain ground beef needs real seasoning to taste like something. About half a teaspoon of salt per patty is a solid starting point.
Cook the Bacon Until Crispy
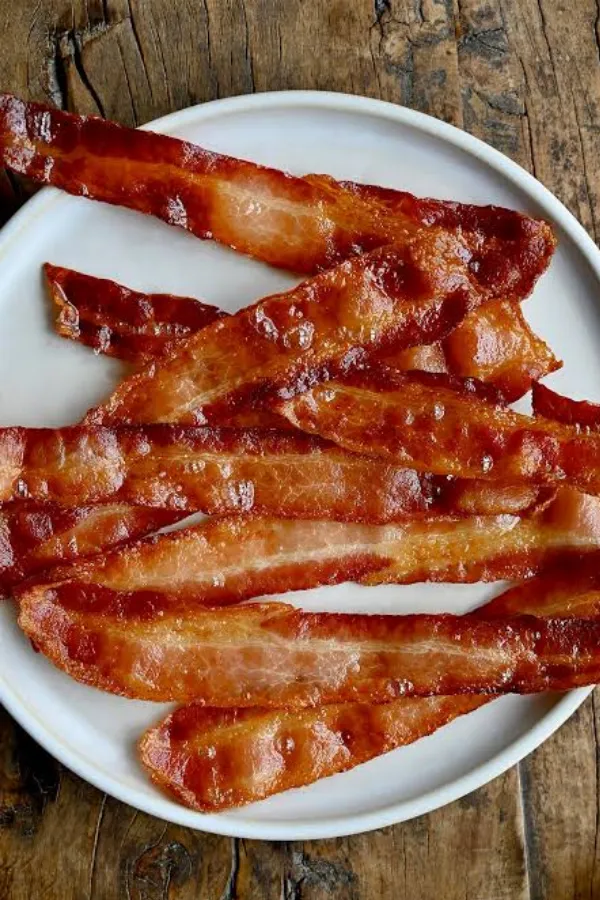
A cold pan is the enemy of crispy bacon it renders the fat slowly instead of crisping it, leaving you with limp, chewy strips. Lay the bacon in a single layer in your skillet over medium heat and let it cook undisturbed for 4 to 5 minutes per side. Don’t crowd the pan; overlapping strips steam instead of crisp. Move the finished bacon to a paper-towel-lined plate and leave the rendered fat in the pan it’s about to season your burgers.
Preheat Your Skillet or Grill
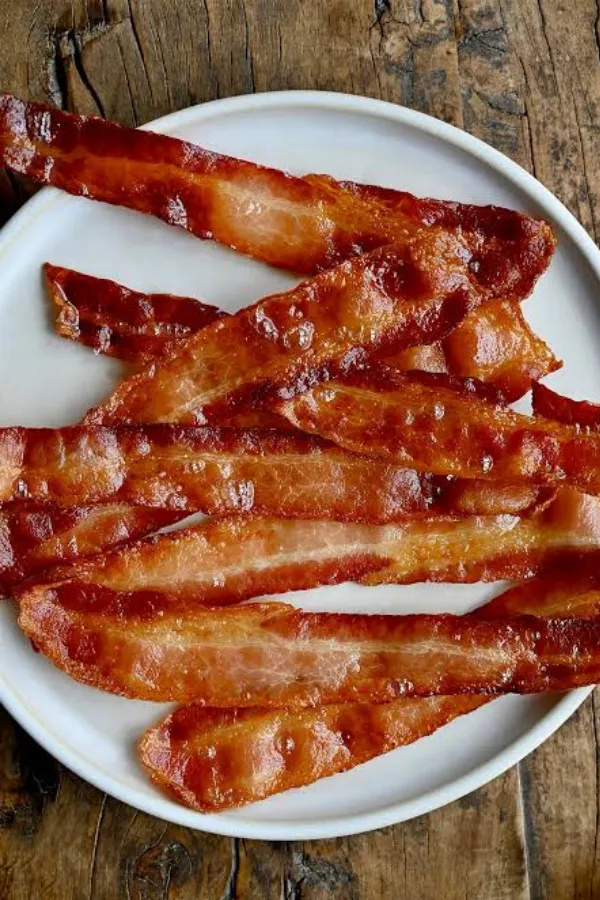
Two to three minutes is usually enough for a heavy skillet to reach the right heat over medium-high. You’ll know it’s ready when a drop of water flicked onto the surface skitters and evaporates almost instantly. If you’re using a grill instead, preheat it with the lid closed so the grates get hot enough to sear on contact rather than stick.
Sear the Patties on the First Side
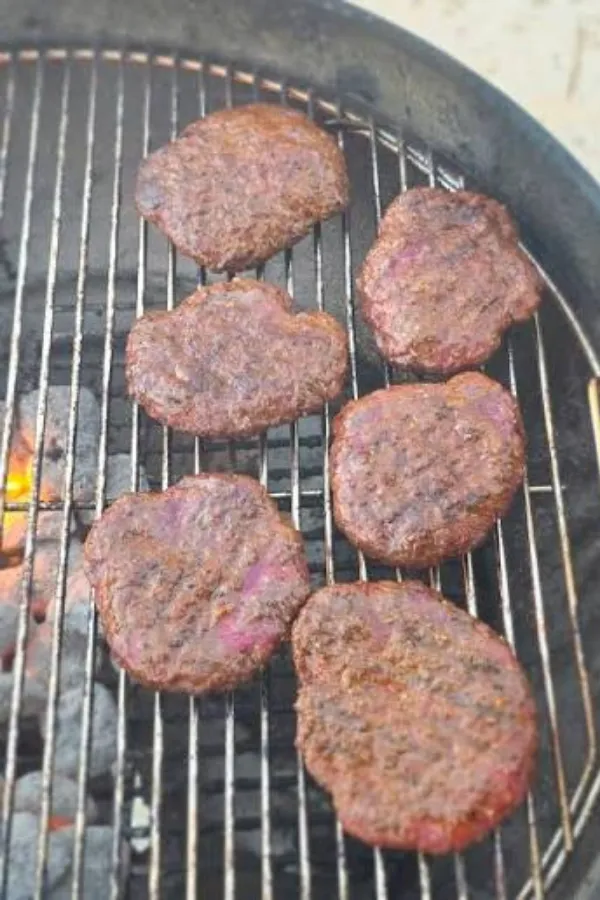
Once the pan is hot, place the patties in gently, dimple-side up, leaving space between them so they sear instead of steam. Let them cook undisturbed for 3 minutes. This is the hardest part for beginners: resisting the urge to move or press the patty. Every press squeezes out juice the meat needs to stay tender, and every early flip tears the crust that’s just starting to form. Watch for the edges turning brown and the juices beginning to bead on the top surface that’s your cue you’re close to the flip.
Flip the Patties and Add the Cheese
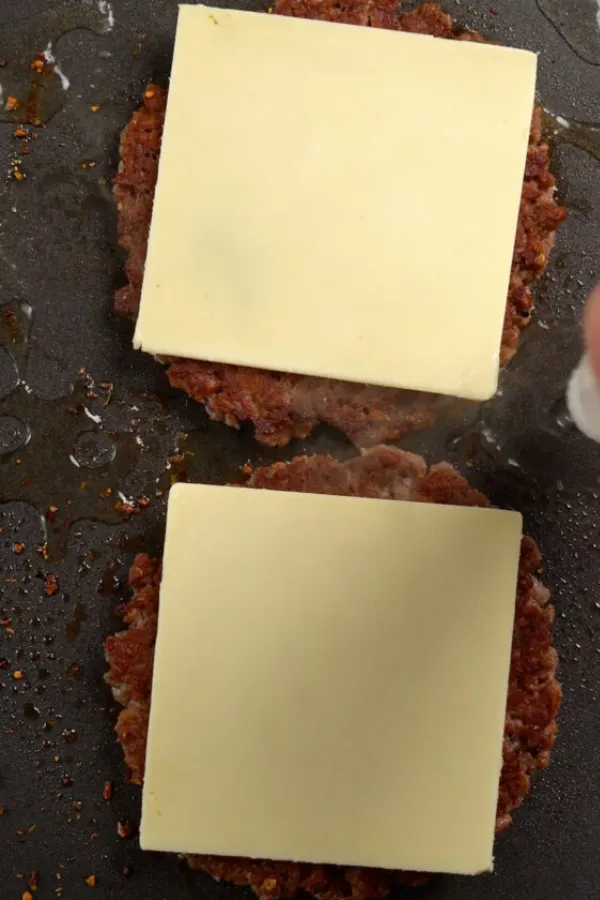
Flip each patty in one confident motion using a wide spatula, then immediately lay a slice of cheese on top. Cook the second side for another 2 to 3 minutes, or until the internal temperature reads 160°F on a meat thermometer. The residual heat from the patty, combined with a lid or a loose foil tent over the pan for the last minute, is what actually melts the cheese into that soft, draped look instead of leaving it stiff on top.
Toast the Buns
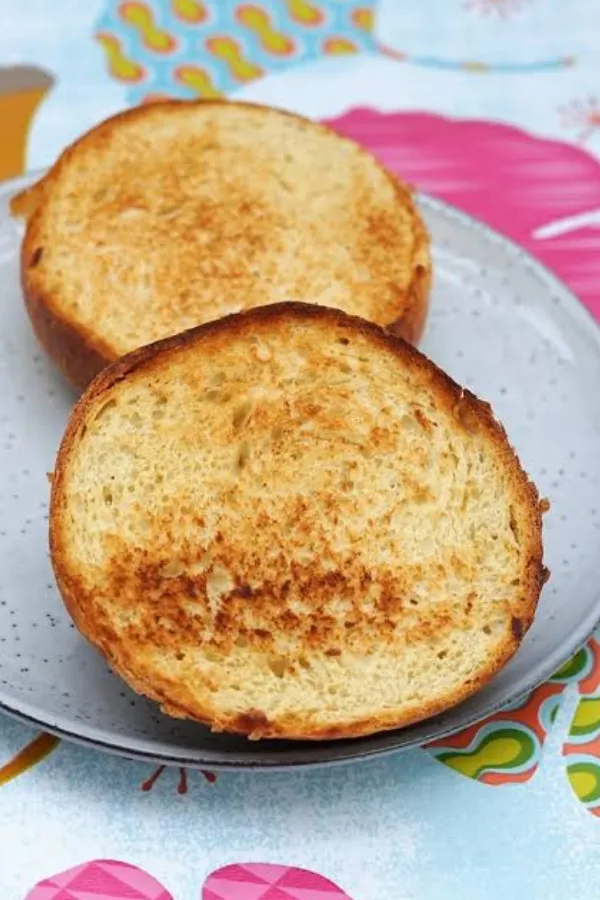
Cut side down, buns only need 1 to 2 minutes in a lightly buttered pan. Use the same skillet you cooked the burgers in the leftover beef and bacon flavor soaks right into the bread. Watch closely here; bread goes from golden to burnt fast, and there’s no saving a scorched bun.
Build Your Bacon Cheeseburger
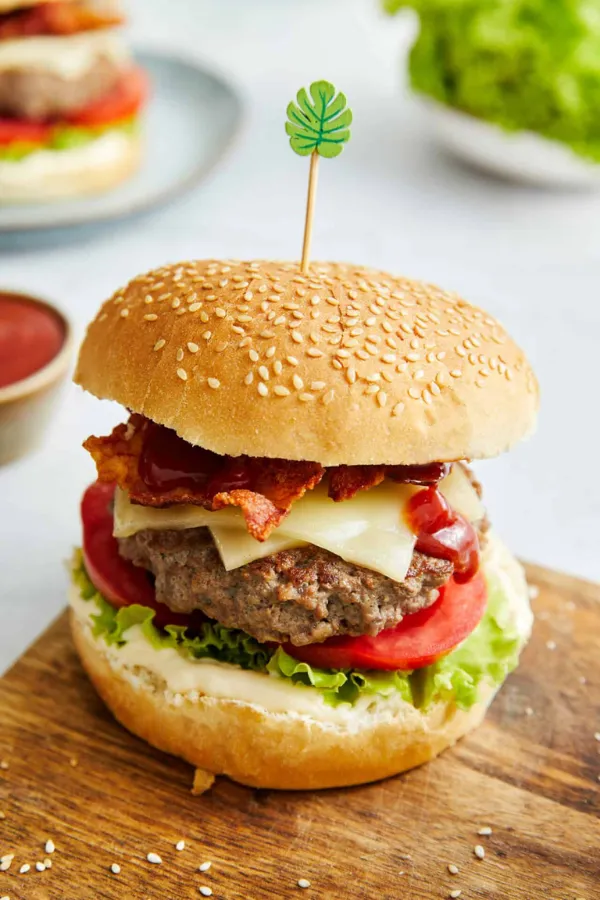
What order should everything go in? Start with the bottom bun, then add a swipe of condiments so they don’t slide off later. Stack the components in this order for the best structure:
- Bottom bun with condiments
- Lettuce and tomato (if using)
- Cheeseburger patty, cheese already melted on top
- Two strips of crispy bacon, crossed in an X
- Top bun
This order keeps the juiciest layer, the patty, sitting close to the bread instead of sliding around on top of loose toppings.
Common Mistakes
Pressing the patty with the spatula. It feels productive, but it only pushes out the juices that keep the burger tender, leaving you with a dry, flat patty.
Using lean beef instead of 80/20. Fat is what carries flavor and keeps the patty moist. Anything leaner than 80/20 tends to cook up tough.
Salting the meat too early. Salt pulls moisture to the surface over time, which stops a good crust from forming. Salt right before the pan, not while shaping.
Flipping too soon. A patty that’s stuck to the pan isn’t ready to move. Give it the full **3 minutes** before attempting the flip.
Skipping the meat thermometer. Color alone is a poor way to judge doneness. A **160°F** reading takes the guesswork out completely.
FAQ
Can I use ground turkey instead of beef? Yes, but choose 93/7 turkey for the best texture, and cook it to **165°F** since poultry needs a higher safe temperature than beef.
Why won’t my cheese melt? The pan likely isn’t holding enough heat after the flip. A loose foil tent or a lid for the last minute traps steam and melts the cheese fast.
What’s the best cheese for a bacon cheeseburger? American cheese melts the smoothest, but sharp cheddar adds more flavor if you don’t mind a slightly firmer melt.
Do I need to toast the buns? It’s optional, but a toasted bun holds up better against juices and condiments without turning soggy halfway through the meal.
Can I make the patties ahead of time? Yes. Shape them and store them, separated by parchment paper, in the fridge for up to **24 hours** before cooking.
Quick Reference Card
What You Need
- • 1 lb ground beef, 80/20
- • 4 slices bacon
- • 4 slices cheese
- • 4 burger buns
- • Salt, pepper, butter
- • Skillet, spatula, thermometer
Steps
- Gather ingredients and tools
- Form 4-ounce patties
- Season both sides
- Cook bacon, 4–5 min per side
- Preheat skillet, 2–3 min
- Sear side one, 3 min
- Flip, add cheese, 2–3 min
- Toast buns, 1–2 min
- Build and serve
Conclusion
You just built a bacon cheeseburger with a real crust, melted cheese, and crispy bacon in every bite no grill needed. The technique you used today, especially letting the patty sear undisturbed, works for almost any burger you make from here on out.
Next time, try swapping in a different cheese or adding a fried egg on top to switch things up.
Save this bacon cheeseburger recipe now so it’s ready the next time you’re craving one.
Bacon Cheeseburger
Ingredients
Equipment
Method
- Let ground beef rest at room temperature for 10 minutes while gathering tools.
- Divide beef into four 4-ounce portions and shape into 4-inch patties with a thumb dimple in the center.
- Season both sides generously with salt and pepper right before cooking.
- Cook bacon in a skillet over medium heat, 4 to 5 minutes per side, until crispy. Set aside on paper towels.
- Preheat the same skillet over medium-high heat for 2 to 3 minutes.
- Place patties dimple-side up and sear undisturbed for 3 minutes.
- Flip patties, add cheese, and cook 2 to 3 minutes more until internal temperature reaches 160°F.
- Toast cut sides of buns in the same skillet with butter, 1 to 2 minutes.
- Build burger: bottom bun, condiments, lettuce and tomato, patty with melted cheese, crossed bacon strips, top bun.
Notes
- Use a thermometer for accuracy — color alone isn’t a reliable doneness test.
- Patties can be shaped up to 24 hours ahead and stored in the fridge, separated by parchment.
- Save the rendered bacon fat in the pan before searing patties for extra flavor.