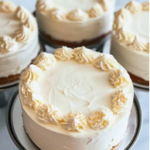
The first time you make a cheesecake pie at home, the filling can feel tricky. Too soft, too sweet, or a crust that falls apart can ruin the dessert before it reaches the table. This Monster Cookie Peanut Butter Cheesecake Pie method keeps each part simple and organized, so beginners can create a rich dessert with a firm slice and balanced cookie flavor.
This pie combines a crunchy cookie crust, smooth peanut butter cheesecake filling, chocolate candies, and monster cookie pieces into one chilled dessert. The best part is that there is no complicated baking process for the cheesecake layer. The key is preparing each layer carefully and giving the pie enough time to set.
You will finish with a creamy, colorful pie that works well for birthdays, holidays, family gatherings, or a weekend dessert. The active preparation takes about 30 minutes, but the chilling time allows the flavors to blend and the filling to become sliceable.
4 hours 30 minutes
30 minutes
Beginner
What You Need
- Chocolate sandwich cookies
- Butter
- Cream cheese
- Peanut butter
- Powdered sugar
- Vanilla extract
- Whipped topping
- Monster cookie pieces
- Mini chocolate candies
- Mixing bowls
- Electric mixer
- 9-inch pie dish
At a Glance
- Gather the ingredients and prepare the pie-making workspace
- Create the crunchy monster cookie crust
- Blend the peanut butter cheesecake filling until smooth
- Fold in the cookie pieces and chocolate candies
- Fill the crust and smooth the cheesecake layer
- Chill the pie until the filling is firm
- Decorate the finished pie
- Slice and serve the chilled dessert
Gather the ingredients and prepare the pie-making workspace
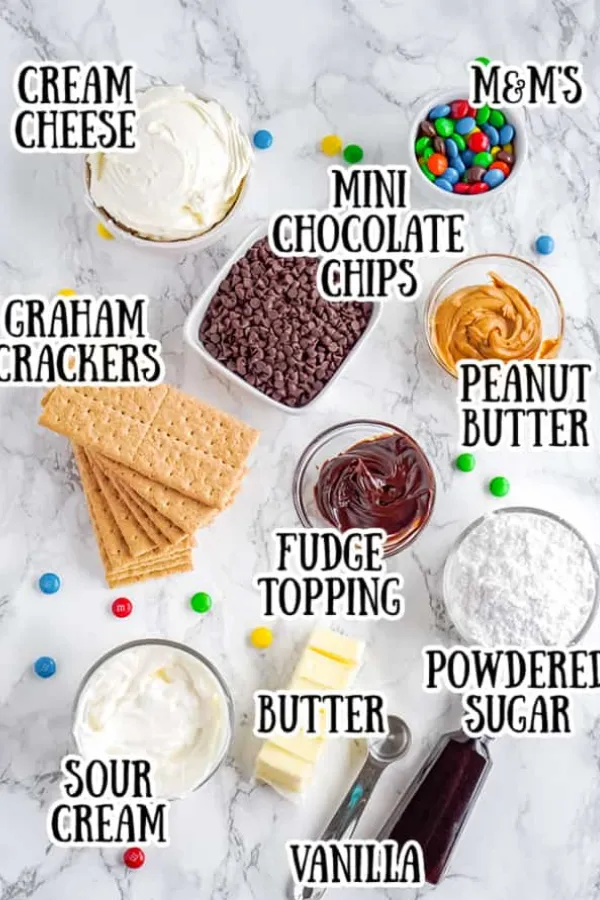
A smooth process starts with having everything ready before mixing begins. Place the cream cheese on the counter to soften for about 30 minutes, which helps it blend without lumps. Measure each ingredient, crush the cookies for the crust, and prepare a clean mixing area. This prevents rushing later when the cheesecake filling needs your attention.
Keep the pie dish, mixing bowls, mixer, spatula, and measuring tools nearby. A chilled pie depends on accurate portions, so avoid guessing measurements.
Create the crunchy monster cookie crust
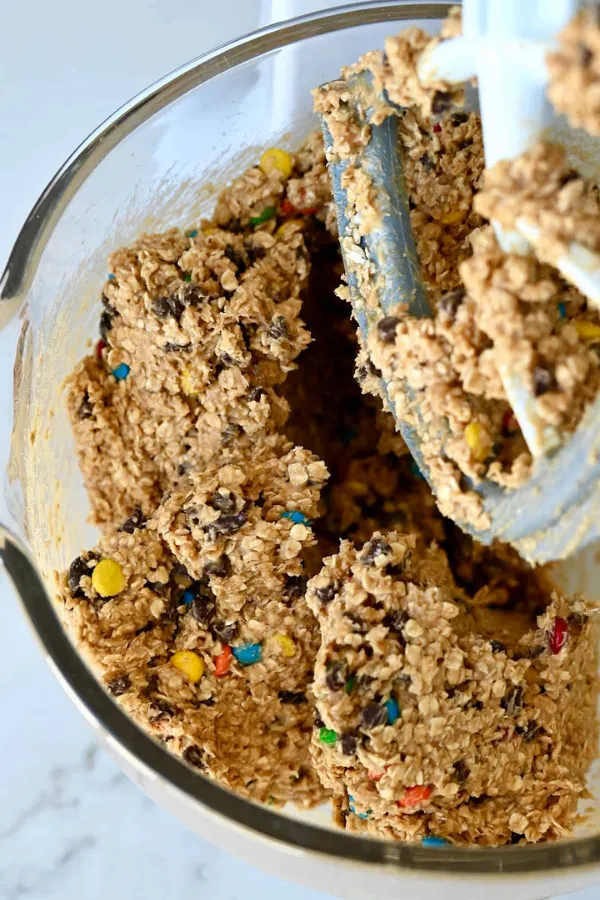
Press the crushed cookie mixture firmly into the pie dish to build a strong base for the creamy filling. Combine cookie crumbs with melted butter until the texture resembles damp sand, then press it evenly across the bottom and sides.
The crust needs firm pressure because loose crumbs will break when sliced. Use the bottom of a measuring cup to create an even surface if your fingers are not giving enough pressure.
Chill the crust for **15 minutes** before adding the filling. A cold crust holds its shape better and creates cleaner slices.
Blend the peanut butter cheesecake filling until smooth
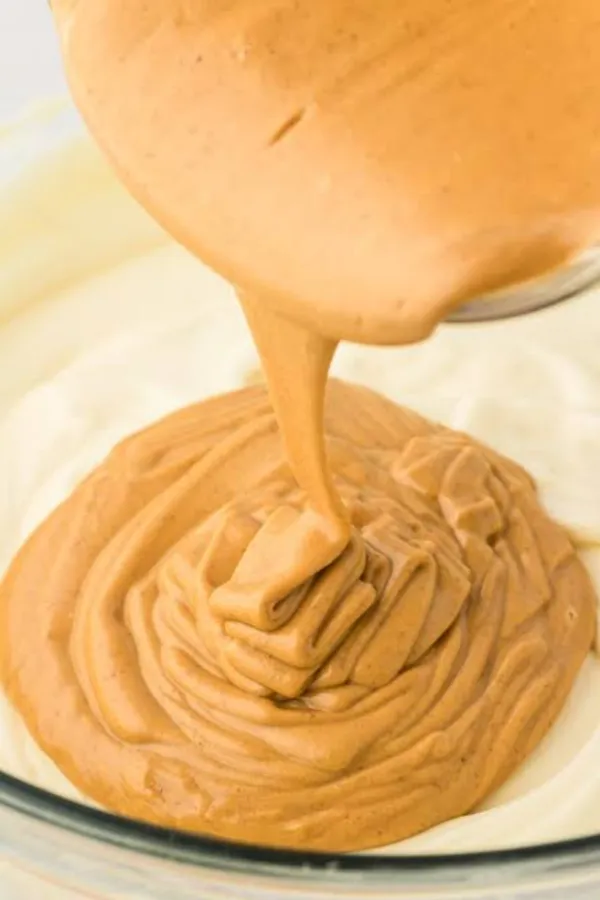
Room-temperature cream cheese creates the creamy texture this pie needs. Beat the cream cheese first until smooth, then add peanut butter, powdered sugar, and vanilla. Mix until the filling looks thick and even with no visible cream cheese lumps.
Avoid overmixing after adding whipped topping because too much air can make the filling less stable. Scrape the bowl sides during mixing so every ingredient combines evenly.
Fold in the cookie pieces and chocolate candies
The filling gets its monster cookie character from the extra textures added at this stage. Use a rubber spatula to gently fold in chopped cookie pieces and mini chocolate candies until they are spread throughout the cheesecake mixture.
Avoid stirring too aggressively because the whipped texture can lose volume. Fold slowly from the bottom of the bowl upward so the filling stays thick and creamy while the mix-ins remain evenly distributed.
Fill the crust and smooth the cheesecake layer
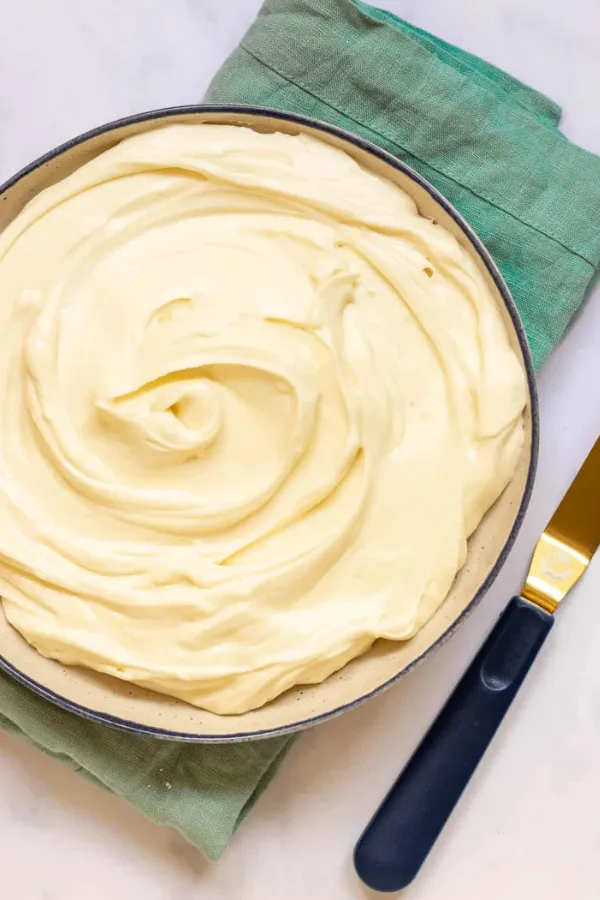
Transfer the prepared filling into the chilled crust, working carefully so the crust edges stay intact. Spread the mixture from the center toward the edges using an offset spatula or the back of a spoon.
A smooth surface helps the pie chill evenly and creates cleaner slices later. Tap the pie dish gently on the counter a few times to release trapped air bubbles before moving it to the refrigerator.
Do not add the topping or decorations before the filling has started setting. A soft cheesecake layer can shift and create uneven slices.
Chill the pie until the filling is firm
Place the assembled pie in the refrigerator and allow enough time for the cheesecake layer to become stable. The filling needs at least 4 hours of chilling time, although leaving it overnight creates the firmest texture.
Cover the pie loosely with plastic wrap or a pie cover to prevent it from absorbing refrigerator odors. A properly chilled pie should hold its shape when sliced without spreading across the plate.
For cleaner slices, place your knife in warm water, wipe it dry, and cut through the pie with a warm blade between servings.
Decorate the finished Monster Cookie Peanut Butter Cheesecake Pie
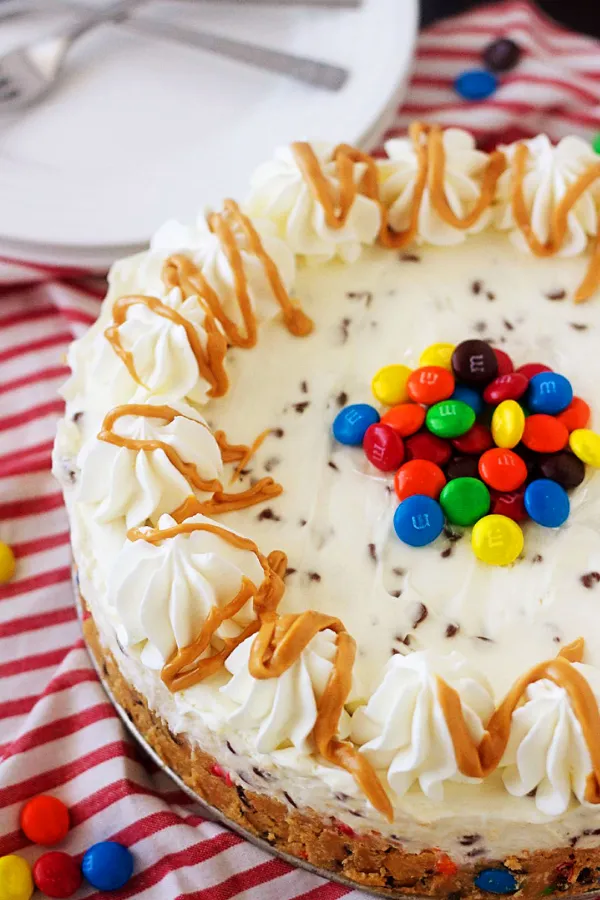
The chilled cheesecake layer is ready for the final touches once it feels firm to the touch. Add extra whipped topping, cookie crumbs, chopped monster cookies, or mini chocolate candies around the top to highlight the flavors inside the pie.
Keep the decorations balanced so the slices remain easy to cut. A few colorful toppings create the classic monster cookie look without making the dessert too heavy.
Slice and serve the chilled dessert
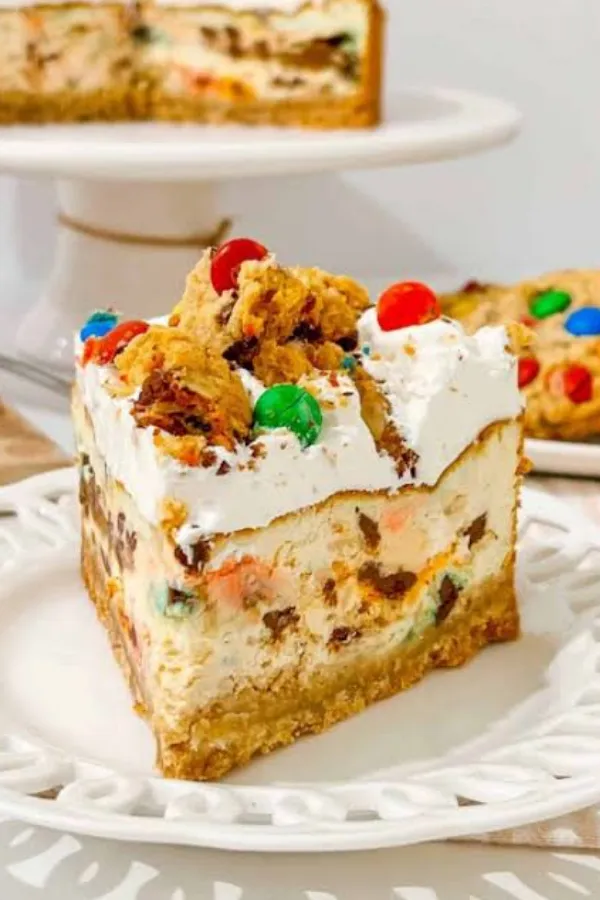
A cold pie gives the cleanest serving results, so remove it from the refrigerator only when you are ready to cut it. Use a sharp knife and wipe the blade between slices to keep each piece neat.
Serve the pie chilled with extra cookie pieces or a small drizzle of peanut butter if desired. Store leftovers covered in the refrigerator for up to 4 days to maintain the creamy texture.
Store the remaining pie properly
Protect the cheesecake texture by covering unused slices before returning them to the refrigerator. Place plastic wrap directly over exposed areas or use an airtight container to prevent the crust from becoming soft.
For longer storage, freeze individual slices for up to 1 month. Wrap each piece tightly before freezing, then thaw it in the refrigerator before serving so the filling keeps its smooth consistency.
Troubleshooting Table
| If This Happens | Try This |
|---|---|
| The crust falls apart when slicing | Press the cookie crumbs more firmly into the pie dish and chill the crust before adding filling. |
| The cheesecake filling is too soft | Return the pie to the refrigerator and chill longer. The filling needs enough time to firm before serving. |
| The filling has small cream cheese lumps | Allow cream cheese to soften fully before mixing and beat it alone until smooth before adding other ingredients. |
| The crust becomes soft after storage | Keep the pie covered and avoid leaving it uncovered in the refrigerator. |
FAQ
Can I make Monster Cookie Peanut Butter Cheesecake Pie ahead of time?
Yes. This pie works well when prepared the day before serving. Keep it covered in the refrigerator until ready to slice.
Can I use a store-bought cookie crust?
Yes. A prepared chocolate cookie crust can save time, but a homemade cookie crust gives a stronger monster cookie flavor.
Can I freeze this cheesecake pie?
Yes. Wrap individual slices tightly and freeze for up to **1 month**. Thaw each slice in the refrigerator before serving.
What type of peanut butter works best?
Creamy peanut butter gives the smoothest filling texture. Natural peanut butter can work, but stir it well before measuring.
How long can the pie stay refrigerated?
Store the covered pie in the refrigerator for up to **4 days** for the best texture and flavor.
Quick Reference Card
Monster Cookie Peanut Butter Cheesecake Pie
What You Need:
- Chocolate cookie crumbs
- Melted butter
- Cream cheese
- Creamy peanut butter
- Powdered sugar
- Vanilla extract
- Whipped topping
- Monster cookie pieces
- Mini chocolate candies
Steps:
- Gather ingredients and prepare the workspace
- Create the cookie crust
- Blend the peanut butter cheesecake filling
- Fold in cookie pieces and candies
- Fill and smooth the pie
- Chill until firm
- Decorate the finished pie
- Slice and serve chilled
Conclusion
You now have a creamy Monster Cookie Peanut Butter Cheesecake Pie with a crunchy cookie base and rich peanut butter cheesecake filling.
The key to a great slice is preparing each layer carefully and allowing enough chilling time before serving.
Try adding your favorite cookie pieces or candy toppings to create your own version.
Save this recipe for your next family dessert table or weekend baking idea on Pinterest.
Monster Cookie Peanut Butter Cheesecake Pie
Ingredients
Equipment
Method
- Mix chocolate cookie crumbs with melted butter until combined. Press the mixture firmly into a 9-inch pie dish, covering the bottom and sides evenly. Chill the crust for 15 minutes before adding the filling.
- Beat softened cream cheese until smooth. Add peanut butter, powdered sugar, and vanilla extract. Mix until creamy and evenly combined.
- Fold whipped topping into the peanut butter mixture using a spatula. Keep the folding motion gentle to maintain the light cheesecake texture.
- Fold chopped monster cookies and mini chocolate candies into the filling until evenly distributed.
- Spread the cheesecake filling into the chilled crust. Smooth the top with a spatula or spoon.
- Cover the pie and refrigerate for at least 4 hours until firm enough to slice.
- Add extra cookie pieces, chocolate candies, or whipped topping before serving.
- Cut the chilled pie into slices using a sharp knife. Wipe the blade between cuts for cleaner servings.
Notes
- Use softened cream cheese for the smoothest filling texture.
- Chill the pie fully before slicing to prevent a soft center.
- Creamy peanut butter gives the most consistent cheesecake texture.
- The pie can be prepared one day ahead and stored covered in the refrigerator.
- Freeze individual slices for up to 1 month and thaw in the refrigerator before serving.