
15 Easy Fermented Vegetable Recipes
Fermenting vegetables at home is easier than you think, and the payoff is huge: tangy, crunchy, probiotic-rich vegetables with just salt, water, and time. These fermented vegetable recipes walk you through every step.
From classic sauerkraut and spicy kimchi to fermented pickles, carrots, and garlic, these 15 ferments cover the essentials and the adventurous. All you need are jars, salt, and a little patience.
1. Classic Sauerkraut
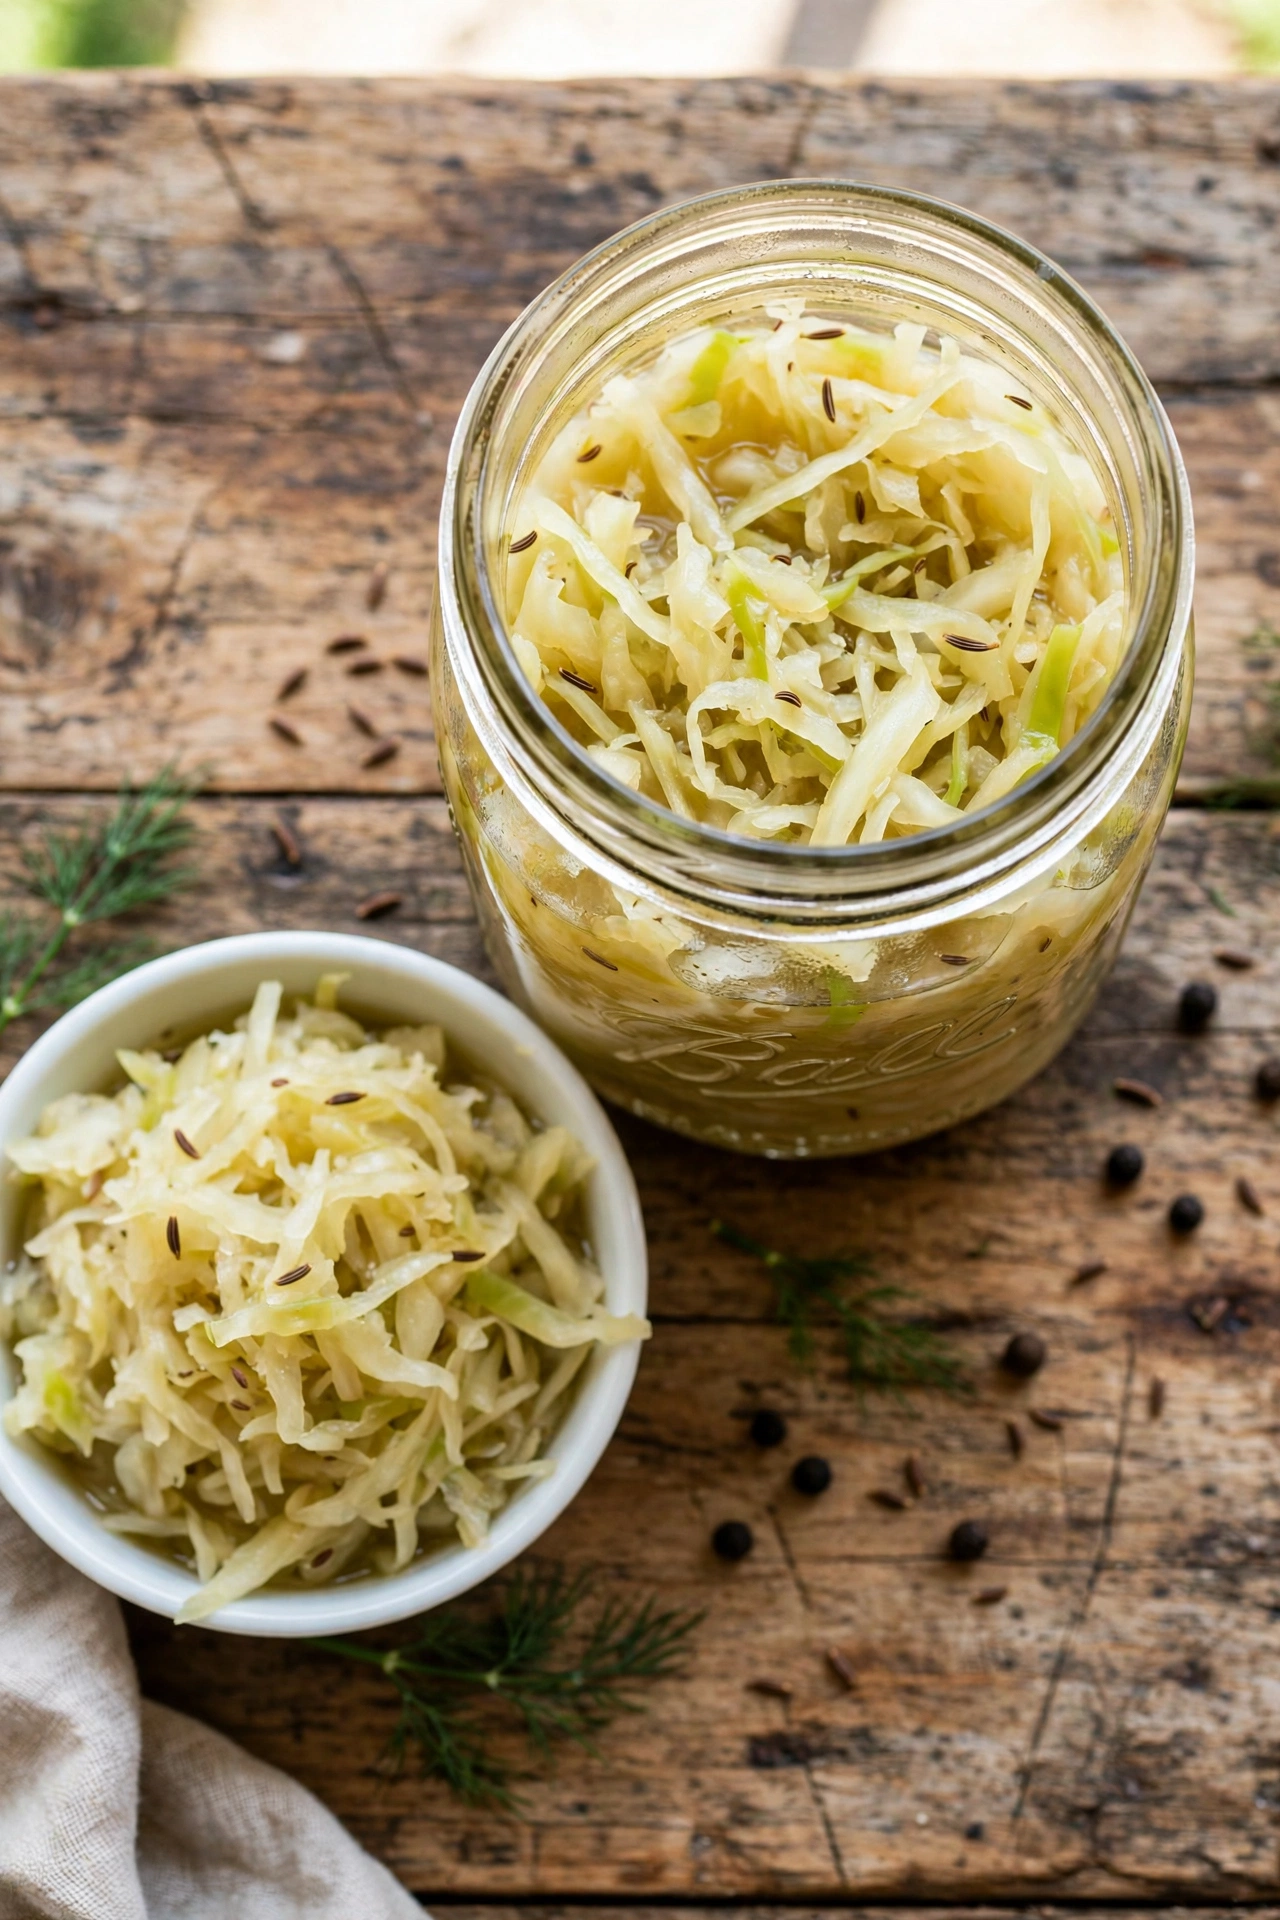
Classic sauerkraut is the perfect first ferment: just cabbage, salt, and time. The result is tangy, crunchy, and miles better than anything from a can, packed with beneficial probiotics.
Massage the salted cabbage until it releases enough liquid to cover itself; this usually takes 5 to 10 minutes of good squeezing. Pack it tightly into a jar, pressing out air pockets, and weight it down so the cabbage stays submerged in its own brine.
Pro Tips
Use a 2% salt ratio by weight for the most reliable ferment: 20 grams of salt per 1000 grams of cabbage. A kitchen scale takes the guesswork out completely.
- 1 medium green cabbage (about 2 pounds)
- 1 tablespoon fine sea salt (about 20g)
- 1 teaspoon caraway seeds (optional)
- 1 large glass jar
- A weight or small jar to keep cabbage submerged
- A cloth cover and rubber band
Ingredient Notes
Use fresh, crisp cabbage; wilted cabbage does not release enough liquid. Non-iodized salt only, as iodine can inhibit fermentation. For more cabbage ideas, see our cabbage recipes you will love.
Keep It Submerged
Vegetables exposed to air can mold. Keep everything below the brine with a glass weight, a cabbage leaf tucked over the top, or a small zip-top bag filled with brine.
Ferment at room temperature for 1 to 4 weeks, tasting along the way. It is done when it tastes tangy enough for you. Then refrigerate, where it keeps for months and the flavor continues to develop slowly. Use it on sandwiches, sausages, and grain bowls.
2. Spicy Kimchi
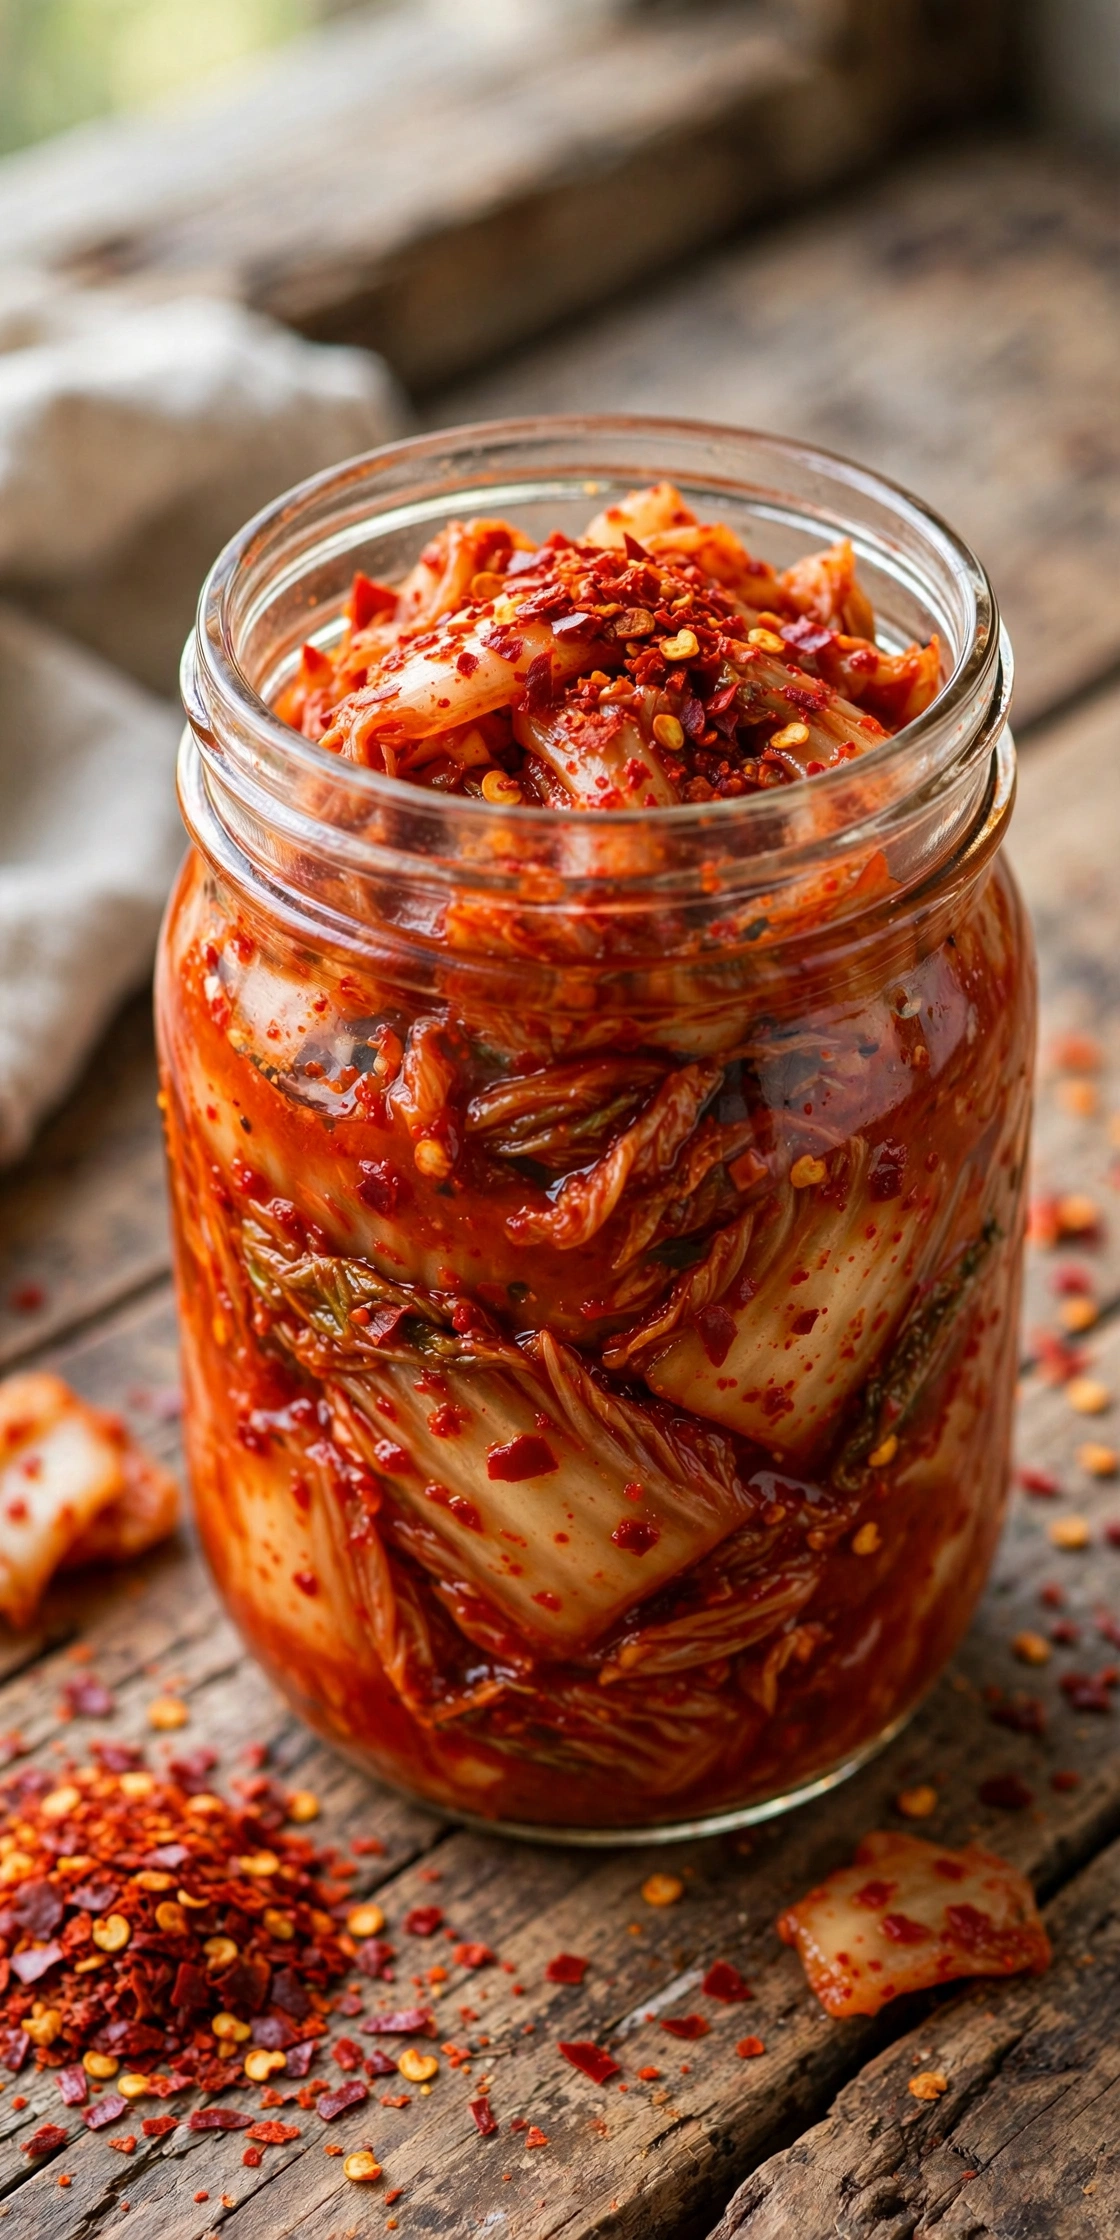
Spicy kimchi is bold, funky, and addictive: napa cabbage coated in a fiery paste of gochugaru, garlic, ginger, and fish sauce. It is the cornerstone of Korean cooking and a flavor bomb for everything else.
Salt the cabbage first to draw out water and soften it, then rinse and squeeze dry. Coat every leaf thoroughly with the pepper paste, pack into jars leaving headspace, and let it ferment until pleasantly sour.
Ingredient Notes
Gochugaru (Korean red pepper flakes) is essential for authentic flavor and color; regular chili flakes are hotter and less fruity. Fish sauce adds umami depth, or use a splash of soy sauce for a vegetarian version.
- 1 napa cabbage (about 2 pounds)
- 1/4 cup sea salt for brining
- 5 cloves garlic and 1 tablespoon grated ginger
- 3 tablespoons gochugaru
- 2 tablespoons fish sauce
- 4 scallions, cut into pieces
Serving Suggestions
Eat it straight, chop into fried rice, or layer into grilled cheese for a Korean-Mexican fusion twist. It is also the classic partner for dumplings; try it with our homemade dumpling recipes.
Kimchi keeps fermenting in the fridge, getting more sour over weeks. Use older, extra-sour kimchi for cooking (it is the best for kimchi fried rice and stews) and fresher batches for eating raw. A little goes a long way as a condiment.
3. Fermented Carrots
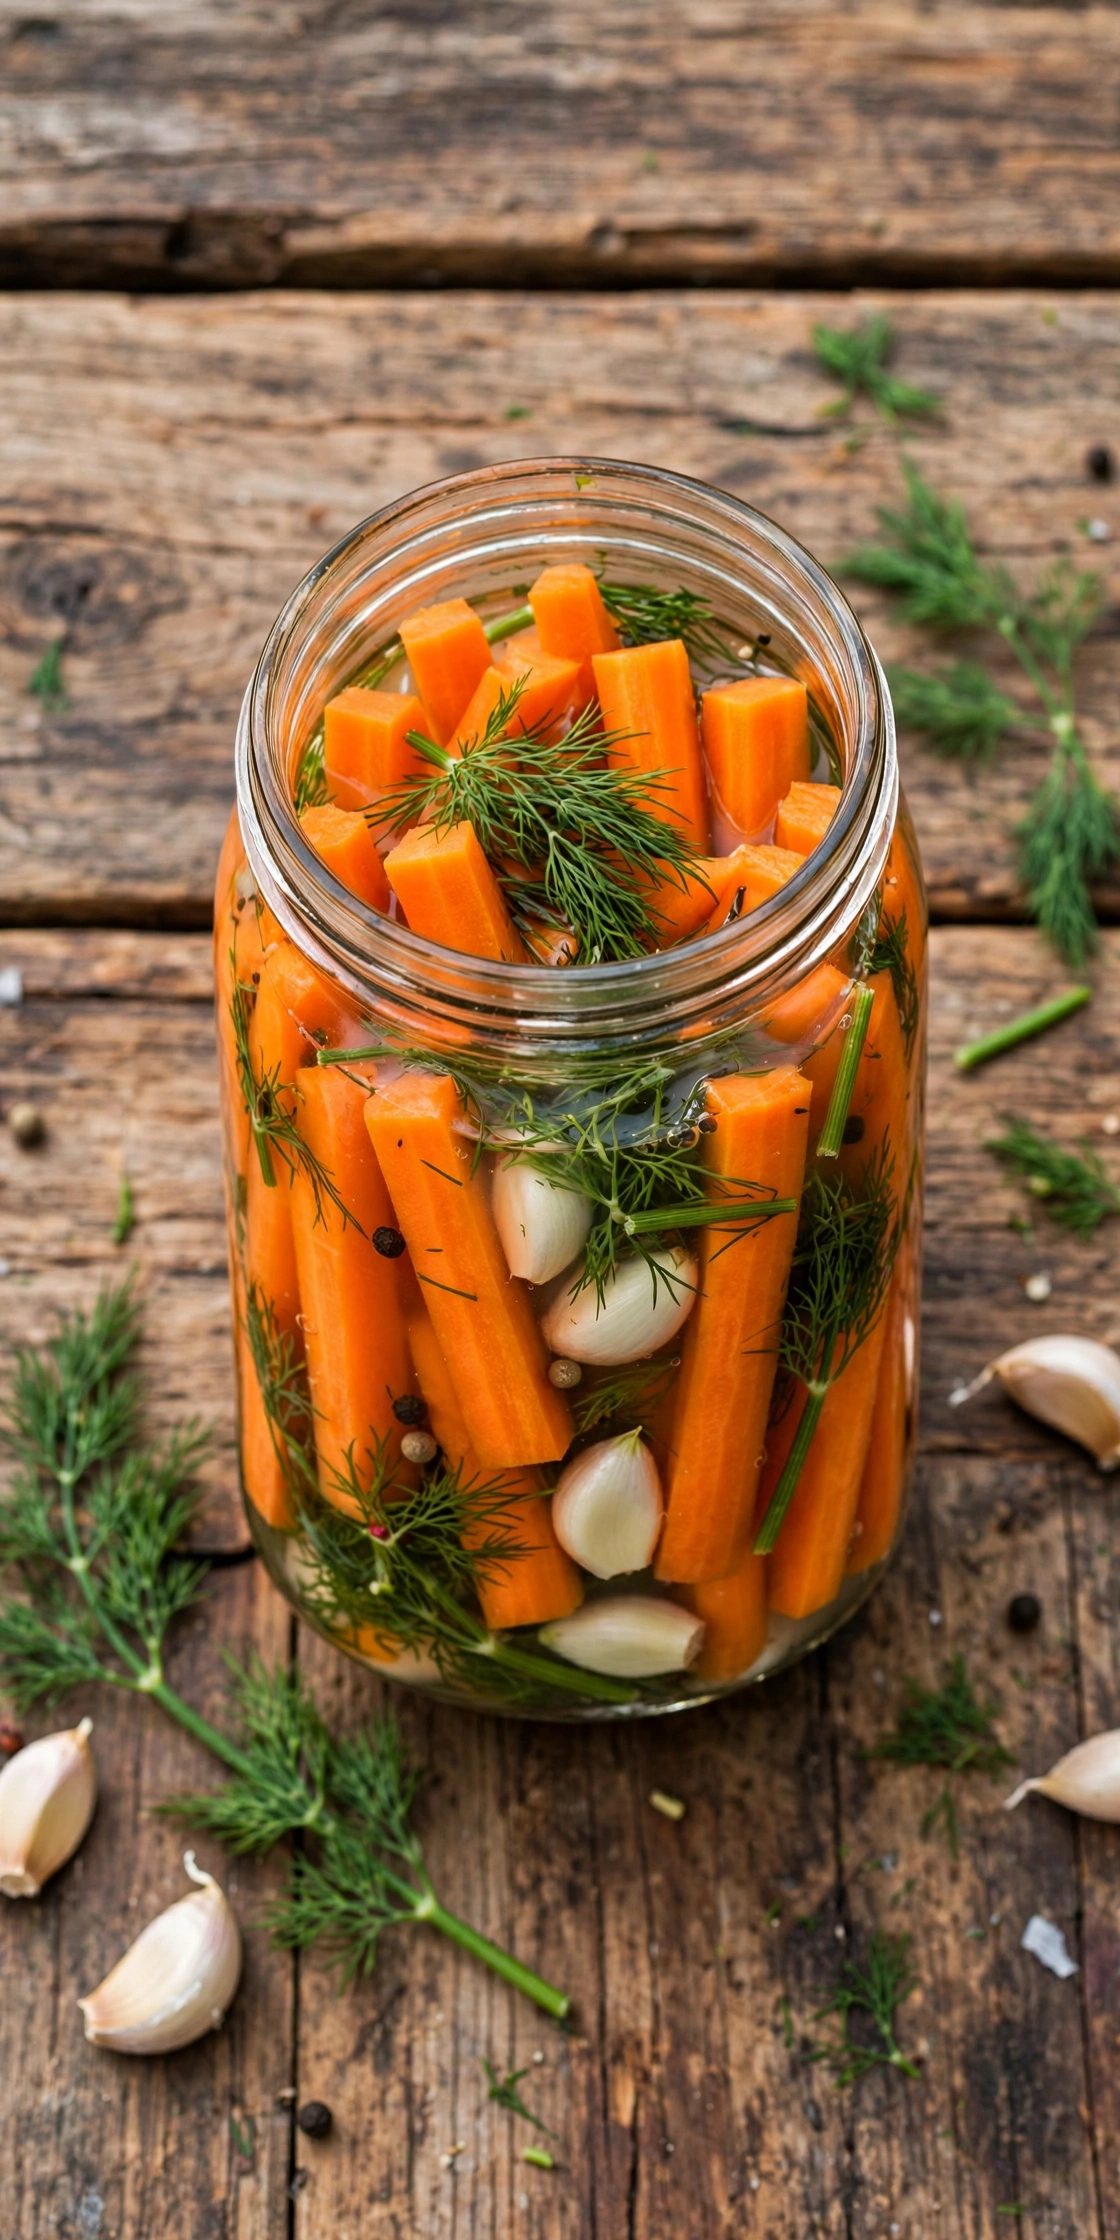
Fermented carrots turn sweet and snappy with a pleasant tang. They are crunchy, kid-friendly, and one of the easiest ferments you can make, perfect for snacking straight from the jar.
Cut the carrots into sticks of even thickness so they ferment uniformly. Pack them snugly upright in the jar with garlic and dill, pour over a 2% salt brine, and weight everything down below the surface.
Why You’ll Love This
They stay remarkably crunchy, unlike many pickled vegetables, and the natural sweetness of carrots balances the sour brine beautifully. Kids who wrinkle their noses at sauerkraut often love these.
- 1 pound carrots, cut into sticks
- 2 cloves garlic
- 2 sprigs fresh dill
- 2 cups water
- 1 tablespoon sea salt (for 2% brine)
- 1 quart jar with weight
Easy Variations
Add a dried chili for heat, ginger slices for warmth, or mustard seeds for extra bite. A mix of rainbow carrots makes a stunning jar that is as pretty as it is tasty.
Brine Math
For a 2% brine, dissolve 20 grams of salt per 1000 grams (1 liter) of water. A kitchen scale makes this foolproof; measuring spoons vary too much for consistent ferments.
Ferment 5 to 7 days at room temperature until tangy, then refrigerate. They keep for months and make a fantastic crunchy addition to grain bowls, salads, and cheese boards. Kids love their sweet crunch straight from the jar as a healthy snack.
4. Fermented Dill Pickles
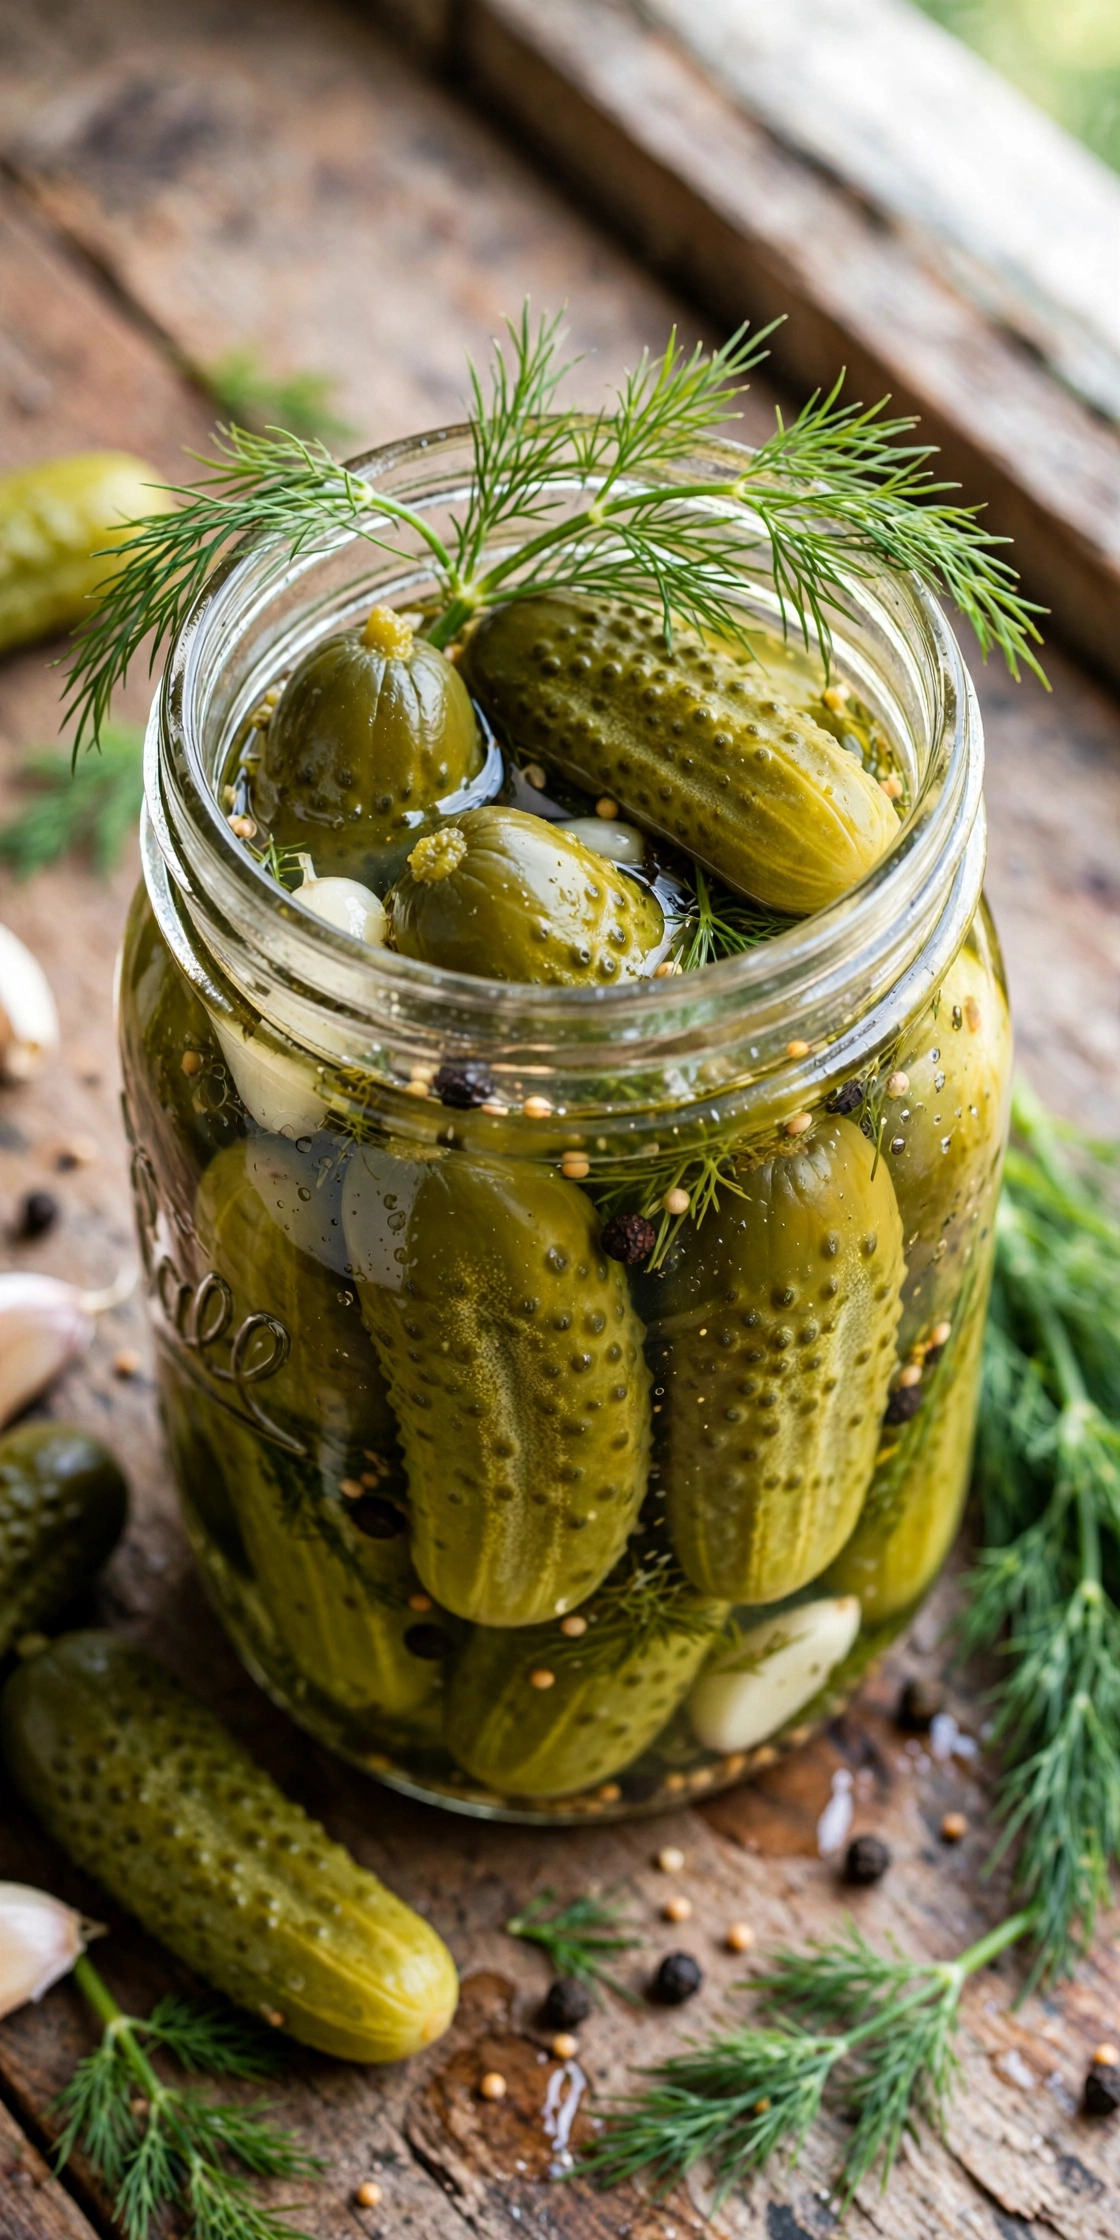
Fermented dill pickles are the real deli-style sour pickles: crisp, garlicky, and tangy from natural fermentation, not vinegar. They put shelf-stable pickles to shame.
Use small, firm pickling cucumbers and trim the blossom end, which contains enzymes that soften pickles. Pack with dill, garlic, and spices, cover with 2% brine, and ferment until sour to your taste.
Pro Tips
A grape leaf, oak leaf, or black tea bag in the jar adds tannins that keep pickles crisp. This old-fashioned trick genuinely works and is worth the small effort.
- 2 pounds small pickling cucumbers
- 4 cloves garlic
- 4 sprigs fresh dill
- 1 tablespoon pickling spices
- 4 cups water plus 2 tablespoons sea salt
- Half-gallon jar
Serving Suggestions
Serve alongside sandwiches, burgers, and barbecue, or chop into potato salad and tartar sauce. They are also a fantastic healthy snack straight from the jar; see our healthy afternoon snacks for more smart nibbling.
Ferment 3 to 7 days depending on temperature and taste preference. Warmer kitchens ferment faster, so start tasting at day 3. Refrigerate once they hit your ideal sourness to slow things down. Chop leftovers into potato salad for extra tang.
5. Fermented Red Onions
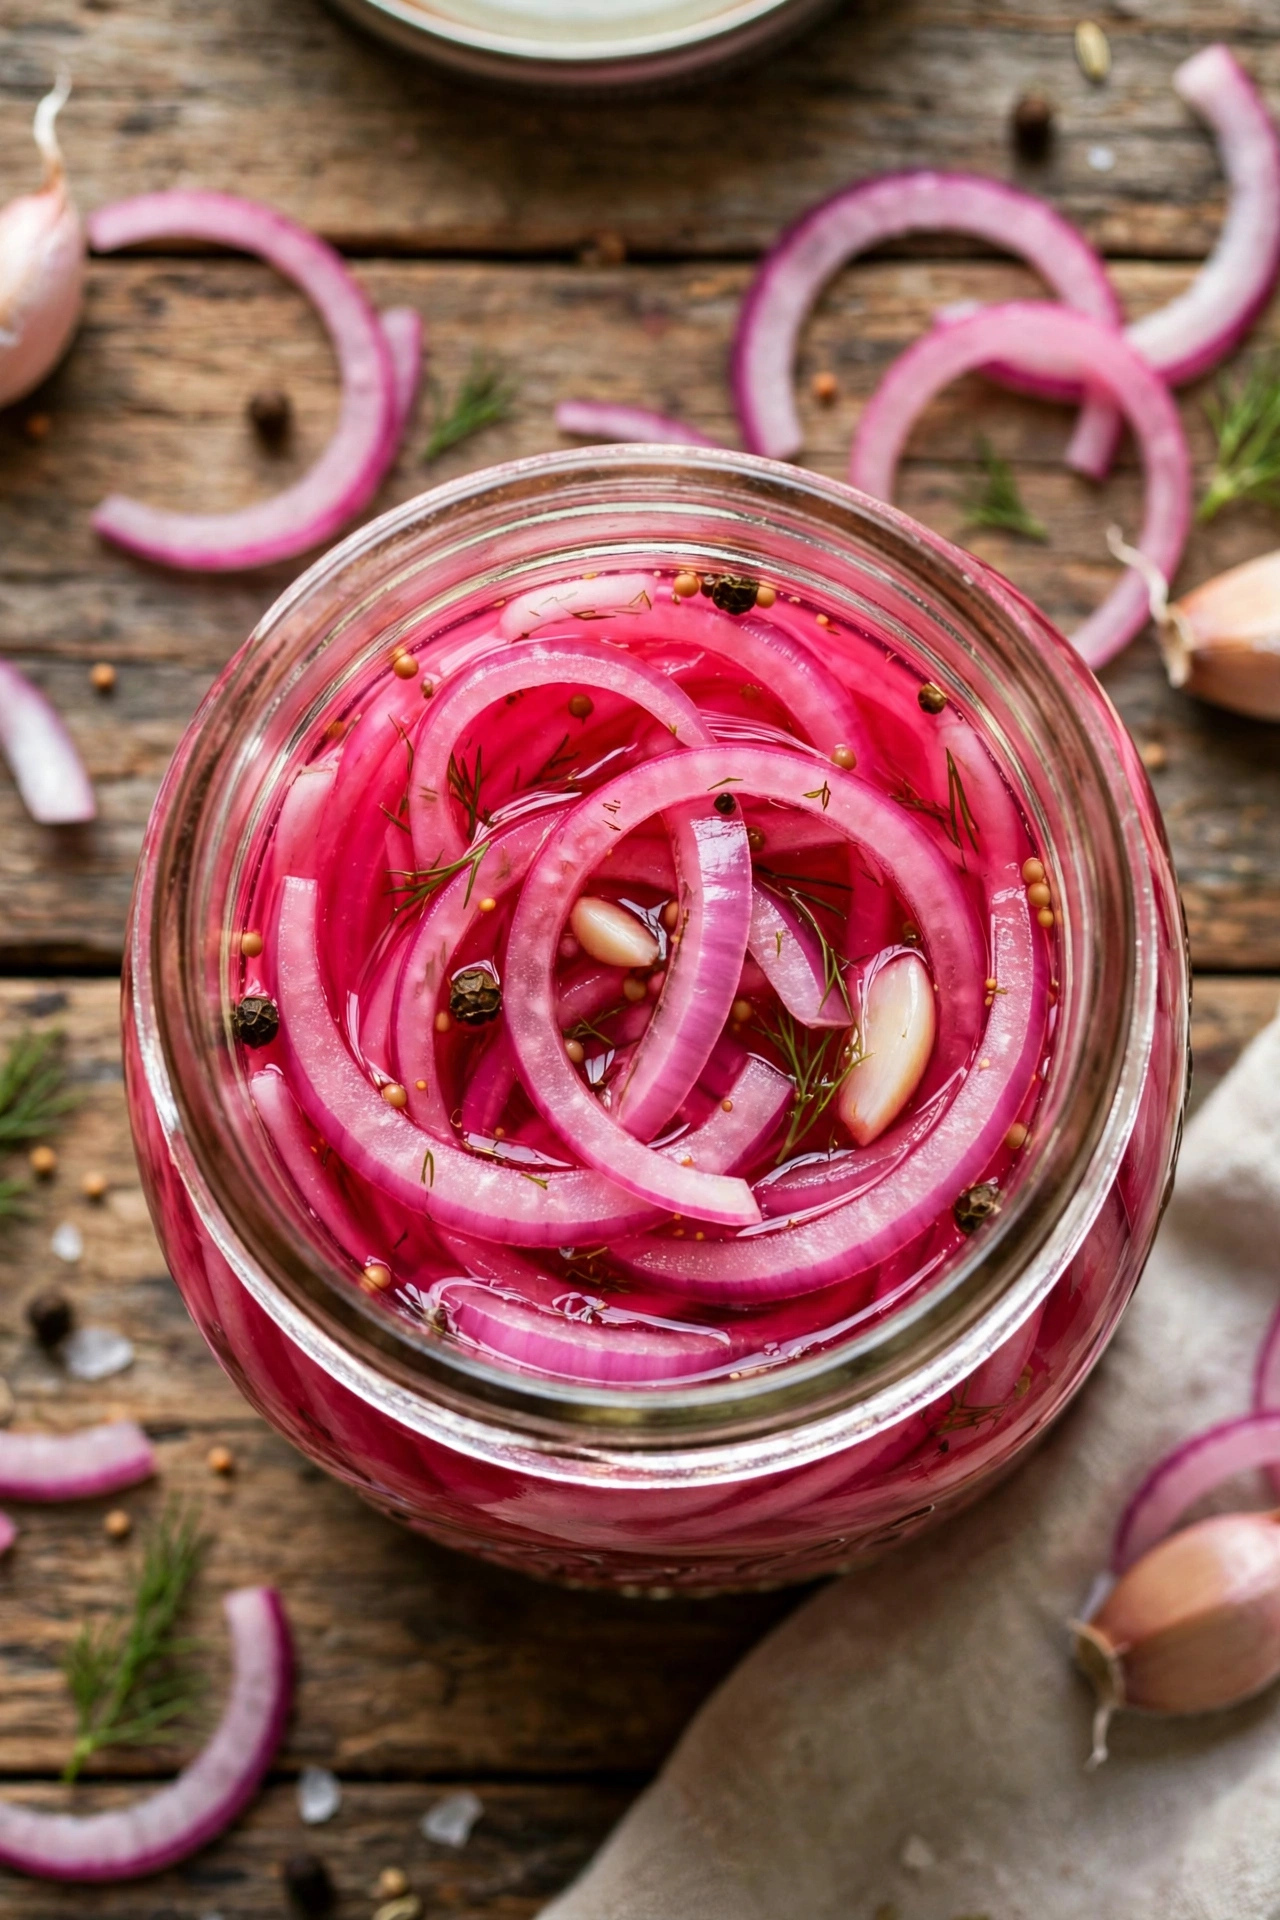
Fermented red onions turn a gorgeous bright pink and develop a mellow, tangy bite. They are the ultimate taco, salad, and grain bowl topping, adding color and zing to everything.
Slice the onions thin and evenly so they ferment quickly and uniformly. A 2% brine and just 3 to 5 days at room temperature is all it takes; these are one of the fastest ferments on this list.
Easy Variations
Add a strip of orange peel for citrus notes, a few peppercorns for bite, or a dried chili for heat. A splash of the finished brine in salad dressings adds incredible tangy depth.
- 3 large red onions, thinly sliced
- 2 cups water
- 1 tablespoon sea salt
- 1 teaspoon black peppercorns (optional)
- 1 quart jar
Serving Suggestions
Pile onto tacos, burgers, grain bowls, and salads. They cut through rich foods beautifully and add a pop of color. For more bowl-ready components, browse our make-ahead lunch ideas.
These are ready fast, so they are perfect when you want fermented flavor without the wait. Keep a jar in the fridge at all times; they last for months and you will find excuses to use them daily. They turn a gorgeous bright pink color.
6. Fermented Beets
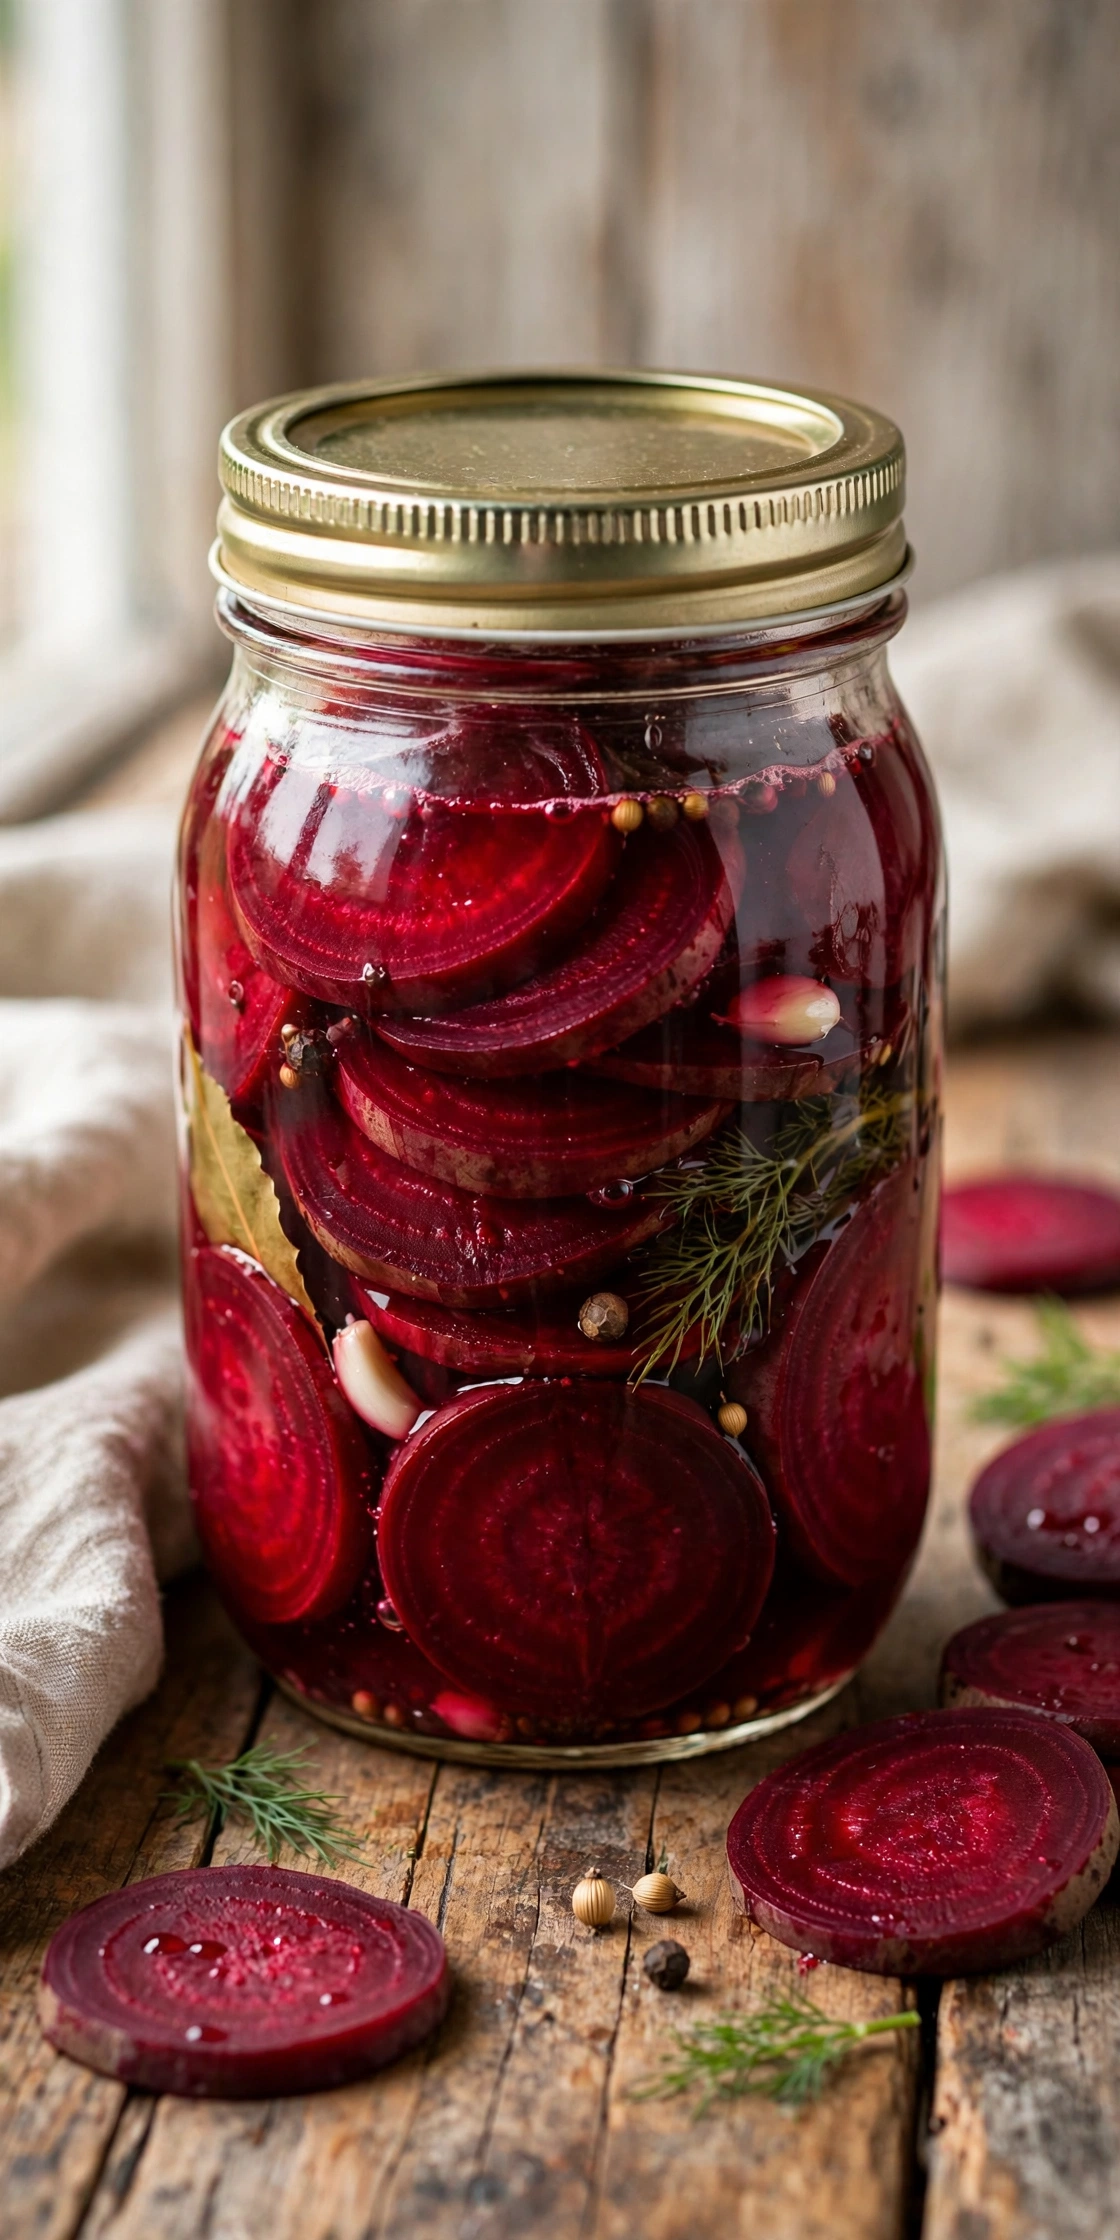
Fermented beets are earthy, sweet, and stunningly ruby-red. They are delicious sliced over salads, and the leftover brine makes a gorgeous natural pickling liquid for eggs.
Slice the beets uniformly, about 1/4 inch thick, so they ferment evenly. Raw beets work fine and stay crunchy; for a softer texture, roast them lightly first. Cover with 2% brine and add warm spices like cloves or allspice.
Ingredient Notes
Wear gloves when handling beets unless you want pink hands for days. Any beet variety works, but deep red beets give the most dramatic color. Save some brine to kickstart your next ferment.
- 2 pounds beets, peeled and sliced
- 4 cups water
- 2 tablespoons sea salt
- 3 cloves garlic
- 4 whole cloves or allspice berries
- Half-gallon jar
Pro Tips
Beets ferment a bit slower than other vegetables; give them 7 to 10 days. The brine will turn an incredible magenta color, which is completely normal and beautiful.
Watch for Kahm Yeast
A thin white film on the surface is likely kahm yeast, harmless but off-tasting. Skim it off. Fuzzy spots in green, black, or pink mean mold; discard the batch and start fresh.
Use the finished beet brine to pickle hard-boiled eggs for stunning pink pickled eggs. The beets themselves are wonderful diced into salads or served alongside rich meats like pork and duck. Wear gloves to avoid pink hands for days.
7. Fermented Garlic
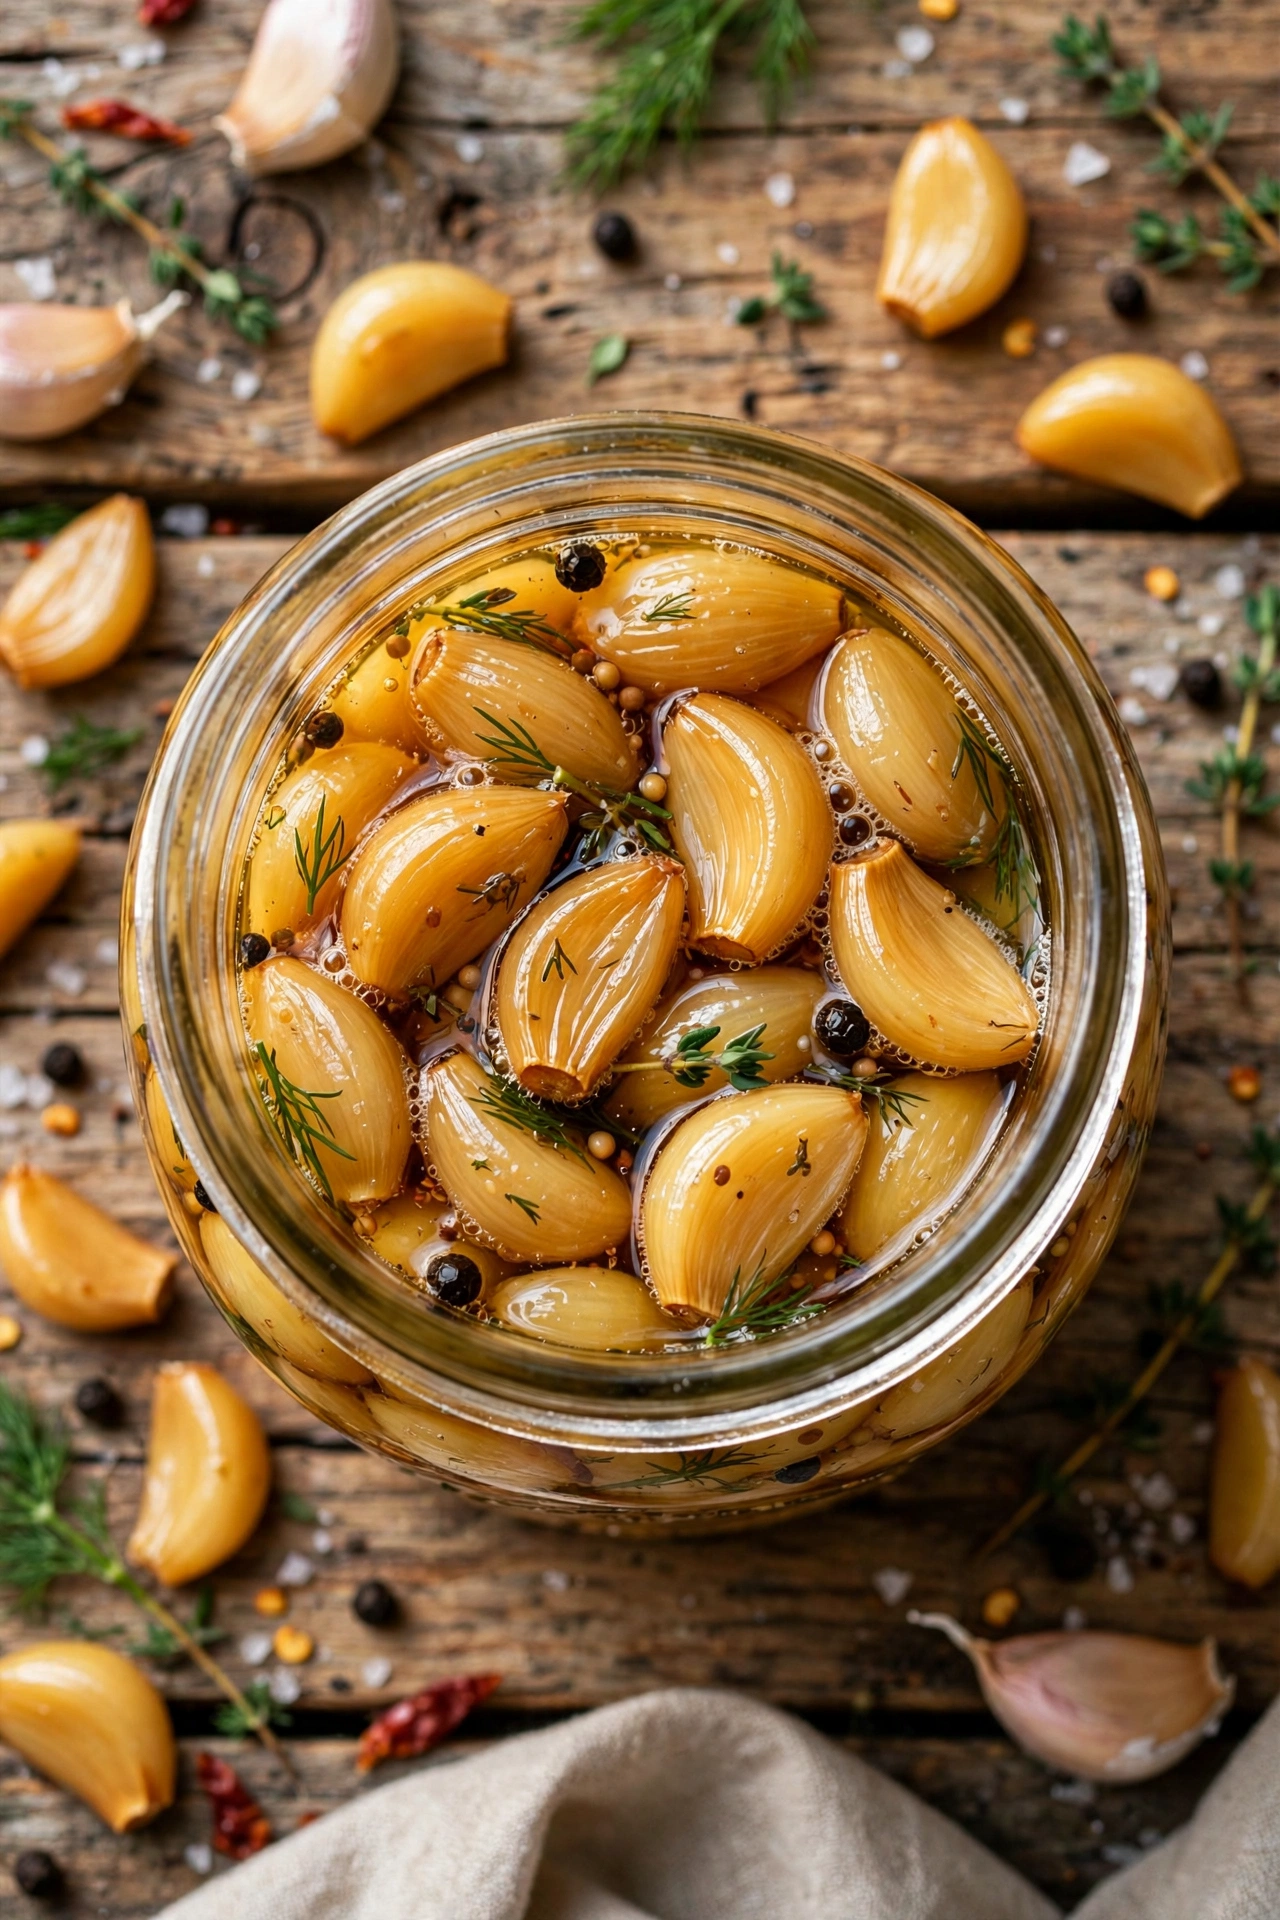
Fermented garlic mellows from sharp and pungent to sweet, buttery, and complex. The cloves turn golden and develop an almost roasted flavor with zero cooking required.
Peel the cloves and pack them in a jar with 2% brine. They may turn blue or green during fermentation; this is a harmless reaction between garlic enzymes and is completely safe to eat.
Why You’ll Love This
It is garlic you can eat straight: spreadable, sweet, and tangy without the harsh bite. Mash it into butter, blend into dressings, or eat whole cloves alongside rich meals.
- 3 to 4 heads garlic, cloves peeled
- 2 cups water
- 1 tablespoon sea salt
- 1 sprig thyme or rosemary (optional)
- 1 pint jar
Easy Variations
Add chili flakes for spicy garlic, or ferment in honey instead of brine for a sweet-savory condiment that is incredible drizzled over pizza and cheese boards.
Ferment 3 to 4 weeks for the full flavor transformation; garlic is a slow ferment worth waiting for. The finished cloves keep for 6 months refrigerated and only get better with time. Mash them into butter for an incredible spread.
8. Fermented Green Beans
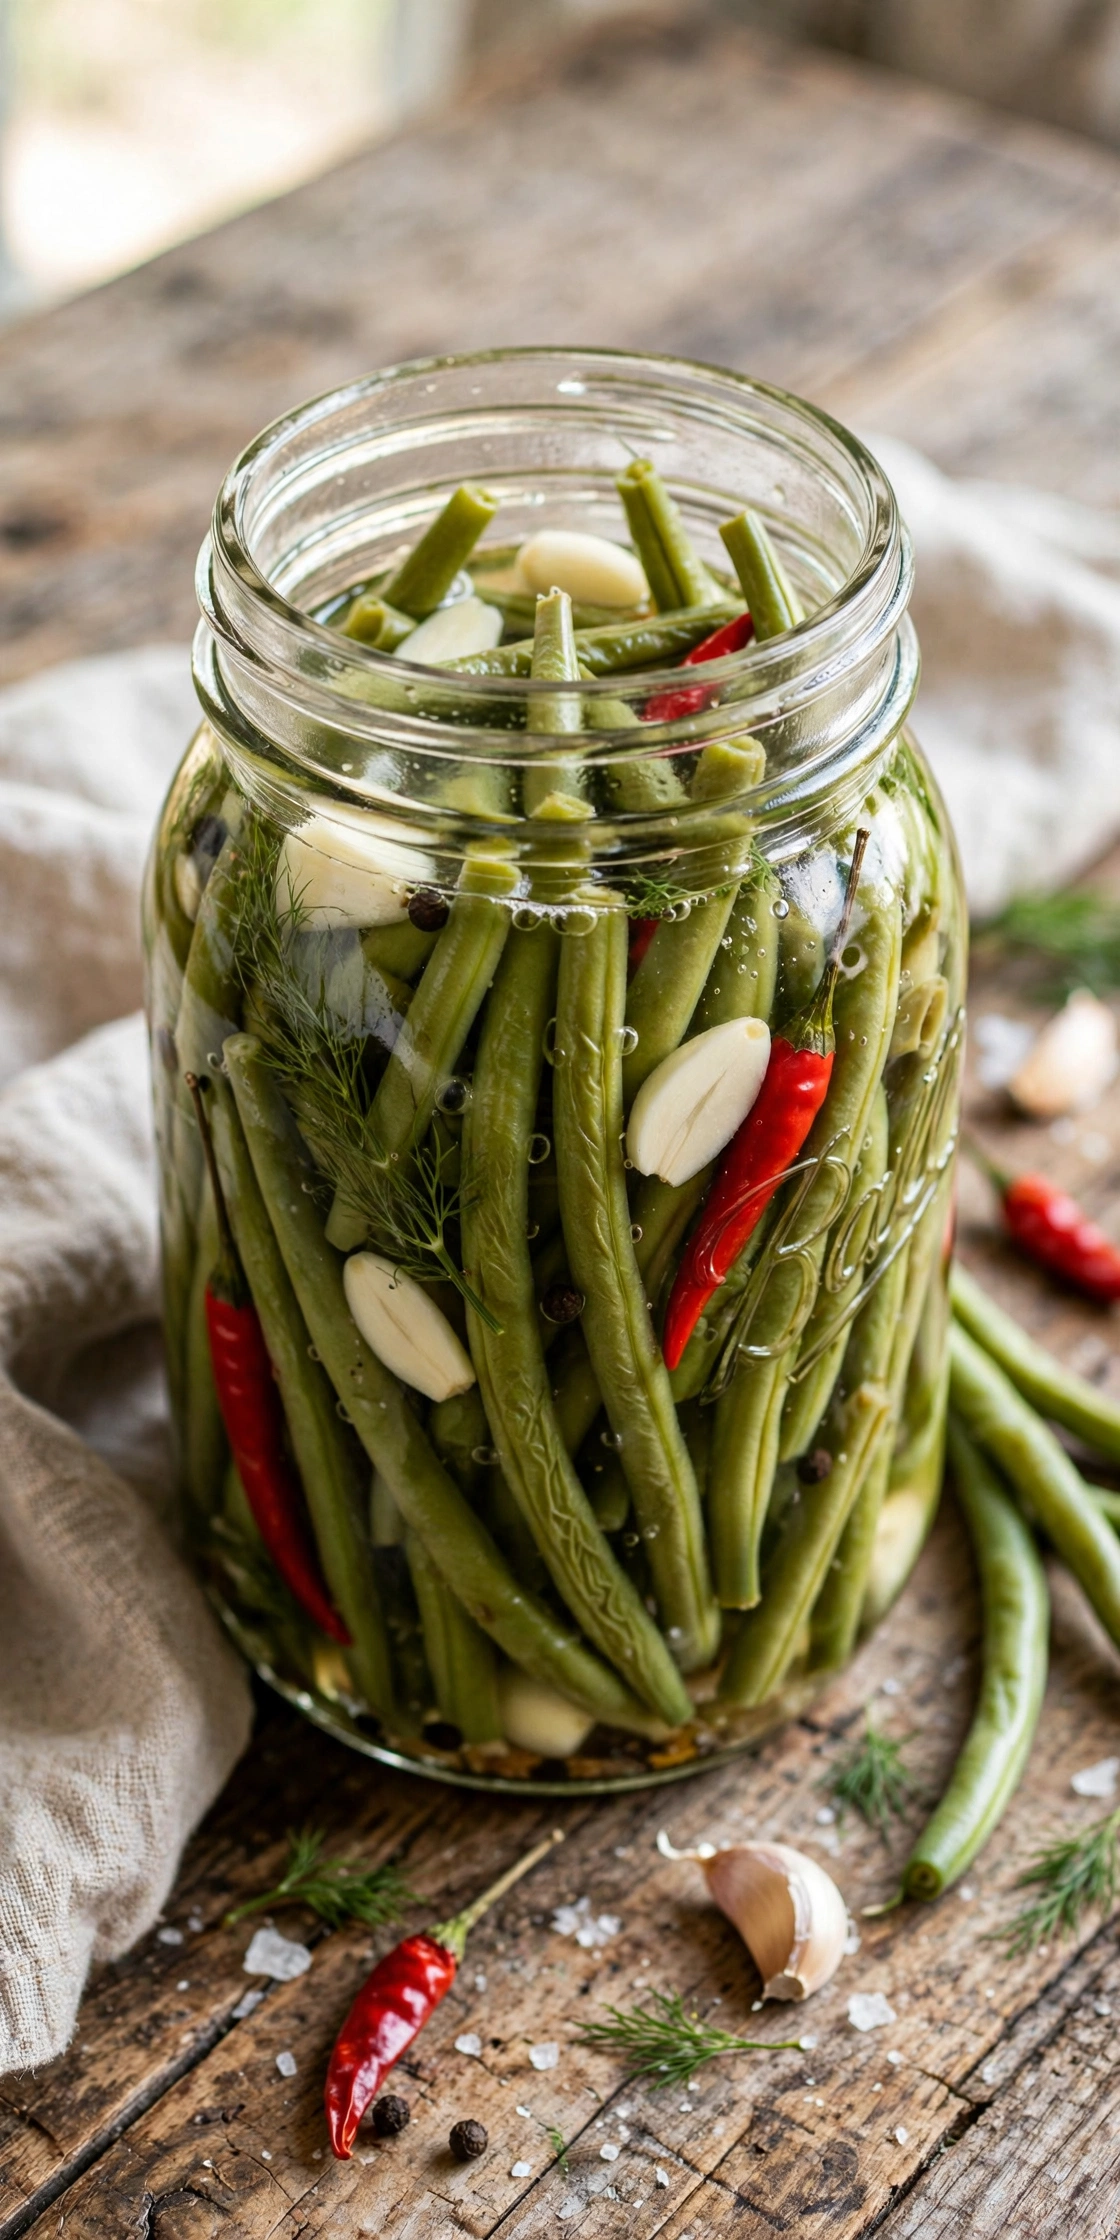
Fermented green beans, also called dilly beans, are snappy, garlicky, and tangy. They are fantastic straight from the jar and make the best Bloody Mary garnish you have ever had.
Trim the beans to fit your jar standing upright; they pack tighter and look prettier this way. Add garlic, dill, and red pepper flakes, cover with 2% brine, and ferment until tangy but still crisp.
Pro Tips
Pull these on the earlier side, 5 to 7 days, to preserve their signature snap. Over-fermented beans go soft, and crunch is the whole point of a dilly bean.
- 1 pound green beans, trimmed
- 3 cloves garlic
- 2 sprigs dill
- 1/2 teaspoon red pepper flakes
- 2 cups water plus 1 tablespoon sea salt
- 1 quart jar
Serving Suggestions
Serve as a cocktail garnish, chop into potato salad, or pack in lunch boxes for a crunchy probiotic snack. They are also wonderful on relish trays and charcuterie boards.
Add a strip of lemon peel for brightness, or mustard seeds for extra bite. These make great homemade gifts; tie a ribbon around the jar and you have a present any food lover appreciates. They are the ultimate Bloody Mary garnish.
9. Fermented Cauliflower
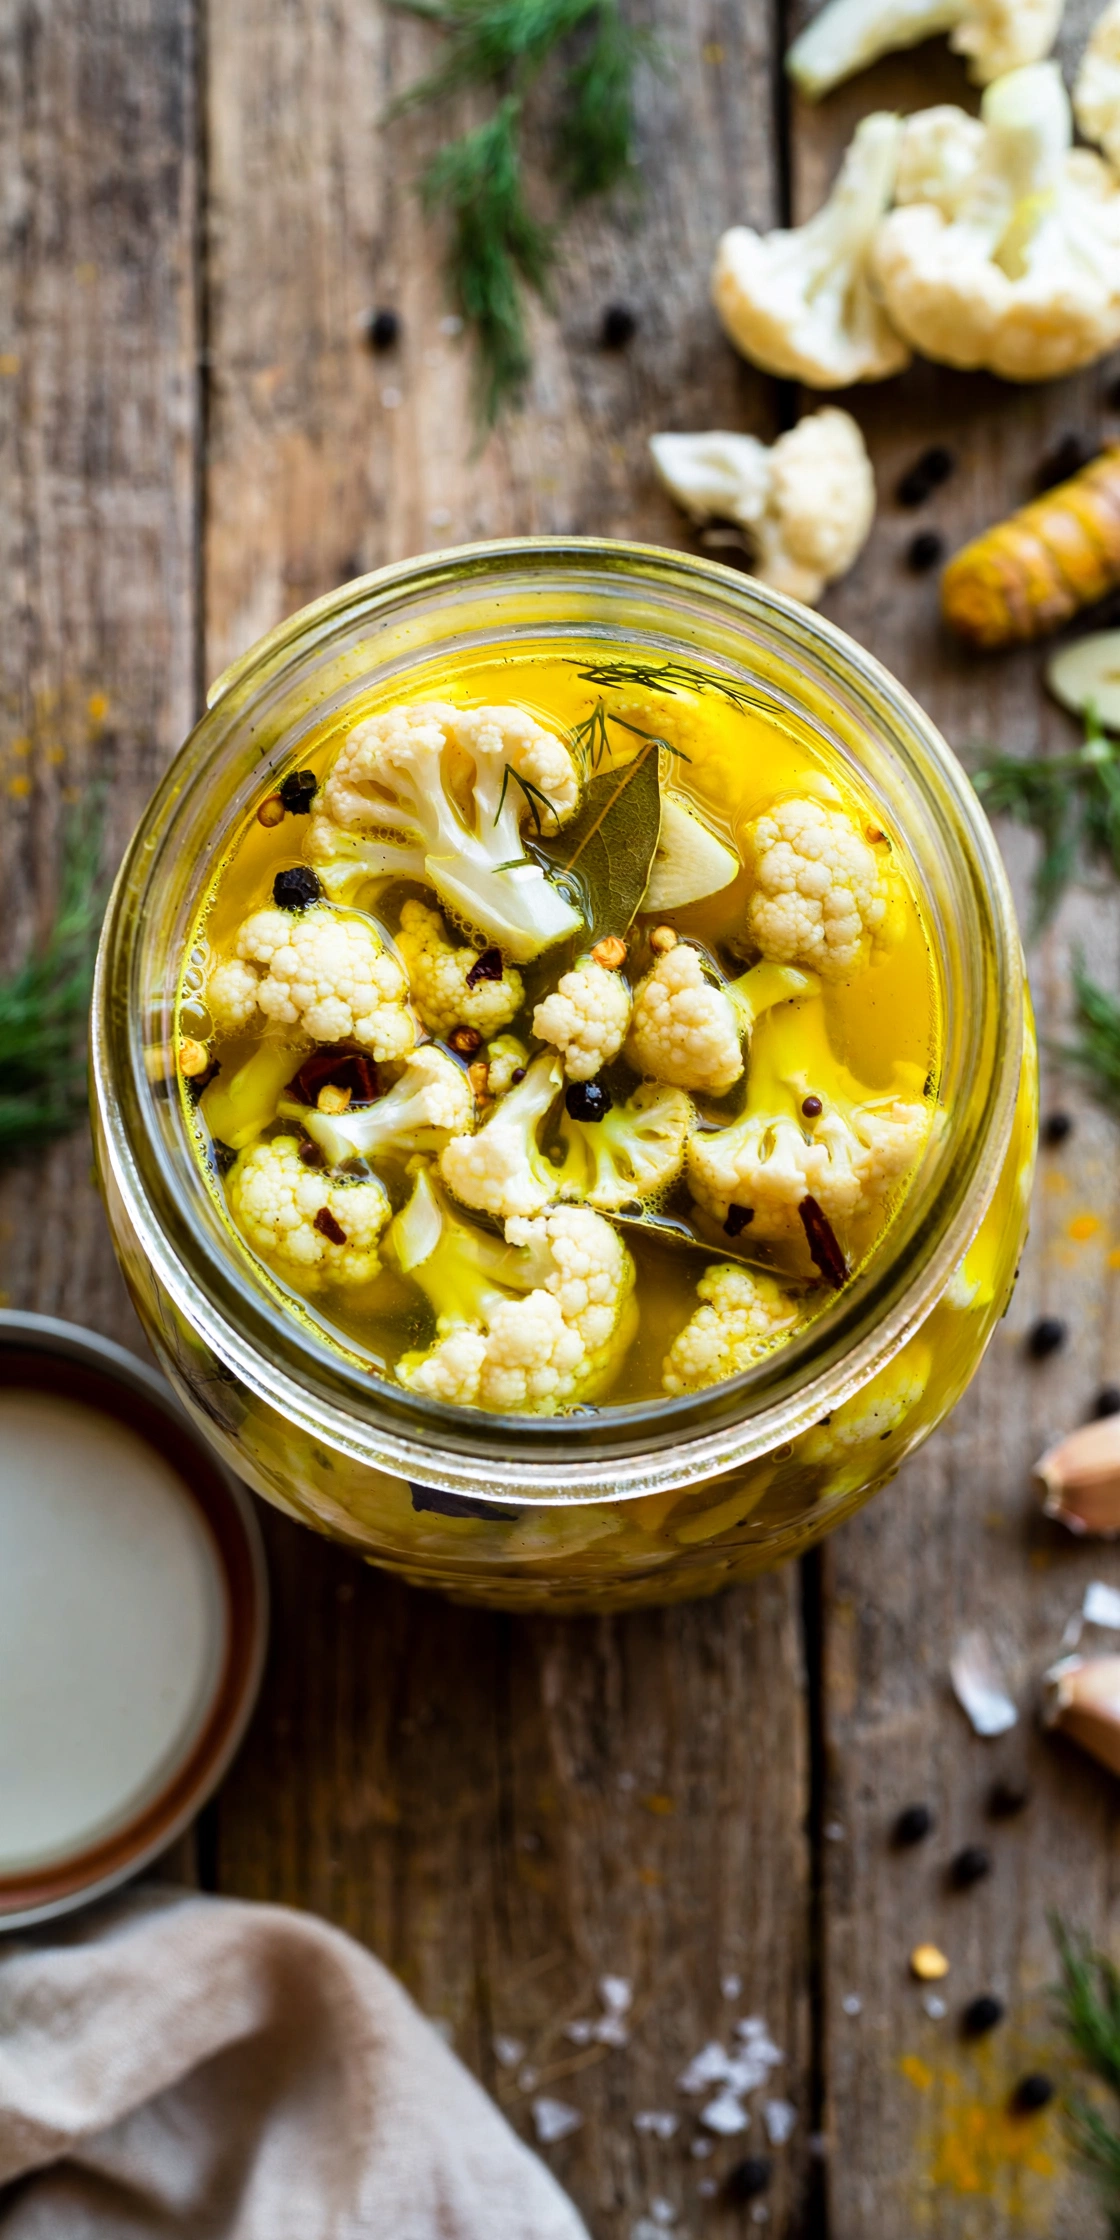
Fermented cauliflower stays surprisingly crunchy and takes on warm spices beautifully. With turmeric in the brine, it turns a gorgeous golden color that brightens any plate.
Break the cauliflower into small, even florets so they pack well and ferment uniformly. Add turmeric, mustard seeds, and garlic to the brine for a pickled-vegetable flavor reminiscent of Indian achaar.
Ingredient Notes
Turmeric stains everything it touches, so handle with care and use a jar you do not mind tinting yellow. Fresh turmeric root works too and adds an earthy, peppery note.
- 1 head cauliflower, cut into florets
- 3 cloves garlic
- 1 teaspoon turmeric
- 1 teaspoon mustard seeds
- 4 cups water plus 2 tablespoons sea salt
- Half-gallon jar
Easy Variations
Go curry-style with curry powder and ginger, or Mediterranean with oregano and lemon peel. Cauliflower is a blank canvas that absorbs whatever spices you give it.
Pack It Tight
Pack vegetables snugly so they cannot float up. Fill the jar, pour brine to cover by an inch, then add your weight. Tight packing plus full submersion equals ferment success.
Ferment 7 to 10 days until tangy. Serve alongside curries, in grain bowls, or as part of a mezze spread. The golden brine is also delicious splashed into soups. Turmeric stains, so use a jar you do not mind tinting.
10. Fermented Jalapenos
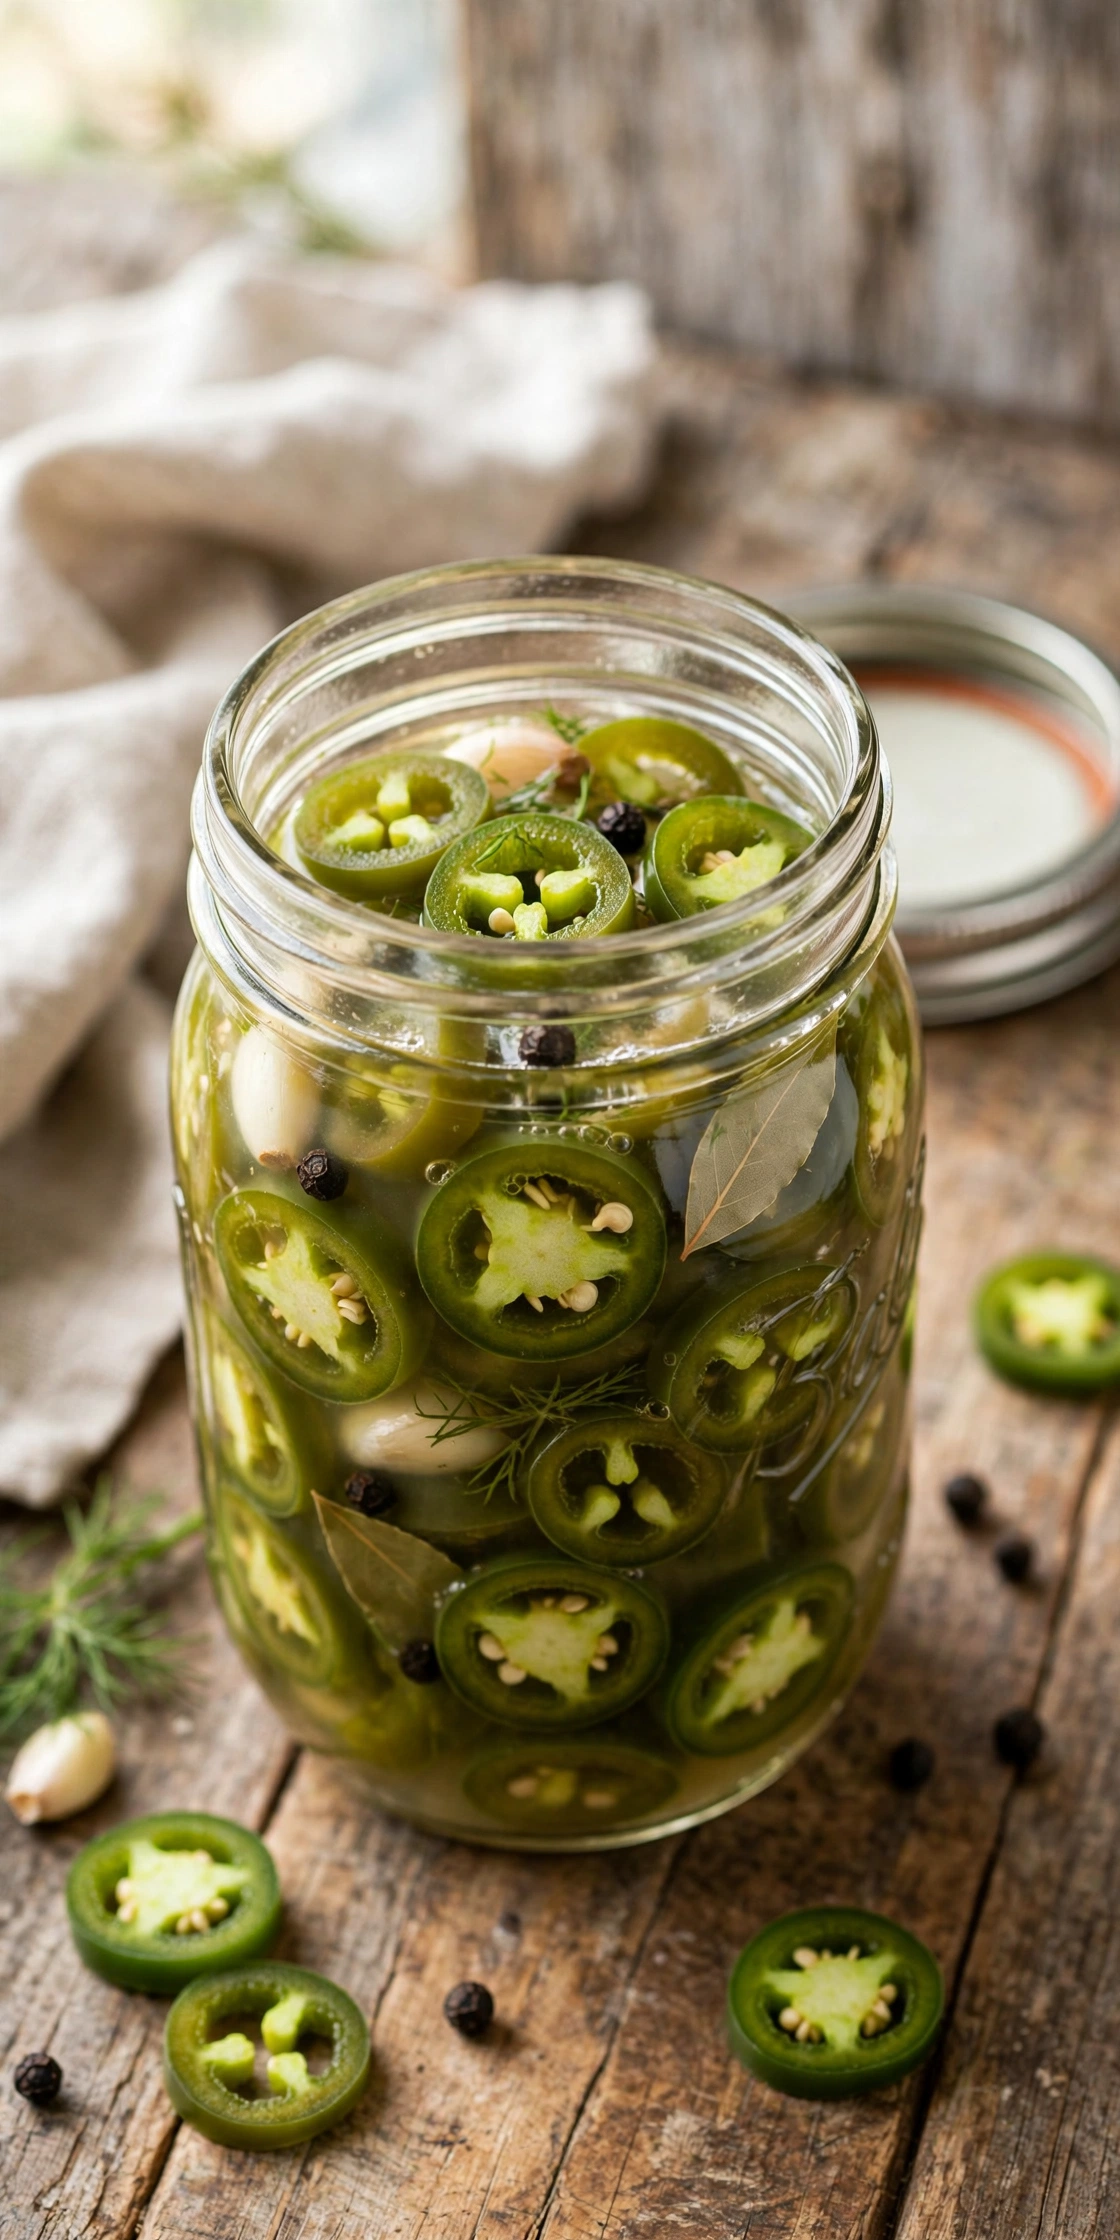
Fermented jalapenos develop a complex, fruity heat that vinegar pickles cannot match. They are tangy, spicy, and incredible on nachos, tacos, and sandwiches.
Slice the jalapenos into even rings and pack with garlic and onion. The brine will turn cloudy, which is normal and a sign of active fermentation. Ferment 1 to 2 weeks depending on how sour you like them.
Pro Tips
Wear gloves when slicing hot peppers; the oils linger on skin and burn. The heat mellows slightly during fermentation while the flavor deepens, so do not fear the spice.
- 1 pound jalapenos, sliced into rings
- 3 cloves garlic
- 1/2 onion, sliced
- 2 cups water plus 1 tablespoon sea salt
- 1 quart jar
Serving Suggestions
Pile onto nachos, tacos, burgers, and pizza. Blend the finished peppers with some brine for an incredible fermented hot sauce. For more pepper inspiration, check out our poblano pepper recipes worth trying.
Mix jalapenos with carrots for a classic taqueria-style escabeche. The sweet carrots balance the heat beautifully, and the colorful combination looks gorgeous in the jar. Blend the finished peppers with some of their brine for an incredible homemade fermented hot sauce.
11. Fermented Radishes
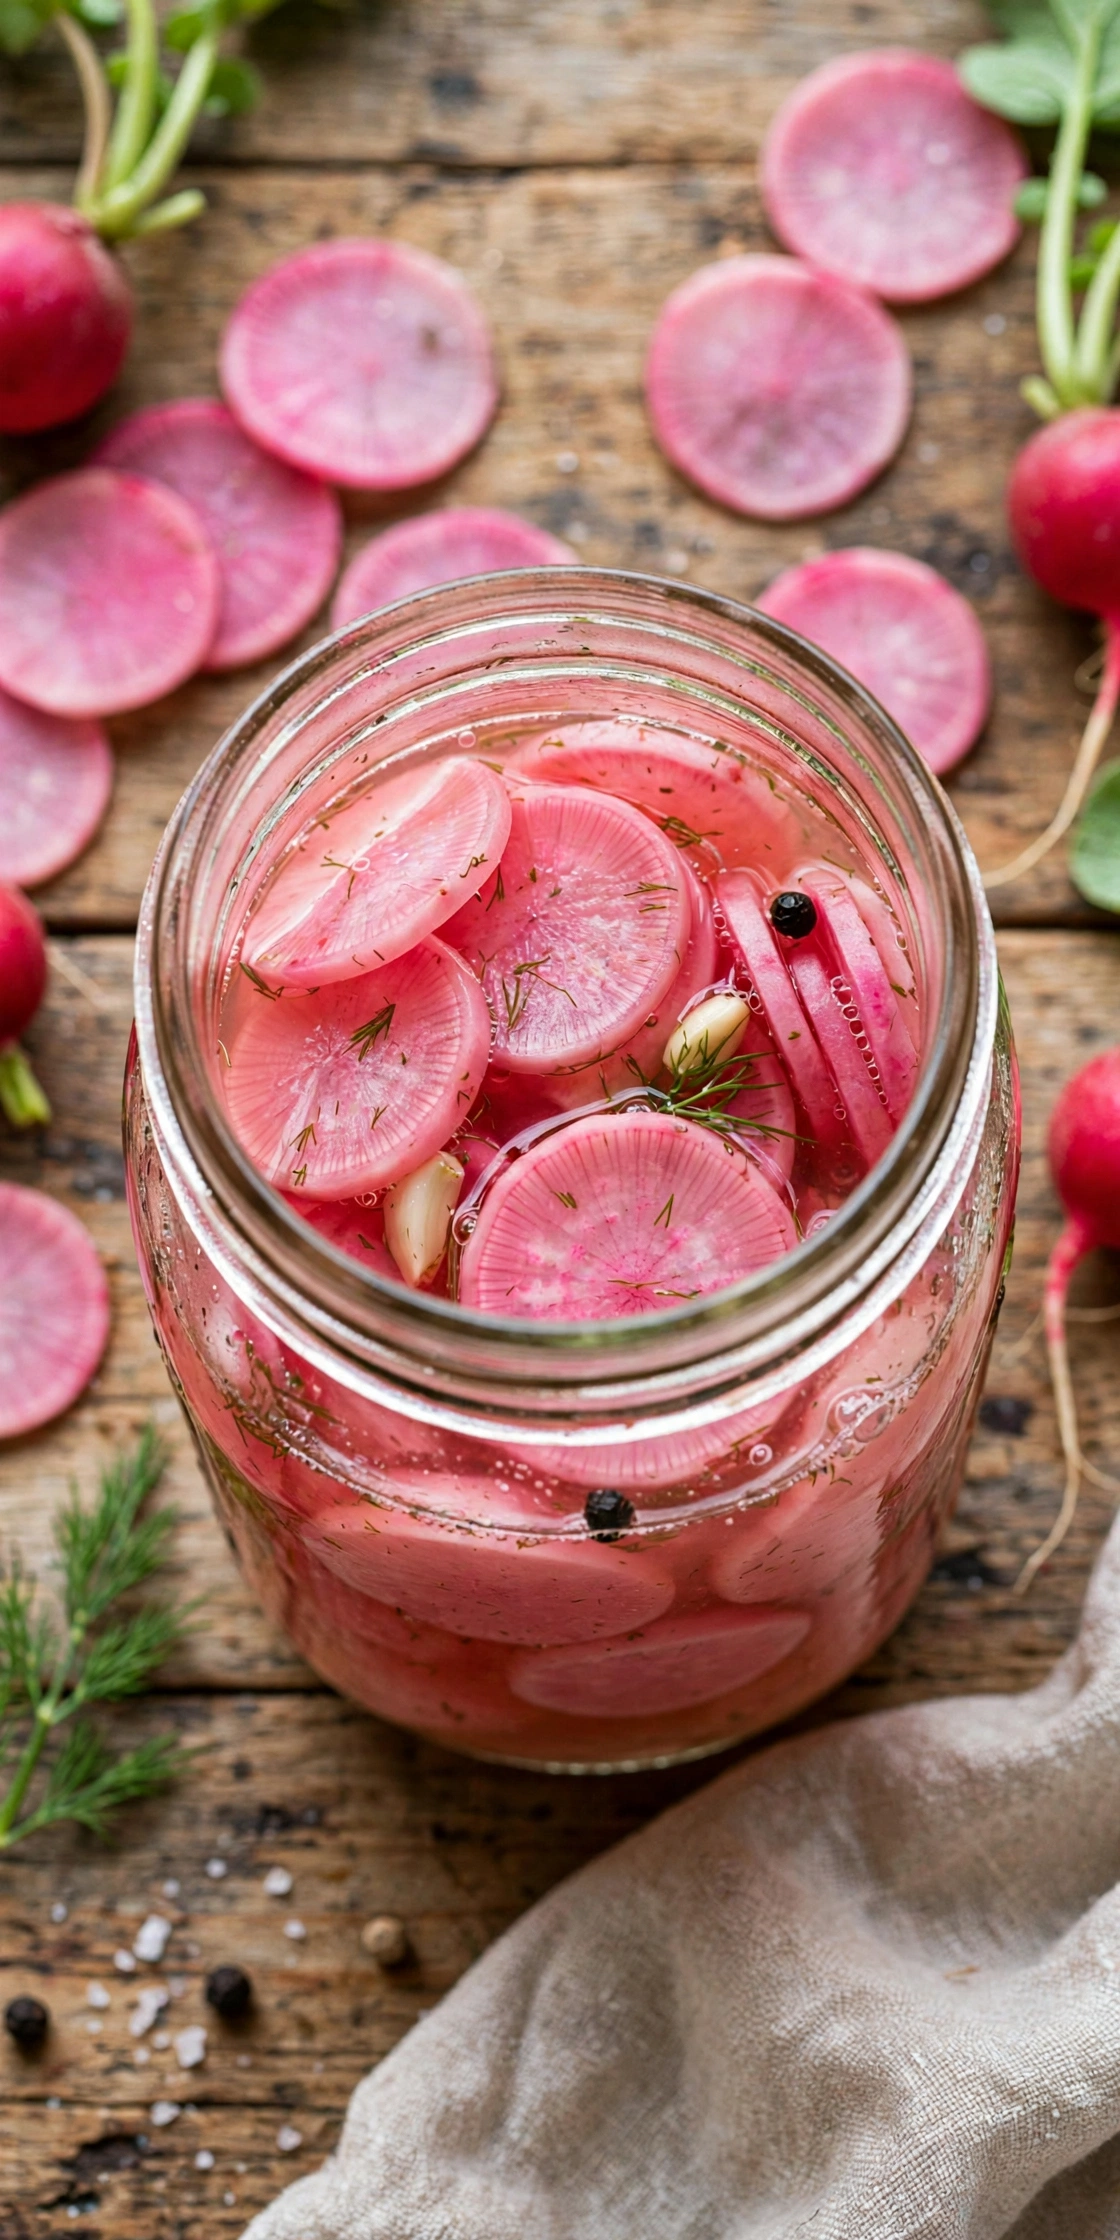
Fermented radishes lose their harsh bite and turn mild, tangy, and beautifully pink. They are crisp, refreshing, and a lovely addition to rich or fatty foods.
Slice the radishes evenly and pack with dill and garlic. They ferment quickly, often ready in just 4 to 6 days, and the brine takes on a gorgeous blush color.
Why You’ll Love This
If raw radishes are too peppery for you, fermentation is the answer. It tames the bite while keeping the crunch, turning a polarizing vegetable into a crowd-pleaser.
- 1 pound radishes, trimmed and sliced
- 2 cloves garlic
- 2 sprigs dill
- 2 cups water plus 1 tablespoon sea salt
- 1 quart jar
Serving Suggestions
Serve alongside rich brunch dishes; they are a classic partner for eggs. Try them next to our easy shakshuka variations, where their tang cuts through the rich tomato sauce beautifully.
Use any radish variety; French breakfast radishes are especially pretty in the jar. The pink brine makes a lovely addition to salad dressings, and the finished radishes are ready in just four to six days. Serve them alongside rich brunch dishes for contrast.
12. Fermented Brussels Sprouts
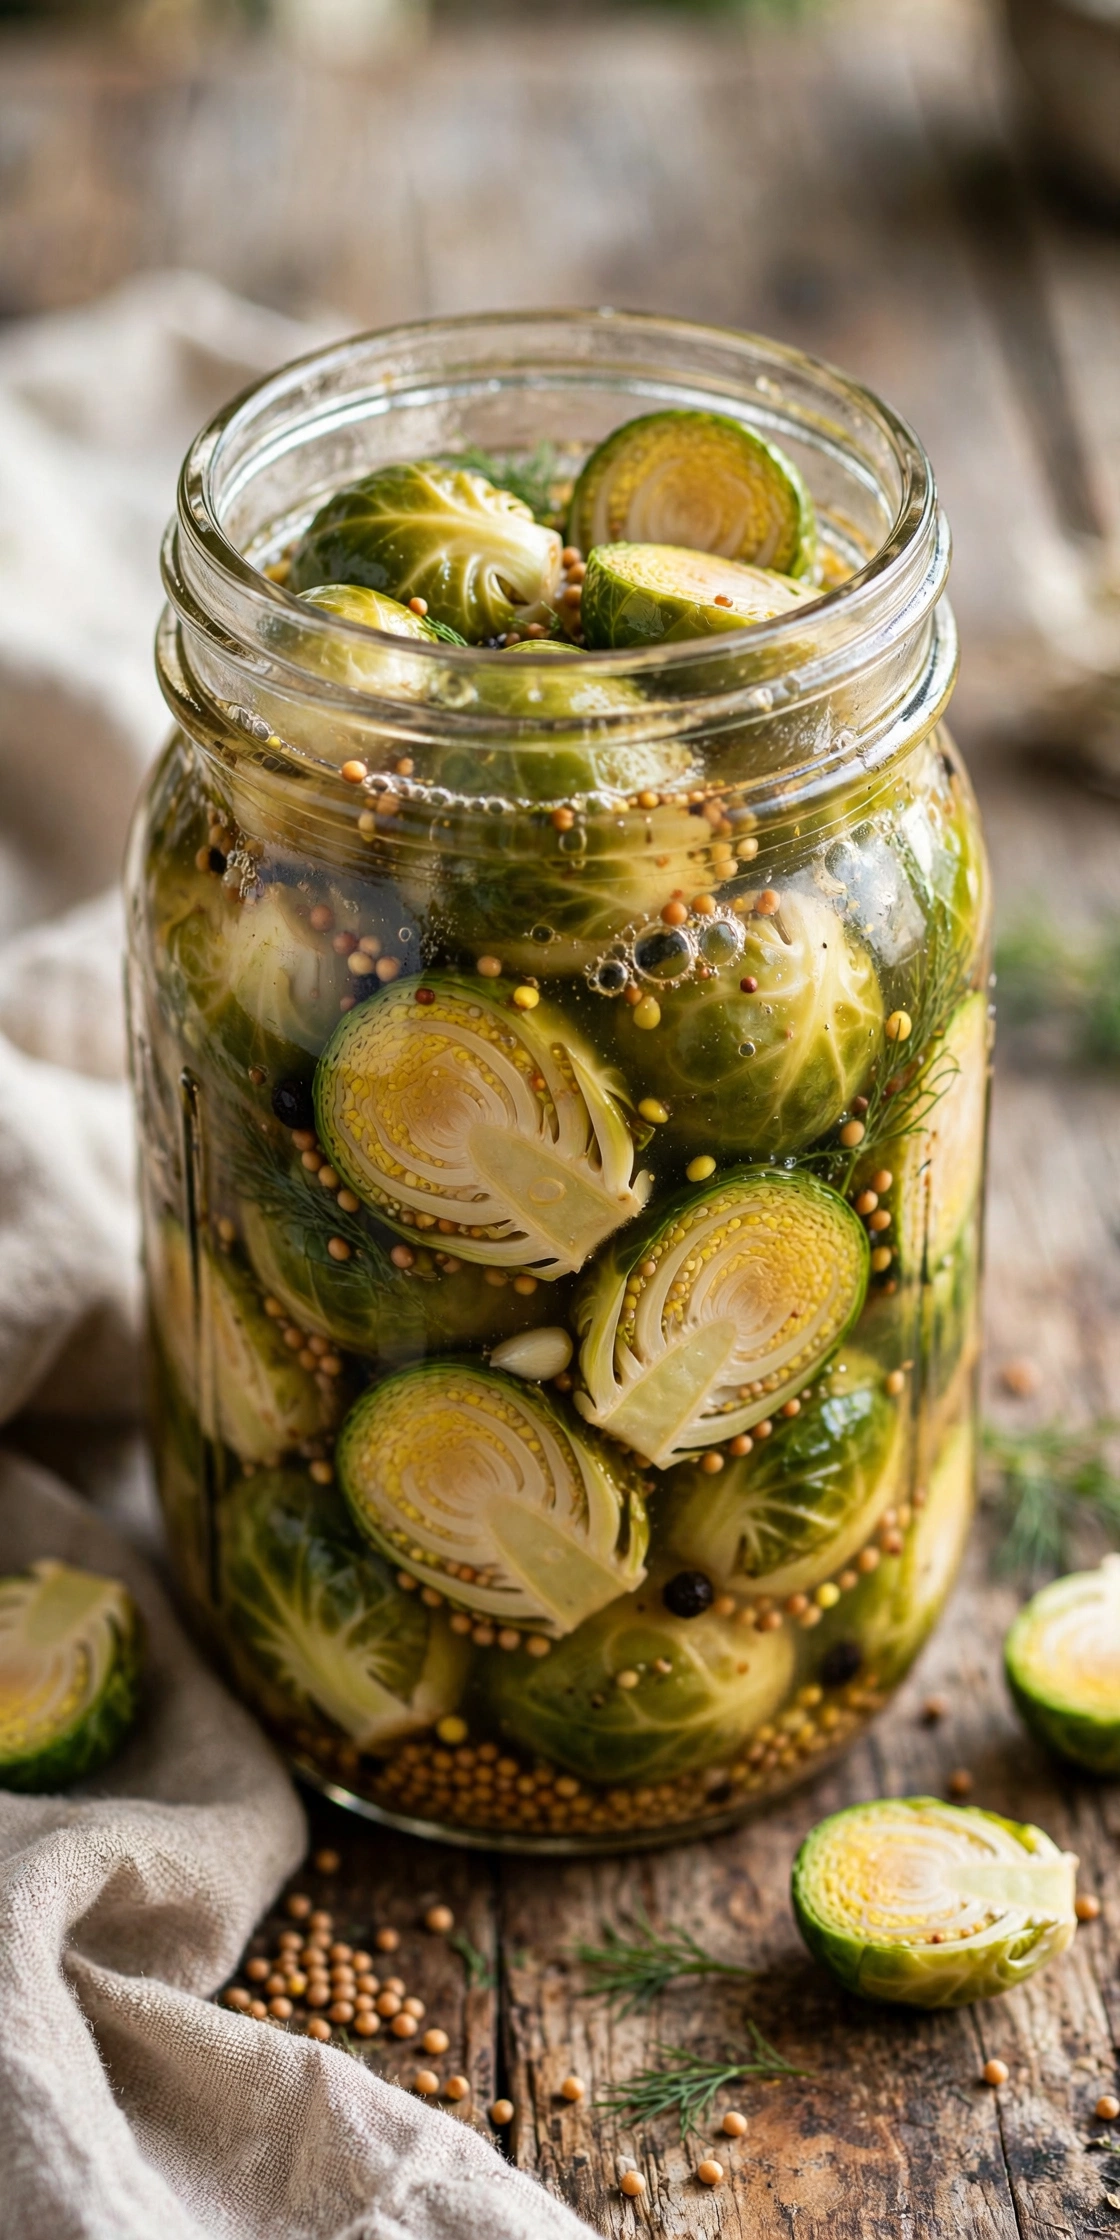
Fermented Brussels sprouts turn sweet, tangy, and tender-crisp. If you think you do not like Brussels sprouts, this ferment might change your mind completely.
Halve the sprouts so the brine penetrates, and pack them cut-side down. Mustard seeds and garlic complement their cabbage-family flavor. Ferment 7 to 10 days until tangy but still firm.
Ingredient Notes
Choose small, tight sprouts; large loose ones can turn mushy. Trim the stem end but leave enough to hold the leaves together during the ferment.
- 1 1/2 pounds Brussels sprouts, halved
- 3 cloves garlic
- 1 tablespoon mustard seeds
- 4 cups water plus 2 tablespoons sea salt
- Half-gallon jar
Serving Suggestions
Chop and toss into salads, serve on relish trays, or eat straight as a tangy snack. They are a great conversation starter at parties; pair them with other bites from our easy fall appetizers for parties.
Taste as You Go
There is no single right ferment time; it depends on temperature and taste. Start tasting at the early end of the range and refrigerate when the flavor makes you happy.
Add a dried chili for heat or caraway seeds for a rye-bread vibe. Shredded into slaws, they bring a tangy crunch that fresh sprouts cannot match, so choose small, tight sprouts for the best results. They ferment in seven to ten days.
13. Fermented Napa Cabbage
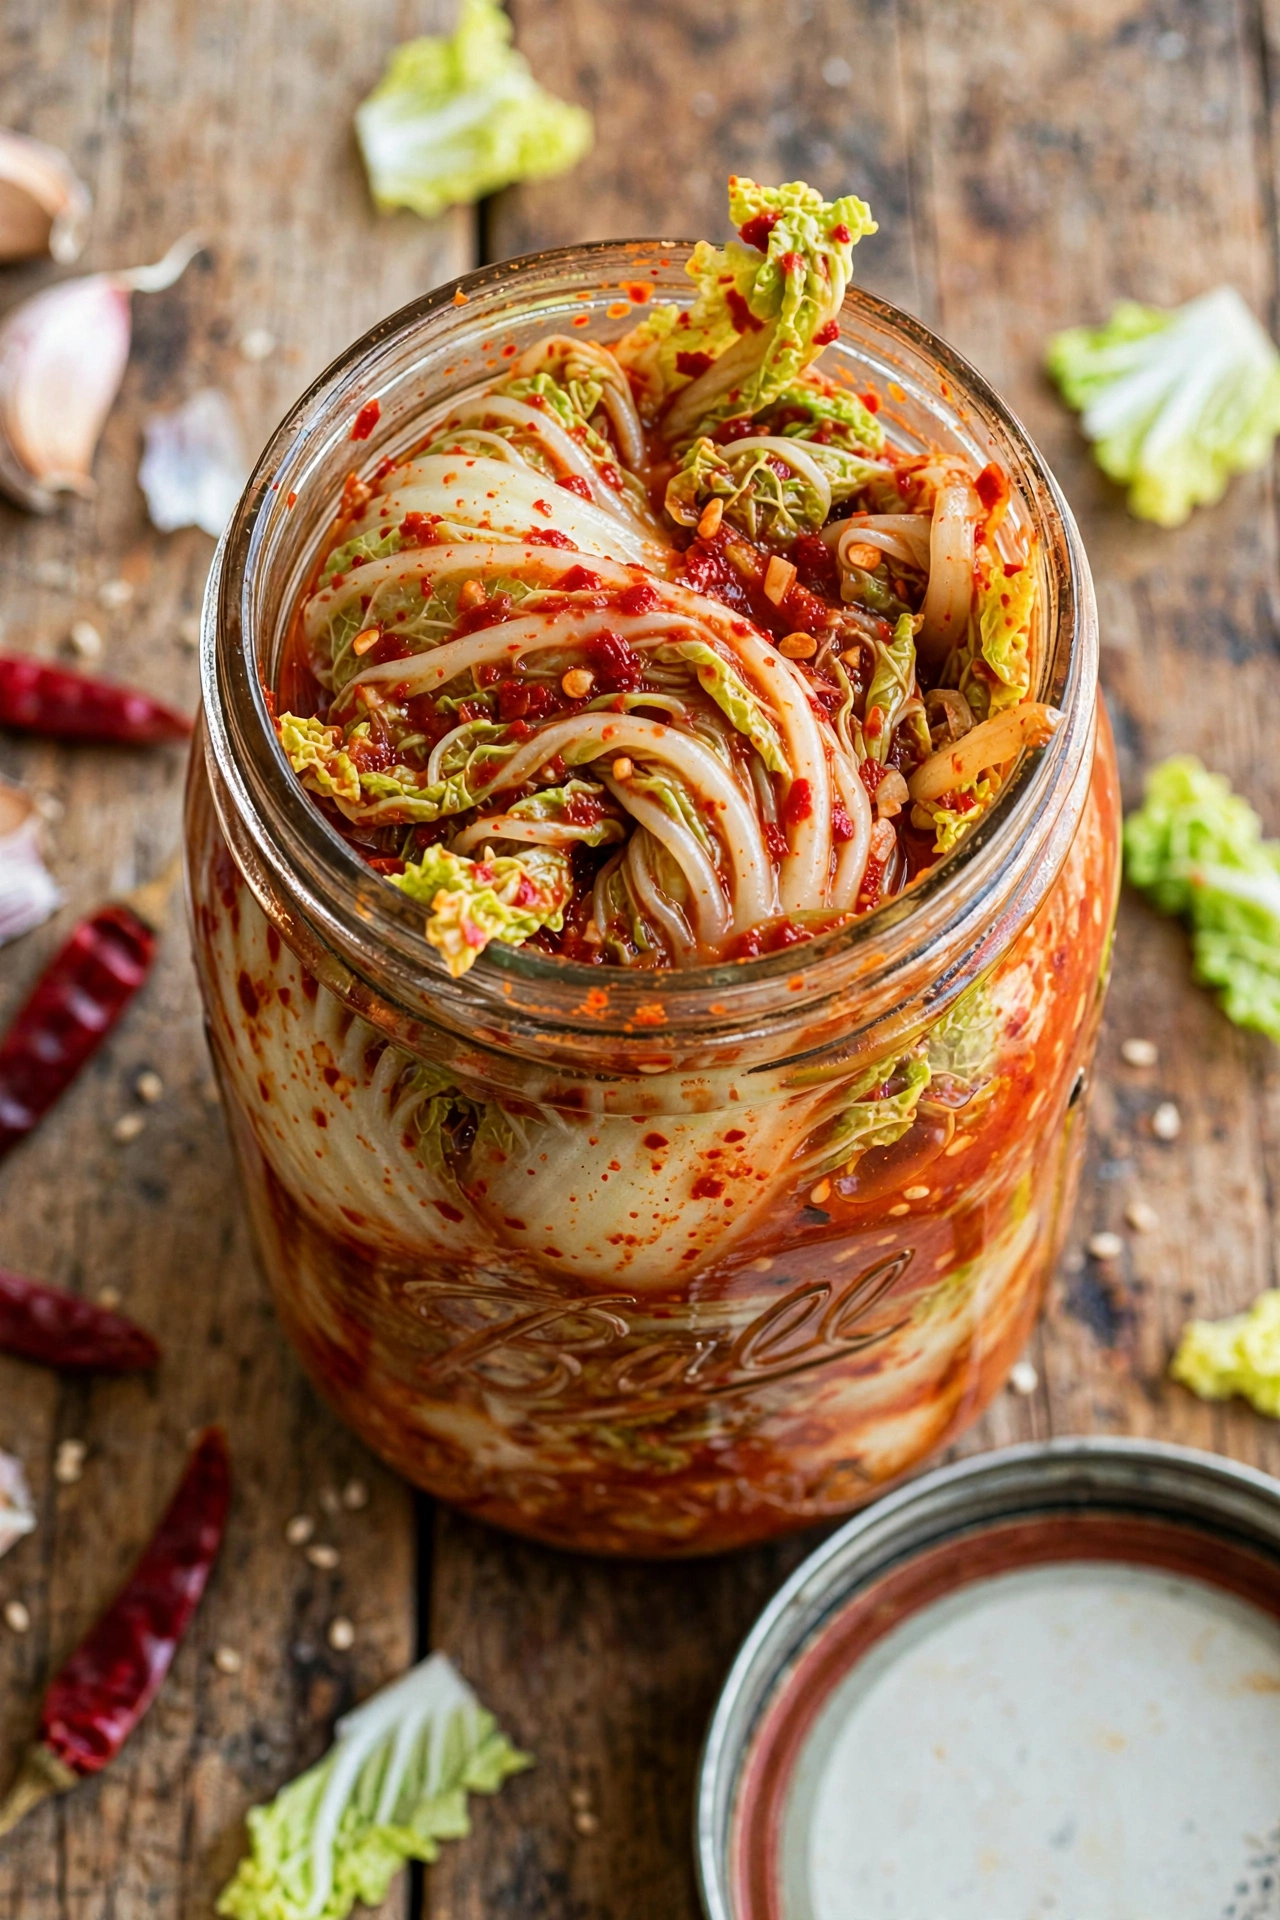
Fermented napa cabbage is the mild, simple cousin of kimchi: just salted cabbage with garlic and ginger, no spice. It is delicate, tangy, and wonderful for ferment beginners.
Salt the chopped cabbage and let it wilt for a few hours, then rinse, squeeze, and pack with ginger and garlic. It ferments faster than regular cabbage because the leaves are so tender.
Pro Tips
Do not skip the rinsing step after salting; napa absorbs salt quickly and can turn out too salty. Taste a leaf before packing to check the seasoning.
- 1 napa cabbage, chopped
- 2 tablespoons sea salt for wilting
- 3 cloves garlic, minced
- 1 tablespoon grated ginger
- 2% brine as needed to top up
- Half-gallon jar
Easy Variations
This is the base for white kimchi (baek-kimchi); add pear, pine nuts, and mild peppers for the traditional version. A few scallions add color and mild onion flavor.
Use it anywhere you would use sauerkraut but want something more delicate: on grain bowls, in wraps, or alongside grilled fish. It is ready in as little as five days, so rinse well after salting to avoid an over-salted result.
14. Fermented Turnips
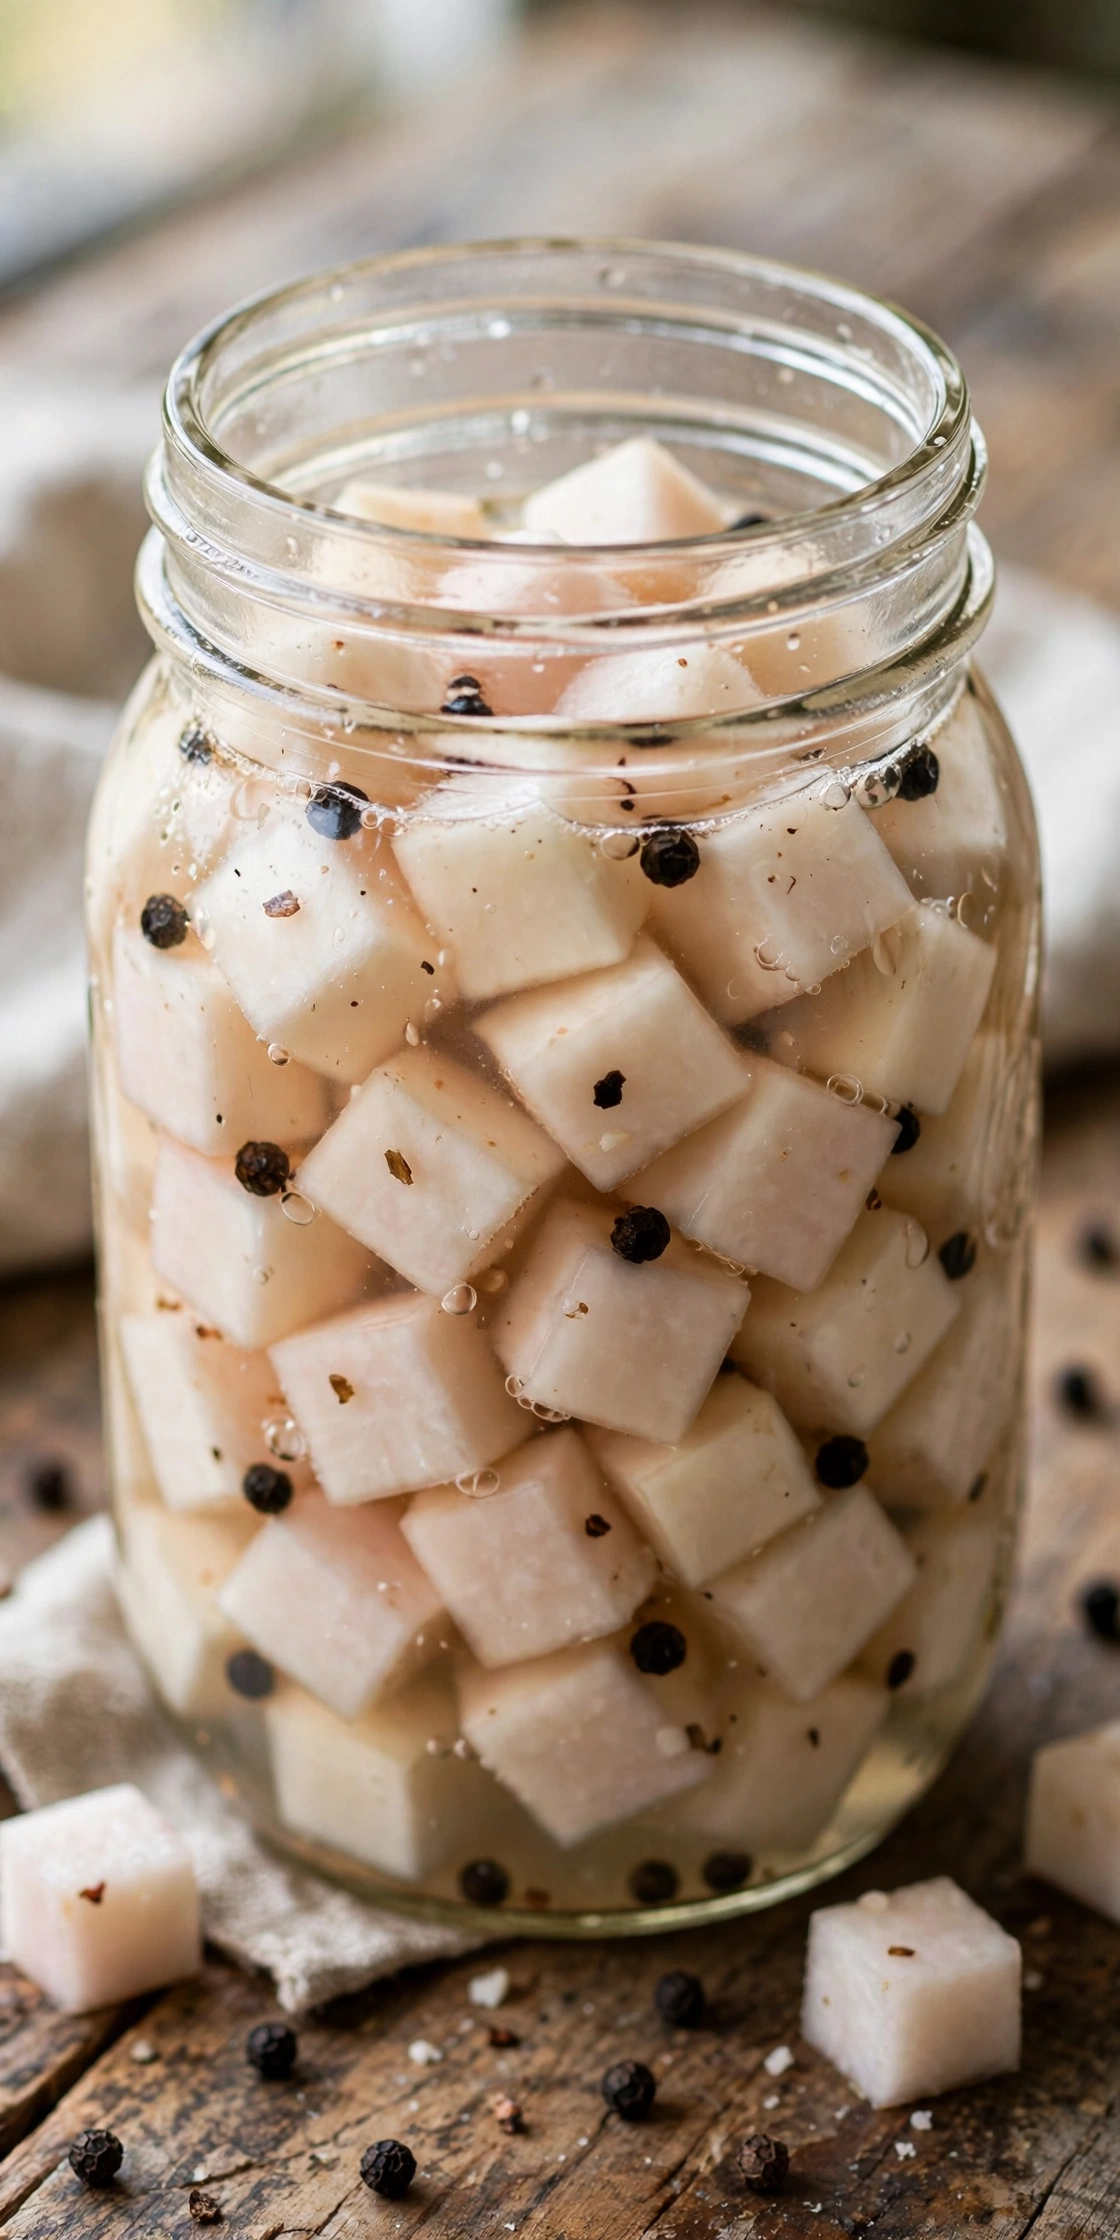
Fermented turnips turn sweet, crisp, and beautifully tangy. Middle Eastern-style pickled turnips with a beet slice for color are a classic for a reason.
Cut the turnips into sticks or wedges of even size. Add a small slice of beet to the jar for the traditional pink color, plus bay leaves and garlic. Cover with 2% brine and ferment 7 to 10 days.
Ingredient Notes
Small, young turnips are sweeter and less woody than large ones. The beet slice is purely for color and can be removed after a few days once the pink sets in.
- 2 pounds small turnips, cut into sticks
- 1 small slice of beet
- 3 cloves garlic
- 2 bay leaves
- 4 cups water plus 2 tablespoons sea salt
- Half-gallon jar
Serving Suggestions
Serve with falafel, shawarma, grilled meats, or as part of a mezze spread. Their bright acidity cuts through rich, fatty foods like nothing else.
The pink color makes these a stunning addition to any table. They keep for months refrigerated and are a traditional accompaniment always worth keeping on hand year-round. Serve them with falafel, shawarma, or grilled meats for a bright, tangy contrast.
15. Fermented Asparagus
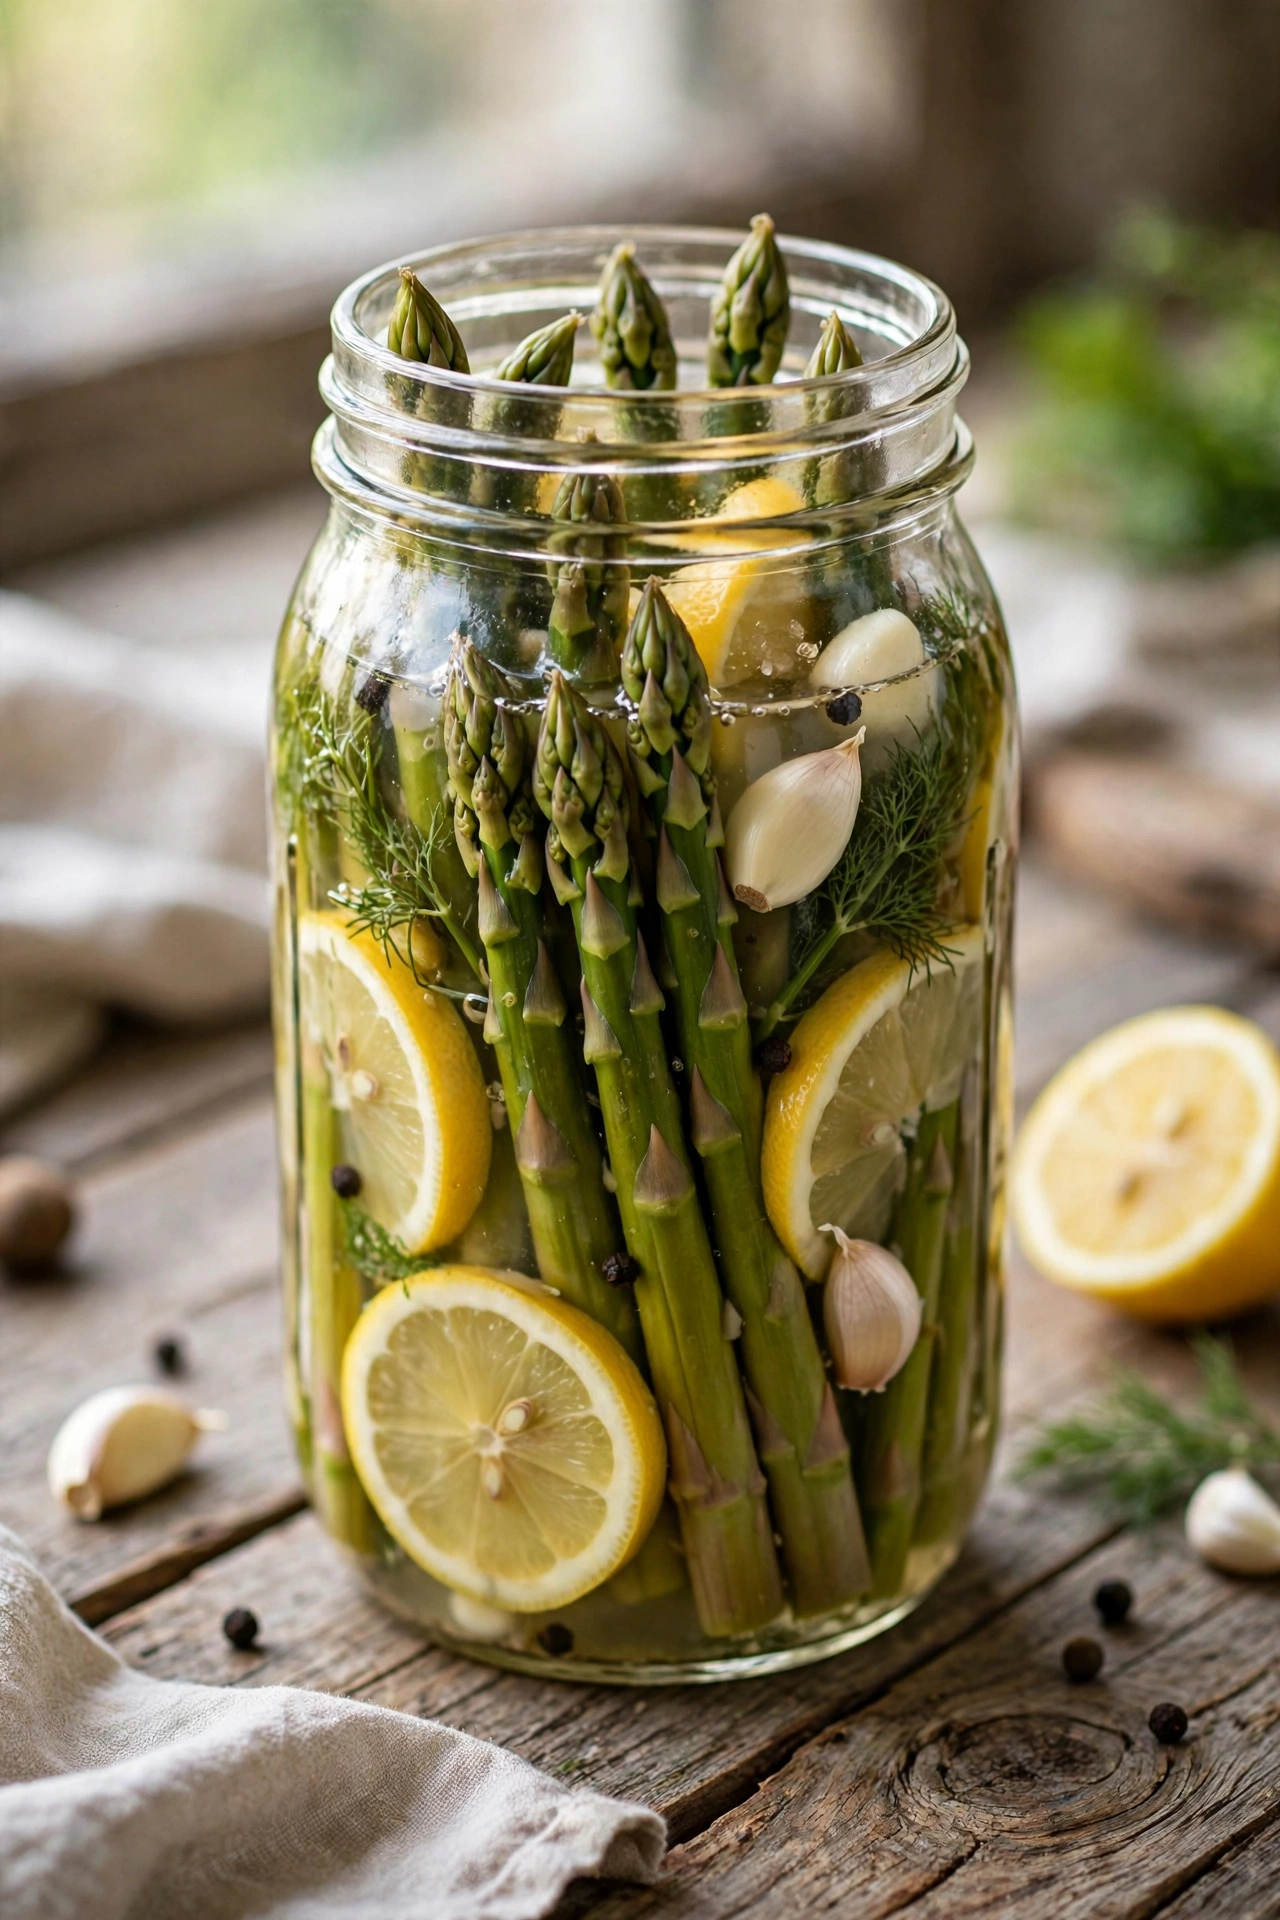
Fermented asparagus spears stay crisp-tender with a tangy, savory bite. They are elegant straight from the jar and make a sophisticated addition to spring tables.
Trim the spears to fit your jar standing upright. Add lemon peel and garlic to the brine for brightness. Ferment 5 to 7 days; asparagus is delicate, so taste early to preserve the texture.
Pro Tips
Choose thick spears; pencil-thin ones turn soft quickly. Standing them upright in the jar packs them tightly and looks beautiful for serving and gifting.
- 1 pound asparagus, trimmed
- 2 cloves garlic
- 1 strip lemon peel
- 1/2 teaspoon red pepper flakes (optional)
- 2 cups water plus 1 tablespoon sea salt
- 1 quart jar
Serving Suggestions
Wrap in prosciutto for an elegant appetizer, chop into salads, or serve on a spring crudite platter. They are also wonderful alongside deviled eggs at brunch.
Fermentation Station
Keep ferments away from direct sunlight in a spot between 65 and 75 degrees. A kitchen corner works perfectly. Too warm ferments fast and soft; too cool stalls the process.
Add tarragon instead of lemon for a French-inspired flavor, or mustard seeds for extra bite. These make lovely homemade gifts in spring when asparagus is at its peak, so choose thick spears that stay crisp during fermentation. They are ready in five to seven days.
Final Thought
Once you taste your first successful batch, these fermented vegetable recipes will become a regular kitchen project. Start with sauerkraut or pickles, then work your way through the list as your confidence grows.