
21 Brownie Recipes
Every baker needs a solid set of brownie recipes in rotation, and this list of 21 covers the full range: dense and fudgy, bendy and chewy, cakey and light, plus swirls, layers, and a skillet version built for sharing. Some take one bowl and half an hour, others are weekend projects with frosting and flair, and all of them beat the boxed mix by a mile.
A few simple rules run through every pan here. Melted butter and dissolved sugar build the shiny crackly top, gentle mixing keeps the crumb tender, and pulling the pan a minute early protects the soft center. Pick your style, preheat the oven, and let the chocolate do the rest.
Why You’ll Love These Brownie Recipes
- Every texture covered: fudgy, chewy, cakey, and blondie styles
- One bowl options for weeknights, layered showpieces for parties
- Pantry friendly: butter, sugar, eggs, and cocoa do the work
- Freezer friendly: bake ahead and warm up squares on demand
- Endless swirls: peanut butter, caramel, cream cheese, and more
1. Classic Fudgy Brownies

This is the benchmark brownie: dense, dark, and almost truffle like in the middle, with a paper thin shiny crust on top. Melted butter and real chocolate do the heavy lifting, with just enough flour to hold everything together and no leavening to puff it up. If you only ever master one pan of brownies, make it this one, because every other variation on this list starts from the lessons it teaches.
The method matters as much as the ingredients. Whisk the eggs and sugar until pale and slightly thick so the sugar dissolves and bakes into that signature crackly top. Fold the flour and cocoa in gently at the end and stop the moment the last streak disappears, because overmixing builds chew and air where you want pure fudge.
Pro Tips
Bake in a metal 8 inch pan lined with parchment for the cleanest edges and an easy lift out. Pull the pan when the center still looks slightly soft and a toothpick comes out with moist crumbs clinging to it. The brownies finish setting as they cool, and that patience is what keeps the middle fudgy instead of dry and cakey.
- Use melted butter, never softened, for a fudgy crumb
- Whisk eggs and sugar for a full minute for the crackly top
- Stop mixing the second the flour disappears
- Cool completely before slicing for clean cuts
Serving Suggestions
Serve at room temperature with a cold glass of milk, the way brownies were meant to be eaten. A warm square under a scoop of vanilla ice cream with a drizzle of warm fudge sauce turns it into a dinner party dessert. For a crowd, slice into small two bite squares and dust lightly with cocoa powder just before the tray goes out.
Keep a batch in the freezer for emergencies that are not really emergencies: slice, wrap each square tightly, and freeze for up to three months. A ten second warm up in the microwave brings back the just baked texture, and a pinch of flaky salt on top makes the chocolate taste even deeper and richer.
2. Chewy Brownies
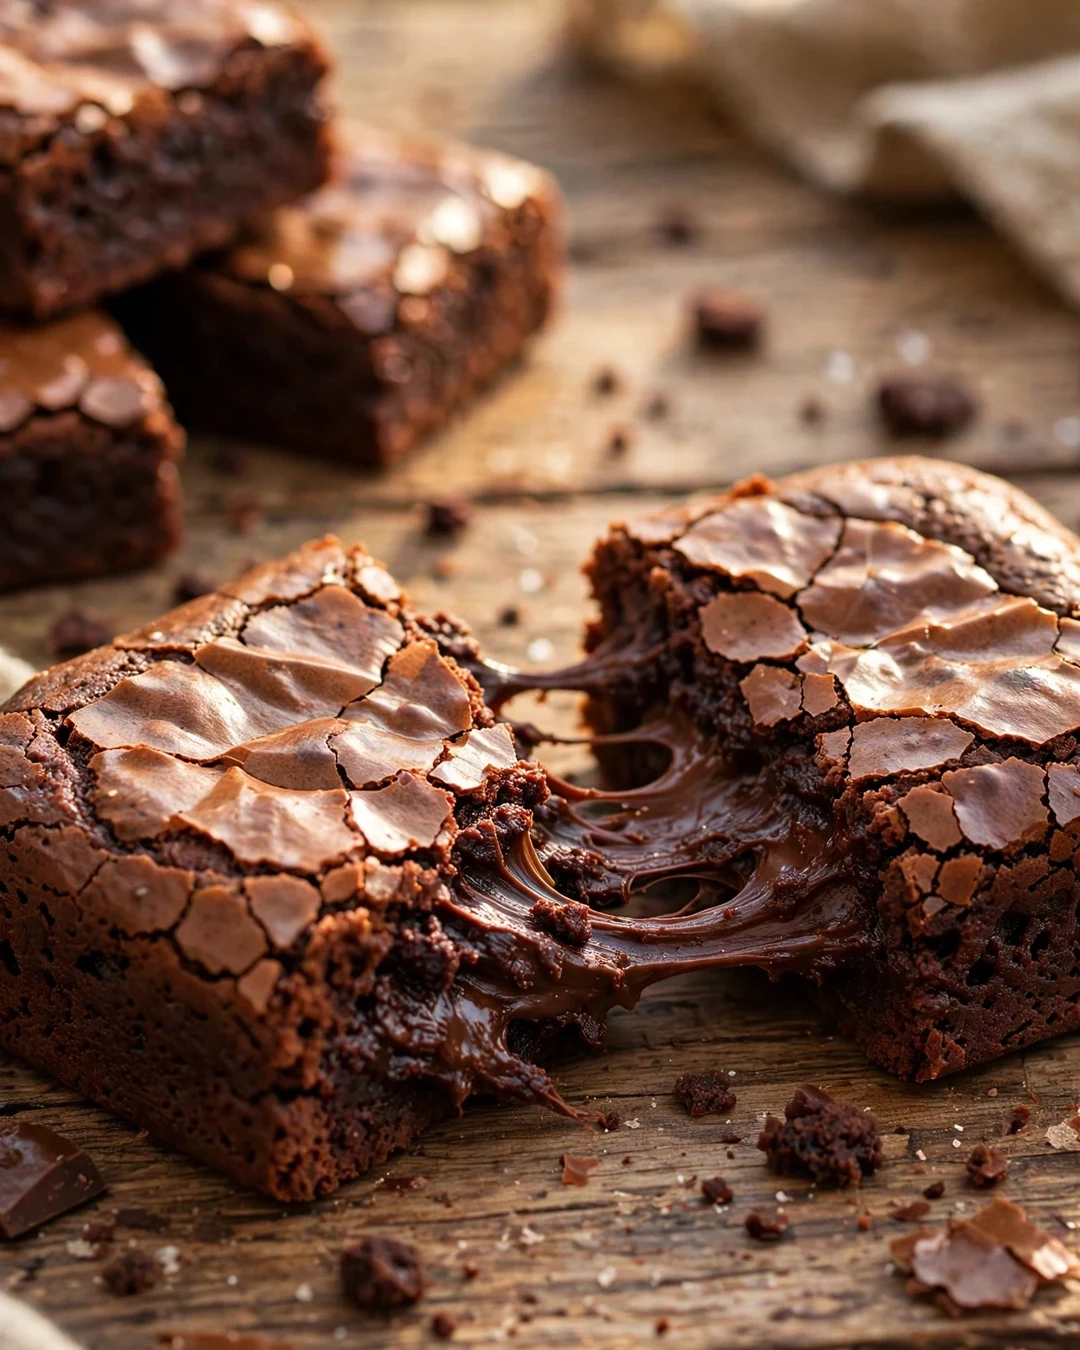
Chewy brownies sit right between fudgy and cakey, with a bendy, almost taffy like bite that makes them the most requested style at bake sales. Brown sugar is the main player here, bringing moisture and a hint of molasses that white sugar cannot match. An extra egg yolk adds richness without making the crumb heavy.
A spoonful of cornstarch is the quiet trick behind the chew. It softens the flour proteins so the brownies set tender but springy instead of tight and fudgy. Slightly underbaking matters too: the center should look just set, because carryover heat finishes the job while the pan cools on the counter.
Pro Tips
Use a mix of cocoa powder and melted chocolate for depth; cocoa alone can taste flat in a chewy brownie. Let the batter rest for ten minutes before it goes into the pan so the sugar hydrates fully. That small pause noticeably improves both the chew and the shiny top.
- Brown sugar only, for moisture and chew
- Add one extra yolk beyond the whole eggs
- One tablespoon of cornstarch softens the crumb
- Underbake by two minutes, then cool fully
Serving Suggestions
Chewy brownies are the lunchbox and road trip champions because they stay soft for days in an airtight container. Warm one briefly and the edges go crisp while the center stays bendy, which is a lovely contrast. They also make outstanding ice cream sandwich bookends with a soft scoop of coffee or vanilla ice cream.
For the chewiest possible result, bake a day ahead and store the uncut slab wrapped overnight; the crumb relaxes and the chew deepens by morning. Slice with a warm, dry knife for squares that look bakery neat. Anyone who grew up on the boxed mix with the chewy center will feel right at home here.
3. Cakey Brownies

Not everyone wants a brownie that eats like fudge. Cakey brownies rise higher, slice cleaner, and have a tender, spongy crumb closer to a rich chocolate snack cake. More flour, a touch of baking powder, and well beaten eggs give them their lift, and cocoa powder keeps the flavor dark even as the texture lightens.
Creaming softened butter with sugar is the key difference from the fudgy method. Beating air into the base at the start carries through the whole bake, so take the full three minutes here. Add the eggs one at a time and beat well after each one so the batter stays smooth and emulsified.
Pro Tips
Because cakey brownies carry more flour, they forgive a few extra minutes in the oven better than fudgy ones, but they still dry out if pushed. Test with a toothpick: a few moist crumbs are perfect, a clean toothpick means they went a minute too long. A simple dusting of powdered sugar is all the finish they need.
- Cream butter and sugar for a full three minutes
- A little baking powder gives the gentle rise
- More flour than fudgy styles, measured carefully
- Toothpick with moist crumbs means done
Serving Suggestions
Cakey brownies are the ones to frost. A thin layer of chocolate ganache or a swipe of cream cheese frosting sits neatly on their level tops. They hold up beautifully on a dessert tray and travel well to potlucks since the crumb is sturdier. Serve with fresh berries and lightly sweetened whipped cream for a plated finish.
The Chew Checklist
Chew comes from brown sugar for moisture, an extra egg yolk for richness, and a spoonful of cornstarch for that bending, taffy like bite. Chill the sliced brownies for an hour before serving and the chew gets even better.
This is the style to bake when the crowd includes cake lovers who claim brownies are too rich. The lighter crumb means a bigger square feels just right, and a cup of coffee alongside makes the chocolate flavor bloom. Leftovers keep their spring for three days if the container is truly airtight.
4. Blondies

Blondies are the brownie’s golden sibling: no cocoa at all, just brown butter, brown sugar, and vanilla building a deep butterscotch flavor. The best ones taste like the chewy center of a great chocolate chip cookie in bar form. White chocolate chips folded through the batter melt into sweet pockets that keep every bite interesting.
Browning the butter is non negotiable for real blondie flavor. Cook it until the milk solids turn amber and smell nutty, then let it cool slightly before it meets the sugar. That one step replaces plain sweetness with toffee depth, and it takes less than five minutes at the stove.
Chocolate Swap Guide
| Chocolate Choice | Flavor Result | Best For |
|---|---|---|
| Cocoa powder only | Dark, intense, less sweet | Fudgy and gluten light styles |
| Melted semisweet bars | Rich, balanced, glossy | Classic fudgy brownies |
| Milk chocolate | Sweet, mellow, soft set | Kid friendly pans |
| Chocolate hazelnut spread | Nutty, sweet, gooey ribbons | Swirl brownies like these |
Pro Tips
Blondies fool bakers because the center looks underdone when it is actually perfect. Pull them when the edges are golden and set and the middle still has a slight jiggle. They firm up as they cool into that dense, chewy bar texture. A sprinkle of flaky salt on top balances the butterscotch sweetness beautifully.
- Brown the butter until amber and nutty
- Dark brown sugar gives the deepest flavor
- Pull while the center still jiggles slightly
- Flaky salt on top balances the sweetness
Serving Suggestions
Warm blondies with a scoop of vanilla ice cream and a spoonful of warm caramel sauce make a restaurant style dessert with almost no effort. They also pack well for picnics and bake sales. In the fall, fold in diced apple and a pinch of cinnamon and serve them with the other treats from these pumpkin dessert recipes for a full seasonal spread.
Blondies are the perfect base for clean out the pantry baking: swap the white chocolate chips for toffee bits, butterscotch chips, chopped pecans, or a handful of dried cranberries. Keep the base batter exactly the same and the bars still bake up chewy and golden. One recipe, endless Friday night variations.
5. Peanut Butter Swirl Brownies
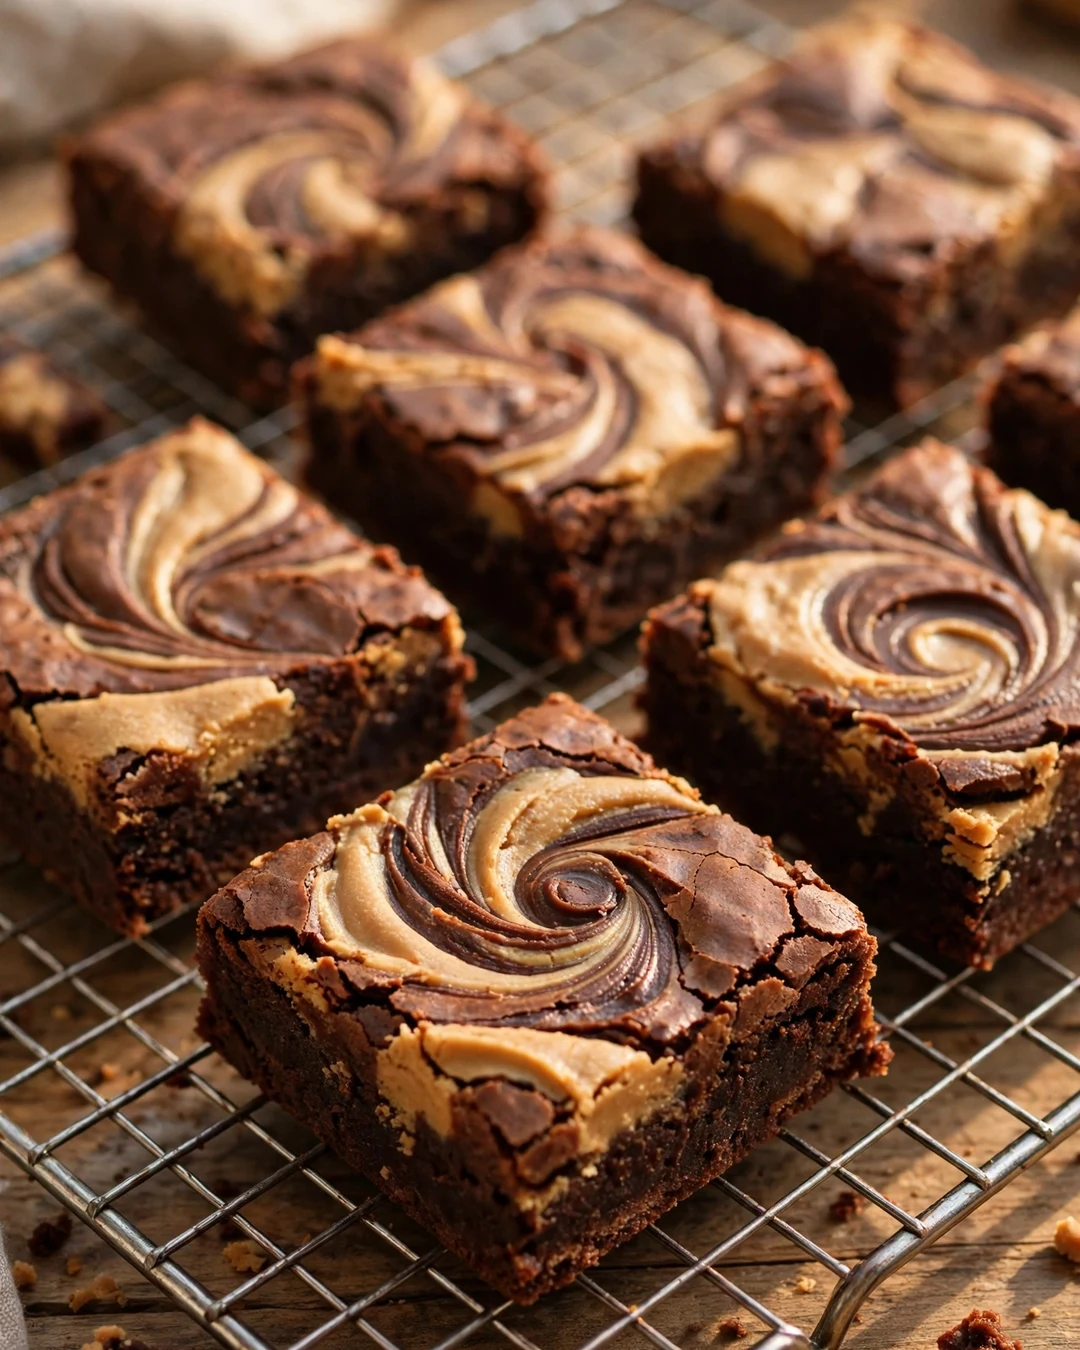
Chocolate and peanut butter is a pairing that never misses, and swirled through a fudgy brownie it hits every note: dark, salty, sweet, and rich. The trick is a peanut butter mixture loose enough to marble but thick enough to hold its ribbons in the oven. A little powdered sugar and melted butter stirred in gets it exactly right.
Warm the peanut butter briefly so it ribbons off the spoon instead of landing in clumps. Drop spoonfuls across the surface of the batter, then drag a butter knife through in wide, slow figure eights. Resist the urge to keep swirling; two passes give bold marbling, and more passes just turn the whole pan muddy.
Pro Tips
Use creamy peanut butter for clean swirls; natural style peanut butter can separate and turn the top oily. If all you have is natural, stir it very well and add an extra spoonful of powdered sugar to stabilize it. A pinch of salt in the swirl mixture sharpens the peanut flavor against the sweet brownie base.
- Warm peanut butter so it ribbons off the spoon
- Creamy peanut butter swirls cleanest
- Two knife passes only, for bold marbling
- Salt in the swirl sharpens the flavor
Serving Suggestions
These are made for a cold glass of milk and a quiet kitchen moment. For a party, cut them small and set them out with the coffee, because the richness goes a long way. Chopped roasted peanuts scattered over the top before baking add crunch that plays nicely against the soft swirl.
A Reese’s lover variation is easy: press mini peanut butter cups halfway into the batter before the swirl goes on, then bake as usual. The cups melt into hidden puddles of peanut butter in every square. Chill the finished pan for twenty minutes and the slices come out with picture perfect marbling.
6. Salted Caramel Brownies

A ribbon of salted caramel through dark chocolate brownie is pure drama, in the best way. The caramel bakes into gooey pockets that stay soft even after the pan cools, and the flaky salt on top snaps the sweetness into focus. Homemade caramel is worth the ten minutes here, though a thick store bought sauce works in a pinch.
Layer half the brownie batter in the pan, spoon over the caramel, then cover with the rest of the batter so the caramel stays hidden in the middle. If the caramel sits on top it can scorch; tucked inside, it stays silky. Chill the pan for fifteen minutes before baking if your kitchen is warm, which helps the layers stay distinct.
Pro Tips
Make the caramel slightly darker than you think it should be. A deep amber caramel stands up to the chocolate, while a pale one disappears into sweetness. Keep the flaky salt for after baking, since salt baked into the top loses its sparkle and crunch. Maldon style flakes are ideal, but any coarse finishing salt works.
- Bake the caramel layer inside, not on top
- Deep amber caramel stands up to chocolate
- Flaky salt goes on after baking
- A thick caramel sauce beats a thin one
Serving Suggestions
Serve these slightly warm so the caramel pulls when you bite in. They are rich enough to cut into sixteen small squares from one pan for a party tray. The sweet salty profile also pairs beautifully with fall baking, so try a caramel apple version inspired by these apple pie recipes when apple season hits.
Leftover caramel sauce keeps for two weeks in the fridge and reheats into a pourable sauce for ice cream, so make a double batch while the pan is hot. Warm it gently and spoon it over the brownies at serving time for a glossy finish that makes the whole plate look bakery made.
7. Mint Brownies

Mint brownies are built like a layer cake in bar form: dense chocolate base, a cool mint frosting middle, and a thin sheet of glossy ganache sealing the top. The layers need chilling between steps, but none of the steps are hard, and the finished squares look like they came from a fancy bakery case.
The mint layer is a simple buttercream with peppermint extract and a drop of green coloring, spread over completely cooled brownies. Warm brownies melt the frosting into a puddle, so patience matters here. Spread the ganache while it is still fluid, tilt the pan to coat, and then leave it alone so the surface sets mirror smooth.
Pro Tips
Peppermint extract is strong, so measure it carefully; a quarter teaspoon too much and the brownies taste like toothpaste. Taste the frosting before spreading and adjust in tiny drops. For a natural version, skip the food coloring and let the mint layer stay creamy white, with crushed chocolate mint candies on top for the color cue.
- Chill the brownie base fully before frosting
- Measure peppermint extract carefully
- Spread ganache fluid and tilt to coat
- Slice with a hot knife for clean layers
Serving Suggestions
Mint brownies shine on holiday trays next to these gingerbread recipes, and they are a natural fit for St. Patrick’s Day with the green layer showing. Serve them cold from the fridge, when the ganache snaps and the mint layer tastes like the center of a peppermint patty.
For a cookies and mint twist, fold crushed chocolate sandwich cookies into the brownie base and sprinkle more over the ganache before it sets. The layers keep their clean look and every bite gets a little crunch. Cut the pan into twenty four small pieces; the triple layer richness means a little goes far.
8. Cookies and Cream Brownies
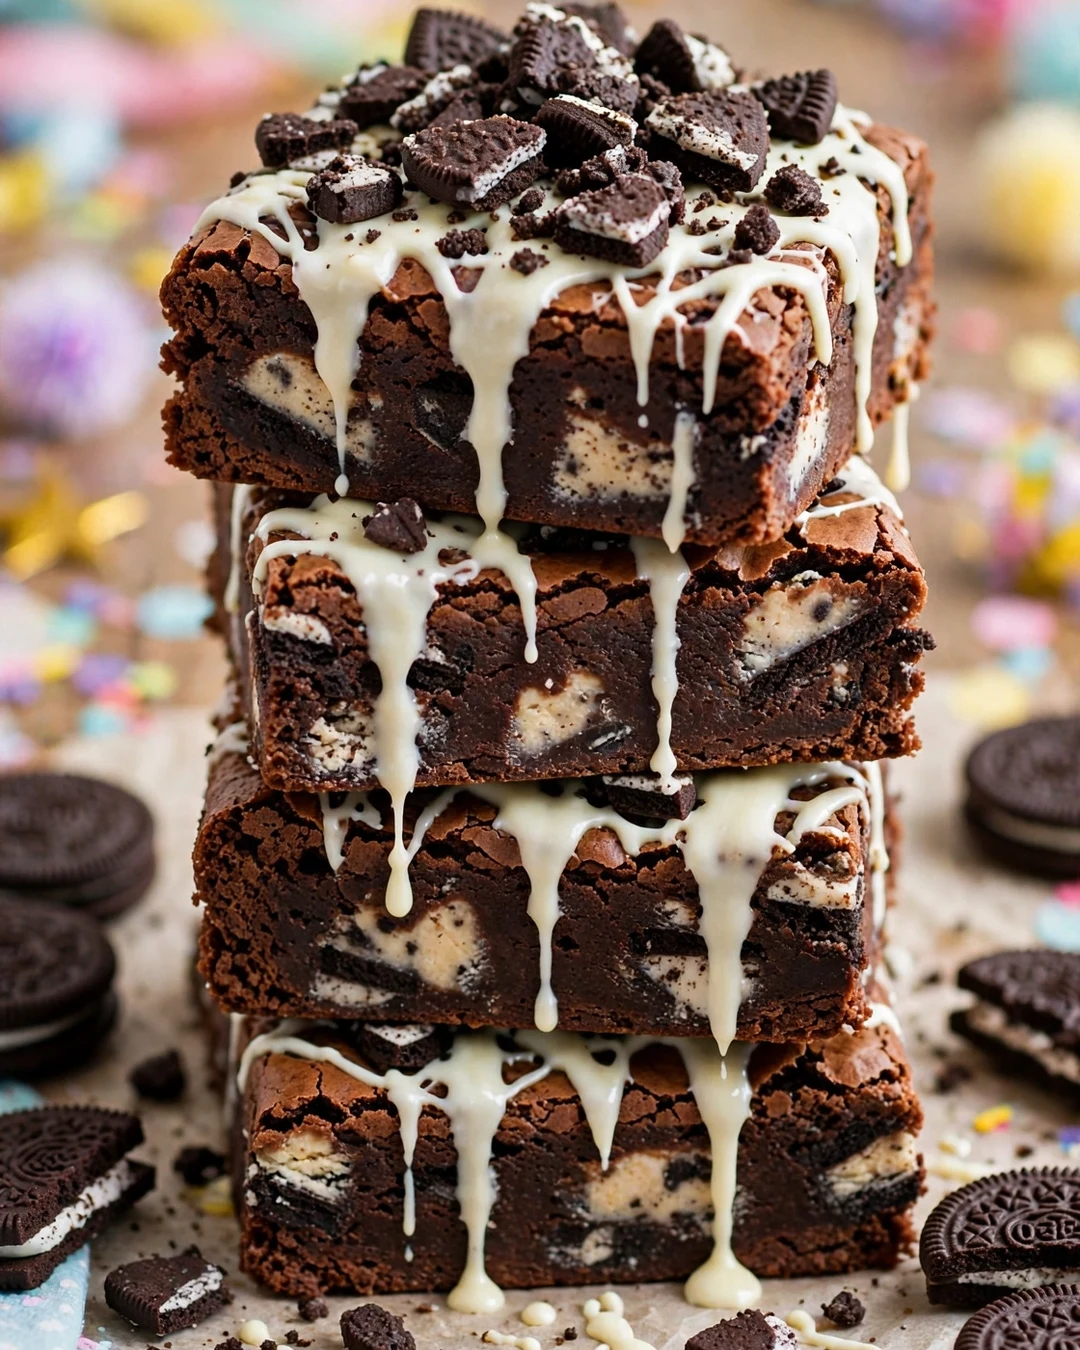
Crushed chocolate sandwich cookies folded through brownie batter and scattered over the top give these bars crunch inside and out. The cookie pieces soften slightly in the oven while their cream filling melts into sweet streaks. A quick white chocolate drizzle at the end makes the whole pan look party ready.
Fold the cookie chunks in at the very end so they stay chunky; if they go in early, the batter turns grey and the cookies vanish. Save a handful for the top so everyone can see what is inside. Chunks about the size of a pea give the best texture, big enough to crunch but small enough to slice through cleanly.
Pro Tips
A fudgy base works better than a cakey one here because the cookies add plenty of structure on their own. If the top cookies brown too fast in your oven, tent the pan loosely with foil for the last five minutes. Let the pan cool fully before cutting, since warm cookie chunks crumble out of the slices.
- Fold cookie chunks in last to keep them chunky
- Save a handful of cookies for the top
- Fudgy base balances the cookie crunch
- Cool fully so slices stay neat
Serving Suggestions
These are birthday party gold, especially cut into sticks and stood upright in a jar for easy grabbing. They also layer beautifully into a trifle with whipped cream and more crushed cookies. If you love the cookie angle, bake a batch of these sugar cookie recipes to round out a cookie and brownie dessert table.
Try the golden sandwich cookie version for a vanilla twist: swap the chocolate cookies for golden ones and add white chocolate chips to the batter. The look changes completely but the method stays the same. Either way, a glass of very cold milk is not optional with these on the plate.
9. Red Velvet Brownies
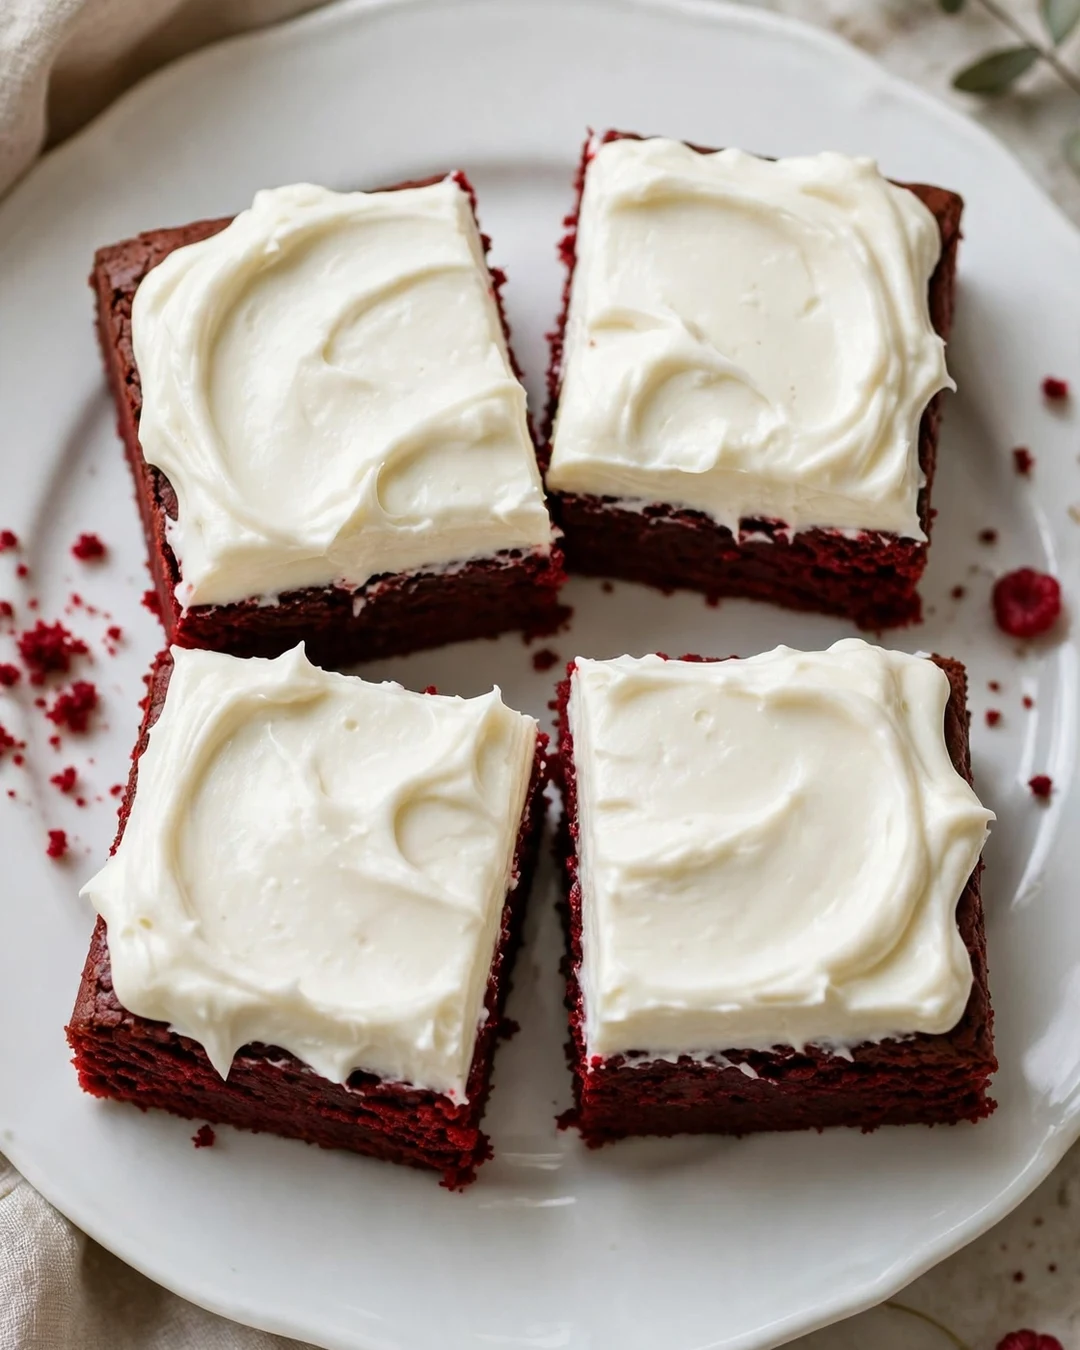
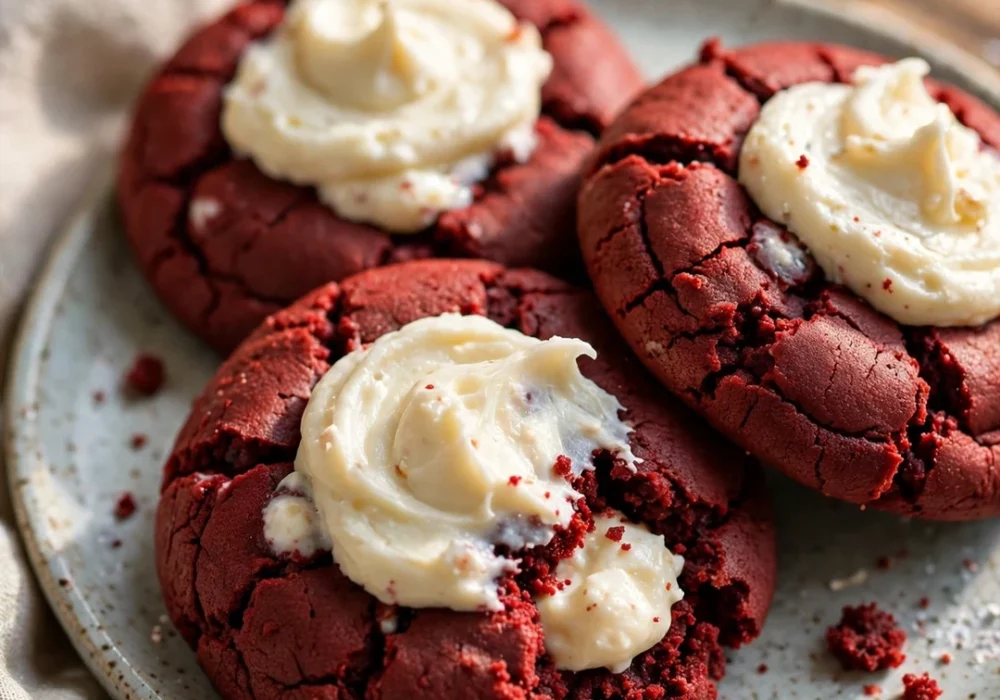
Red velvet brownies bring the drama of the layer cake into a simple bar: deep red crumb, a whisper of cocoa, and a thick blanket of tangy cream cheese frosting. The color does half the work before anyone takes a bite, which makes these a natural centerpiece for Valentine’s Day and Christmas dessert spreads.
Classic red velvet flavor is a balance act: a little cocoa, a little tang, and plenty of vanilla. Buttermilk or a spoonful of vinegar in the batter supplies the tang and also reacts with the color to keep the red bright. Use gel food coloring if you can; it gives a deep red without thinning the batter the way liquid color can.
Pro Tips
The frosting needs the brownies stone cold, so bake the base a day ahead when you can. Beat the cream cheese and butter until completely smooth before adding the powdered sugar, or the frosting turns lumpy. Spread it thick and chill the frosted pan for half an hour for slices with clean, sharp layers.
- Gel coloring gives deep red without thinning batter
- A spoonful of vinegar keeps the color bright
- Frost only completely cold brownies
- Chill the frosted pan before slicing
Serving Suggestions
Set these out with a pot of coffee and a bowl of fresh raspberries and the plate looks like a bakery window. For the holidays, they sit beautifully beside a pitcher of these eggnog recipes chilled and ready to pour. A few red sprinkles over the frosting finish the look without any extra work.
For a swirl version, skip the frosting and marble spoonfuls of sweetened cream cheese batter through the red base before baking. The marbled top needs no decoration at all and travels better than the frosted bars. Either style keeps for four days in the fridge thanks to the cream cheese.
10. Cream Cheese Swirl Brownies

A cheesecake ribbon marbled through dark brownie batter gives you two desserts in every bite. The cream cheese mixture is barely sweet and lightly tangy, which cuts the richness of the chocolate and keeps you going back for another square. The marbled top looks impressive but takes about thirty seconds with a knife.
The cream cheese mixture should be the consistency of thick yogurt: soft cream cheese, one egg yolk, a little sugar, and vanilla, beaten just until smooth. If it is too thick it will not swirl; too thin and it sinks. Warm the cream cheese to room temperature first so it beats silky instead of lumpy.
No Grit, No Guesswork
A good gluten free flour blend with xanthan gum already in it gives brownies with no gritty finish and no crumbly edges. Let the batter rest ten minutes before baking so the flour hydrates fully; it is the simplest trick in gluten free baking and it works every time.
Pro Tips
Drop the brownie batter and cream cheese mixture in alternating spoonfuls, then drag a knife through in a loose grid pattern. Bake until the cheesecake parts look set and matte while the brownie parts still test with moist crumbs. The swirl sets up firm and sliceable once the pan cools and chills briefly.
- Room temperature cream cheese beats silky
- Alternate spoonfuls, then one knife pass
- Bake until the swirl looks set and matte
- Chill briefly for the cleanest slices
Serving Suggestions
These bars are elegant enough for a dinner party plated with a few fresh berries and a dusting of cocoa. In the fall, swirl in a spoonful of spiced cranberry from these cranberry sauce recipes along with the cream cheese for a marbled top with a tart red ribbon. Serve chilled or at room temperature; both work beautifully.
Cream cheese swirl brownies freeze surprisingly well. Wrap the sliced squares individually, freeze, and thaw in the fridge overnight; the swirl stays creamy and the brownie stays fudgy. They are a smart make ahead dessert for holidays, when oven space and time both run short at once.
11. Chocolate Hazelnut Brownies
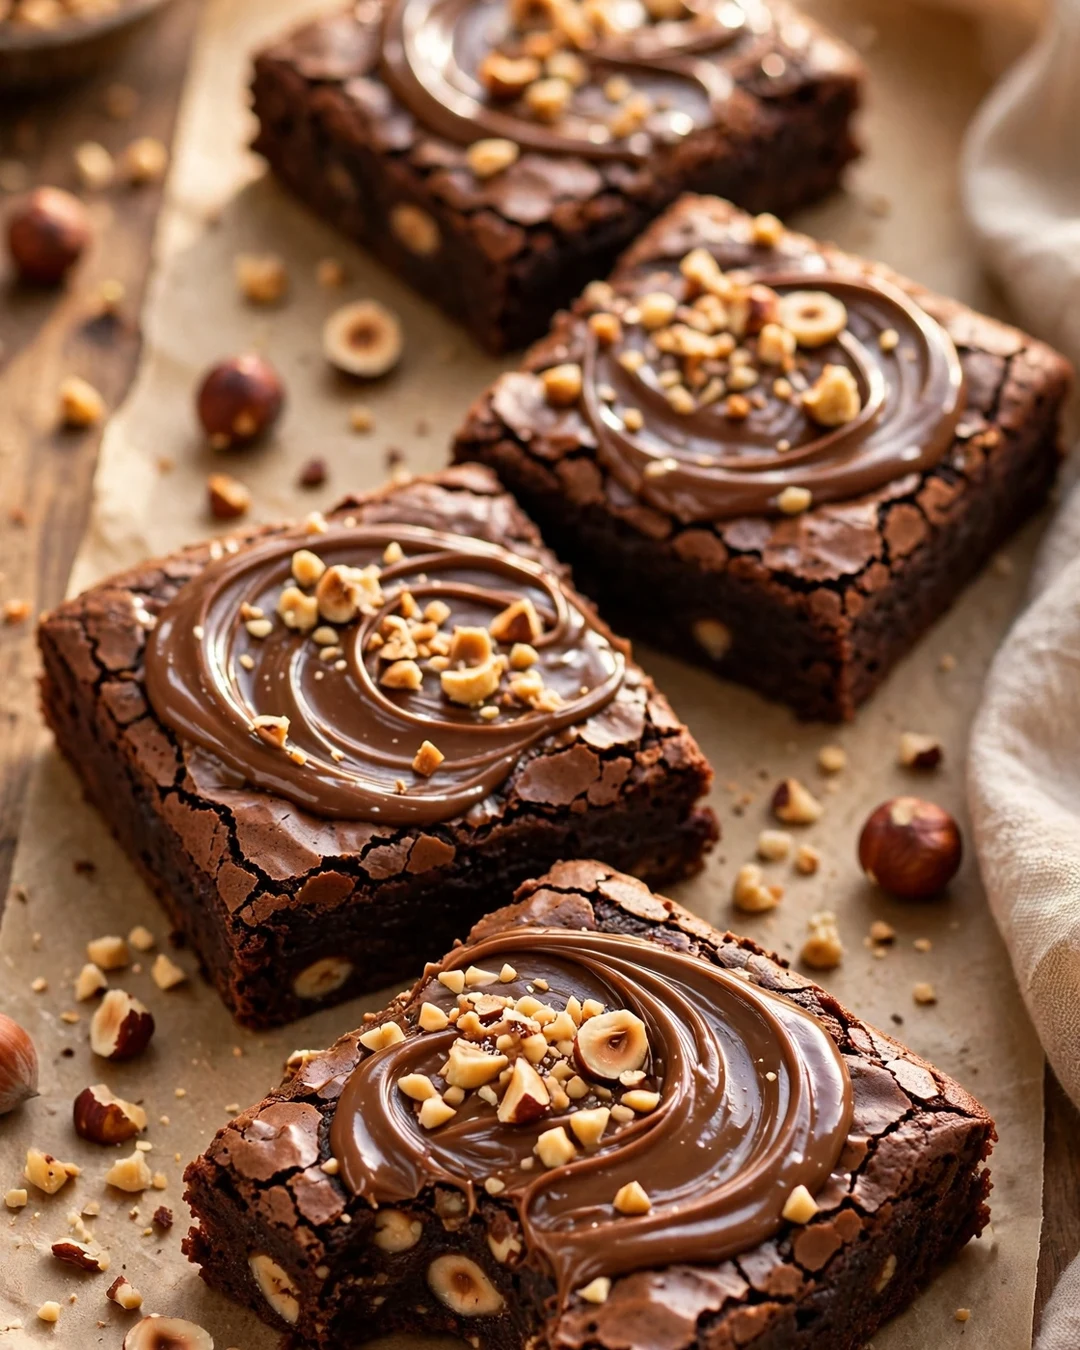
Chocolate hazelnut spread swirled through brownie batter is the fastest way to make a pan taste like a European bakery. The spread melts into glossy ribbons that stay gooey after baking, and toasted hazelnuts on top add the crunch the soft center needs. A pinch of salt keeps the sweetness in check.
Warm the hazelnut spread for a few seconds so it pours in ribbons rather than clumps. Dollop it over the batter and swirl once or twice with a knife, the same light hand as any marble. Work quickly, because the spread firms up as it cools and the swirls get harder to pull.
Pro Tips
Toast the hazelnuts before chopping; raw nuts taste flat next to all that chocolate. Rub the warm toasted nuts in a towel to slip off most of the skins, which can be bitter. If hazelnuts are hard to find, toasted almonds or even salted peanuts make a fine stand in with the same crunch.
- Warm the spread so it ribbons cleanly
- Toast nuts before chopping for real flavor
- Swirl once or twice, never more
- A pinch of salt balances the sweetness
Serving Suggestions
Serve these with espresso or strong coffee, the classic partner for hazelnut and chocolate. A spoonful of lightly whipped cream softens the richness for a plated dessert. For gifting, stack squares in a small tin with parchment between the layers; the marbled tops make them look store bought.
Turn the pan into a sundae base: warm a square, top with vanilla ice cream, a drizzle of warm hazelnut spread, and a shower of toasted nuts. It is the kind of dessert that ends dinner conversations for a minute. Leftovers, if there are any, keep four days airtight on the counter.
12. Espresso Brownies
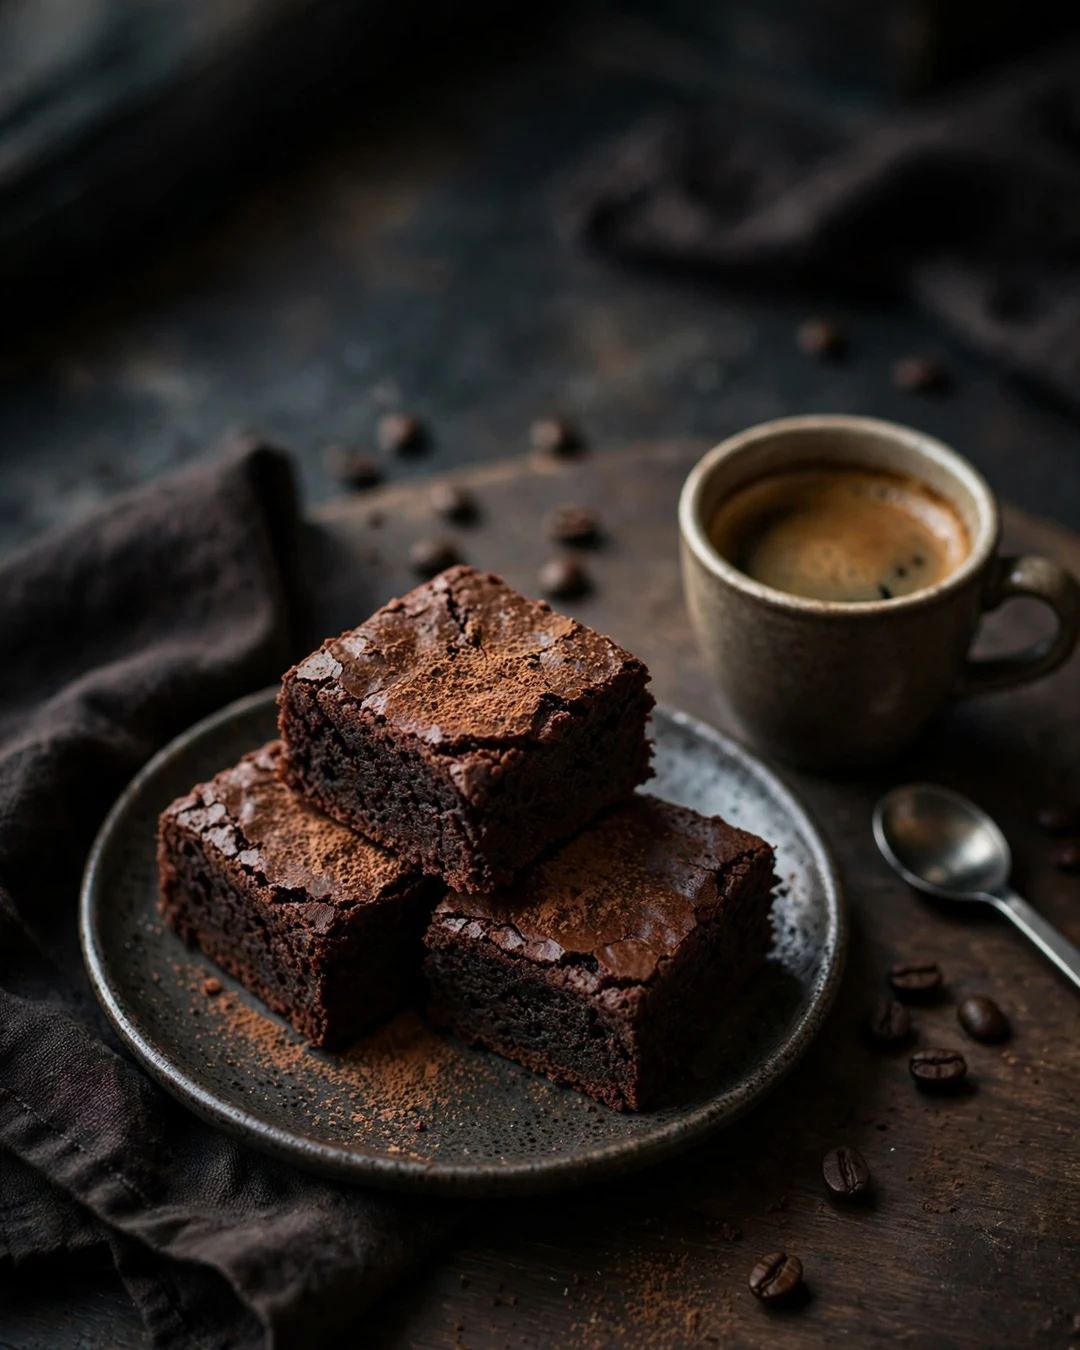
Espresso powder is the chocolate baker’s oldest trick: it does not make brownies taste like coffee, it makes the chocolate taste more like itself. A teaspoon or two dissolved into the melted butter deepens every note in the pan. These are the brownies for people who order the darkest chocolate on the menu.
Bloom the espresso powder in the hot melted butter or a spoonful of hot water so it dissolves fully and never leaves gritty specks. Instant espresso powder works better than instant coffee granules here because it is finer and stronger. If you want an actual coffee note, go up to a tablespoon and add chocolate chunks to keep the balance.
Pro Tips
Espresso brownies skew intensely dark, so a little extra salt helps round them out. Serve them in small squares; the flavor is concentrated. They also hold up well to a scoop of sweet ice cream, since the bitterness of the crumb plays against the cream the way coffee does with milk.
- Dissolve espresso powder in hot butter first
- Instant espresso beats coffee granules here
- Extra salt rounds out the dark flavor
- Cut small squares; the flavor is intense
Serving Suggestions
This is the dinner party brownie: plate a warm square with vanilla bean ice cream and a shot of espresso on the side and nobody misses a fancier dessert. They are also excellent crumbled over coffee ice cream. Wrap a few squares for the coffee lovers in your life and watch them disappear.
Chunk Rules
Do use a chopped bar, not chips, for real melty pockets. Do not use more than a cup of chunks or the brownies lose their structure. Do not stir chunks into hot batter; let it cool a few minutes so they hold their shape instead of melting in.
For a mocha glaze, whisk powdered sugar with a spoonful of strong brewed coffee and drizzle it over the cooled pan. The glaze sets into a thin shell that cracks when you bite, adding one more coffee note. Store the glazed brownies in a single layer so the finish stays glossy and neat.
13. Walnut Brownies
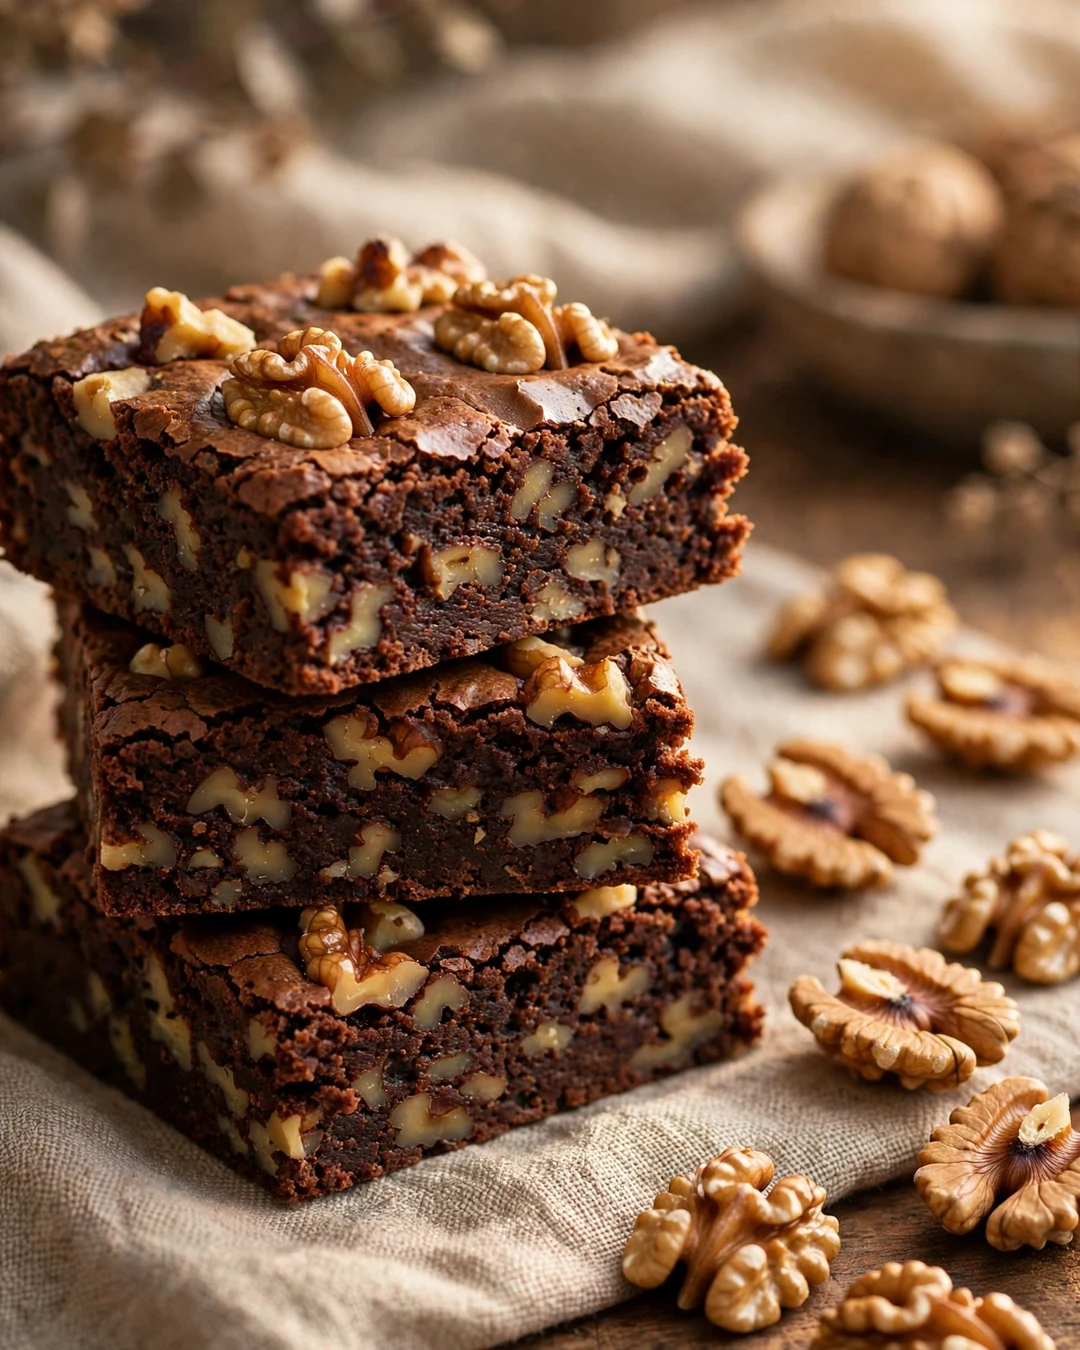
Walnut brownies are the old fashioned classic, the kind that filled cookie jars for decades. The nuts bring a gentle bitterness and a soft crunch that plain chocolate cannot give itself. Toasting the walnuts first is the difference between a background ingredient and a real flavor partner.
Fold the toasted walnuts through the batter and scatter a few extra over the top so the pan advertises what is inside. Chop them roughly; dust and tiny bits disappear into the crumb, while pea sized pieces give the best bite. A fudgy base suits walnuts best because the soft crumb contrasts with the nut crunch.
Pro Tips
Walnuts go rancid faster than other nuts, so taste one before it goes into the batter. Store leftover nuts in the freezer and toast straight from frozen for a minute longer. If walnuts are not your thing, pecans swap in one for one and lean sweeter, which nut lovers who bake these pecan pie recipes will appreciate.
- Toast walnuts until fragrant before chopping
- Pea sized pieces give the best bite
- Taste nuts first; stale walnuts ruin a pan
- Fudgy base contrasts the crunch best
Serving Suggestions
Serve walnut brownies with afternoon tea or coffee, where their old fashioned character fits right in. They pack well for hikes and picnics since the crumb stays moist for days. A warm square with a spoonful of whipped cream and a drizzle of honey makes a simple, satisfying plate.
Skillet Secrets
Preheat the skillet in the oven so the edges start cooking on contact and turn crisp. Butter it well, corners included. The brownie keeps cooking after it leaves the oven, so pull it two minutes early and let the cast iron finish the job.
For a maple walnut version, swap a quarter of the sugar for maple sugar and drizzle the cooled pan with a thin maple glaze. The combination tastes like fall in a bar. Either version freezes well, so bake a double pan when walnuts are on sale and stash one for later.
14. Double Chocolate Chunk Brownies
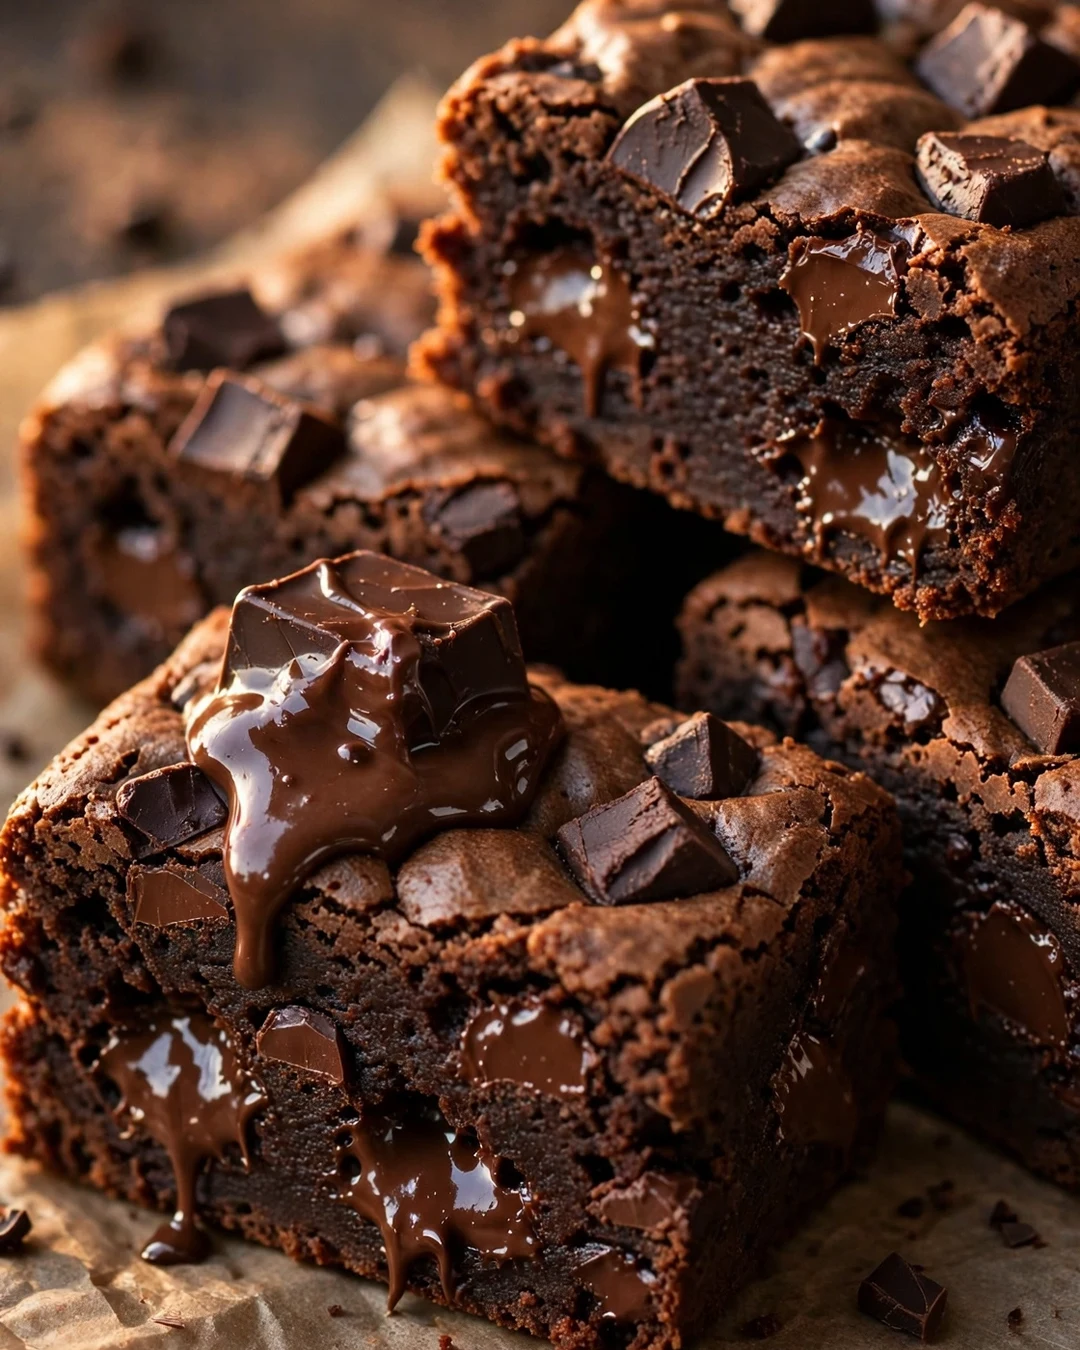
When regular brownies are not chocolate enough, chunks are the answer. A chopped chocolate bar folded through the batter melts into pockets that stay soft even after the pan cools, so every bite has two textures: tender crumb and molten chocolate. Chips are designed to hold their shape, which is exactly what you do not want here.
Chop the bar into rough pieces, some small and some large. The small bits streak the crumb with chocolate while the big chunks form the pockets. Let the batter cool for a few minutes before folding the chunks in; piping hot batter melts them on contact and you lose the whole effect.
Pro Tips
A mix of semisweet and dark chocolate chunks gives the most interesting flavor, sweet in one bite and intense in the next. Keep the total chunks to about a cup so the brownies still slice cleanly. A few extra pieces pressed onto the top before baking melt into glossy puddles that make the pan look irresistible.
- Chop a bar; chips hold shape and underdeliver
- Cool the batter before folding chunks in
- Mix semisweet and dark for range
- About one cup of chunks per pan
Serving Suggestions
These demand to be eaten warm, when the pockets are still molten. Ten seconds in the microwave brings a cooled square back to that state. Serve with cold milk or a small scoop of ice cream and let the chocolate do all the talking. They are also the base for an outrageous brownie sundae bar.
If the pan is headed to a bake sale, let the brownies cool completely and chill for twenty minutes before slicing so the pockets firm up and the cuts stay tidy. Wrapped individually, they look like premium bakery bars. Nobody needs to know they took one bowl and thirty minutes.
15. S’mores Brownies
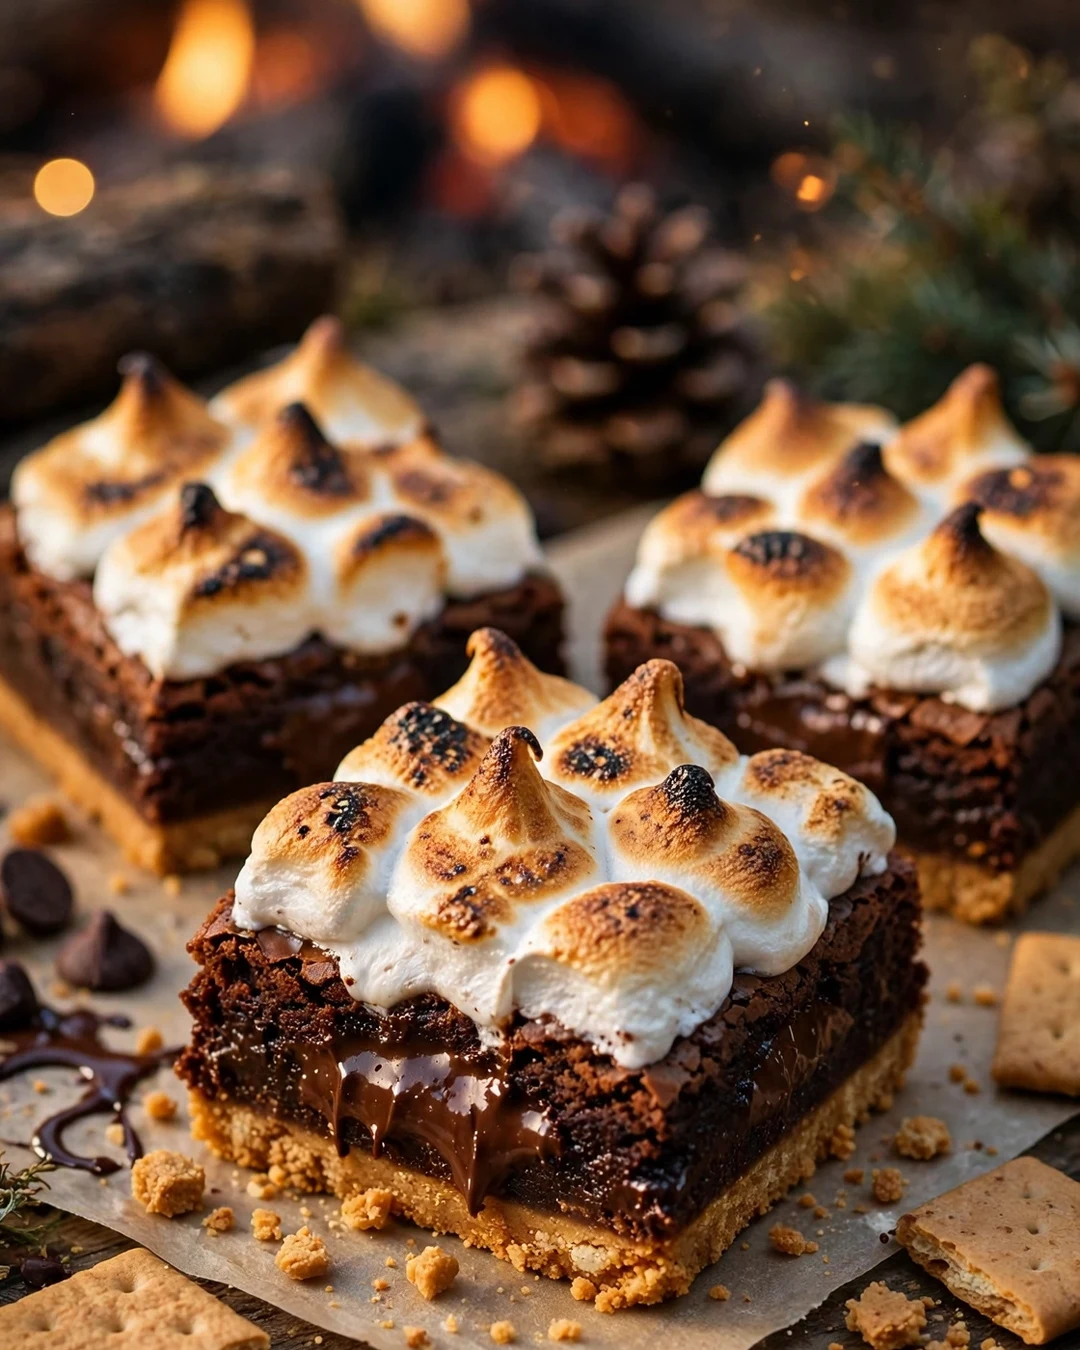
S’mores brownies stack the whole campfire into one pan: buttery graham cracker crust, fudgy chocolate center, and a blanket of marshmallows toasted golden on top. No fire required, and nobody has to hold a stick. The marshmallow layer goes on at the end so it toasts without disappearing into the batter.
Press the graham crust firmly into the pan and give it a short pre bake so it stays crisp under the wet batter. Pour the brownie layer over it and bake as usual. In the last few minutes, cover the top with mini marshmallows and return the pan to the oven until they puff and turn golden at the edges.
Pro Tips
Watch the marshmallows closely; they go from golden to scorched in under a minute. If your oven runs cool on top, a brief pass under the broiler finishes them, but stay right there with the door cracked. A few chocolate bar pieces pressed into the marshmallow while it is hot melt into classic s’mores puddles.
- Pre bake the graham crust so it stays crisp
- Marshmallows go on for the last few minutes only
- Watch closely; they scorch fast
- Chocolate pieces on top melt into puddles
Serving Suggestions
Cut these with a warm, greased knife because the marshmallow pulls. Serve them the day they are made, when the top is still soft and toasty. For a summer party, set out a whole tray alongside lemonade and let people help themselves; the pan always empties.
A peanut butter s’mores version swaps the chocolate pieces on top for peanut butter cups, and it might be even better than the original. Graham crust, fudgy center, peanut butter, and toasted marshmallow is a lot of nostalgia in one square. Leftovers warm up nicely in a low oven for five minutes.
16. Cosmic Style Brownies

Cosmic style brownies are pure lunchbox nostalgia: a dense, chewy brownie under a smooth layer of fudge frosting, finished with rainbow candy coated chocolate chips. The frosting is the whole point, sweet and firm enough to crack slightly when you bite. One square takes you straight back to the school cafeteria, in the best way.
The frosting is a simple ganache style mix of melted chocolate, butter, and a splash of milk, spread while warm so it levels itself. It should be thick enough to hold the candy chips in place as it sets. Spread it over completely cooled brownies, sprinkle the chips right away, and let the pan sit until the top is firm.
Pro Tips
The rainbow chips can be hard to find; rainbow sprinkles or mini candy coated chocolates make a close stand in. Keep the brownie base on the chewy side rather than ultra fudgy, since the original style has a firmer bite. Slice into rectangles instead of squares to match the classic shape.
- Spread frosting warm so it self levels
- Add candy chips before the frosting sets
- Chewy base matches the classic texture
- Rectangles, not squares, for the full effect
Serving Suggestions
Pack these in lunchboxes, wrap them for bake sales, or set out a tray at a birthday party and watch adults reach for them before the kids do. They keep well for four days in an airtight container, and the frosting actually protects the crumb from drying out. Serve at room temperature for the softest bite.
Make a double batch in a larger pan for parties, adjusting the bake time by a few minutes and testing the center with a toothpick. The frosting scales up easily and covers the bigger pan with the same smooth finish. A serrated knife gives the neatest cut through the firm fudge layer.
17. Gluten Free Brownies

Good gluten free brownies should fool everyone at the table, and these do. A quality one to one gluten free flour blend swaps in for regular flour with no other drama, and the high fat, high chocolate ratio of a fudgy brownie hides the swap completely. Nobody will guess unless you tell them.
Almond flour is the other strong option, giving a slightly denser, richer crumb that tastes like a flourless chocolate cake in bar form. Whichever route you choose, let the batter rest for ten minutes before the pan goes in. Gluten free flours hydrate slowly, and the rest prevents the gritty finish that gives these bakes a bad name.
Pro Tips
Check your cocoa powder and chocolate for gluten free labeling if you are baking for someone with celiac disease, and keep the pan and tools free of flour dust. The brownies bake in the same time as regular ones. Pull them on the early side, because gluten free crumb dries out faster as it cools.
- Use a one to one blend or almond flour
- Rest the batter ten minutes before baking
- Verify labels when baking for celiac needs
- Pull early; the crumb dries faster
Serving Suggestions
Serve these to the whole table without a separate dessert for anyone. They shine with fresh berries and whipped cream, and they make a safe, crowd pleasing base for a build your own sundae bar. Warm squares with ice cream taste every bit as indulgent as the classic version.
For a flourless style variation, skip the blend entirely and lean on cocoa, butter, eggs, and chocolate for structure, like a chocolate torte cut into bars. The texture turns silkier and denser, closer to fudge than cake. It is a good reminder that great brownies never depended on flour in the first place.
18. Vegan Brownies
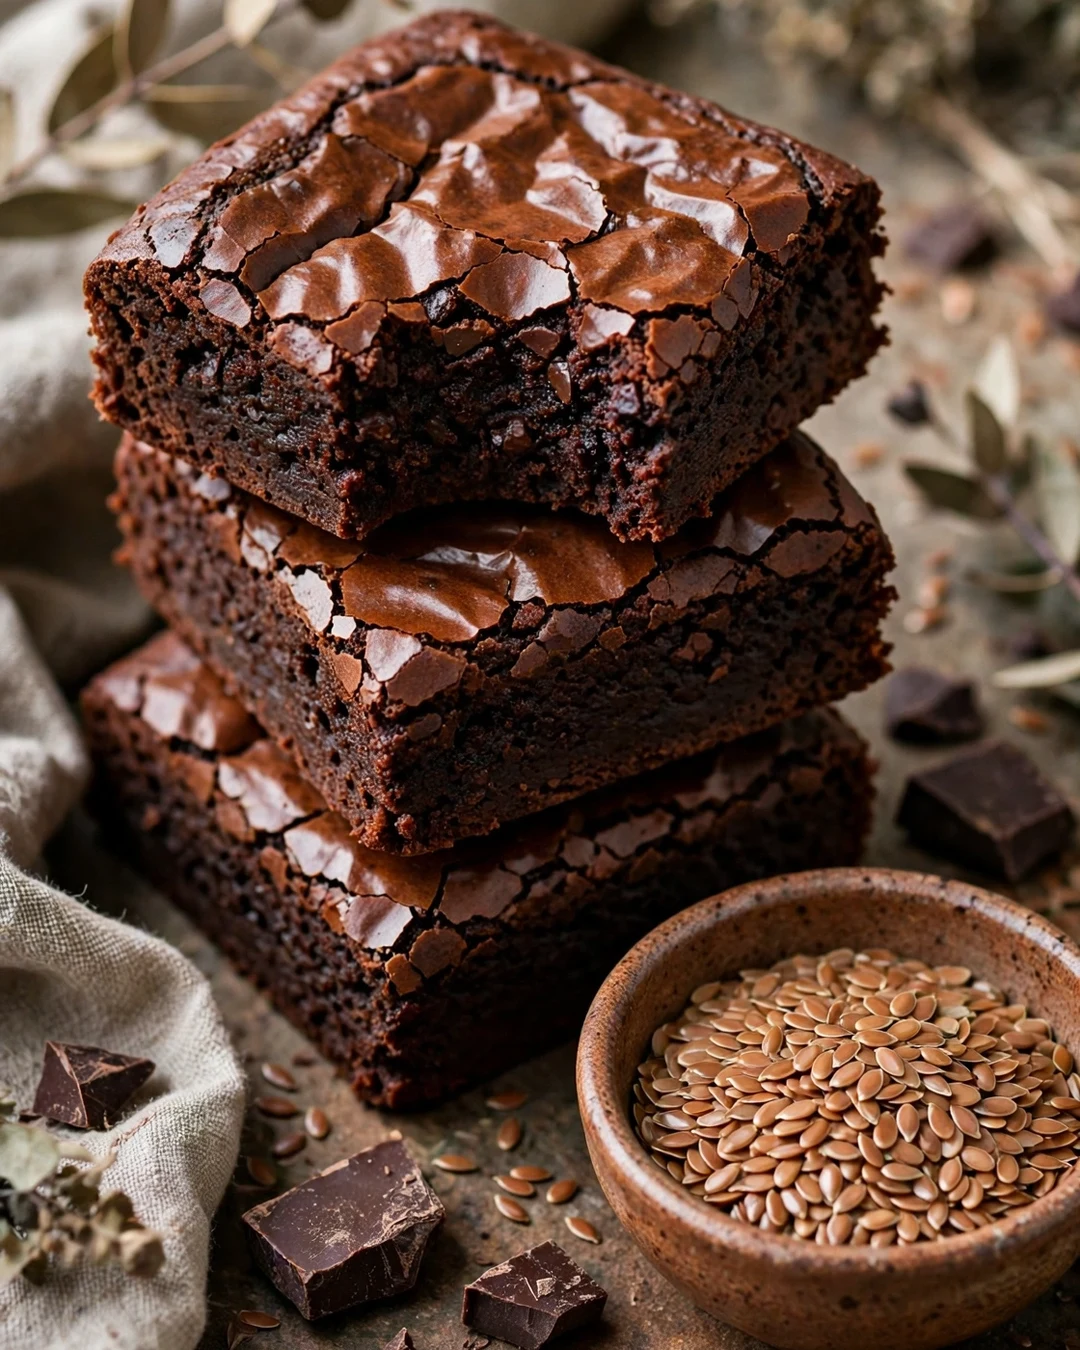
Vegan brownies have one job: taste like brownies, full stop. Flax eggs stand in for the real thing, coconut oil or a neutral oil replaces the butter, and good cocoa plus dark chocolate that happens to be dairy free carry the flavor. The result is dark, fudgy, and rich enough that nobody asks what is missing.
Mix the ground flax with water and give it ten minutes to gel before it goes into the batter; that gel is what binds the crumb. Cocoa based batters work better than melted chocolate ones for vegan baking because they are more forgiving about setting. A spoonful of nut butter in the batter adds body and a fudgy chew.
Pro Tips
Use refined coconut oil if you do not want a coconut note, or a mild vegetable oil for a completely neutral base. Check the chocolate chips for milk ingredients if you fold any in. The pan needs a thorough cool before slicing, since plant based batters set more gently than egg based ones.
- Gel the flax eggs for ten minutes first
- Cocoa based batter sets most reliably
- A spoonful of nut butter adds body
- Cool fully before slicing, no shortcuts
Serving Suggestions
Serve vegan brownies with dairy free ice cream or a simple dusting of powdered sugar. They travel well to gatherings where you are not sure of everyone’s needs, and they hold their own on a fall dessert table next to these pumpkin pie recipes baked for the same crowd. Nobody feels like they got the backup dessert.
Aquafaba, the liquid from a can of chickpeas, whips into a foam that can replace the flax for a lighter, cracklier top. Try it once the basic version is in your routine. Three tablespoons per egg is the standard swap, whipped to soft peaks and folded in at the end.
19. One Bowl Brownies
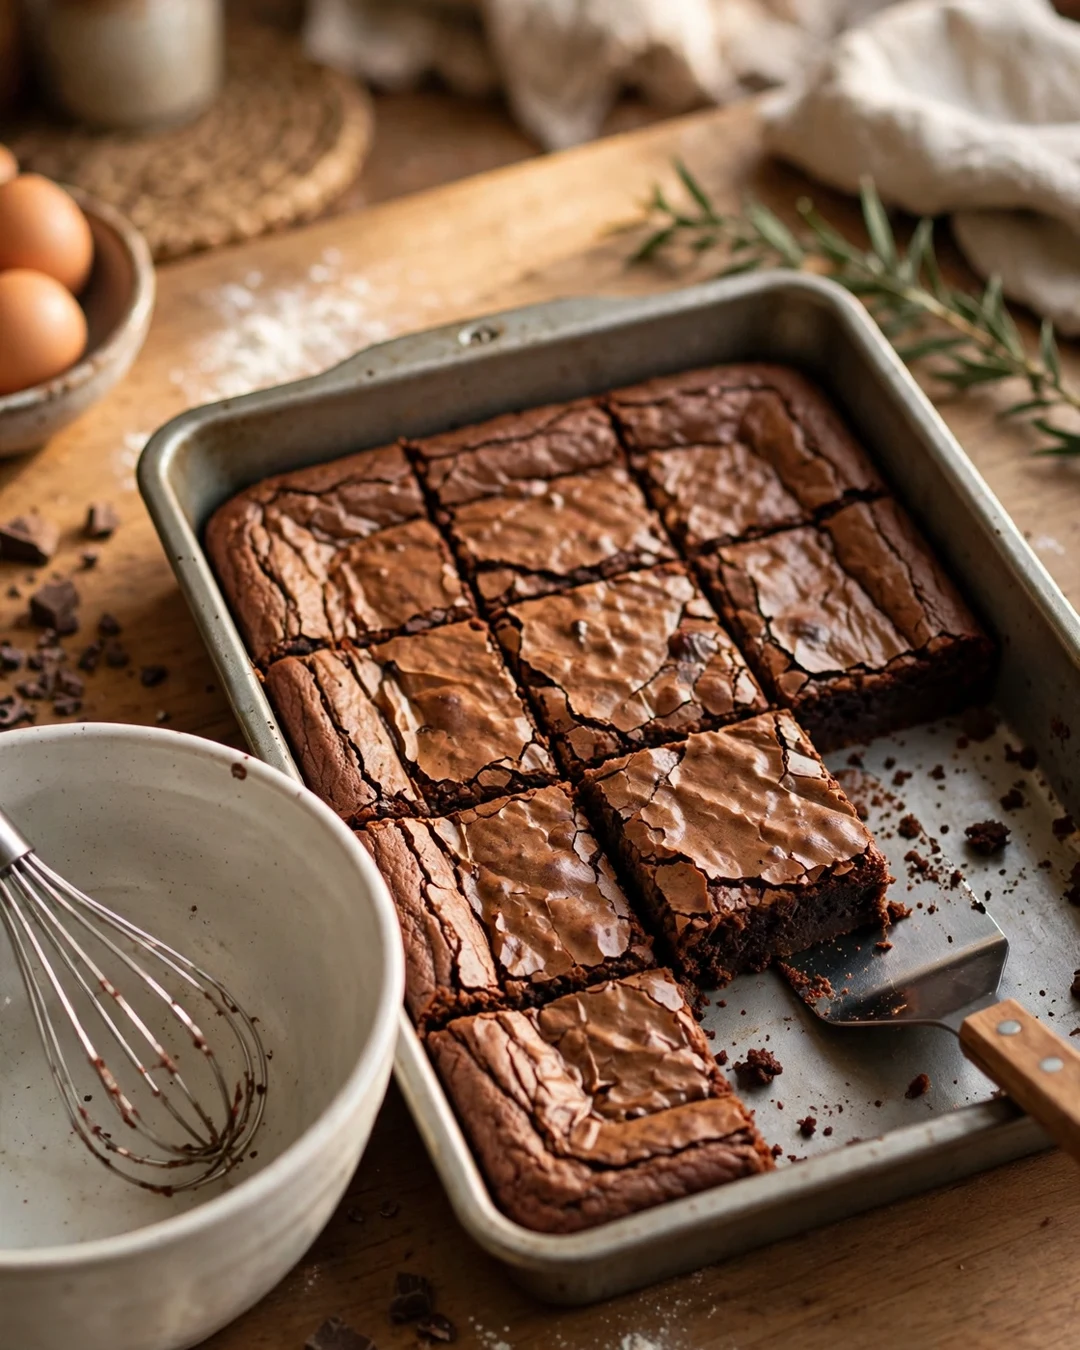
One bowl brownies are the weeknight heroes: melted butter, sugar, eggs, cocoa, and flour whisked together in a single bowl, poured into the pan, and baked before the oven has been on for half an hour. The cleanup is one bowl, one whisk, one pan. The flavor is anything but a shortcut.
Swirl Success Checklist
Warm the peanut butter until pourable. Drop spoonfuls evenly over the batter. Drag a knife through in loose figure eights, once in each direction. Stop early: two passes make ribbons, five passes make mud.
The order of operations keeps it all in one bowl. Whisk the hot melted butter with the sugar first so the sugar starts dissolving, then the eggs until glossy, then the dry ingredients with a light hand. Cocoa powder instead of melted chocolate keeps the bowl count honest and the flavor pleasantly dark.
Pro Tips
Because there is no creaming and no melting chocolate separately, the texture lands between fudgy and chewy, which most people call exactly right. Do not skimp on the whisking after the eggs go in; that gloss is where the crackly top comes from. A handful of chips folded in at the end is optional but welcome.
- Sugar into hot butter first, so it dissolves
- Whisk after the eggs until the batter shines
- Cocoa keeps it truly one bowl
- Line the pan so it lifts out clean
Serving Suggestions
These are the brownies to bake with kids, since there is one bowl to lick and no sharp mixer beaters to manage. Serve warm squares straight from the pan with spoons and a scoop of ice cream for a no fuss family dessert. They also bail you out beautifully when guests announce themselves an hour ahead.
Red Velvet Game Plan
Step 1: Mix the red batter with just a spoonful of cocoa for the classic hint of chocolate. Step 2: Bake until the edges set and the center barely jiggles. Step 3: Cool completely, then spread the cream cheese frosting thick. Step 4: Chill thirty minutes before slicing so the layers stay sharp.
Memorize the ratios and this becomes your forever emergency dessert: butter, sugar, eggs, cocoa, a little flour, a pinch of salt, vanilla. Everything scales, doubles, and halves cleanly. Stir in whatever you have, nuts, chips, or a swirl of jam, and the pan still comes out of the oven a winner.
20. Skillet Brownie

A skillet brownie is built for sharing: one cast iron pan of warm, crisp edged, molten centered chocolate, set in the middle of the table with spoons. The cast iron holds heat so the brownie stays warm through the whole serving, and the edges get a chew you cannot get from a flat pan.
Preheat the skillet while the oven heats so the batter sizzles lightly when it goes in; that is how the bottom crust forms. The batter is a standard fudgy base, maybe with chunks stirred through for pockets. Bake until the edges are set and pulling away slightly while the center still looks glossy and soft.
Pro Tips
Rest the skillet for five minutes, no more, then top with ice cream and serve immediately. The ice cream melts into the warm center and makes its own sauce. Warn everyone the handle is hot and wrap it in a towel; cast iron does not forgive, and the dessert is too good to rush.
- Preheat the skillet for a crisp bottom crust
- Edges set, center glossy means done
- Rest five minutes, then ice cream on top
- Wrap the hot handle in a towel
Serving Suggestions
Pass spoons and let everyone dig in straight from the pan, family style. For a dinner party, individual small skillets give each guest the same treatment with a personal scoop of ice cream. A drizzle of warm caramel or fudge over the top turns it into a steakhouse style finale.
Leftover skillet brownie, if your table ever leaves any, reheats in a low oven until the center turns molten again. Crumbled over ice cream the next day it makes a fine sundae topping. The recipe doubles for a big gathering in a larger skillet; just add a few minutes to the bake.
21. Mini Brownie Bites

Mini brownie bites bake in a muffin tin, which means every single piece gets the prized edge on all sides. They are two bite, poppable, and dangerously easy to keep eating. The batter is the classic fudgy base, portioned small and baked hot and fast so the centers stay soft.
Grease the tin generously or use mini liners, because small brownies love to stick. Fill each cup about two thirds full; a small cookie scoop keeps the portions even and the tops level. The bites bake in roughly half the time of a full pan, so start checking early with a toothpick for moist crumbs.
Pro Tips
The small size makes these ideal for decorating. A tiny dollop of frosting, a single berry, a dusting of powdered sugar, or a drizzle of white chocolate turns a tray of bites into a bakery display. Set them out on a holiday dessert platter beside the pies and cakes and guests get bite sized chocolate alongside the classics.
- Grease well or use mini liners
- Fill cups two thirds full for even tops
- Start checking doneness early
- A cookie scoop keeps portions even
Serving Suggestions
Pack mini bites in lunchboxes, stack them in a jar for gifting, or skewer them with strawberries and marshmallows for dessert kabobs. They are the friendliest format for potlucks because nobody needs a knife or a plate. Freeze a batch and pull out a few at a time for portion perfect treats.
For a filled version, press a small piece of caramel or a single raspberry into the center of each cup before baking. The bites hide a surprise that makes people reach for a second one to confirm what they tasted. Twenty four bites from one batch sounds like plenty until the tray starts circulating.
Brownie FAQs
What makes brownies fudgy instead of cakey?
It comes down to the ratio of fat to flour. Fudgy brownies use more butter and chocolate with less flour and little or no leavening, so the crumb stays dense. Cakey brownies use more flour, a touch of baking powder, and creamed butter for lift. Underbaking slightly also keeps any style on the fudgy side.
How do I get a shiny crackly top?
Dissolve the sugar well and whisk the eggs until the batter looks glossy. Warm melted butter helps the sugar dissolve, and a full minute of whisking after the eggs go in builds the thin meringue like layer that bakes into the crackly crust. Resting the batter briefly before baking helps too.
When are brownies done baking?
Look for edges that are set and just pulling from the pan, with a center that looks slightly soft. A toothpick in the center should come out with moist crumbs, not wet batter and not clean. The pan keeps cooking as it cools, so pulling early is the safest move for a soft center.
Why did my brownies sink in the middle?
Sinking usually means the center was underbaked, the batter was overmixed and took in too much air, or the oven door opened during the rise. Too much leavening can also puff and collapse the middle. Next time, bake a few minutes longer, mix gently, and let the pan cool undisturbed.
Can I freeze brownies?
Yes, brownies freeze very well. Cool the pan completely, slice, and wrap each square tightly before freezing for up to three months. Thaw at room temperature or warm a square in the microwave for about ten seconds to bring back the fresh baked texture. Frosted brownies freeze best uncut.
Should brownies be refrigerated?
Most brownies keep best at room temperature in an airtight container for three to four days. Refrigerating makes the crumb firm and can mute the chocolate flavor, though chilled chewy brownies have their fans. Brownies with cream cheese frosting or swirl should be refrigerated and served cool or after a short rest on the counter.
Final Thought
From the classic fudgy benchmark to a warm skillet built for sharing, these brownie recipes give you a pan for every mood, every crowd, and every level of ambition. Keep the pantry stocked with cocoa and butter, and you are never more than an hour away from the best dessert on the table.