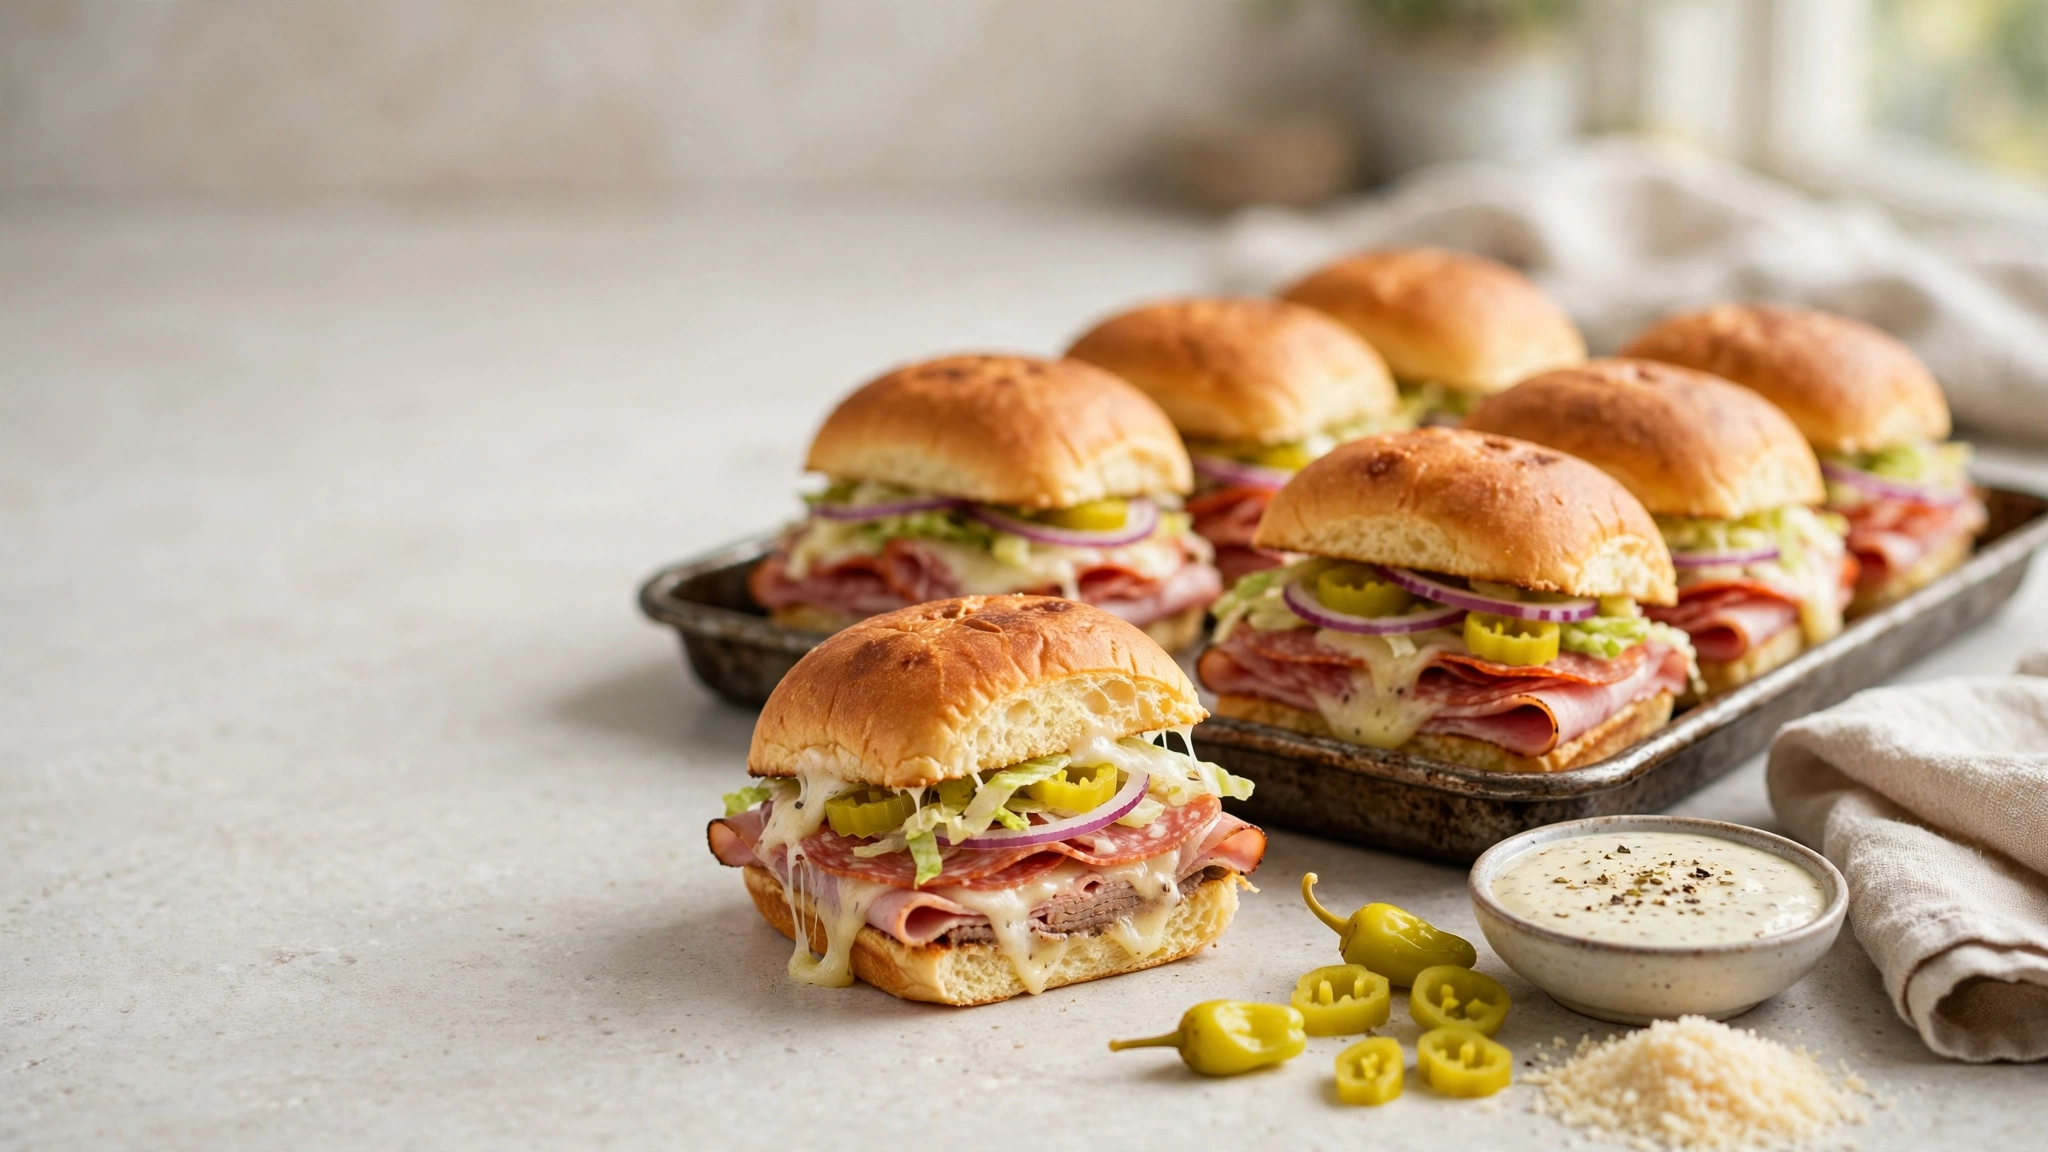

The tray lands on the table, the cheese is still bubbling, and someone reaches for a second slider before the first one is gone. That is the goal. The trouble is that grinder-style sandwiches can turn messy fast. Too much dressing makes the rolls wet, thick meat layers heat unevenly, and warm lettuce loses its crunch.
Good Grinder Sliders should have crisp-edged rolls, melted cheese, salty deli meat, and a cool, tangy salad added at the right moment. The small details matter more than fancy ingredients. Draining peppers, placing cheese against the bread, and waiting to add the salad can change the whole tray.
The ideas below start with the classic Italian deli version, then move into easy flavor changes, meatless fillings, make-ahead methods, and party serving tricks. Each one gives you a clear way to build the sliders, plus a quick visual reference you can use while cooking. Start with the version that fits your table, then borrow the best tips from the others.
1. Build the Classic Italian Deli Grinder Slider
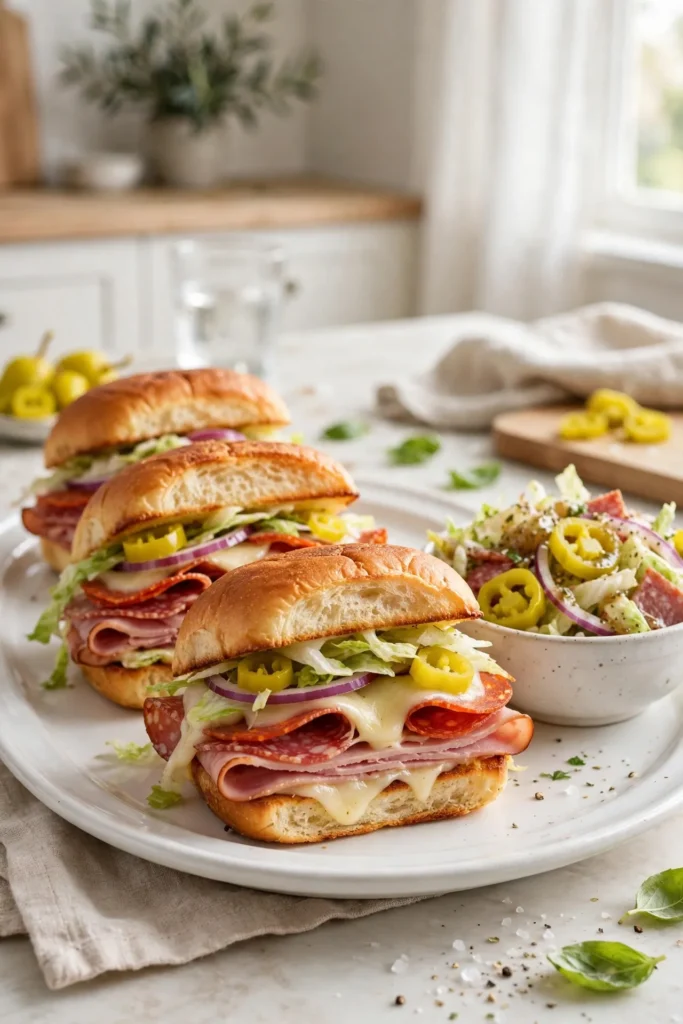
The classic version works because each layer has a job. Ham brings mild salt, Genoa salami adds richness, pepperoni gives a little spice, and provolone melts without disappearing into the bread.
For a balanced 12-roll tray, use:
- Thin slices of ham, salami, and pepperoni
- Provolone placed above and below the meat
- Shredded iceberg, sliced pepperoncini, and red onion
- A light grinder dressing added after baking
Keep the meat folded rather than packed into a thick slab. The folds leave small spaces where heat can move, so the center warms before the tops get too dark.
2. Brush the Rolls With Garlic Parmesan Butter
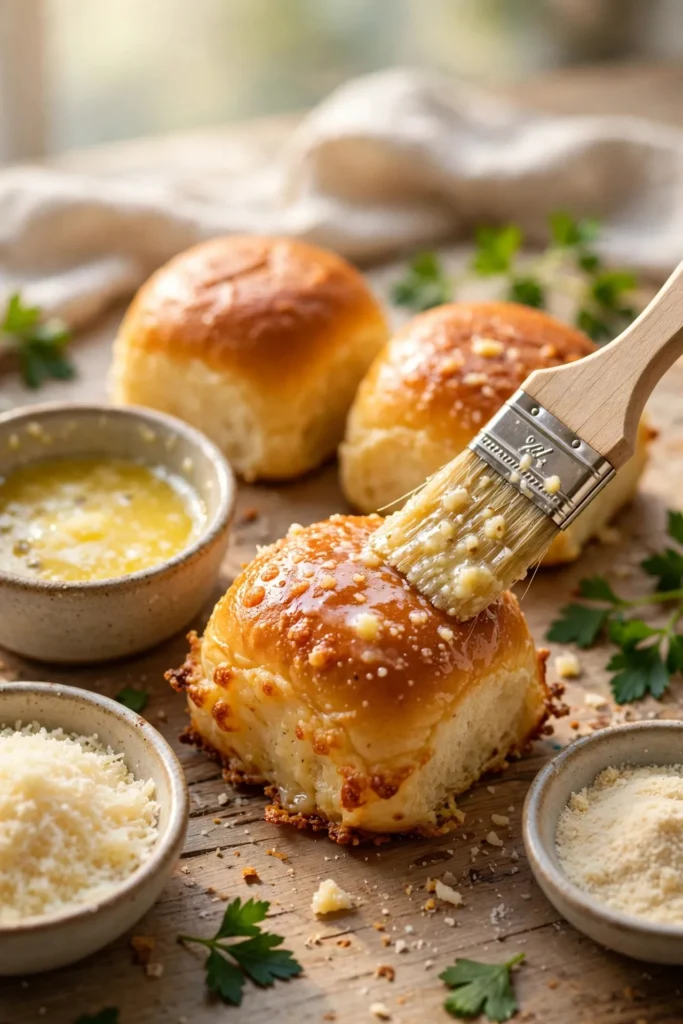
Plain melted butter will brown the tops, but garlic Parmesan butter gives the rolls the savory finish people expect from a hot Italian sandwich. Stir softened or melted butter with garlic powder, dried parsley, grated Parmesan, and a small pinch of Italian seasoning.
Brush on a thin, even coat. Do not pour it into the cuts between the rolls.
A few useful limits:
- Use finely grated Parmesan so it sticks
- Keep fresh garlic away from very high heat
- Cover the tray early if the tops brown too fast
The rolls should look glossy before baking, not soaked. Extra butter collects at the bottom and makes the edges greasy.
| Plain Butter | Garlic Parmesan Butter |
|---|---|
| Gives the rolls simple browning. | Adds garlic, herbs, salt, and a light cheese crust. |
| Useful when the filling is strongly seasoned. | Useful when the rolls need more deli-style flavor. |
| Less likely to darken quickly. | Needs watching because Parmesan browns faster. |
3. Keep the Grinder Salad Crisp Until Serving
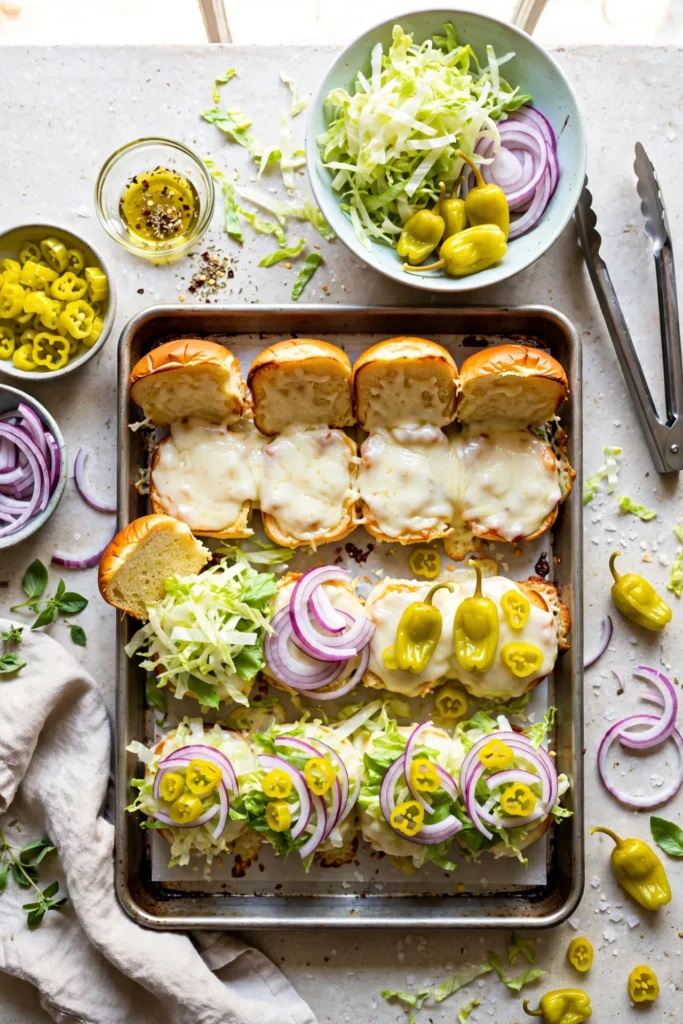
Warm lettuce is the quickest way to lose the fresh crunch that makes a grinder sandwich stand out. Bake the meat, cheese, and rolls first. Add the dressed salad only after the tray comes out of the oven.
Mix the salad in a separate bowl with shredded iceberg, thin red onion, pepperoncini, and just enough dressing to coat the leaves. Then let it sit for only a minute or two.
For cleaner serving, lift the top slab of rolls, spread the salad in one thin layer, and replace the tops. Serve right away. If the tray will sit out, keep extra salad on the side instead of packing more inside.
Dry the lettuce well after washing.
Drain pepperoncini before slicing.
Dress the salad just before it goes into the rolls.
Do not bake the lettuce with the meat.
Do not let dressed salad sit in the bowl for a long time.
Do not spoon extra dressing directly onto the rolls.
4. Make a Ham and Provolone Version for Picky Eaters
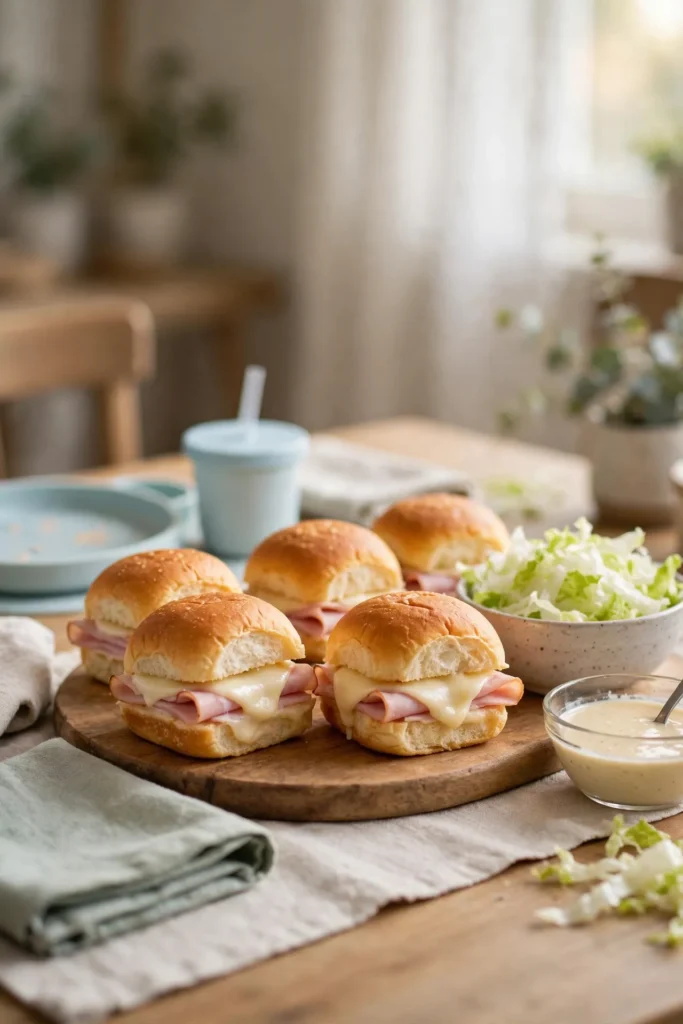
A full stack of salami and pepperoni can be too strong for children or guests who prefer mild food. Ham and provolone keep the sliders familiar, while a little oregano and a tangy salad still give them grinder flavor.
Build the tray with:
- Thin honey ham or smoked ham
- Mild provolone or mozzarella
- A small amount of pepperoncini
- Finely shredded lettuce
- Dressing served lightly or on the side
Skip thick tomato slices inside the rolls because they release water as they warm. For a little more flavor, spread a thin layer of mayonnaise mixed with Italian seasoning on the top half of the rolls.
Mild Tray Check
5. Turn Pepperoni and Mozzarella Into Pizza Grinder Sliders
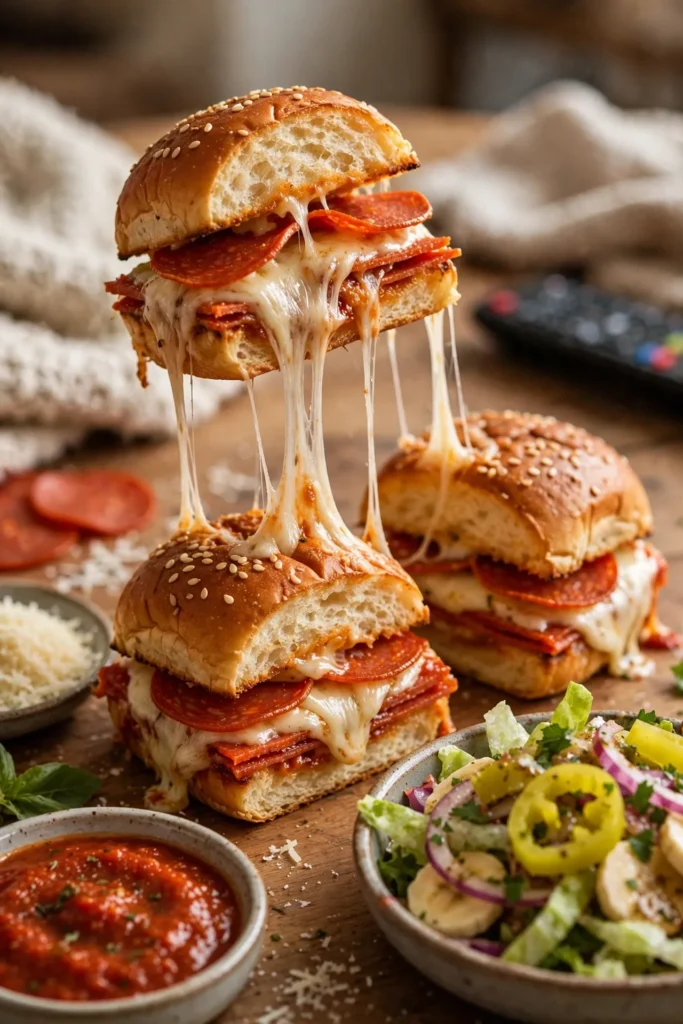
Pizza-style sliders are easy to recognize and usually disappear fast at casual gatherings. Layer pepperoni with low-moisture mozzarella, then spread a thin amount of pizza sauce across the bottom rolls. Too much sauce will soften the bread before the cheese melts.
After baking, add a small pile of shredded lettuce tossed with red onion, pepperoncini, and creamy grinder dressing.
Keep these details in mind:
- Use sauce as a spread, not a heavy layer
- Place cheese against the bread as a moisture barrier
- Add grated Parmesan after the tray comes out
- Serve warm while the mozzarella still pulls cleanly
This version works especially well for game-day tables and family movie nights.
6. Add Calabrian Chile for a Spicy Tray
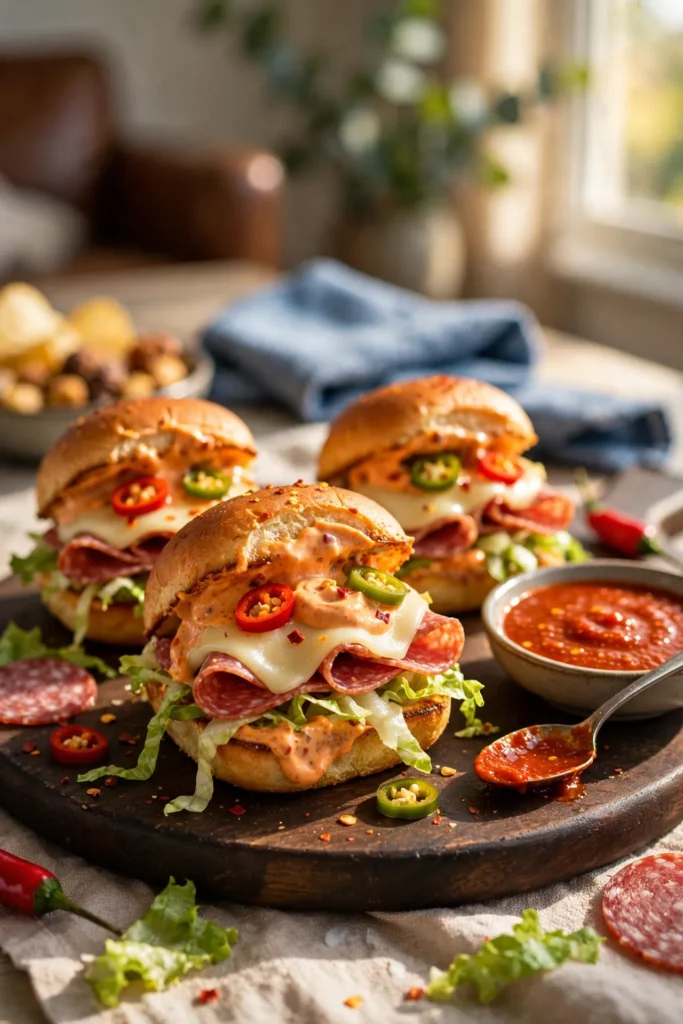
Calabrian chile paste brings heat, salt, and a little tang, so a small amount goes a long way. Mixing it into mayonnaise gives you better control than spooning the paste straight onto the rolls.
Use this order:
- Stir the chile paste into mayonnaise.
- Taste before adding more.
- Spread a thin layer across the top rolls.
- Keep the grinder salad cool and lightly dressed.
Start mild when serving a group. Extra spicy sauce can go on the table for anyone who wants more heat. This keeps one strong patch of chile from taking over a single slider.
Mix a small spoonful of Calabrian chile paste into mayonnaise.
Spread the sauce thinly so every slider gets even heat.
Serve extra sauce separately instead of making the whole tray hotter.
7. Layer Italian Sausage With Peppers and Onions
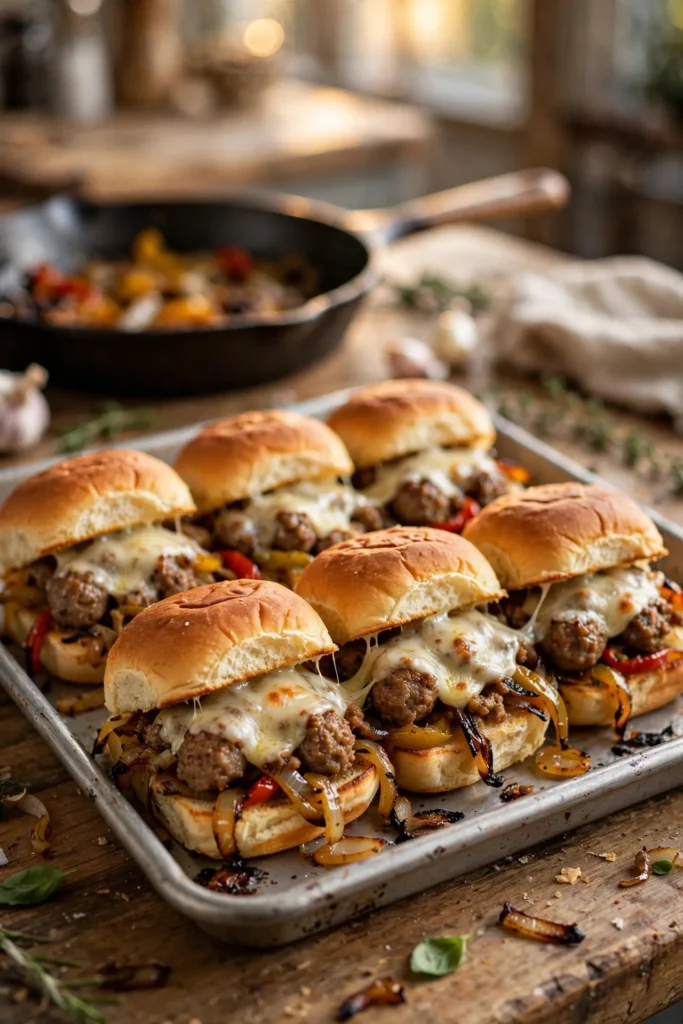
Sausage sliders can turn heavy when the filling goes into the rolls straight from the skillet. Grease and vegetable moisture settle into the bottom bread while the tray bakes.
Brown the sausage first, then move it to a paper towel-lined plate. Cook sliced peppers and onions in the same pan until they are soft but no longer watery. Let everything cool for a few minutes before assembling.
For better layers:
- Put provolone against the bottom rolls.
- Spread the sausage loosely.
- Add a thin layer of peppers and onions.
- Finish with more cheese.
A dry, well-cooked filling gives you crisp edges instead of a wet center.
Hot sausage and watery vegetables go straight into the rolls, leaving the bottom layer greasy and soft.
Drained sausage and cooked-down vegetables make a rich filling that stays inside the slider instead of soaking through it.
8. Make Turkey Pesto Grinder Sliders
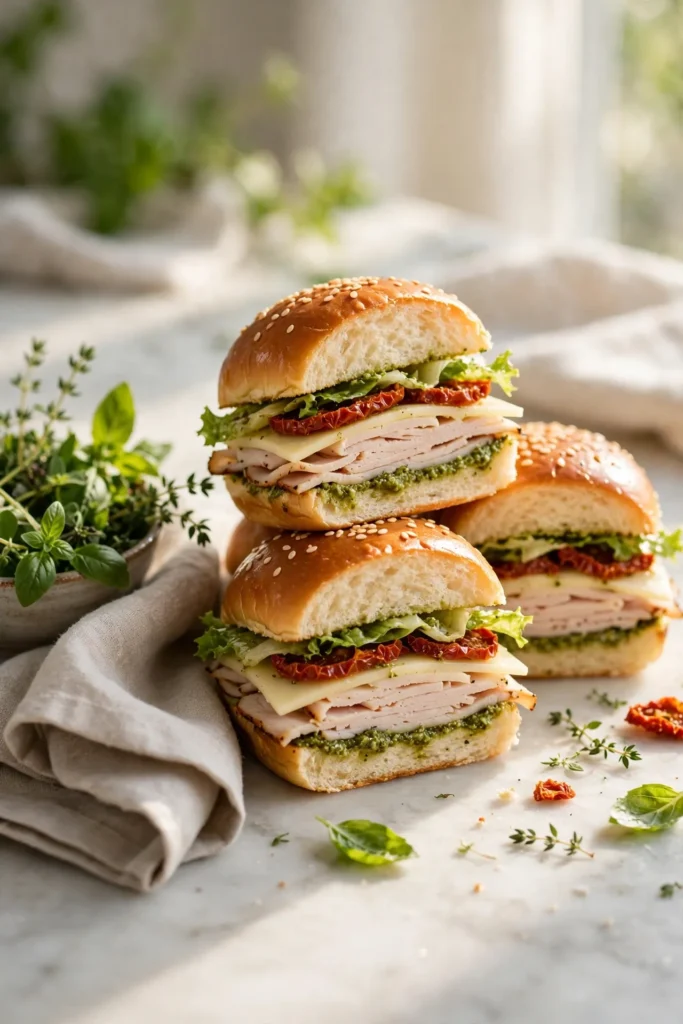
Turkey and pesto make a lighter tray, but pesto can make the rolls oily when it is spread too thickly. Use it more like a seasoning than a sandwich sauce.
Layer sliced turkey with provolone or mozzarella, then spread a thin coat of pesto on the underside of the top rolls. Add tomatoes only after removing the seeds and blotting the slices dry.
For the cool finish, toss lettuce with red onion and a small amount of vinegar-based dressing. Skip extra oil in the salad because the pesto already brings plenty. This version fits lunch tables where a full pepperoni and salami stack may feel too rich.
💡 Pesto Tip
Spread pesto thin enough that you can still see parts of the bread. A heavy green layer can turn the tops oily and overpower the turkey.
9. Add Muffuletta-Style Olive Salad
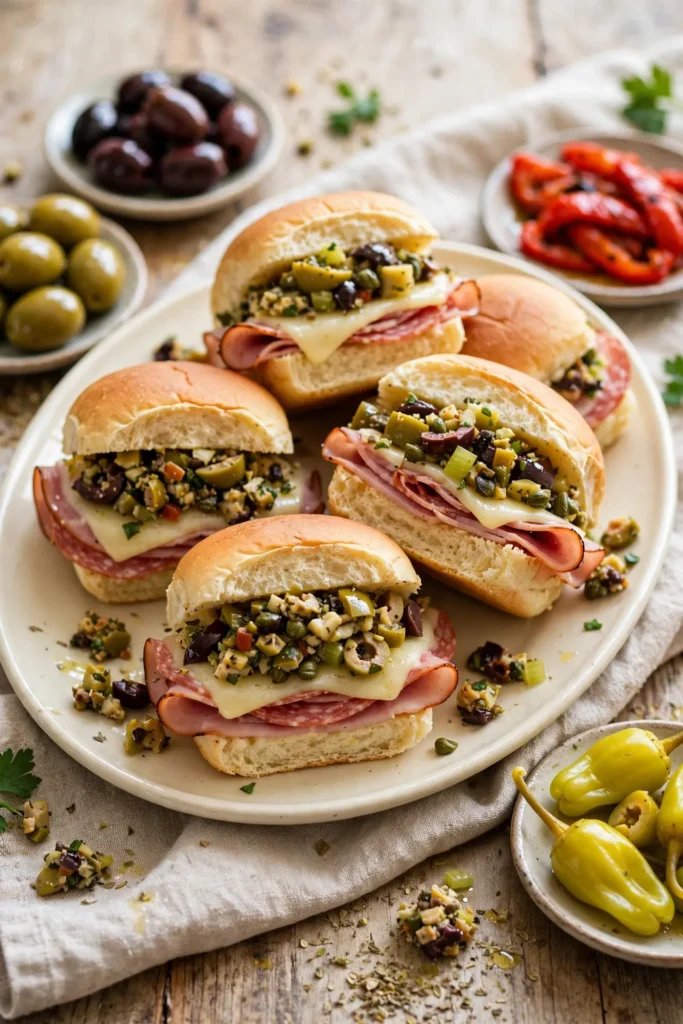
A chopped olive mixture gives grinder sliders a sharp, salty bite that stands up well to ham, salami, and provolone. The key is removing extra liquid before it touches the bread.
Chop green olives, black olives, roasted red peppers, pepperoncini, and a little parsley. Let the mixture drain in a fine strainer, then press it gently with the back of a spoon.
Use one thin layer across the meat rather than piling it high. Olive salad is strong, and too much can make each bite salty. Keep the creamy grinder dressing light or leave it off entirely. The olive mixture already provides acidity, seasoning, and moisture.
Drain the olive salad until no liquid pools beneath it. The flavor should soak into the meat, not the bottom rolls.
10. Make Caprese Grinder Sliders Without Deli Meat
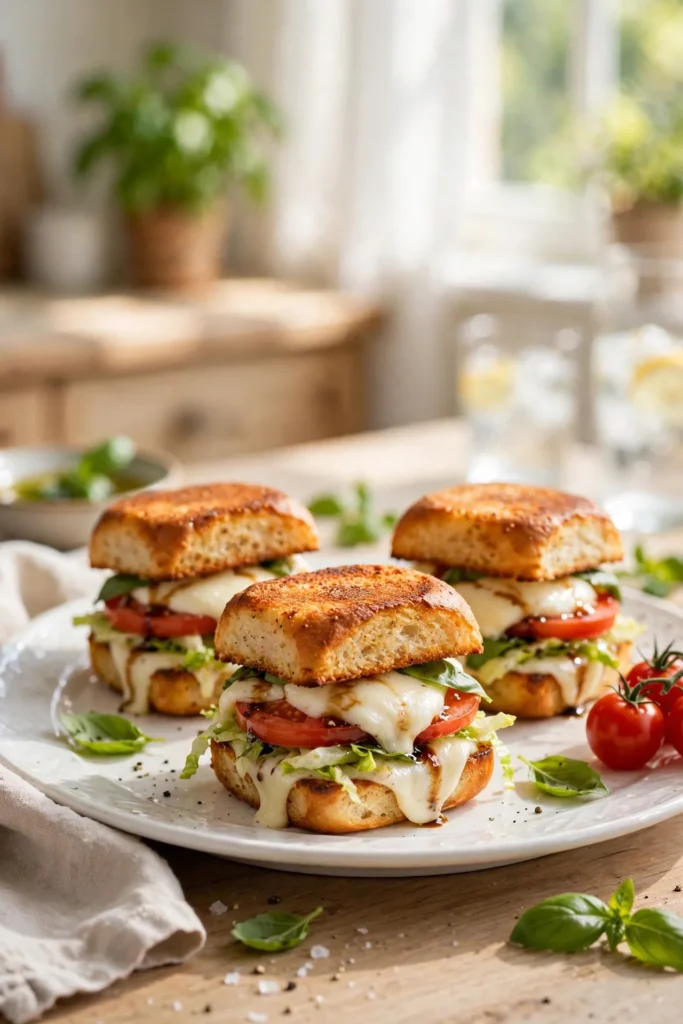
Fresh tomato, basil, and mozzarella give these sliders a bright Italian flavor without salami or ham. The mozzarella choice matters because fresh cheese releases more water as it heats.
Low-moisture mozzarella is easier for a baked tray. It melts evenly and helps the rolls stay firm. Fresh mozzarella has a softer texture, but it should be sliced thin and dried well with paper towels.
Build the sliders with mozzarella, seeded tomato slices, basil, and a light brush of garlic butter. Add shredded lettuce with a small amount of red wine vinegar after baking. A drizzle of balsamic glaze works best at the table, where it cannot soak into the bread.
| Fresh Mozzarella | Low-Moisture Mozzarella |
|---|---|
| Soft, milky texture | Firmer, stretchier melt |
| Needs careful drying | Less likely to release water |
| Best for a tray served right away | Best for easier baking and holding |
11. Fill Roasted Vegetable Grinder Sliders
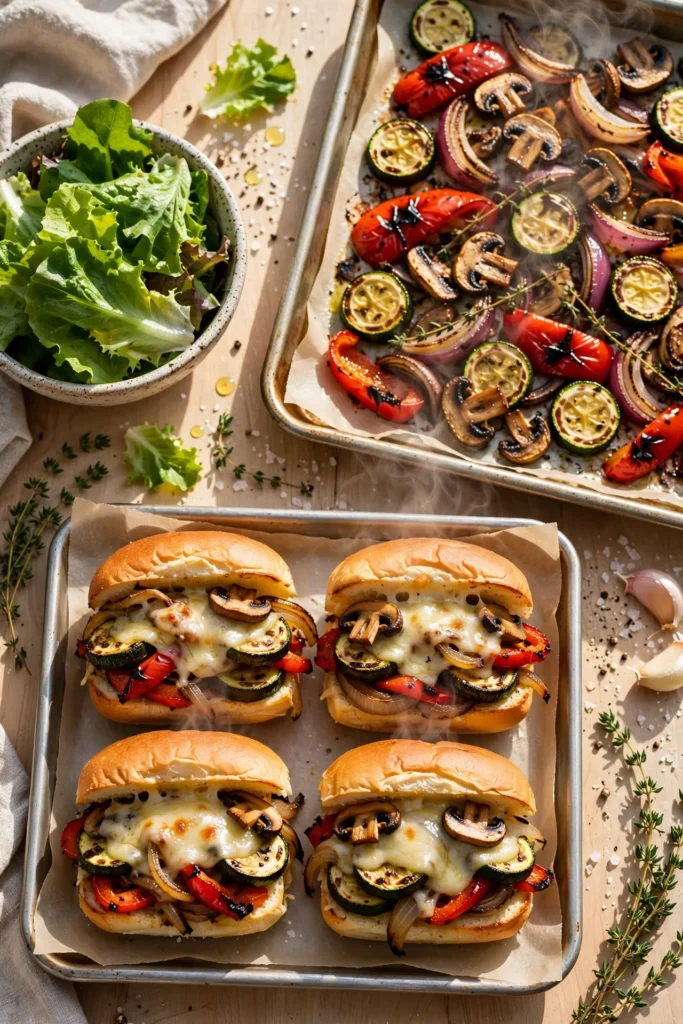
Roasted vegetables need browned edges, not just soft centers. That extra color gives the filling a deeper flavor and helps cook away the water that could soften the rolls.
Cut the vegetables into thin, even pieces, then roast them in a single layer. A useful mix includes:
- Zucchini cut into half-moons
- Red bell pepper in short strips
- Thinly sliced red onion
- Mushrooms cut into small pieces
Let the vegetables cool before layering them with provolone. Add the grinder salad after baking for fresh crunch. Avoid raw mushrooms or thick zucchini slices because both can release water inside the tray.
12. Use Chicken Parmesan as the Hot Filling
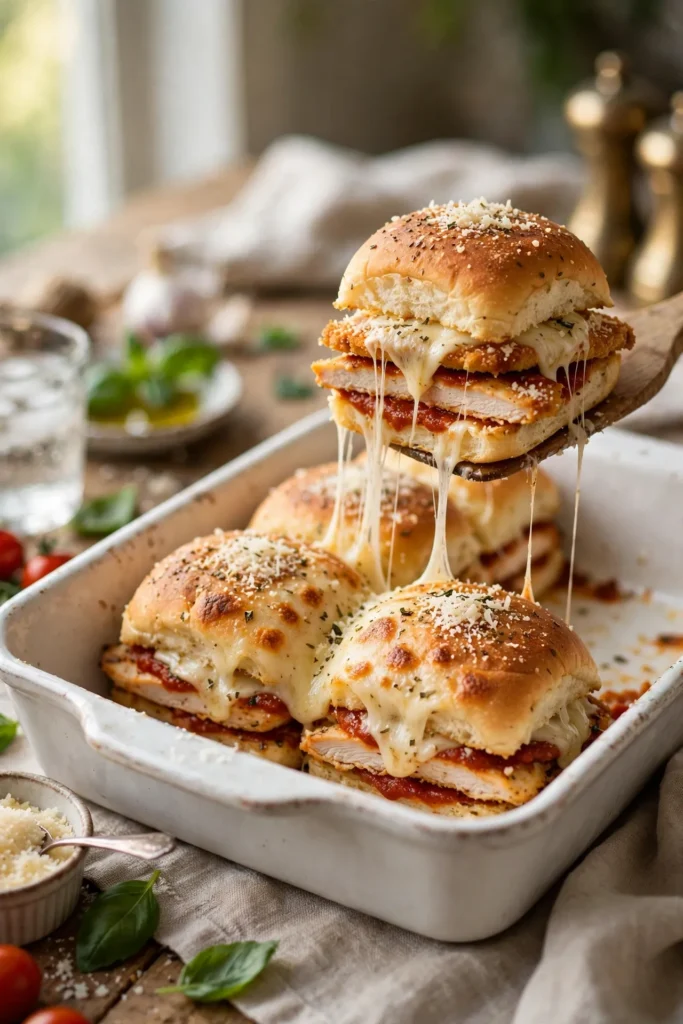
Chicken Parmesan sliders can become messy when thick chicken pieces and heavy marinara are packed between small rolls. Thin slices or lightly shredded chicken make the tray easier to build and serve.
Keep the layers controlled. Start with mozzarella, add the chicken, spoon on a light coating of marinara, then finish with Parmesan and more mozzarella.
The top cheese holds the chicken in place as it melts. Add grinder salad only if you want the fresh deli contrast. A simple mix of lettuce, red onion, and vinegar works better here than a heavy creamy dressing. The chicken and sauce already make this one of the richer trays.
Layer It in This Order
13. Stop the Bottoms From Turning Soggy
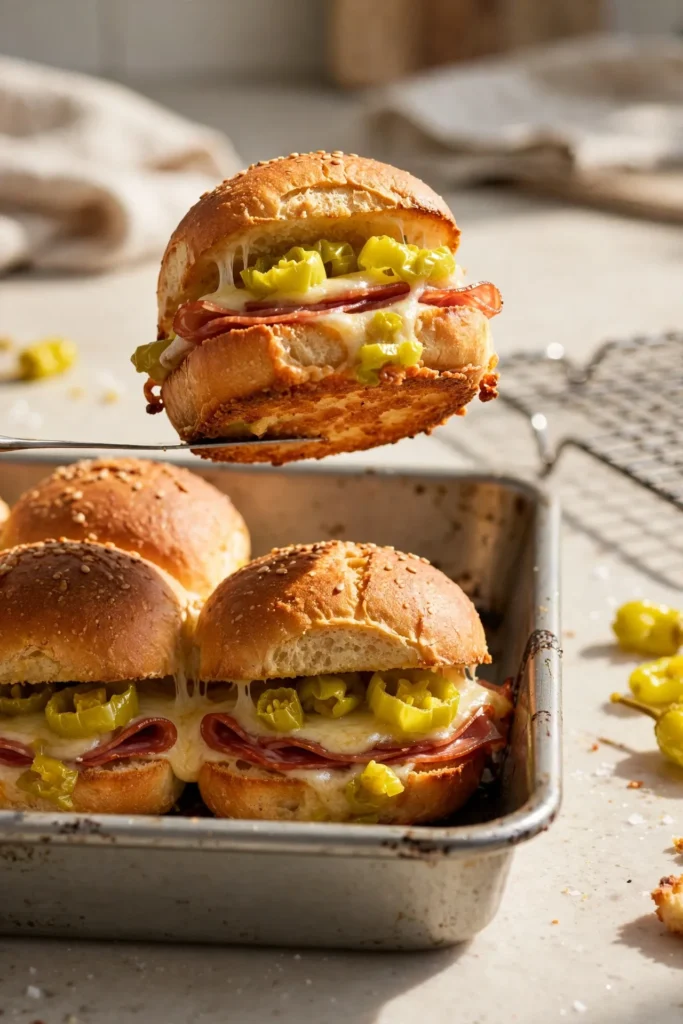
Most soggy slider trays have more than one moisture problem. Wet peppers, heavy dressing, warm tomato juice, and too much sauce can all collect under the filling.
Use cheese as a barrier on the bottom rolls. Drain every jarred ingredient, blot tomato slices, and let cooked fillings cool before assembly. A metal baking pan also gives the bottoms firmer heat than a deep glass dish.
One more detail matters. Do not cover the sliders for the entire baking time. Foil traps steam. Cover them early so the tops do not burn, then uncover the tray near the end to let moisture escape.
Place cheese directly against the bottom rolls.
Drain peppers, olives, and cooked fillings well.
Uncover the tray near the end of baking.
Do not pour dressing directly onto the bottom bread.
Do not assemble with steaming hot fillings.
Do not keep the pan tightly covered the whole time.
14. Assemble the Sliders Ahead Without Ruining the Bread
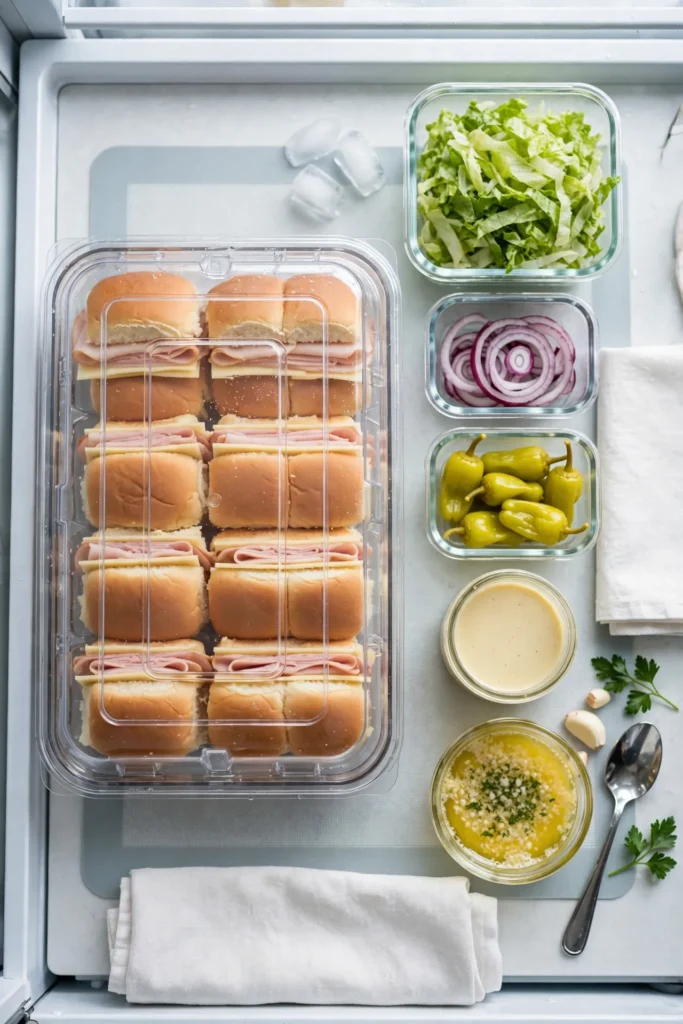
Make-ahead sliders work best when the wet and dry parts stay separate. The rolls, cheese, and deli meat can be assembled several hours early, covered, and refrigerated. The grinder salad and butter topping should wait.
Prepare the dressing in a jar and keep the chopped vegetables in a separate container. Brush the roll tops shortly before the tray goes into the oven. This keeps the butter from soaking into the bread while it sits.
Take the assembled tray out of the refrigerator while the oven heats. A very cold pan may need a little more baking time, so check the center cheese before removing it.
Assemble the rolls, cheese, and meat, then cover and refrigerate.
Store the lettuce, onions, peppers, and dressing in separate containers.
Brush on the seasoned butter shortly before baking.
Bake the tray, then dress and add the salad right before serving.
15. Serve a Grinder Slider Bar for Parties
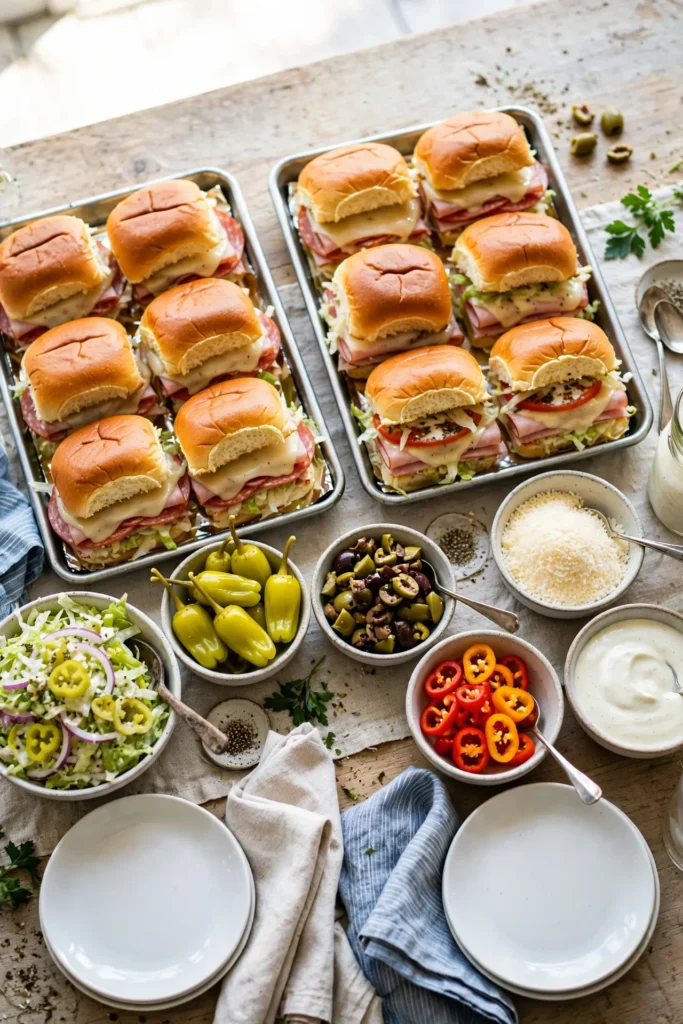
One overloaded tray is harder to eat and gives every guest the same combination. A slider bar keeps the hot sandwiches simple and lets people choose their own cool toppings.
Bake one or two basic trays with deli meat and provolone. Set out small bowls of grinder salad, pepperoncini, chopped olives, hot peppers, extra dressing, and grated Parmesan. Keep serving spoons small so the toppings stay inside the rolls.
Label the spicy bowl clearly and place extra napkins nearby. Guests can start mild, add heat, or skip the salad. This setup also helps the baked sliders hold better because wet toppings are added one serving at a time.
Wet toppings sit on every slider, the bread softens, and guests cannot adjust the heat or dressing.
Keep the hot sliders simple and arrange the cool toppings in small labeled bowls.
Each guest builds a slider that suits their taste.
Conclusion
Grinder Sliders taste best when the hot, melted layers and the cool, crisp toppings meet at the last minute. Start with cheese against the bread, drain anything packed in liquid, and keep the grinder salad separate until the tray leaves the oven. Those small steps help the rolls stay firm and make each bite easier to eat.
Use the classic deli version for a familiar party tray, or choose one of the lighter, spicy, meatless, or make-ahead options to suit the people at your table. Save this list to Pinterest so you have the filling ideas and soggy-roll fixes ready for your next gathering.