
20 Fudge Recipes
Few treats feel as homemade as a pan of fudge, and these fudge recipes cover every style worth making: the old fashioned stovetop classic beaten by hand, the fluff based fantasy version, two ingredient shortcuts that never fail, and seasonal squares dressed up for gifting. Rich, dense, and unapologetically sweet, fudge is the candy that turns an ordinary afternoon into an occasion.
This collection rounds up 20 variations, from dark chocolate sea salt to maple walnut and peppermint holiday. Some need a thermometer and a little patience, others come together in the microwave in minutes. Every one of them slices clean, keeps well, and disappears fast, so pick your flavor and butter the pan.
Why You’ll Love These Fudge Recipes
- Old fashioned and no fail methods side by side, so every skill level wins
- Most batches set within a few hours using basic pantry staples
- Endless flavors: chocolate, peanut butter, caramel, maple, peppermint and more
- Made for gifting: fudge keeps for weeks and ships beautifully
- Small squares, big satisfaction: a little goes a long way
1. Classic Chocolate Fudge
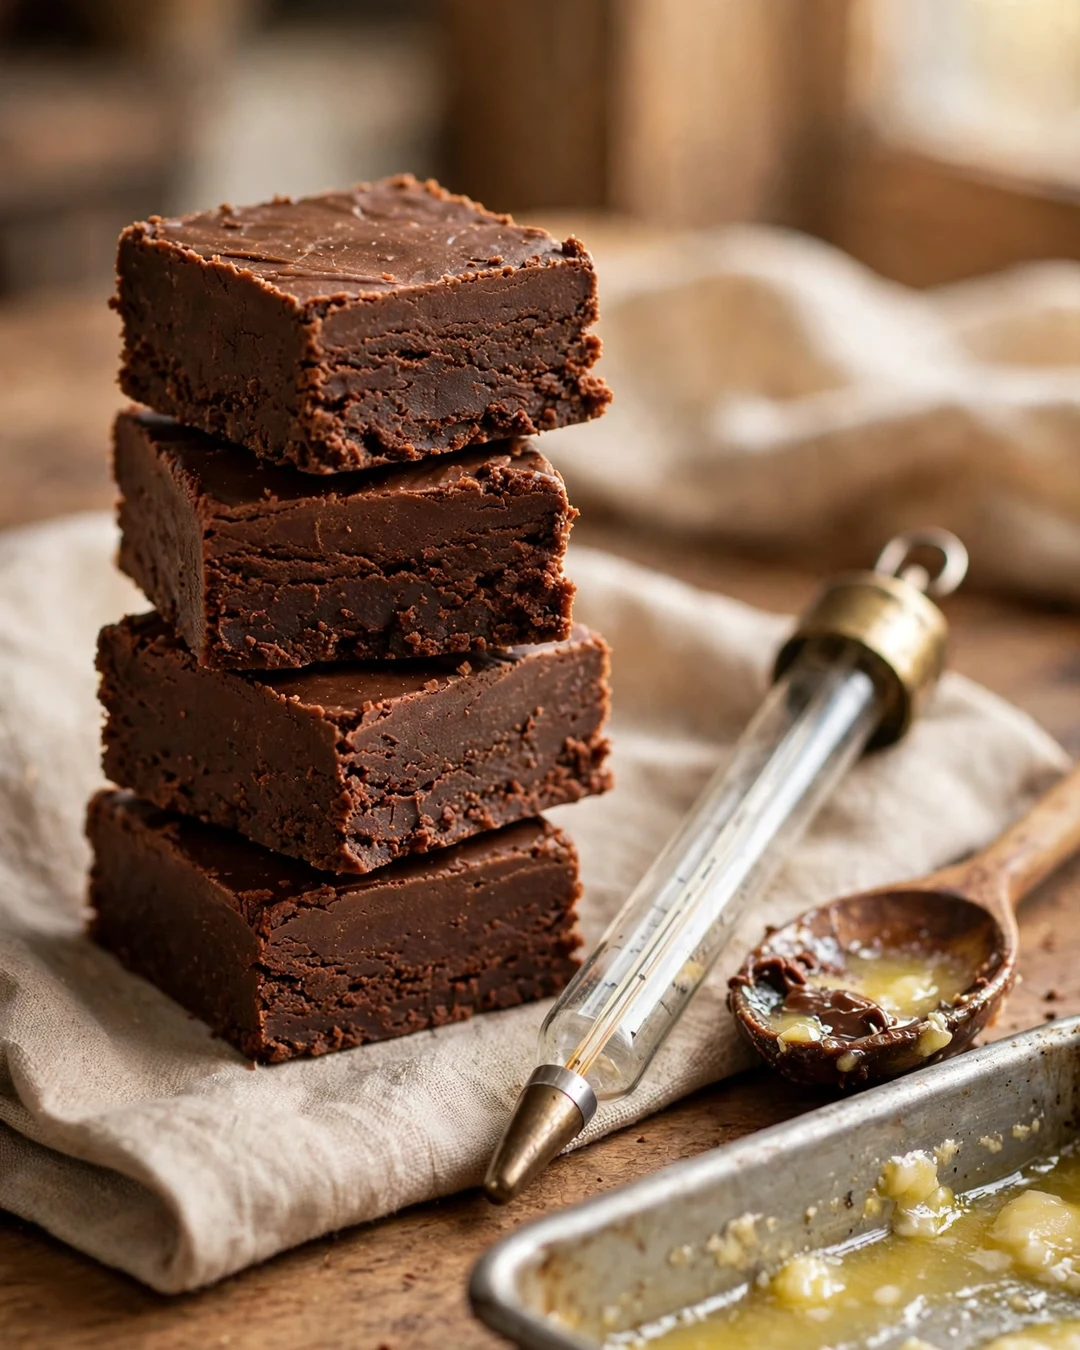
This is the dependable chocolate fudge every baker needs: rich cocoa flavor, a dense and creamy bite, and clean slices that hold on a dessert tray. Sweetened condensed milk keeps the method simple and forgiving, so the pan sets smooth every time without a thermometer or a long stirring session at the stove.
Chocolate chips and butter melt into the condensed milk over low heat, then vanilla and a pinch of salt round out the flavor. Pour the thick mixture into a lined pan, smooth the top, and chill until firm. The result tastes like a candy shop classic, with none of the guesswork that scares people away from fudge.
Pro Tips
Use good chocolate chips with real cocoa butter for the smoothest melt, and keep the heat low so the mixture never scorches. Line the pan with parchment and leave an overhang on two sides, which lets you lift the whole slab out for tidy, even cuts with a long knife.
- Low heat only; stir constantly while melting
- Parchment sling for easy removal
- Salt and vanilla sharpen the chocolate
- Chill at least 3 hours before slicing
Serving Suggestions
Cut into one inch squares and serve at room temperature with coffee or cold milk. The plain chocolate base also welcomes a sprinkle of chopped nuts or a light dusting of cocoa on top when you want a slightly dressier look for guests.
Keep a small plate of these squares near the coffee maker and watch how quickly they vanish during the week. The flavor deepens after a night in the tin, so day two slices often taste even better than the first cut. Simple, rich, and reliable, this is the batch every home candy maker should master first.
2. Old Fashioned Cooked Fudge
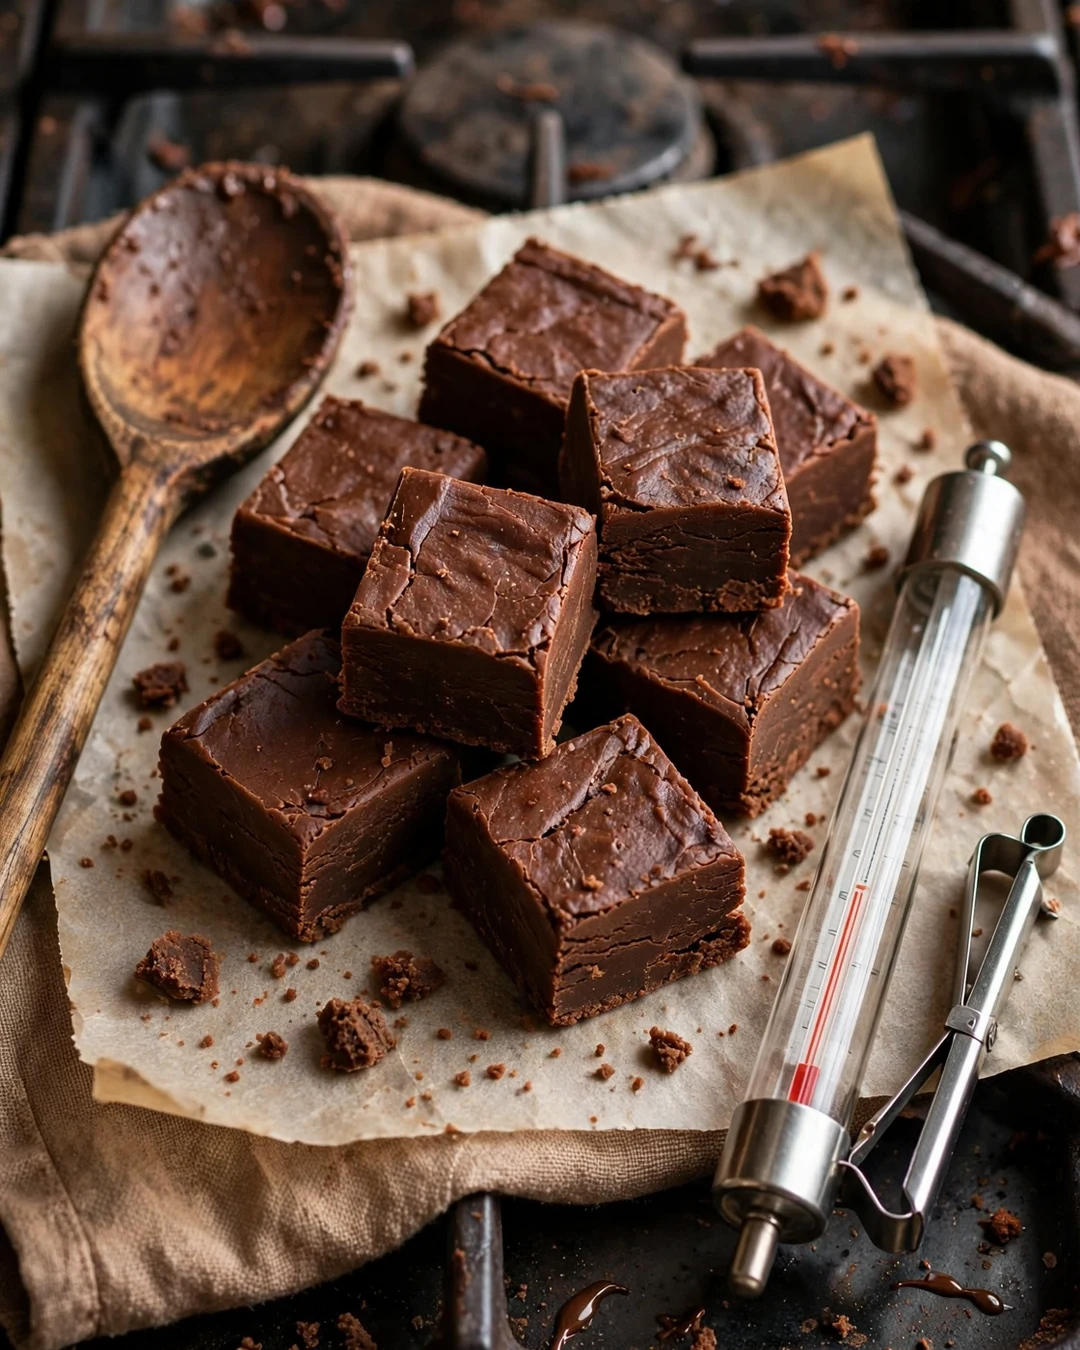
This is the fudge your grandmother guarded with a wooden spoon. Sugar, cocoa, milk, and butter cook slowly to the soft ball stage, then get beaten by hand until the mixture thickens and loses its glossy shine. The result is firm, sliceable, and deeply chocolate, with a fine crumb that melts cleanly on the tongue.
The method rewards patience. Everything cooks in one heavy pot with no stirring once the sugar dissolves, because stray crystals on the pan sides can seed a grainy batch. A candy thermometer takes the guesswork out of the cooking stage, and a sturdy wooden spoon handles the beating. Butter the pan while the fudge cooks so you can pour the second it is ready.
Pro Tips
Use a heavy bottomed pot with tall sides, since the mixture bubbles up as it boils. Keep a small bowl of cold water nearby for the soft ball test if your thermometer acts up: a dropped spoonful should form a soft, flattenable ball. If crystals form on the sides of the pot, wash them down with a wet pastry brush before they can fall back in.
Why Two Ingredients Work
Prepared frosting is engineered to stay soft and smooth, so it protects the chocolate from seizing and stops sugar crystals from forming. The result is a forgiving fudge that tolerates humid days, impatient stirring, and first time candy makers without complaint.
- Heavy pot with tall sides only
- Thermometer clipped to the pan, not touching the bottom
- Stop stirring once the sugar dissolves
- Beat until the shine just turns matte
Serving Suggestions
Cut into one inch squares and serve at room temperature with strong coffee. The squares hold their shape on a dessert tray for hours, which makes them ideal for bake sales. Chocolate lovers who enjoy this style usually adore rich brownies too, and these brownie recipes deliver the same deep cocoa comfort in bar form.
One last old fashioned rule: never scrape the pot. The fudge clinging to the sides carries the sugar crystals that can turn a whole batch grainy, so pour what flows freely and leave the rest behind. Your reward is a pan of smooth, firm squares that taste like a candy shop from another era, made entirely in your own kitchen.
3. Two Ingredient Easy Fudge
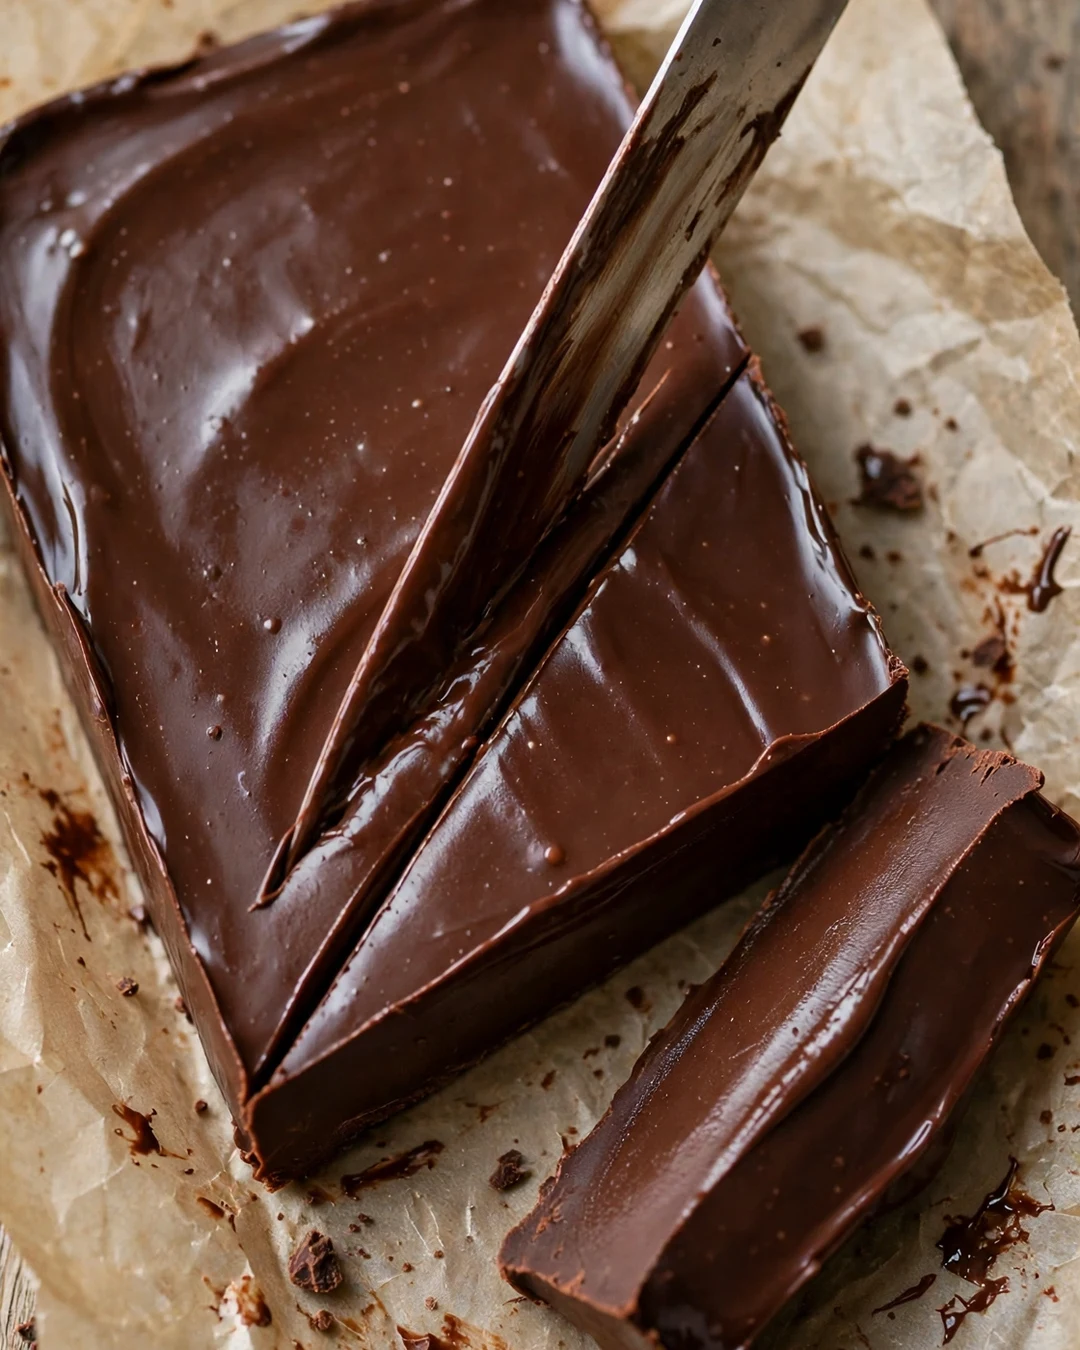
Two ingredients, one bowl, zero thermometer. A can of chocolate frosting and a bag of chocolate chips melt together into fudge that sets firm, slices clean, and fools everyone. This is the recipe to keep in your back pocket for bake sales, last minute gifts, and sweet emergencies of every kind.
Microwave the chips until just melted, stir in the frosting until the color turns uniform, and spread it into a lined pan. That is the entire method. The frosting brings sugar, fat, and stabilizers in perfect balance, which is exactly why this version almost never fails or turns grainy on you.
Pro Tips
Match your frosting and chips for a clean flavor, or mix them on purpose: white frosting with peanut butter chips, or chocolate frosting with butterscotch chips. Line the pan with parchment and leave an overhang so the slab lifts out in one piece for tidy cutting.
- Parchment sling for easy removal
- Melt chips gently, never to bubbling
- Swap chip flavors for instant variations
- Cut with a warm, dry knife
Serving Suggestions
Because it firms up fast, this fudge is perfect for same day parties. Stack the squares in a clear treat bag with a ribbon and you have a hostess gift in under an hour. Kids love choosing the chip flavor, so set out two or three bags and let them direct the batch.
Do not let the simplicity fool you into skipping the chill time. A full two hours in the fridge gives the cleanest slices and the best dense bite. Warm the knife under hot water and wipe it dry between cuts, and every square will have the sharp edges and smooth faces of shop bought fudge.
4. Peanut Butter Fudge

Peanut butter fudge is the fastest route to a full candy tin. It cooks in one pot, sets without fuss, and delivers that sweet salty flavor everyone reaches for first. The texture should be dense and creamy, never crumbly, with a clean peanut taste in every bite.
Butter and peanut butter melt together, then powdered sugar and a splash of milk or cream work in until the mixture turns thick and smooth. Press it into a lined pan while warm, because it firms up quickly as it cools. A pinch of salt sharpens the peanut flavor and keeps the sweetness in balance.
Pro Tips
Use a standard commercial peanut butter rather than the natural kind that separates, since the extra oil can make the fudge greasy and soft. Sift the powdered sugar to avoid white lumps that refuse to blend. Work quickly once the sugar goes in, and use a sturdy spatula, because the mixture gets thick fast.
- Commercial creamy peanut butter, not natural
- Sift the powdered sugar before adding
- Press into the pan while still warm
- Finish with a pinch of flaky salt
Serving Suggestions
Serve with a cold glass of milk and watch the plate empty. A swirl of melted chocolate on top turns it into a buckeye style treat. If your household runs on peanut butter, these peanut butter dessert recipes belong on your baking list too, from cookies to no bake bars.
For a marbled finish, drop spoonfuls of melted chocolate over the warm fudge and drag a knife through in loose S shapes before it sets. The swirl looks bakery fancy but takes thirty seconds, and every square ends up with a different pattern, which makes the tin feel like a sampler box from a real candy counter.
Warm, Never Boiling
Reheat fudge sauce gently and never let it boil, or it can turn grainy and separate. Warm the jar in a bowl of hot water or use short microwave bursts with stirring, and it will pour smooth and glossy every single time.
5. Marshmallow Fantasy Fudge
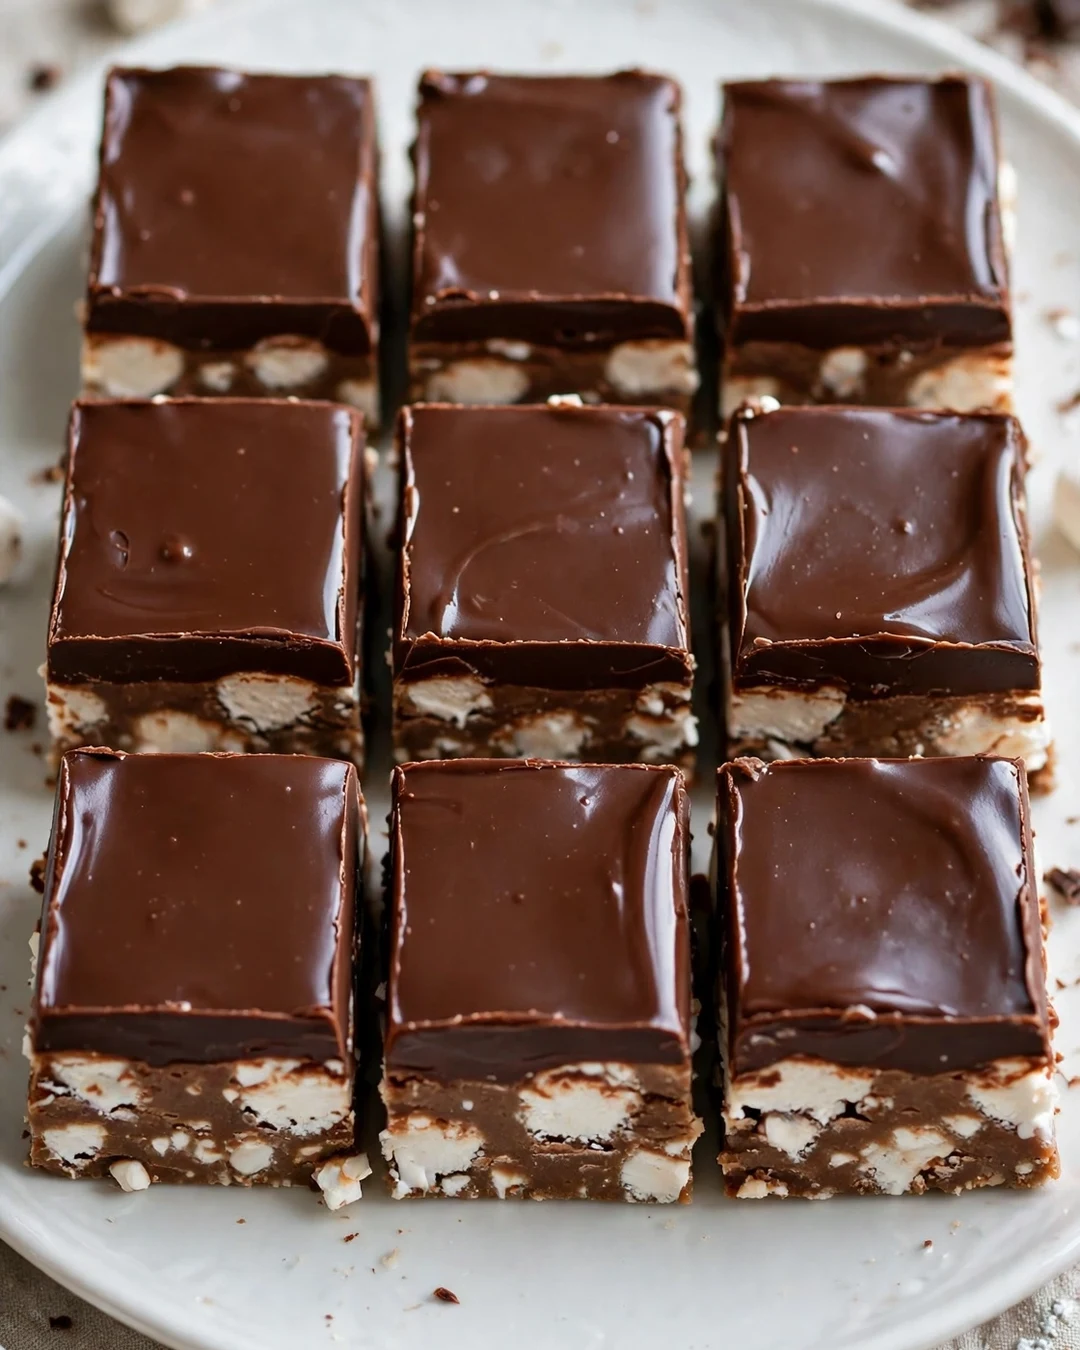
Fantasy fudge is the beloved marshmallow version that has lived on the back of the fluff jar for generations, and it earns the loyalty. Marshmallow cream gives the chocolate a soft, smooth set that slices like a dream and melts on the tongue, with a nostalgic flavor that tastes like holidays at a grandparents house.
Sugar, butter, and evaporated milk come to a full boil, hold for about five minutes, then come off the heat for the chocolate chips and marshmallow cream. Stir until the mixture turns glossy and thick, add vanilla and nuts if you like, and pour it into a lined pan. It firms up at room temperature or faster in the fridge.
Pro Tips
Time the boil carefully once it reaches a true rolling boil that you cannot stir down, because underboiling is the main reason fantasy fudge stays soft. Have the chips and fluff measured and ready before the pot boils, since the mixture waits for nobody once it leaves the heat.
- Full rolling boil timed for about 5 minutes
- Chips and fluff measured before boiling starts
- Stir off the heat until fully glossy
- Room temperature set gives the creamiest texture
Serving Suggestions
Serve the squares plain to show off the smooth texture, or press a pecan half into the top of each piece while the pan is still warm. This is the classic choice for holiday tins, cookie exchanges, and bake sales where a trusted, familiar flavor wins.
Once you master the fluff method, flavor swaps become easy: stir in toasted nuts, swirl in caramel, or fold in crushed cookies for a new pan every time. The soft, creamy set stays friendly to beginners, and the squares hold their shape on a warm buffet table far better than most quick candies do today.
6. Microwave Fudge
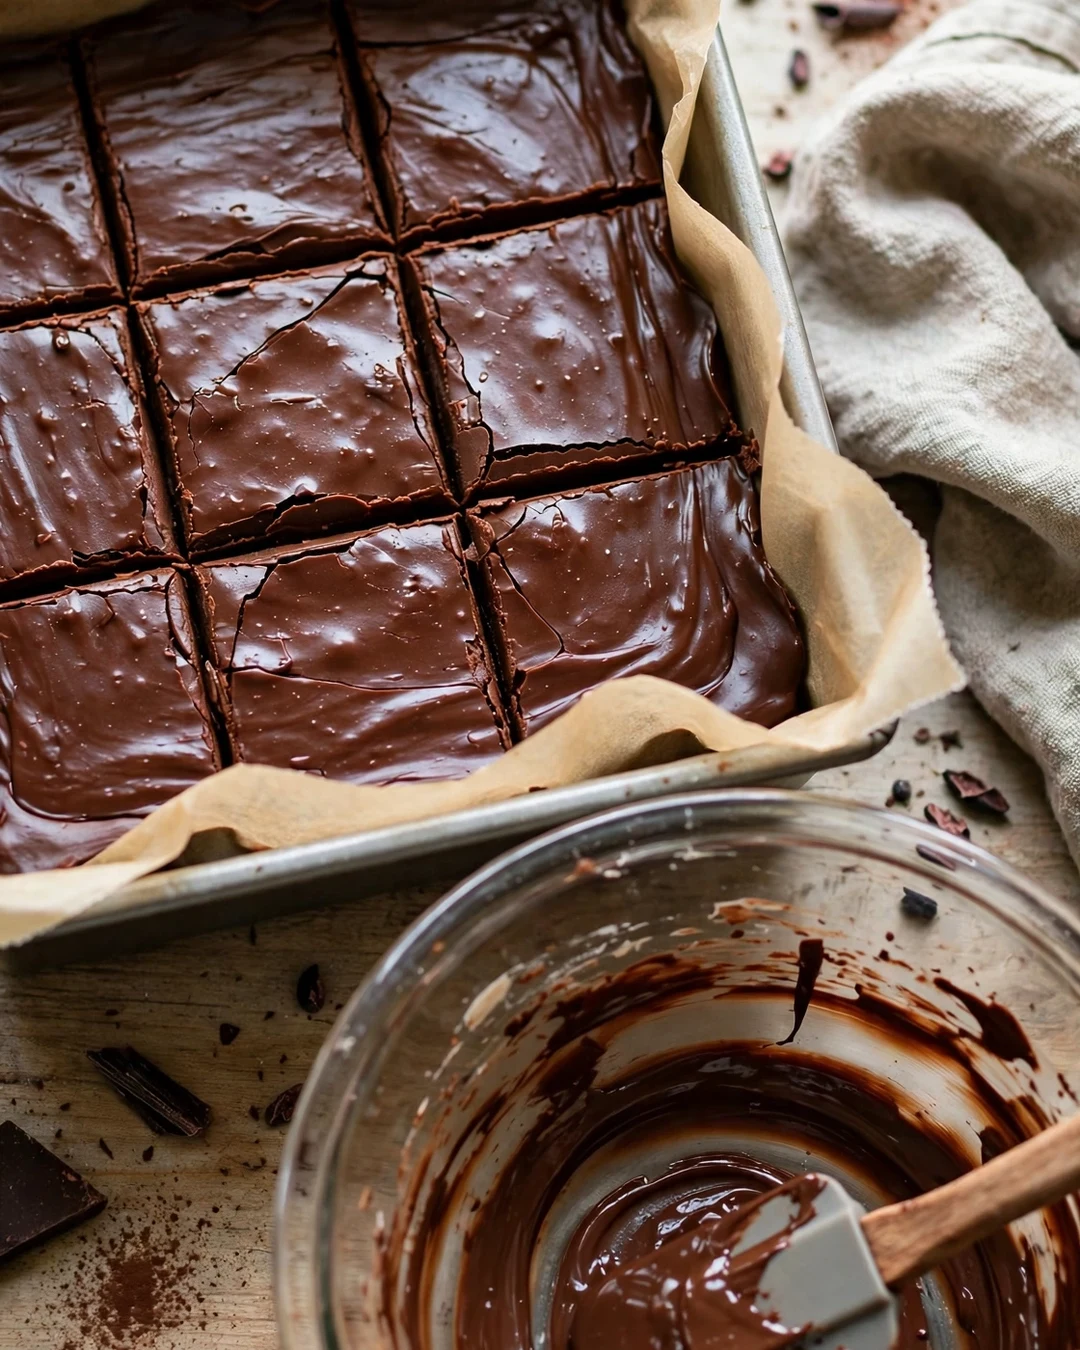
Fantasy fudge earned its name because it tastes like the old fashioned kind but skips the thermometer and the beating. Marshmallow fluff does the heavy lifting, giving the chocolate a soft, creamy set that stays smooth even when a beginner makes it. The microwave melts everything in minutes, so this is the fastest cooked fudge you will ever make.
Sugar, butter, and evaporated milk boil briefly in a large microwave safe bowl, then chocolate chips and fluff stir in off the heat. The mixture pours like thick frosting and firms up in the fridge within a few hours. Because there is no long boiling stage, the texture stays silky and the chocolate flavor stays bright.
Pro Tips
Use a bowl much bigger than you think you need, because the sugar mixture foams up dramatically as it cooks. Stir at each interval so the heat distributes evenly and nothing scorches on the edges. Real vanilla extract added at the end keeps the flavor from tasting flat, and a pinch of salt sharpens the chocolate.
- Oversized microwave safe bowl
- Stir at every cooking interval
- Add the fluff off the heat and stir fast
- Chill at least 4 hours before cutting
Serving Suggestions
This is the batch to make with kids, since the steps are simple and the payoff is fast. Cut small squares and tuck them into lunchboxes, or pile them on a holiday platter. The soft set also makes a wonderful ice cream topping when a square is warmed for a few seconds and spooned over vanilla scoops.
Storage is simple: layer the squares between sheets of wax paper in an airtight tin and keep them at room temperature for up to a week, or refrigerate for two. The fluff keeps the texture creamy instead of dry, so day five tastes nearly as good as day one, which is rare for homemade candy.
7. White Chocolate Fudge
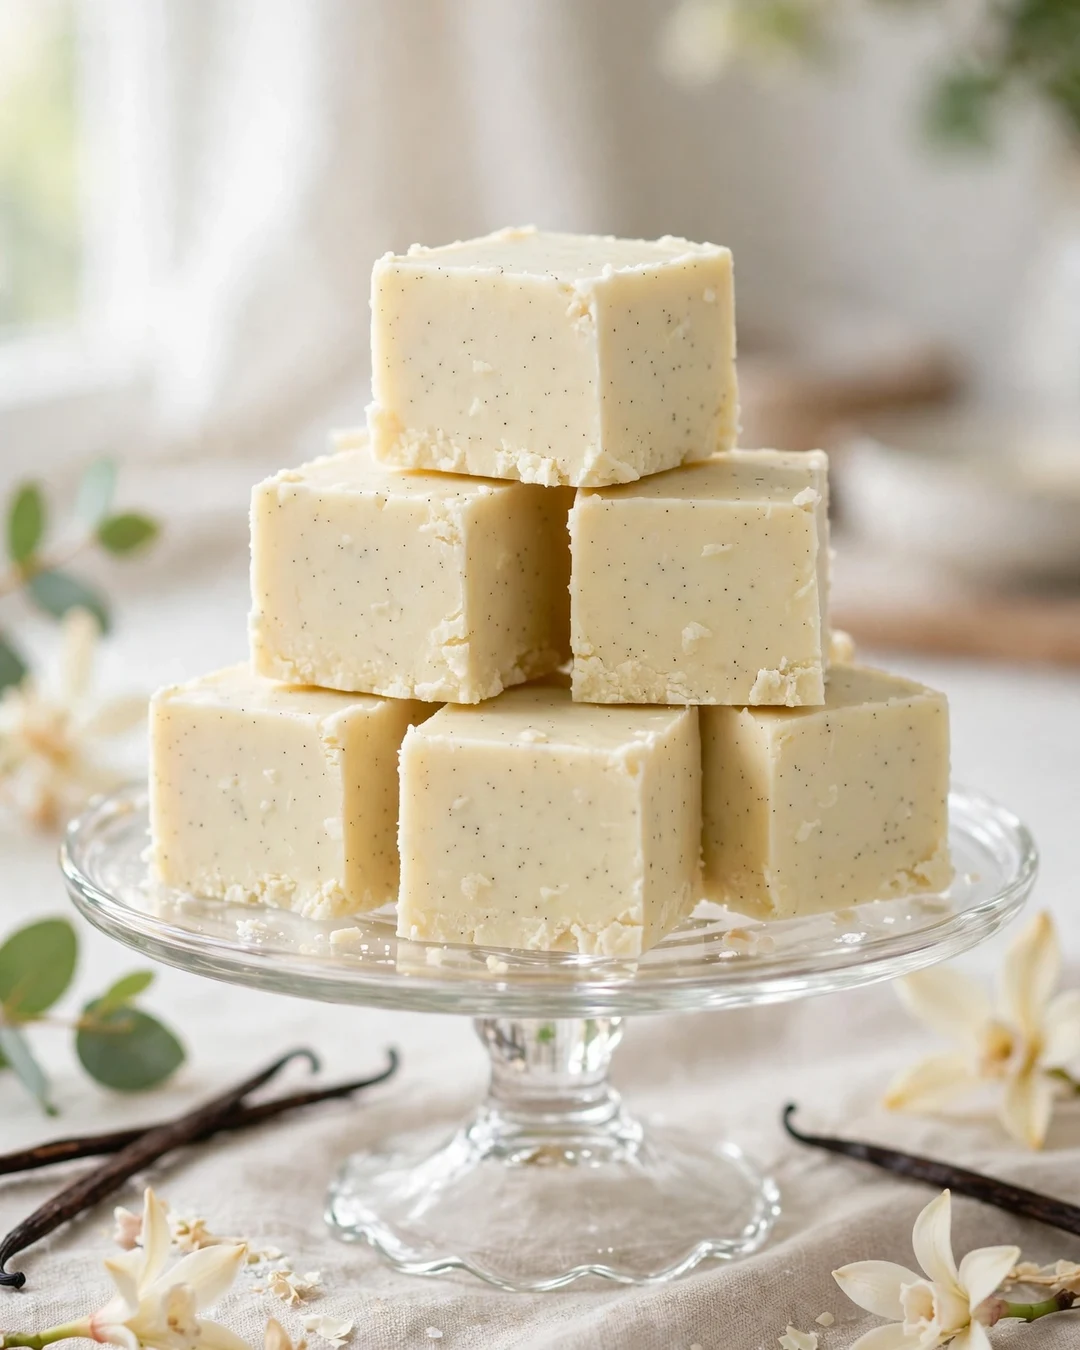
White chocolate fudge is the elegant member of the family: pale, buttery, and smooth, with a gentle vanilla sweetness that pairs with almost anything you fold in. It takes color beautifully, which makes it the prettiest option for holidays, showers, and wedding dessert tables.
White chocolate chips melt with sweetened condensed milk into a thick, glossy base. Because white chocolate scorches faster than dark, gentle heat matters here: a double boiler or short microwave bursts with frequent stirring. Stir in vanilla and a pinch of salt at the end to keep the sweetness from tasting one note.
The Old Fashioned Method
Step 1: Combine sugar, cocoa, and milk, and stir only until the sugar dissolves. Step 2: Cook without stirring to 234 to 240 degrees F. Step 3: Cool undisturbed to 110 degrees F. Step 4: Add butter and vanilla, then beat until the fudge turns thick and matte. Step 5: Pour into the buttered pan, rest 5 minutes, and score the top before it fully sets.
Pro Tips
Check the chip bag for real cocoa butter, since coating style chips can set waxy and soft. If the mixture looks oily, it got too hot; let it cool for a minute and stir briskly until it comes back together. A little lemon zest brightens the whole pan without making it taste lemony.
- Choose chips with real cocoa butter
- Melt low and slow, stirring often
- Salt and vanilla are not optional
- Dried fruit and nuts fold in at the end
Serving Suggestions
Cut into small squares, since white chocolate fudge is rich. It shines on a mixed dessert board next to darker chocolate pieces, where the contrast draws the eye. A cup of strong black tea or espresso balances the sweetness bite for bite.
For a bakery case look, press a few extra toppings onto the surface before the fudge sets: chopped pistachios, dried cranberries, or a dusting of freeze dried raspberry powder. The plain white base turns into a canvas, and a single pan can carry three different looks if you section the toppings into stripes.
8. Salted Caramel Fudge
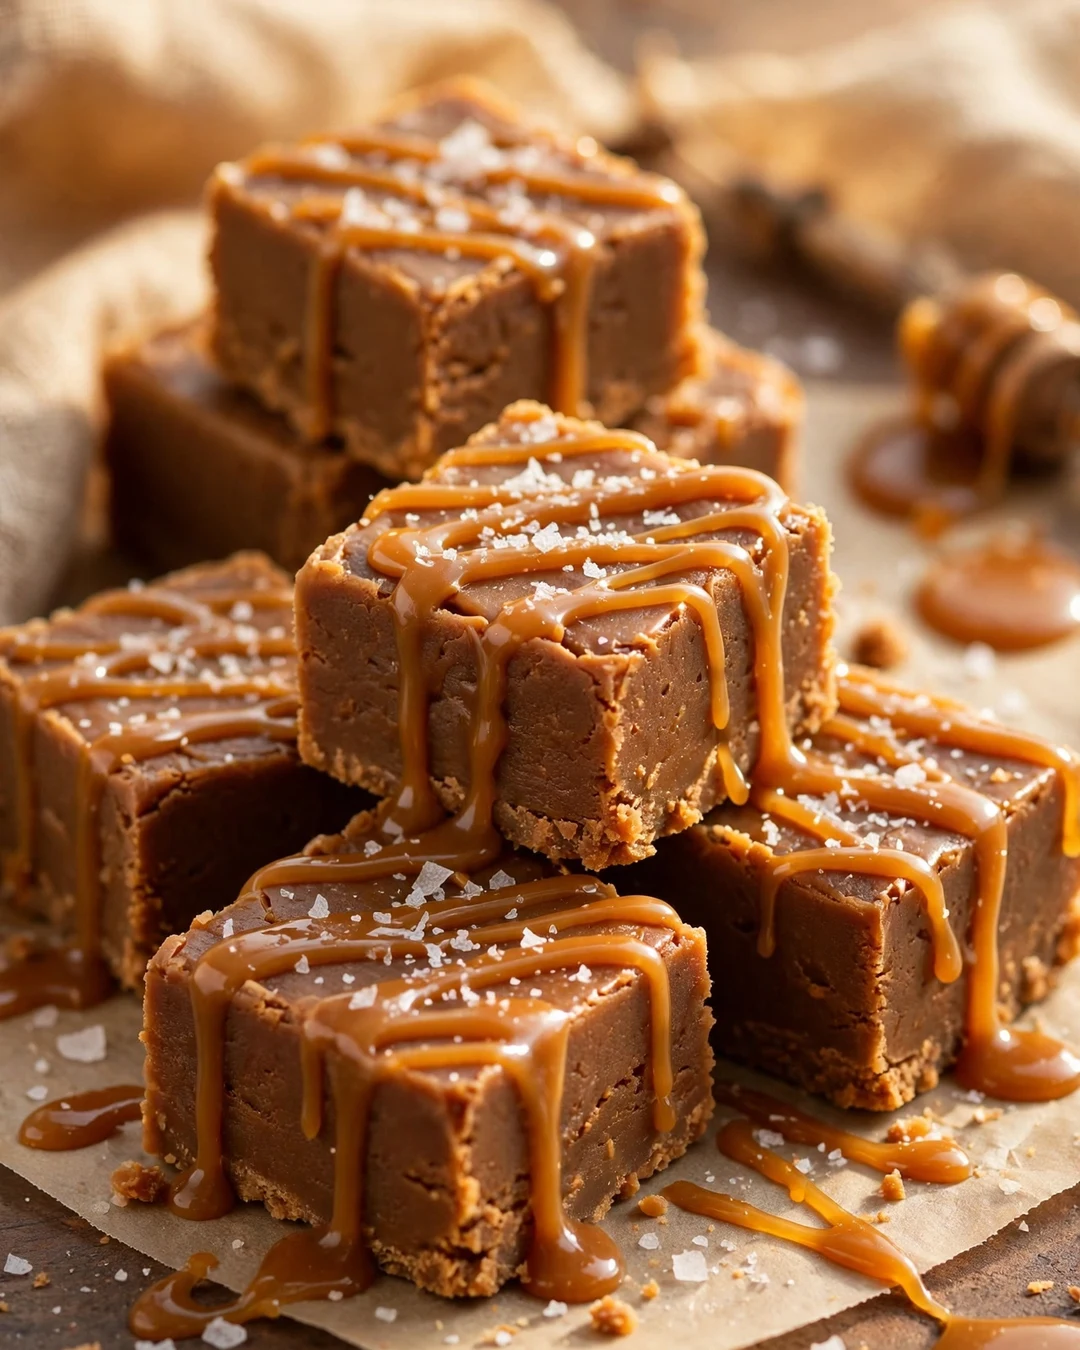
Salted caramel fudge layers buttery caramel sweetness with a clean hit of flaky salt, and the contrast is what makes people reach for a second square. The texture is soft and creamy with a gentle chew, closer to a caramel than to crumbly candy shop fudge.
A white chocolate and condensed milk base carries the caramel flavor, either from caramel sauce folded through or from dulce de leche for a deeper, milky taste. A thick caramel layer can also be sandwiched in the middle of two fudge layers for a striped effect when sliced.
Pro Tips
Flaky sea salt is the finishing salt you want, because its thin crystals give little bursts instead of an overall saltiness. If you sandwich caramel in the middle, chill the first fudge layer for twenty minutes so the caramel sits on top instead of sinking straight through.
- Flaky sea salt on top, at the end
- Thick caramel or dulce de leche only
- Chill the bottom layer before adding caramel
- Cut small; this one is rich
Serving Suggestions
Serve after dinner with espresso, or chop a few squares and fold them into vanilla ice cream as a mix in. The squares also melt beautifully into warm brownies or blondies if you press pieces into the batter during the last minutes of baking.
Make the batch a day ahead whenever you can. The caramel flavor deepens overnight and the salt on top stays crisp if you add it just before serving. Stored in a cool spot, the fudge keeps its creamy bite for a full week, which makes it a reliable make ahead choice for parties and gift boxes.
9. Cookies and Cream Fudge
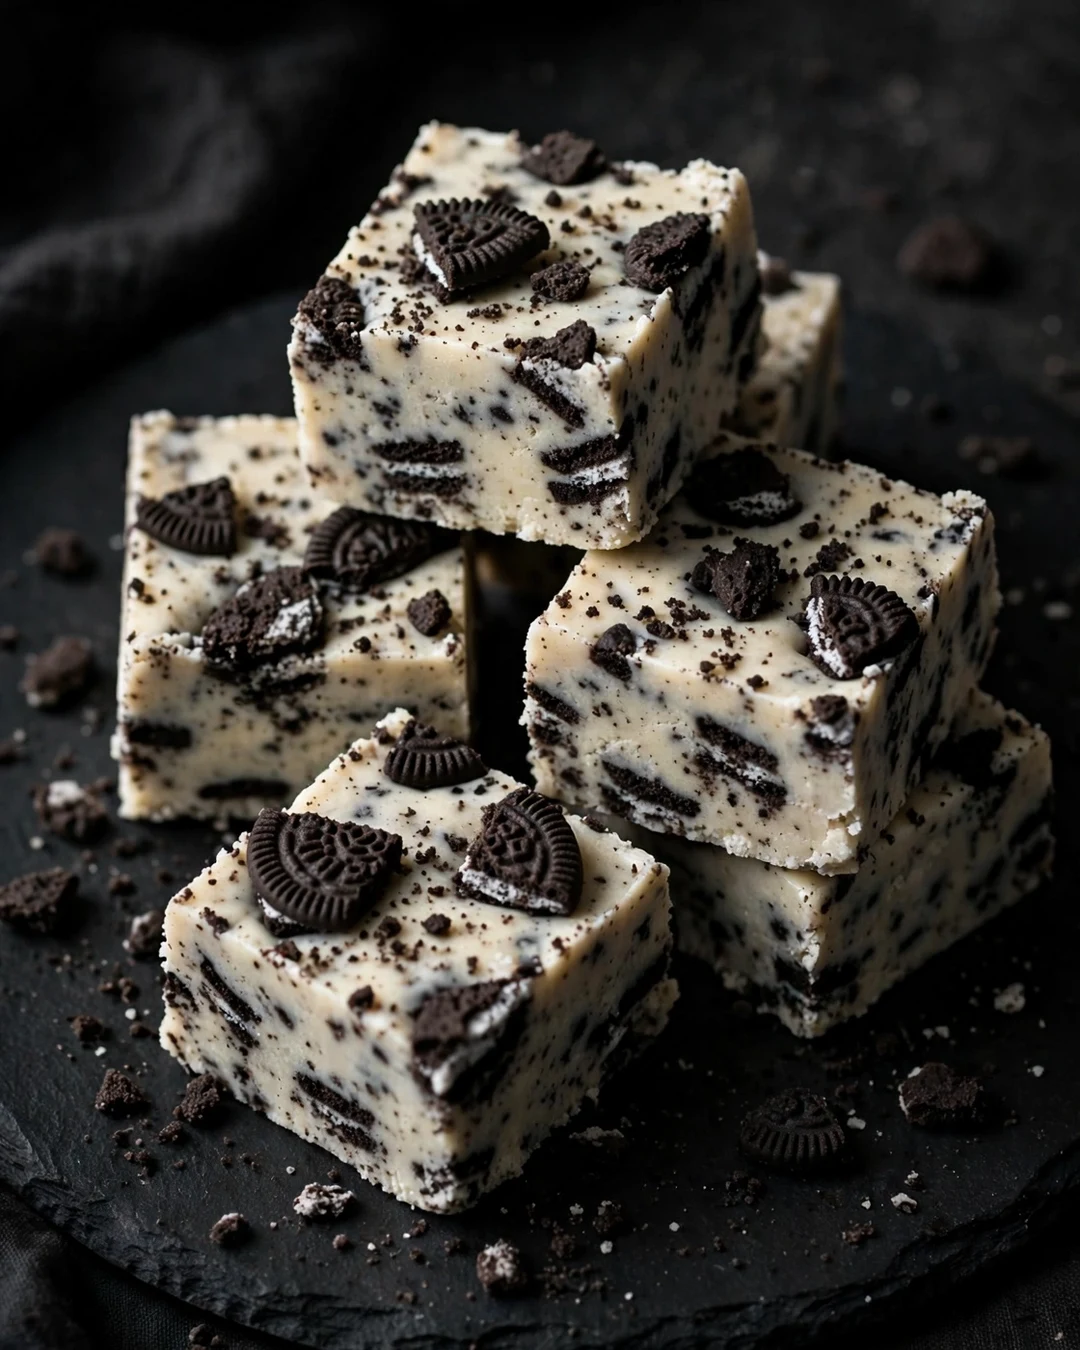
Crushed chocolate sandwich cookies folded into white chocolate fudge create the black and white squares every cookie fan hunts for. The cookie pieces stay slightly crisp inside the creamy base, so every bite has both textures working at once.
The base is the simple condensed milk style, which keeps the focus on the cookies. Fold in most of the crushed cookies off the heat, spread the fudge, then press the remaining crumbs across the top so the flavor is obvious at a glance. Chill until firm, at least three hours, before you even think about cutting.
Pro Tips
Crush the cookies by hand or with a few passes of a rolling pin, leaving some chunky pieces for texture. Powder fine crumbs turn the fudge gray, so stop early. Reserve the prettiest cookie chunks for the top layer where everyone can see them.
- Leave some cookie pieces chunky
- Fold cookies in off the heat
- Press extra crumbs on top
- Chill a full 3 hours before slicing
Serving Suggestions
This one disappears first at potlucks and school events. Serve it beside a plate of classics from these chocolate chip cookie recipes for a full cookie themed spread. A glass of cold milk is not a suggestion here; it is practically part of the recipe.
Swap the cookies to reinvent the pan: golden sandwich cookies make a birthday cake style version, mint cookies turn it into a cool holiday square, and peanut butter sandwich cookies lean into a salty sweet mood. One base recipe, a rotating cast of cookies, and you have a new fudge for every season.
10. Rocky Road Fudge
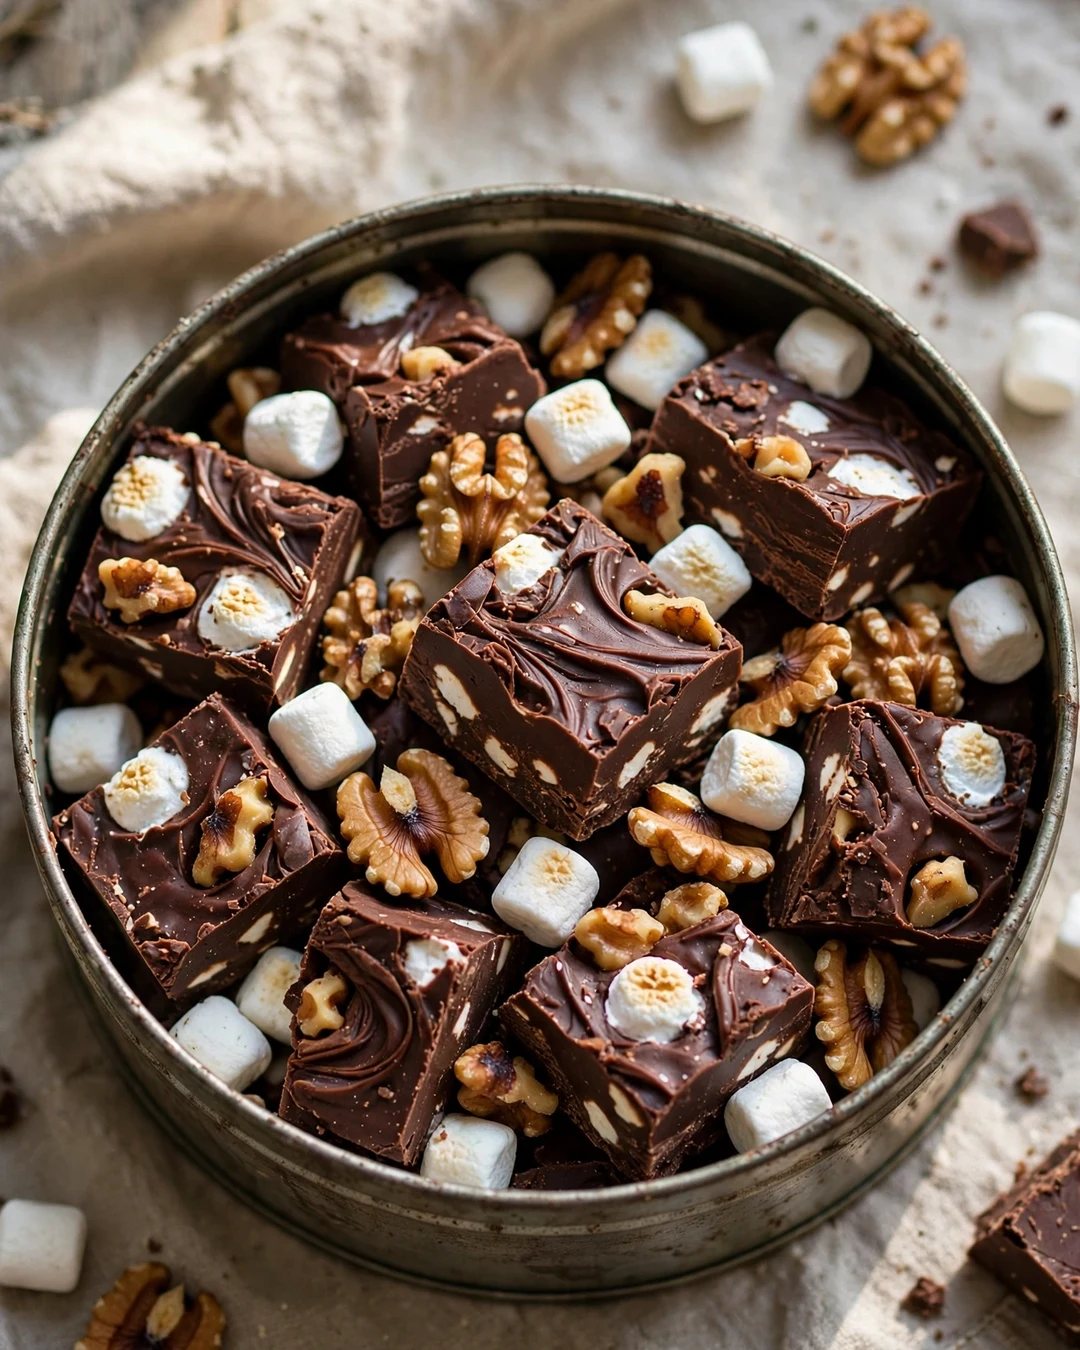
Rocky road fudge packs the ice cream parlor classic into a sliceable square: dark chocolate, pillowy marshmallows, and crunchy nuts in every bite. It is the most forgiving and most loaded fudge on this list, which is another way of saying it is the one nobody can resist.
The chocolate base must cool slightly before the marshmallows go in, or they melt into streaks instead of staying whole. Fold in mini marshmallows and toasted walnuts or pecans, spread the chunky mixture into the pan, and press gently so the top stays craggy and full of texture.
Pro Tips
Freeze the marshmallows for fifteen minutes before folding them in; chilled mallows resist the warm chocolate and keep their shape. Toast the nuts first, always, because raw nuts taste flat against sweet chocolate. Use a light hand when spreading so you do not crush the marshmallows flat.
- Freeze marshmallows before folding in
- Toast nuts until fragrant
- Cool the base slightly first
- Press gently; keep the top craggy
Serving Suggestions
Chop it over vanilla ice cream, tuck it into s’mores style bars, or serve it with mugs of cocoa from these hot chocolate recipes for a full chocolate night. It also travels well, since the firm set survives a warm car ride better than most candies.
Rocky road welcomes whatever your pantry offers: swap walnuts for peanuts, stir in dried cherries, or use a handful of crushed pretzels for a salty crunch. Keep the ratio of chocolate to mix ins roughly two to one and the slab will still set firmly, slice cleanly, and deliver that classic rocky road chew.
11. Maple Walnut Fudge
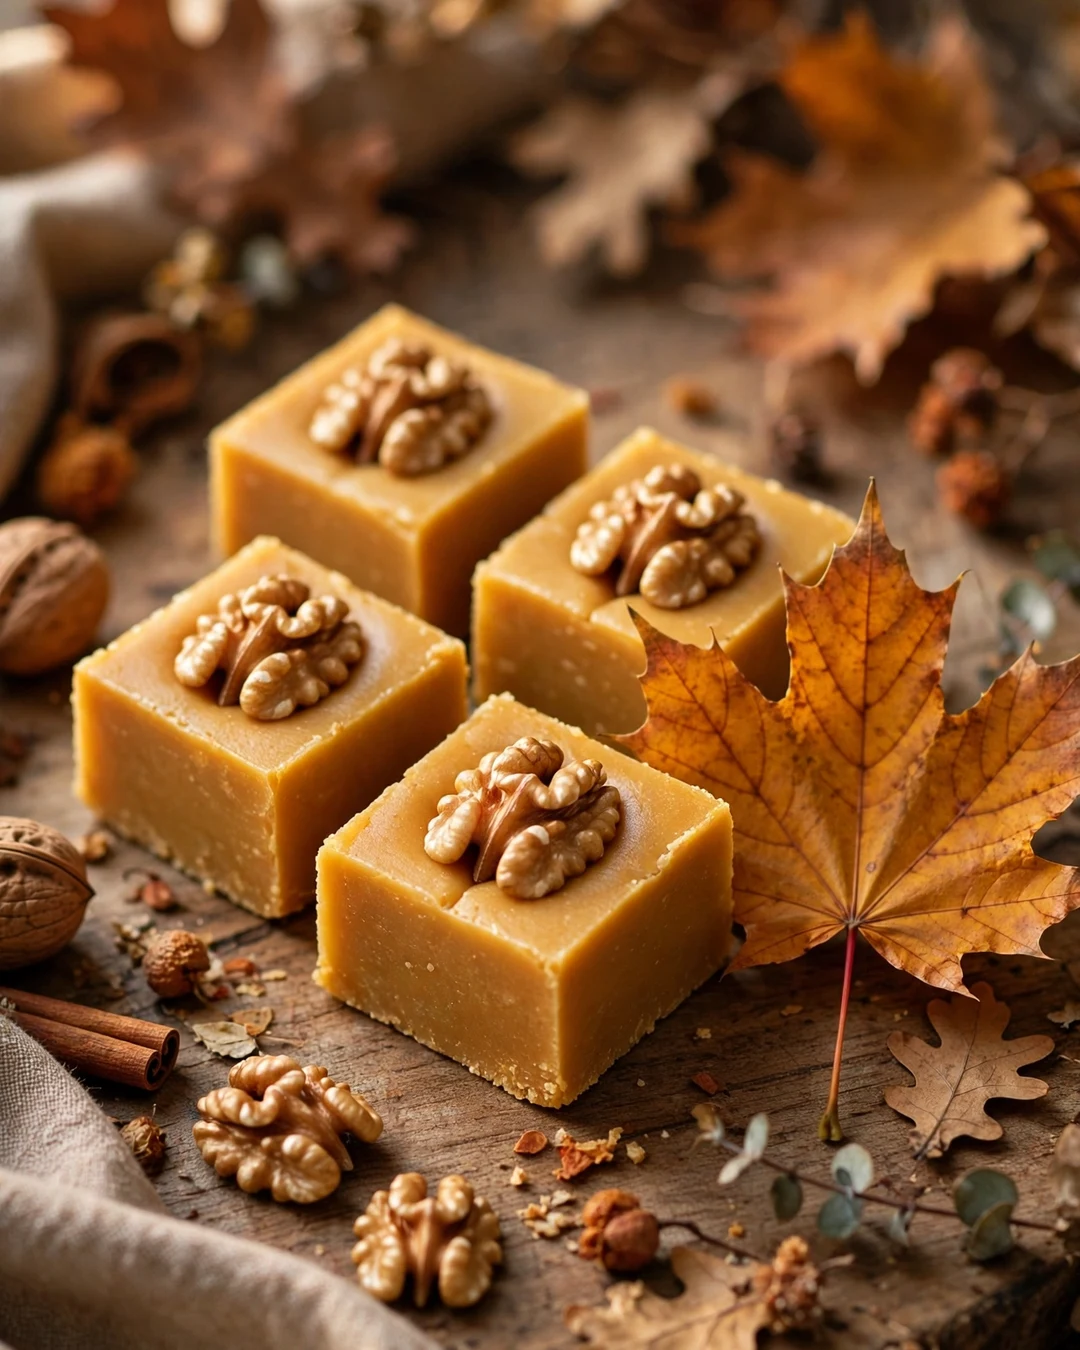
Maple walnut fudge tastes like a New England autumn day: real maple syrup, toasted walnuts, and a caramel toned sweetness that white sugar alone cannot copy. It is less chocolate forward than most fudge, which makes it a welcome change on a mixed candy tray.
This one follows the old fashioned cooked method, with maple syrup replacing part of the sugar and milk. Cook to the soft ball stage, cool, and beat until it thickens and turns matte, then fold in the walnuts. The beating is what gives maple fudge its signature fine, firm texture.
Pro Tips
Use dark, robust maple syrup, the grade once called B, for the strongest flavor. Pale golden syrup tastes delicate in a glass but nearly disappears in fudge. Toast the walnuts until they smell nutty, and save a few halves to press on top for looks.
- Dark robust maple syrup only
- Cook to soft ball stage, 235 degrees F
- Beat until thick and matte
- Fold walnuts in after beating
Serving Suggestions
Serve with coffee after a fall dinner, or wrap squares for a farmers market style gift. Maple fudge pairs beautifully with sharp cheddar on a cheese board, a sweet salty combination that surprises guests in the best way.
Because maple syrup varies in strength, taste the mixture after beating and fold in a few drops of maple extract only if the flavor needs a lift. Too much extract tastes artificial, so add it drop by drop. Properly made, this fudge keeps its firm, fine texture for two weeks in a sealed tin.
12. Peppermint Fudge
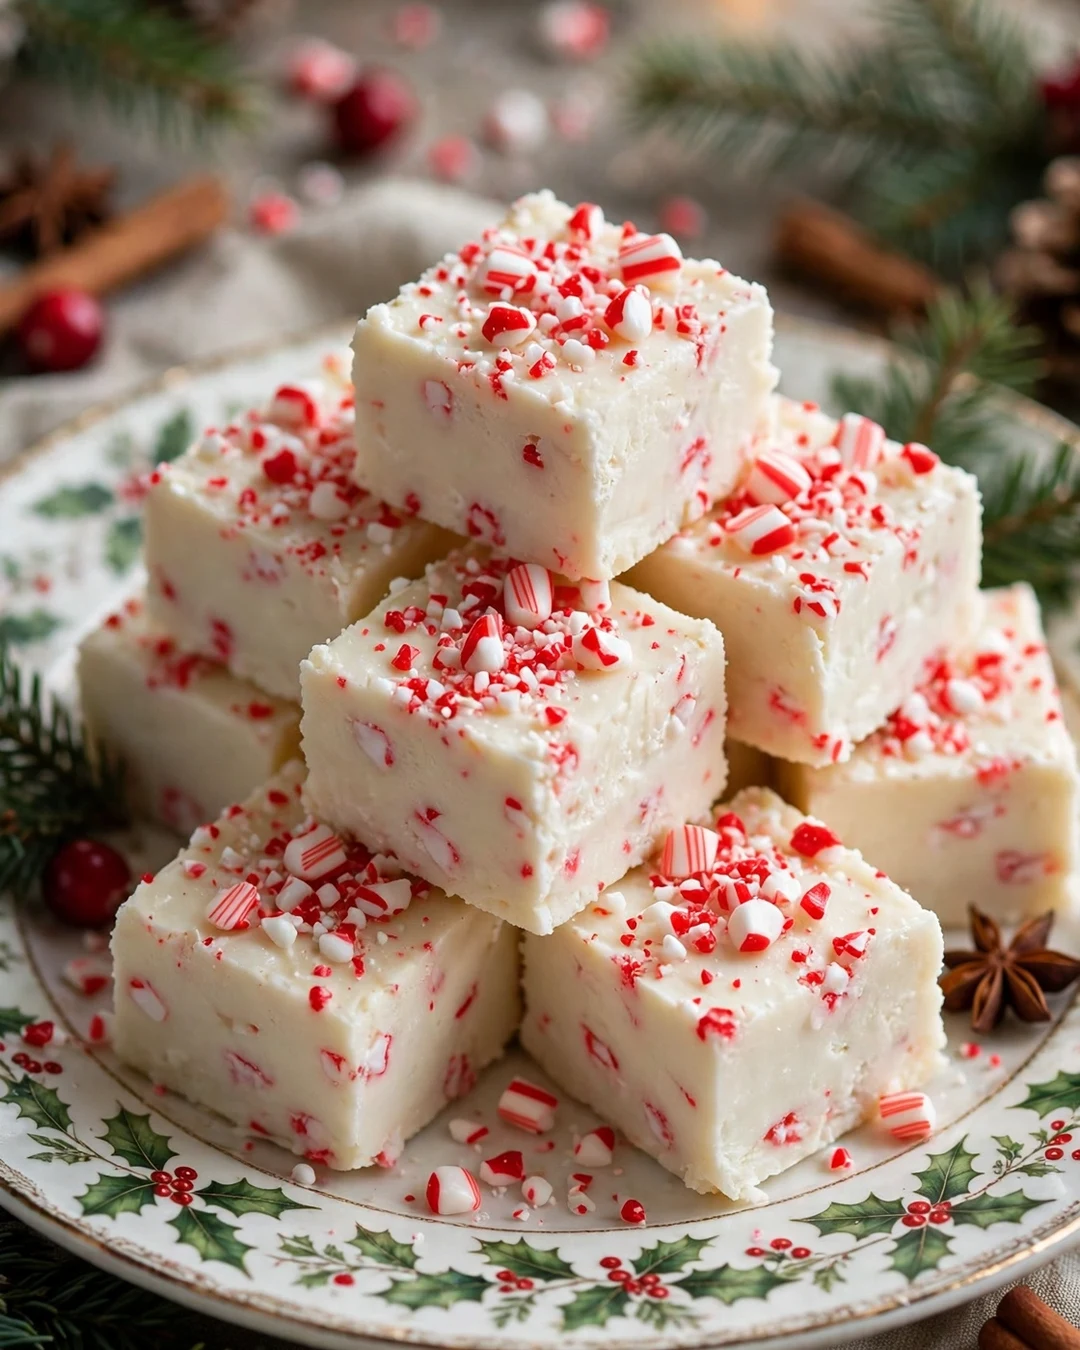
Peppermint fudge is December in a square: a white chocolate base cooled with peppermint extract and crowned with crushed candy canes. It looks like it came from a fancy candy shop window, yet the method is one of the simplest on this list.
Melt white chocolate with condensed milk, stir in peppermint extract off the heat, and spread it into the pan. Crushed candy canes go on top while the surface is still tacky so they stick. A few drops of pink food coloring swirled through the base give the classic candy cane look.
Pro Tips
Crush the candy canes in a sealed bag with a rolling pin, aiming for pea sized pieces plus some dust for sparkle. Add the topping right away, because once the surface skins over the pieces will not stick. Peppermint extract is strong, so start with half a teaspoon and taste before adding more.
- Crush candy canes to mixed sizes
- Top while the surface is tacky
- Start with less peppermint extract
- Pink swirl color is optional but festive
Serving Suggestions
Arrange the squares on a holiday cookie tray beside your favorites from these gingerbread recipes and watch the pink and white pieces vanish first. Crumbled over hot chocolate or coffee, a single square turns an ordinary mug into a peppermint mocha moment.
Candy canes soften in humid air, so store this fudge in a tightly sealed tin and add the crushed topping the same day you plan to serve it if you want maximum crunch. The fudge itself keeps for two weeks in the fridge, making it an easy early December batch for gifting later in the month.
13. Pumpkin Fudge
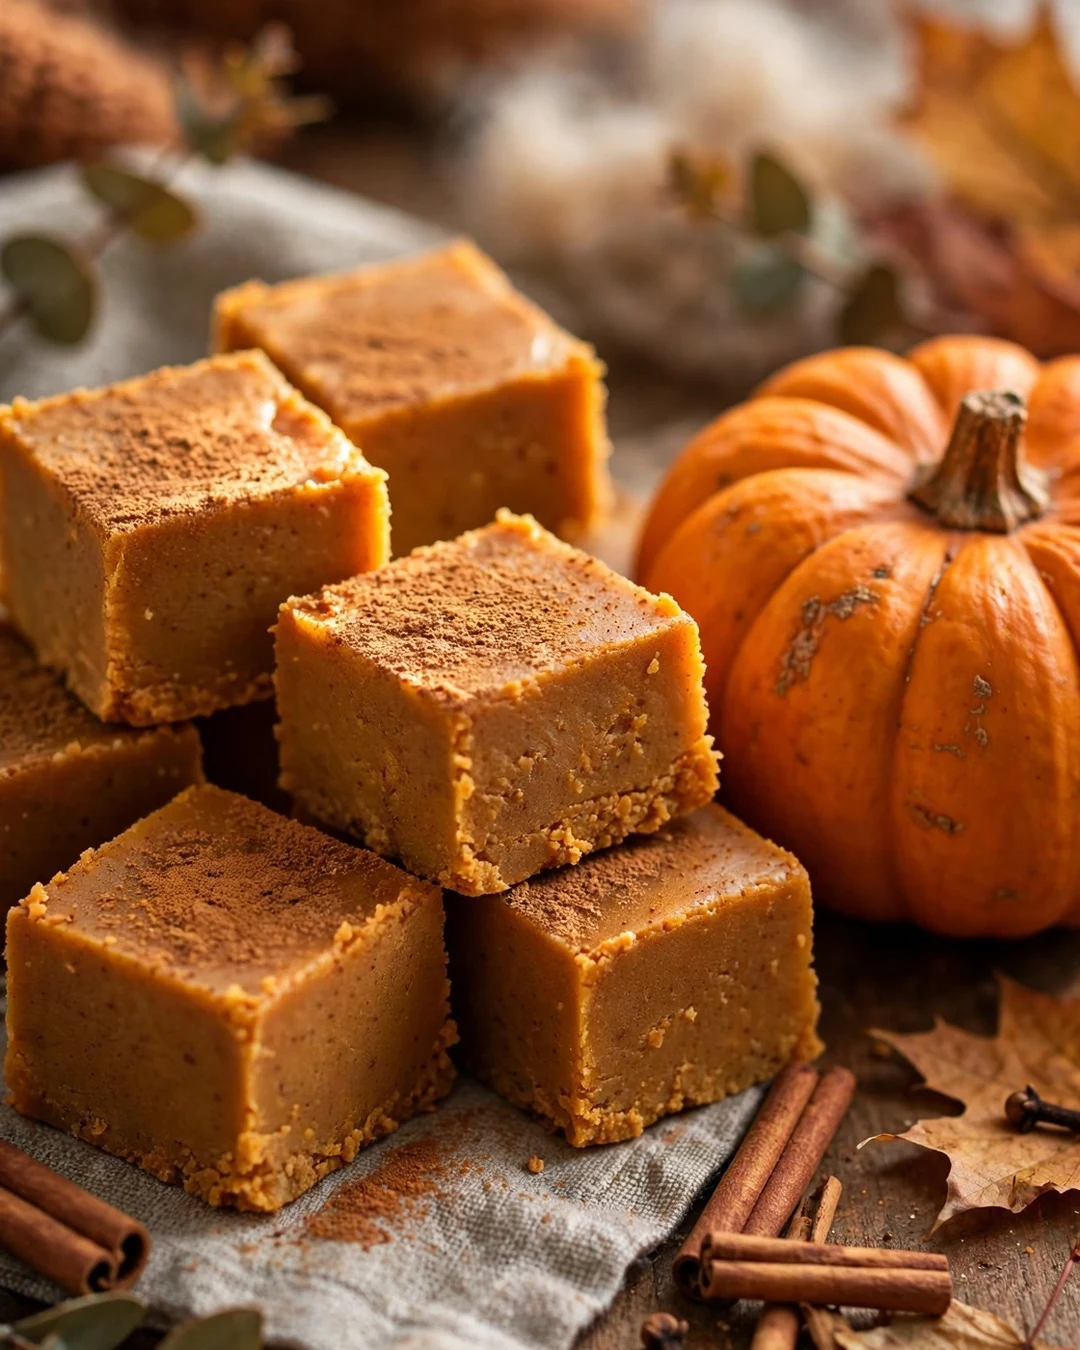
Pumpkin spice fudge brings fall’s favorite flavor to the candy tin: real pumpkin puree, warm spices, and a white chocolate base that sets into smooth, sliceable squares. It tastes like the best part of pumpkin pie, no crust required.
Pumpkin puree carries extra water, so the method cooks it briefly with the condensed milk and spices first to drive off moisture and concentrate the flavor. White chocolate chips melt in off the heat, and the mixture pours into the pan to chill. Cinnamon, ginger, nutmeg, and cloves do the seasoning.
Pro Tips
Use pumpkin puree, never pumpkin pie filling, which arrives presweetened and spiced on its own terms. Cook the puree until it darkens slightly and leaves a trail when you drag a spatula across the pan. That small step keeps the fudge firm instead of soft and sticky.
- Pure pumpkin puree, not pie filling
- Cook off extra moisture first
- Spice boldly; white chocolate mutes flavor
- Chill overnight for the cleanest cuts
Serving Suggestions
Serve on a fall dessert table with apple cider, or wrap squares in orange tissue for a Halloween party favor. A tiny sprinkle of cinnamon across the top before chilling makes the flavor obvious before the first bite. Pumpkin lovers can round out the table with these pumpkin dessert recipes too.
This fudge freezes surprisingly well. Wrap the whole slab tightly, freeze for up to two months, and thaw it in the fridge overnight before cutting. The spices settle in during the rest, so the flavor actually deepens, and having a pan ready turns any ordinary October weekend into an excuse for a fall treat.
Fudge Flavor Swap Guide
| Base | Simple Swap | New Flavor |
|---|---|---|
| Chocolate | Replace cocoa and milk with maple syrup | Maple walnut |
| Chocolate | Fold in 1 cup peanut butter at the end | Peanut butter |
| White chocolate | Add espresso powder and a cocoa dusting | Mocha latte |
| Any base | Swirl in a second flavor before setting | Marble fudge |
14. Hot Chocolate Fudge
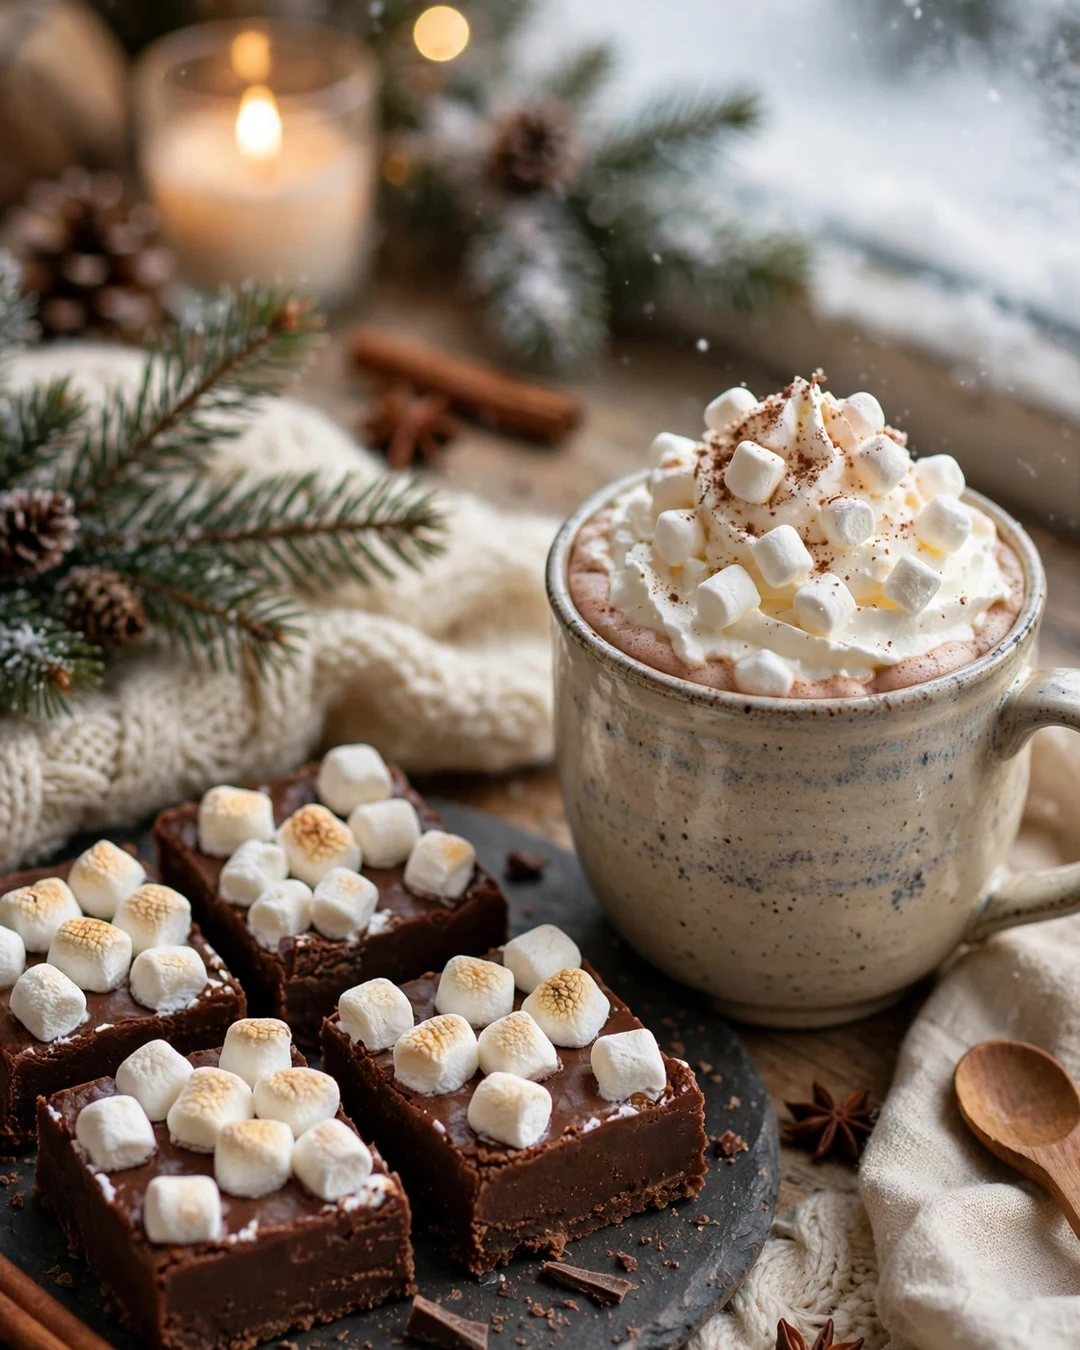
Hot chocolate fudge turns a favorite winter drink into a sliceable treat: deep chocolate flavor, a soft and creamy set, and a blanket of mini marshmallows on top. A spoonful of cocoa powder in the base gives it that true hot cocoa taste instead of plain sweet chocolate.
The base follows the simple condensed milk method, with cocoa whisked in so it melts evenly. Pour half into the pan, scatter marshmallows, add the rest, then press more marshmallows across the surface. A brief chill sets the layers, and a light cocoa dusting at serving time finishes the mug inspired look.
Pro Tips
Sift the cocoa powder so no dry pockets survive in the finished fudge. Work quickly once the marshmallows go on, because the surface starts to set fast. For a Mexican hot chocolate twist, add a pinch of cinnamon and a tiny pinch of cayenne to the base.
- Sift cocoa for a smooth base
- Layer marshmallows in the middle and on top
- Cinnamon and cayenne for a spiced version
- Serve at room temperature for the softest bite
Serving Suggestions
Serve the squares on a winter dessert board with candy canes and cookies, or pack them with a packet of cocoa mix for a themed gift. They also make a playful topping for a real mug of hot chocolate at a holiday party.
Serve a few squares beside the cocoa mugs and let everyone drop one straight into their hot drink for an extra rich stir in. The marshmallow top softens, the chocolate melts at the edges, and an ordinary mug turns into dessert. It is a small trick that makes winter evenings feel instantly warmer.
15. Nutella Fudge
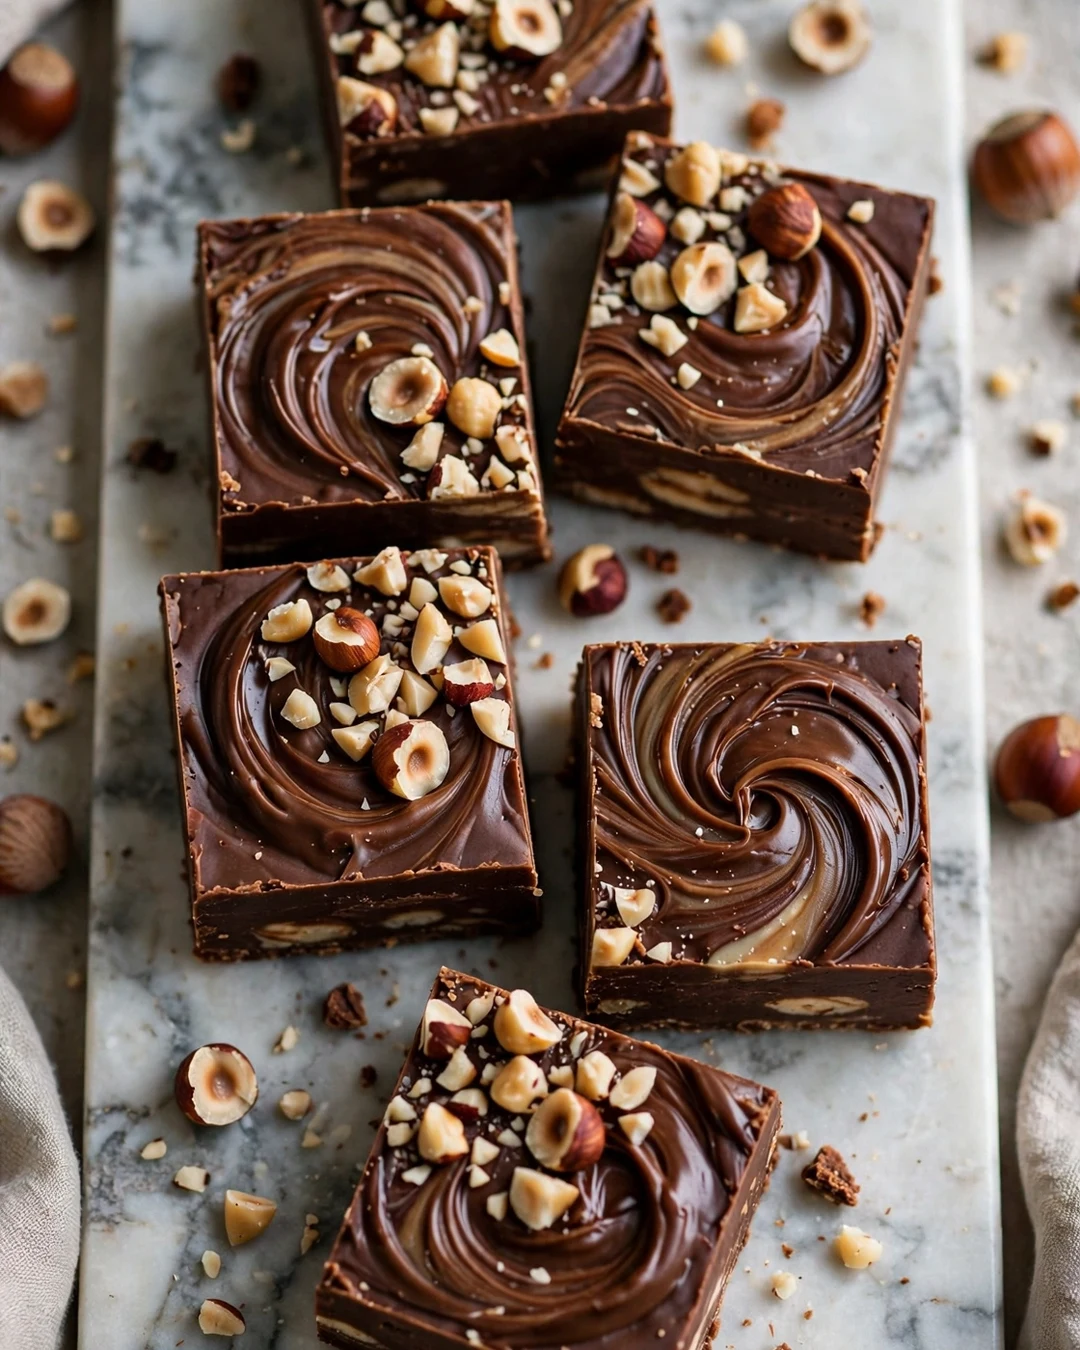
Nutella swirl fudge looks like it took skill and patience, when really it takes a knife and thirty seconds. A simple chocolate fudge base gets ribboned with hazelnut spread, and the marbled top makes every square look like it came from a specialty shop.
Warm the Nutella until it pours, drizzle it over the just spread fudge, and drag a knife or skewer through in loose figure eights. Stop early; two or three passes give bold ribbons, while too many passes turn the whole pan a uniform tan. Chill until firm before cutting.
Pro Tips
Work while the fudge is still warm and glossy, since a skinned over surface will tear instead of swirling. Warm the knife in hot water for cleaner cuts that show off the marble pattern. Chopped toasted hazelnuts on top echo the filling and add crunch.
- Swirl while the base is warm
- Two or three passes, no more
- Toasted hazelnuts on top
- Clean, warm knife for pretty cuts
Serving Suggestions
Serve with espresso for an Italian inspired finish to dinner, or tuck squares into lunchboxes as a surprise. The marbled top needs no decoration, so this is the fudge to choose when the presentation matters as much as the flavor.
Eggnog Fudge Checklist
Full fat eggnog, not the light kind. Freshly grated nutmeg for the top and the base. White chocolate with real cocoa butter. A pinch of salt to balance the sweetness. Patience to chill the pan fully before cutting.
Any chocolate hazelnut spread works, including the store brand jars, so use what you have. If the spread is stiff from a cool pantry, ten seconds in the microwave loosens it enough to drizzle. Keep the finished fudge in a cool place and it will hold its swirls and firm bite for a week.
16. Eggnog Fudge
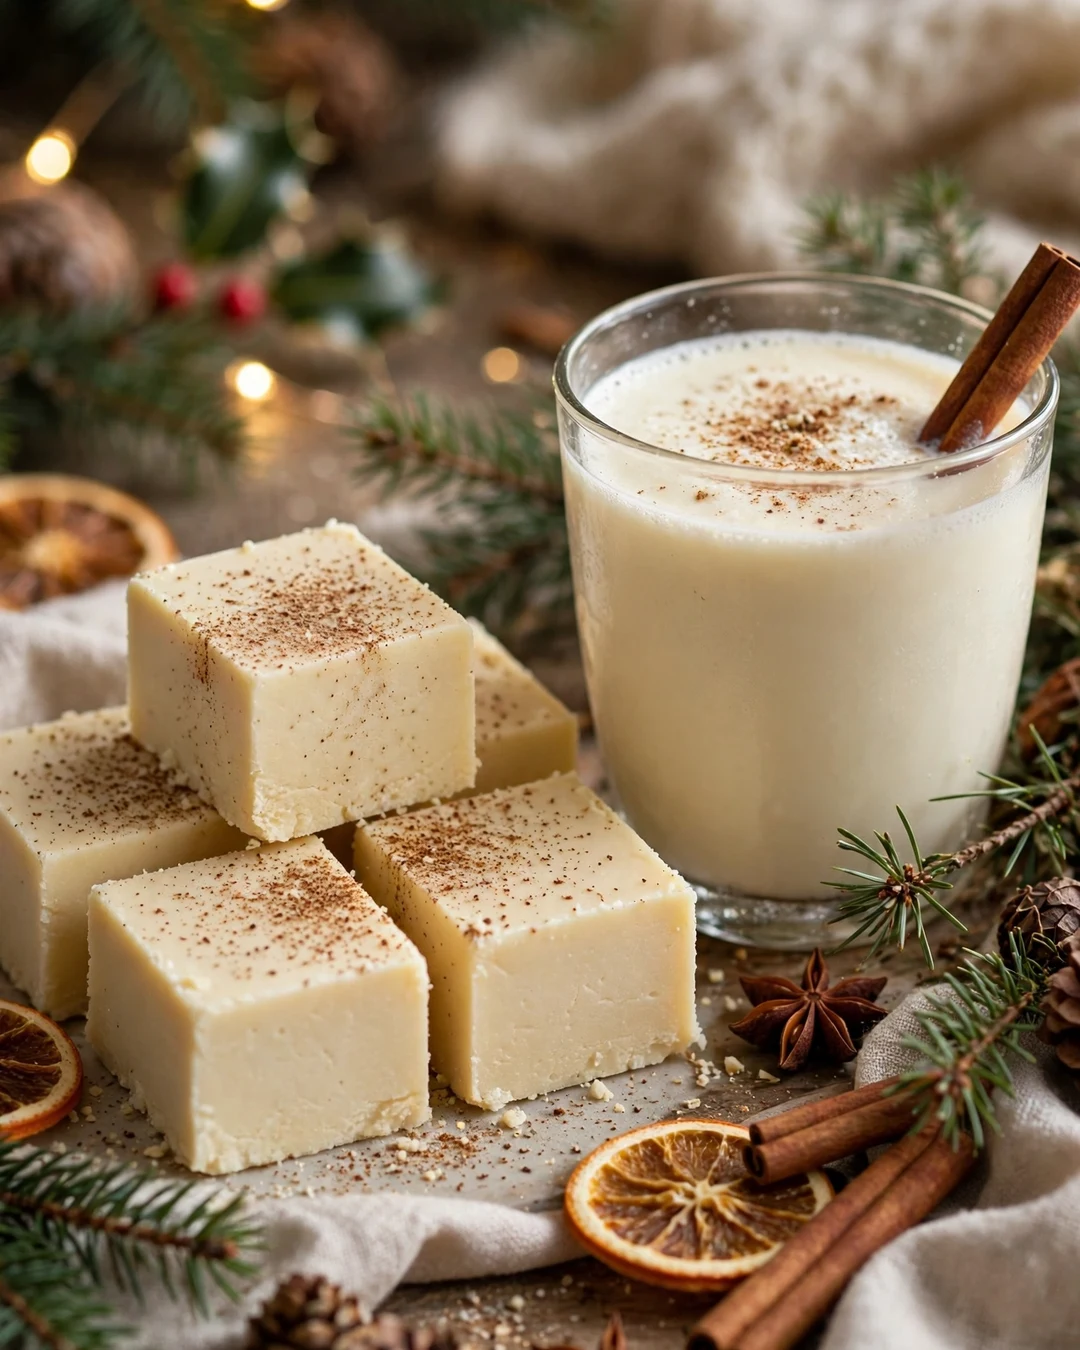
Eggnog fudge captures the best parts of the holiday drink in a firm, sliceable square: warm nutmeg, a hint of rum flavor, and a creamy richness that feels made for December. A white chocolate base carries the spices smoothly and sets with a pretty pale gold color.
Real eggnog replaces part of the liquid in the cooked base, or folds into a condensed milk version for a simpler method. Freshly grated nutmeg matters here, because its warm, almost floral aroma is the whole point of the flavor. A dusting of nutmeg across the top signals the flavor before the first bite.
Pro Tips
Grate the nutmeg fresh and use a light hand, since nutmeg turns bitter when it is heavy. If you use a cooked base, stir constantly and keep the heat moderate, because eggnog scorches more easily than plain milk. Rum extract gives the classic flavor without extra liquid.
- Full fat eggnog for a firm set
- Fresh nutmeg, lightly applied
- Rum extract instead of extra liquid
- Chill overnight for the cleanest slices
Serving Suggestions
Serve on a holiday dessert tray with spiced nuts and cookies, or pour actual glasses from these eggnog recipes and set the matching fudge beside them. The pairing makes a simple, thoughtful spread for a tree trimming night or an office party.
Make this batch early in December and keep the tin tucked away for drop in guests, because the flavor improves after a day of rest. A square beside a cup of coffee or a small glass of eggnog turns a quick visit into a holiday moment, and nobody needs to know how simple it was.
17. Tiger Butter Fudge
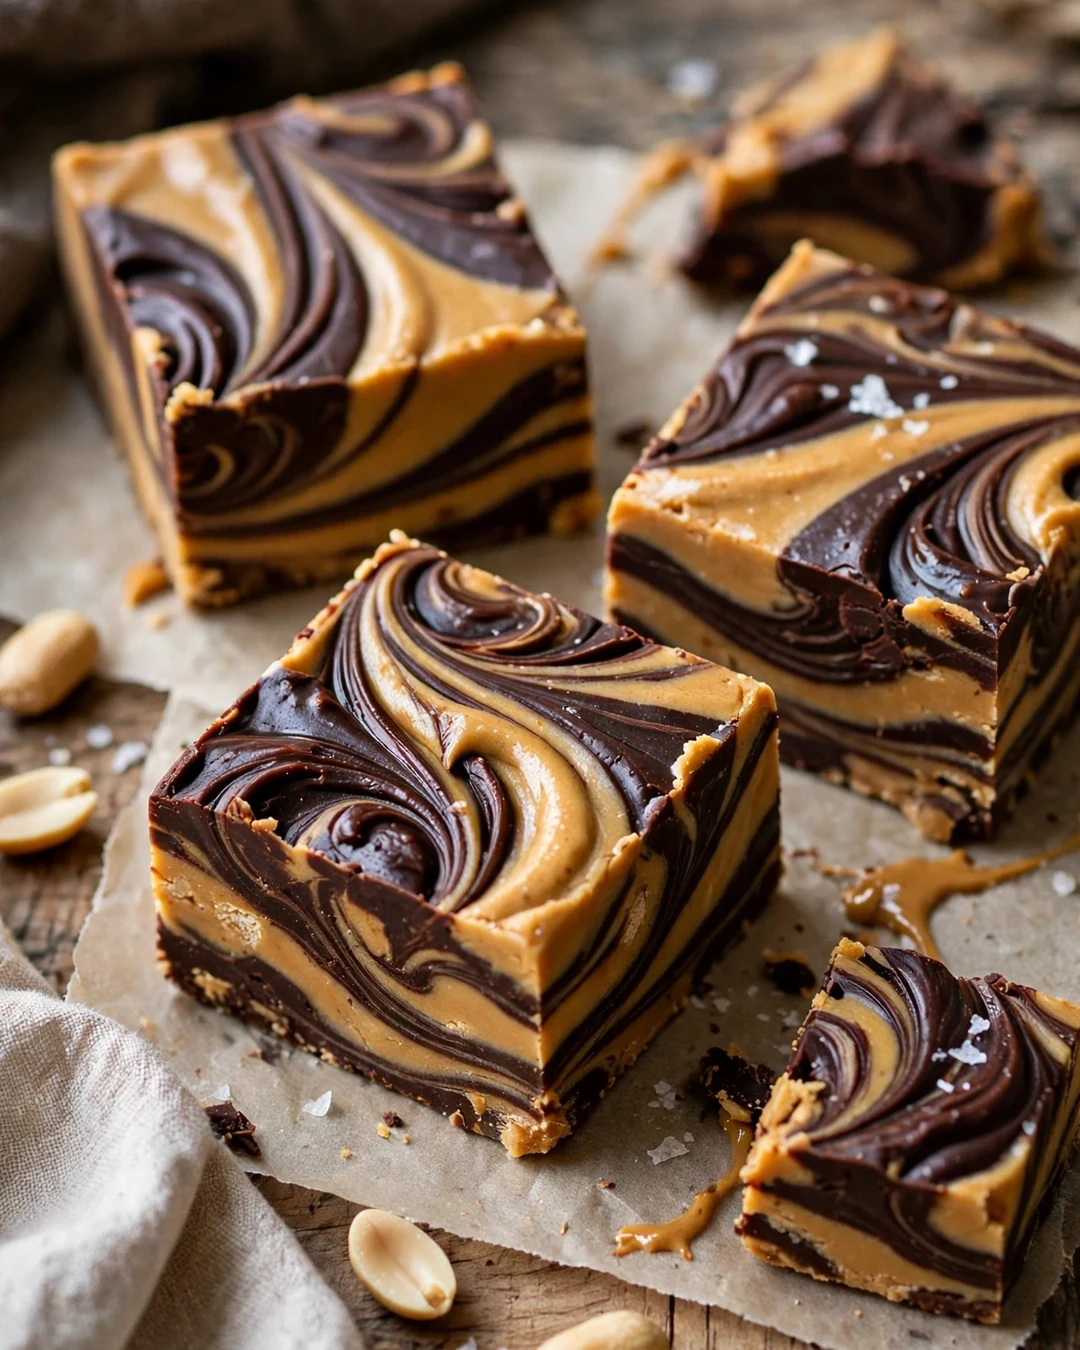
Tiger butter fudge is named for its stripes: ribbons of peanut butter fudge swirled through white chocolate and topped with streaks of dark chocolate. It looks bold and bakery made, yet the method is a simple melt, pour, and swirl that any beginner can pull off on the first try.
Melt white chocolate with peanut butter until smooth and pour it into a lined pan. Drizzle melted dark chocolate in lines across the top, then drag a knife through the lines at a right angle to pull the stripes into their classic pattern. Chill until firm and cut so each square shows the swirl.
Pro Tips
Keep the dark chocolate drizzle thin, because thick puddles crack when you cut the slab. Drag the knife in one direction only for clean stripes, wiping it between passes. If the base starts to set before you finish swirling, ten seconds of warm air from a hair dryer on low loosens the surface.
- Thin chocolate drizzle for clean cutting
- One direction knife drag for tidy stripes
- Wipe the knife between passes
- Chill fully before slicing
Serving Suggestions
Serve tiger butter on a mixed candy tray where its stripes stand out against plainer squares. It is a strong choice for bake sales and gift tins, since the pattern looks impressive through a clear bag and the peanut butter flavor pleases nearly everyone.
Salted Caramel Rules
Do add the flaky salt at serving time so it stays crunchy. Do use a thick caramel that holds its shape. Do not stir fine table salt into the whole batch; it disappears and just makes everything taste salty. Do not use runny ice cream topping as the middle layer; it will leak out of every slice.
Tiger butter is the pan to make when you want maximum visual payoff for minimum effort, since the stripes do all the decorating for you. Chill it well, cut it clean, and stack the squares so the swirls show. Every piece looks different, which makes the whole tin feel like a box from a candy shop.
18. Chocolate Walnut Fudge
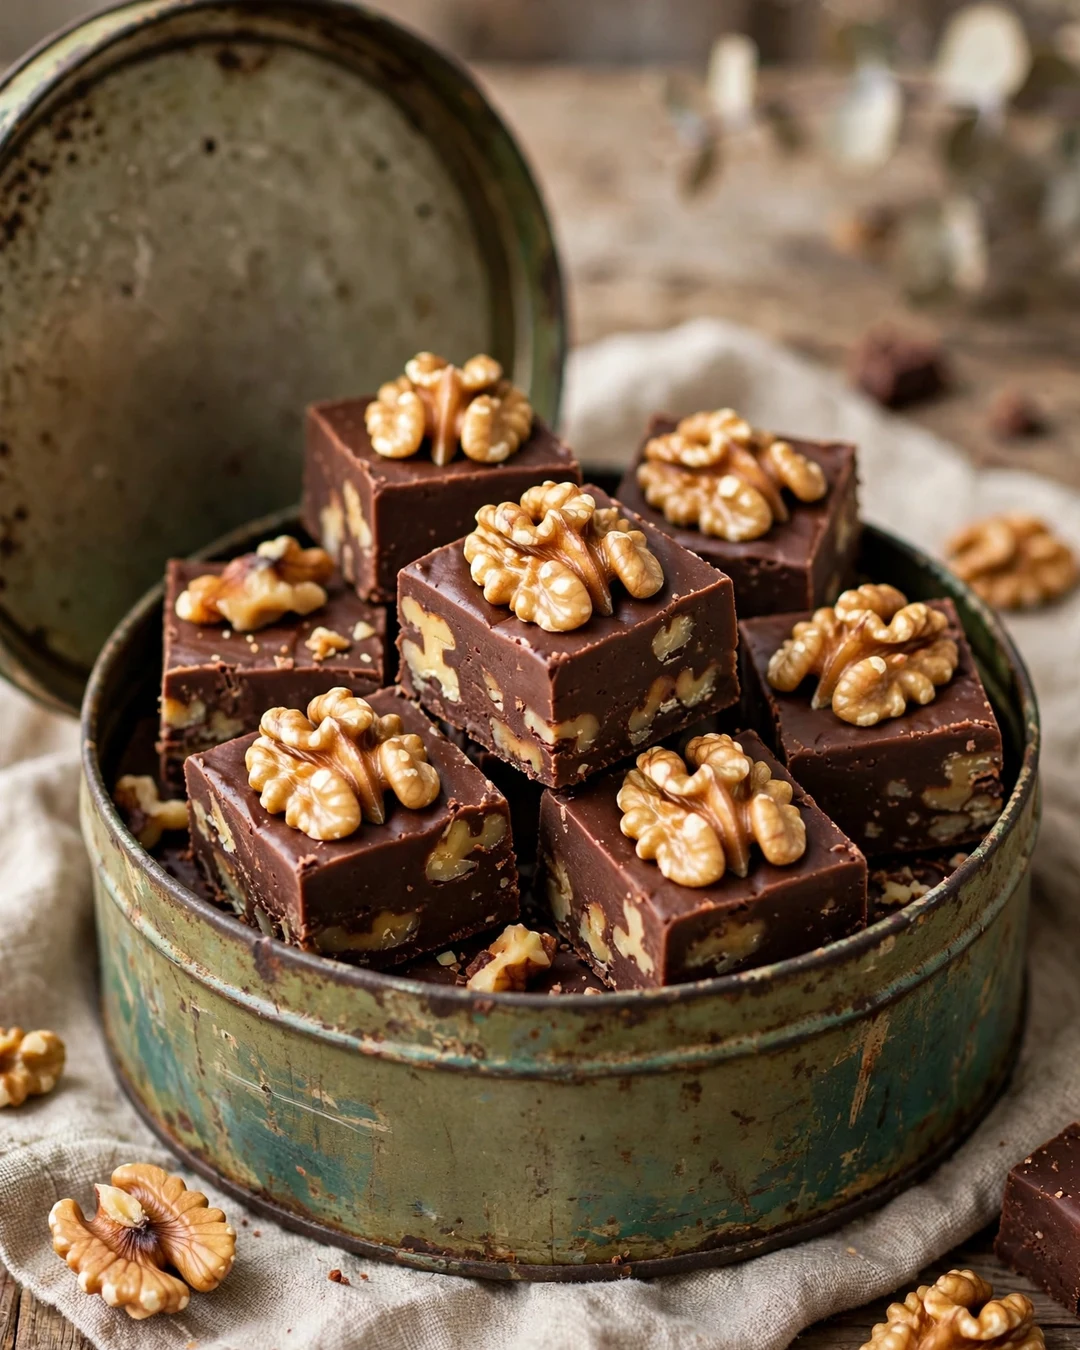
Chocolate walnut fudge is the candy shop staple that never goes out of style. Toasted walnuts folded through a rich chocolate base give crunch and a gentle bitterness that keeps the sweetness honest. It is the fudge that old fashioned candy counters built their names on.
Nearly any chocolate base works here, from the cooked old fashioned style to the condensed milk shortcut. The walnuts go in at the very end, after beating or stirring, so they stay evenly distributed and keep their crunch. A cup to a cup and a half is the classic ratio.
Pro Tips
Toast the walnuts until they smell warm and nutty, then let them cool before folding them in so they do not steam inside the fudge. Chop them roughly; big pieces look generous and give the best contrast. A whisper of salt on top sharpens the chocolate.
- Toast walnuts, then cool before folding
- Rough chop for the best texture
- Add nuts at the very end
- Light salt on top sharpens chocolate
Serving Suggestions
Serve in generous squares with black coffee, or crumble a piece over ice cream for an instant sundae topping. This is also the classic choice for a candy tin gift, since it keeps well and travels without melting into a mess.
Walnut fudge improves over the first day as the flavors settle, so resist cutting into the pan right away if you can. Wrapped tightly, it keeps for two weeks at room temperature and a month in the fridge. That staying power is exactly why candy shops have sold it by the pound for generations.
19. S’mores Fudge
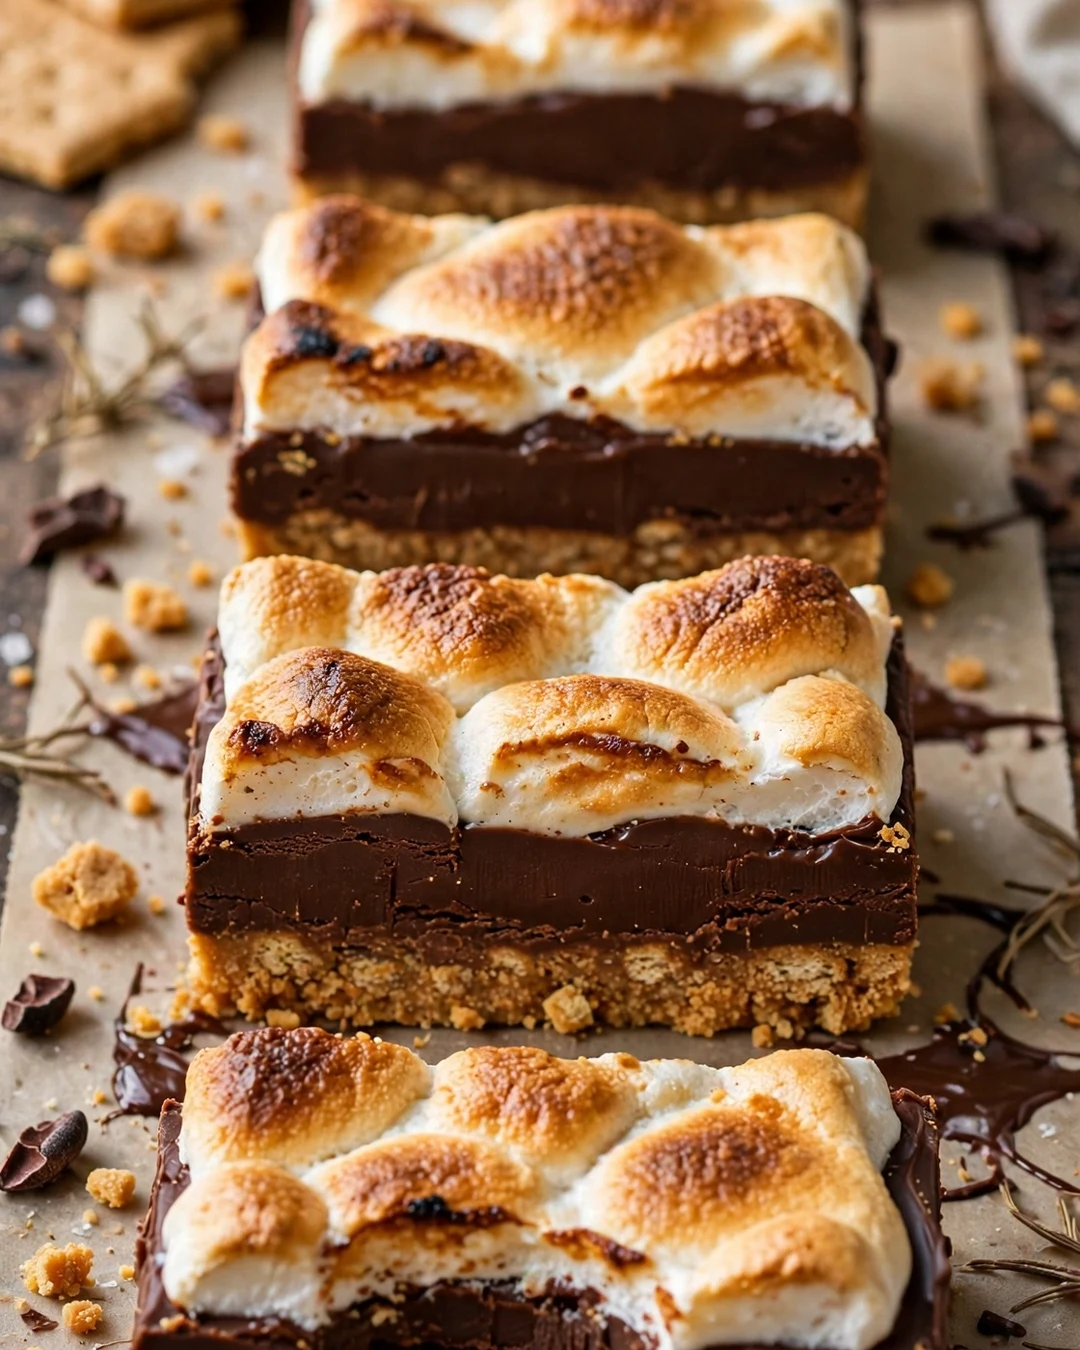
S’mores fudge skips the campfire and keeps everything people love: graham cracker crunch, milk chocolate, and a toasted marshmallow top. The layers slice into bars that taste like summer nights, no sticky fingers or smoky clothes required.
Press a graham cracker crumb layer into the pan first, pour milk chocolate fudge over it, and finish with mini marshmallows. A quick pass under the broiler or a kitchen torch toasts the top to a golden finish. Watch it constantly, because marshmallows go from golden to burnt in seconds.
Pro Tips
Chill the fudge before toasting the top so the heat only kisses the marshmallows instead of melting the whole slab. A torch gives the most control and the prettiest blotches of gold. If you use the broiler, keep the oven door cracked and your eyes on the pan.
- Graham crumb base pressed firmly
- Chill before toasting the top
- Torch beats broiler for control
- Never walk away during toasting
Serving Suggestions
Cut into bars and serve at cookouts, movie nights, and anywhere a campfire is not an option. It shares a table happily with other no fuss treats like these sugar cookie recipes, and kids tend to build a whole dessert plate around the pair.
Leftovers, on the rare occasion there are any, keep best at room temperature in a sealed container for three or four days. The graham layer softens slightly over time, which many people actually prefer, since the whole bar settles into a chewy, fudgy bite that tastes even more like the real campfire classic.
20. Fudge Sauce for Ice Cream

Every fudge collection deserves a finale you can pour, and this warm fudge sauce is it: thick, glossy, and intensely chocolate, made to cascade over vanilla ice cream and firm up into a chewy layer as it hits the cold scoops. It is the same flavor family as the squares, in spoonable form.
Butter, cocoa, sugar, and cream simmer briefly until the sauce turns smooth and shiny, then vanilla and a pinch of salt finish it off the heat. Serve it warm, because it thickens as it cools into a spreadable fudge. Leftovers reheat gently in the microwave or in a pan of warm water.
Pro Tips
Use Dutch process cocoa for the darkest color and smoothest flavor, and whisk constantly during the brief simmer so the bottom never catches. If the sauce seems thin while hot, remember it thickens a lot as it cools. A spoonful of corn syrup adds extra shine and helps prevent crystals.
- Dutch process cocoa for deep flavor
- Whisk constantly during the simmer
- Serve warm; it thickens as it cools
- Reheat gently, never to a boil
Serving Suggestions
Pour it over ice cream sundaes, warm brownies, or a simple pound cake. It also makes a fine dip for strawberries and pretzels at a party, kept warm in a small slow cooker on the lowest setting so guests can help themselves.
Keep a jar in the fridge all summer and warm it gently whenever ice cream appears, because few desserts improve this fast with so little work. Spoon it over brownies, drizzle it on pound cake, or stir it into cold milk for chocolate milk that tastes like a soda shop classic from another time.
Fudge FAQs
Why is my fudge grainy?
Graininess comes from sugar crystals forming at the wrong moment. Stirring after the sugar dissolves, crystals on the pan sides, or beating the fudge while it is still too hot are the usual causes. Cook undisturbed, wash down the pan sides with a wet brush, and let cooked fudge cool to about 110 degrees F before beating.
What temperature should fudge reach?
Old fashioned fudge cooks to the soft ball stage, 234 to 240 degrees F on a candy thermometer. At that stage a spoonful dropped into cold water forms a soft ball that flattens when you pick it up. Condensed milk and microwave styles skip the thermometer because the ingredients are already balanced to set.
How long does fudge keep, and how should I store it?
Most fudge keeps about two weeks at room temperature in an airtight tin with wax paper between the layers, and up to a month in the fridge. Keep strong flavors like peppermint in their own container, since fudge absorbs nearby scents. Bring refrigerated fudge to room temperature before serving for the best texture.
Can I freeze fudge?
Yes. Wrap the whole slab or individual squares tightly in plastic, then place them in a freezer bag or container. Fudge freezes well for up to three months. Thaw it in the fridge overnight, still wrapped, so condensation forms on the wrapping instead of the candy, then unwrap and serve.
Why did my fudge not set?
Undercooking is the most common reason: the mixture never reached the soft ball stage, so too much moisture remained. Extra liquid from substitutions can also keep fudge soft. Try chilling it longer first. If it still will not slice, scoop it into jars as a spoonable sauce for ice cream and try again with a thermometer.
Do I need a candy thermometer to make fudge?
Only for the old fashioned cooked styles, and even then the cold water soft ball test works in a pinch. The condensed milk, microwave, and two ingredient recipes in this list set reliably with no thermometer at all, which makes them the best starting point for beginners.
Final Thought
From the stovetop classic beaten by hand to the two ingredient microwave shortcut, these fudge recipes cover every craving and every skill level. Make one pan for your family, make four for gift tins, and keep a few squares hidden in the back of the tin for yourself.