Chocolate cake and peanut butter sound like an easy match, but getting both flavors to work in the same layer cake takes a little restraint. Too much peanut butter can make the frosting feel heavy. Too much chocolate can hide the nutty flavor completely. Then there is the challenge of stacking soft layers without the whole cake leaning by the time it reaches the table.
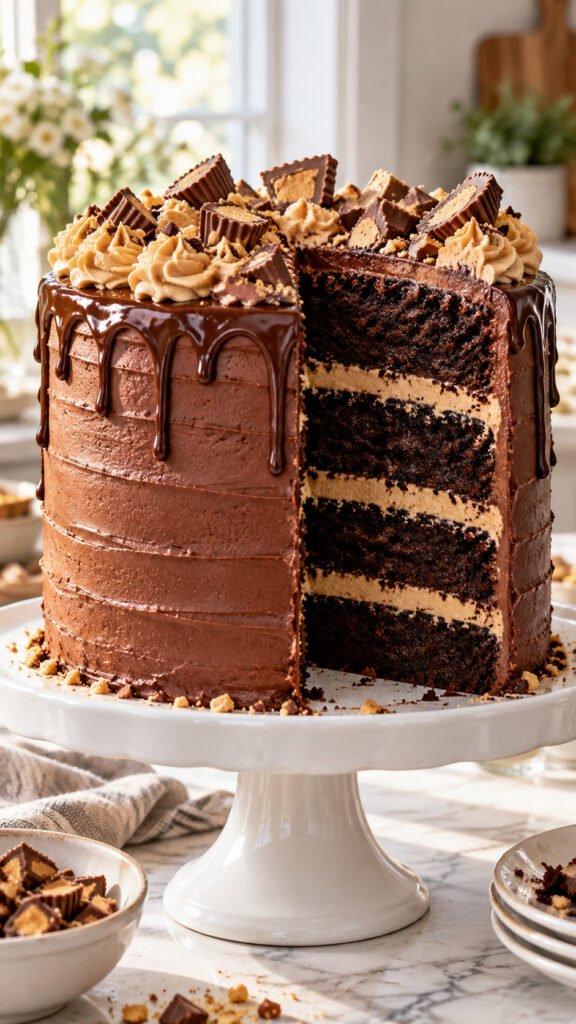
A good Peanut Butter Chocolate Layer Cake should give you dark chocolate cake, creamy peanut butter, a little contrast in texture, and enough structure to cut into clean slices.
The good news is that you do not need complicated pastry techniques to get there. Small choices make the biggest difference, like where you place the ganache, which peanut butter goes into the frosting, and how thick each filling layer should be.
These ideas focus on those details, along with easy decorating finishes that still look thoughtful when the cake lands on a birthday table, dessert stand, or weekend dinner spread.
Build Deep Chocolate Layers That Can Handle a Rich Peanut Butter Filling
A very soft chocolate cake may taste good on its own, but thick peanut butter frosting puts extra weight between the layers. Start with chocolate cake layers that are moist without feeling fragile or sticky.
Look for three things when the layers cool:
The center springs back lightly when touched.
The edges stay intact when lifted.
The crumb cuts cleanly instead of falling apart.
Cool the cakes completely before trimming or stacking them. If the layers still feel warm, the peanut butter filling can soften too quickly and begin sliding toward the edges. A short chill also makes the cake easier to level neatly.
🍫
Crumb
Moist but firm enough to stack
🎂
Structure
Supports a rich filling without sinking
🔪
Slice
Cuts cleanly after a short chill
Whip a Peanut Butter Frosting That Stays Light Instead of Heavy
Peanut butter frosting can go from creamy to dense surprisingly fast. The goal is a filling that holds its shape but still feels soft when you bite through the cake.
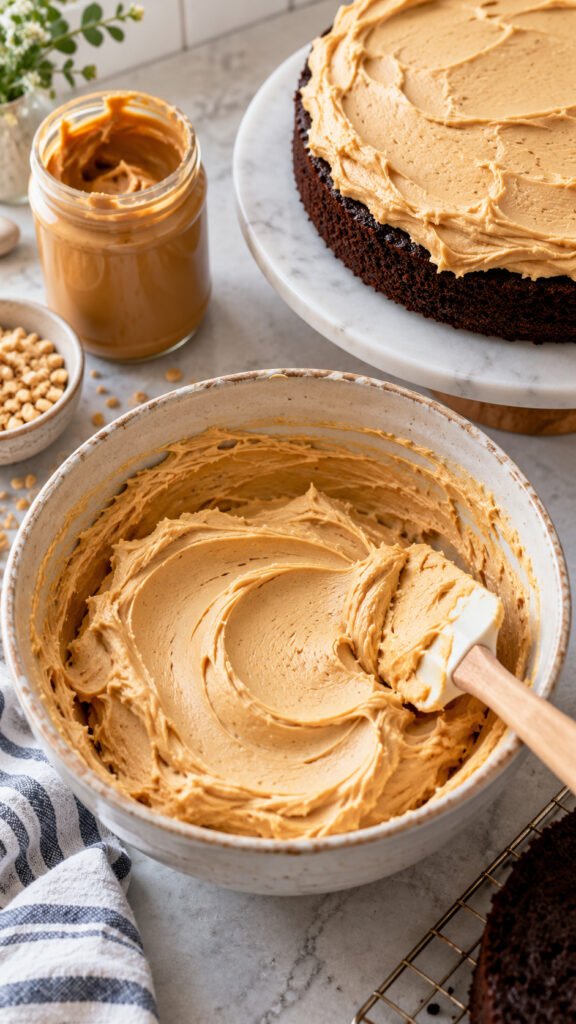
Start by getting the butter smooth before the peanut butter goes in. Then add the remaining ingredients gradually instead of loading everything into the bowl at once.
A useful texture check is simple:
Lift the mixer or spatula.
Watch the frosting form a soft peak.
Spread a spoonful across a plate.
💡 Quick Tip
Stop mixing once the frosting is smooth and easy to spread. Extra mixing can warm the butter and make a neat layer cake harder to stack.
Add a Thin Chocolate Ganache Layer Between the Cakes
A little ganache makes the chocolate flavor feel fuller without turning every bite into pure chocolate. The important part is keeping that layer thin.
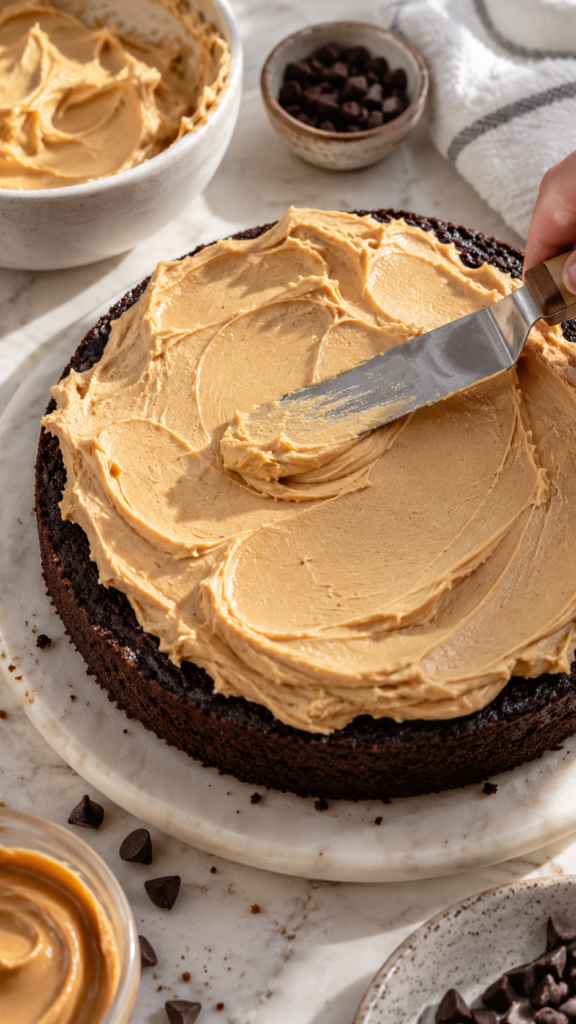
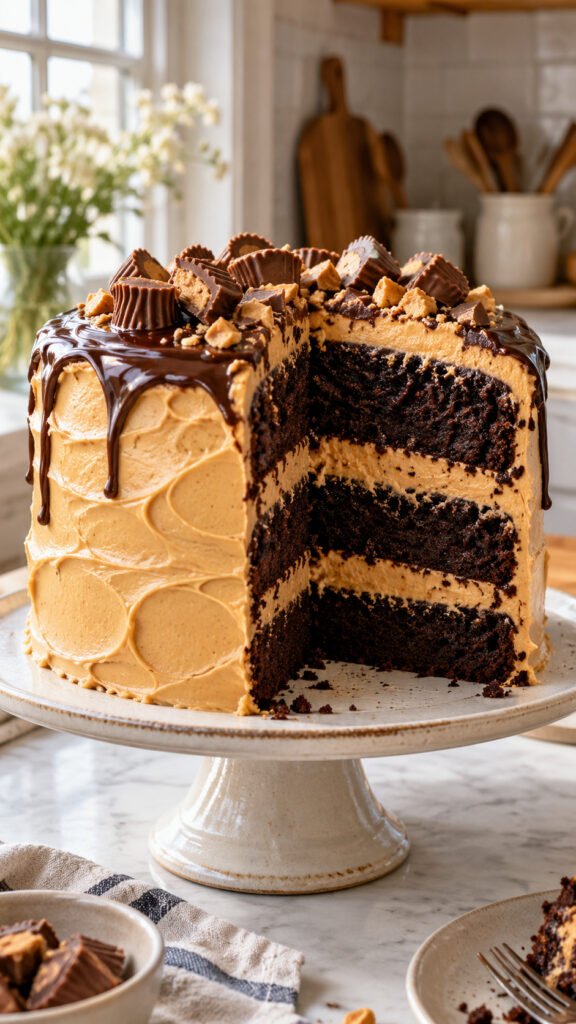
Spread peanut butter frosting over the cake first, then add a modest amount of ganache where it can stay contained. A frosting border around the outside edge helps keep softer fillings from squeezing out once the next cake layer is added.
Keep the contrast clear:
Peanut butter should still be the main creamy layer.
Ganache works as a dark accent.
The chocolate cake should remain visible when the slice is cut.
That balance gives the inside of the cake a more defined striped look too
WITHOUT GANACHE
The filling tastes mainly sweet and nutty, with the chocolate coming almost entirely from the cake.
WITH A THIN LAYER 🍫
A narrow ribbon of ganache adds deeper chocolate flavor while leaving room for the peanut butter filling to stand out.
Use Creamy Peanut Butter for the Smoothest Frosting Texture
The jar of peanut butter you grab matters more here than it does in many simple desserts. Frosting needs predictable texture, especially when it is holding several cake layers in place.
Regular creamy peanut butter is usually easier to work into a smooth frosting because the oils stay more evenly mixed. Natural peanut butter can separate, which may make the finished frosting softer or slightly uneven.
If natural peanut butter is all you have, stir it extremely well first. There should be no oily layer sitting at the top of the jar.
For a tall celebration cake, consistency is usually more useful than a rustic texture.
Creamy Peanut Butter
Natural Peanut Butter
More consistent texture
May separate in the jar
Usually easier for smooth piping
Needs very thorough stirring first
Helpful for tall layer cakes
Better used only when its texture is stable
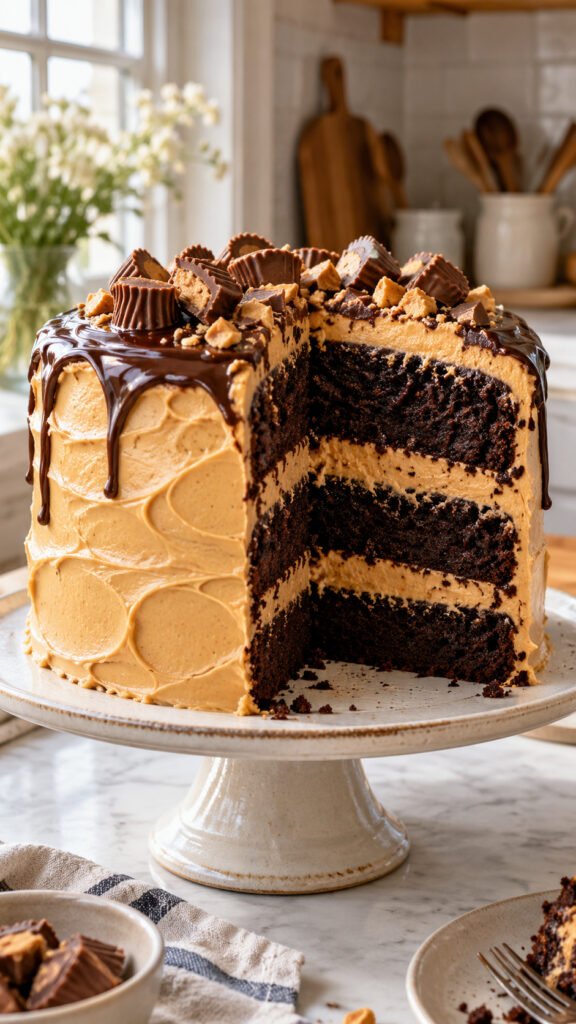
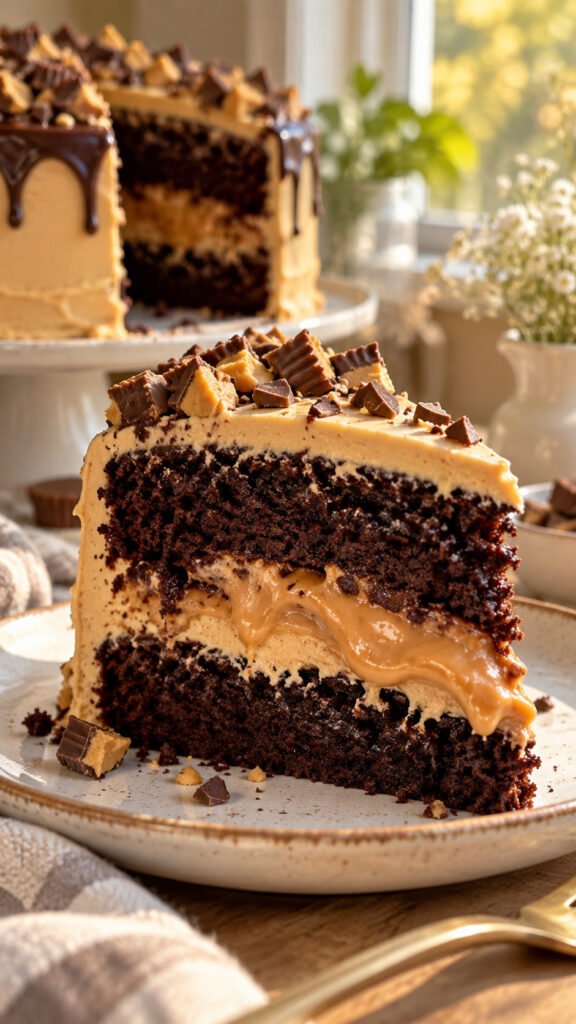
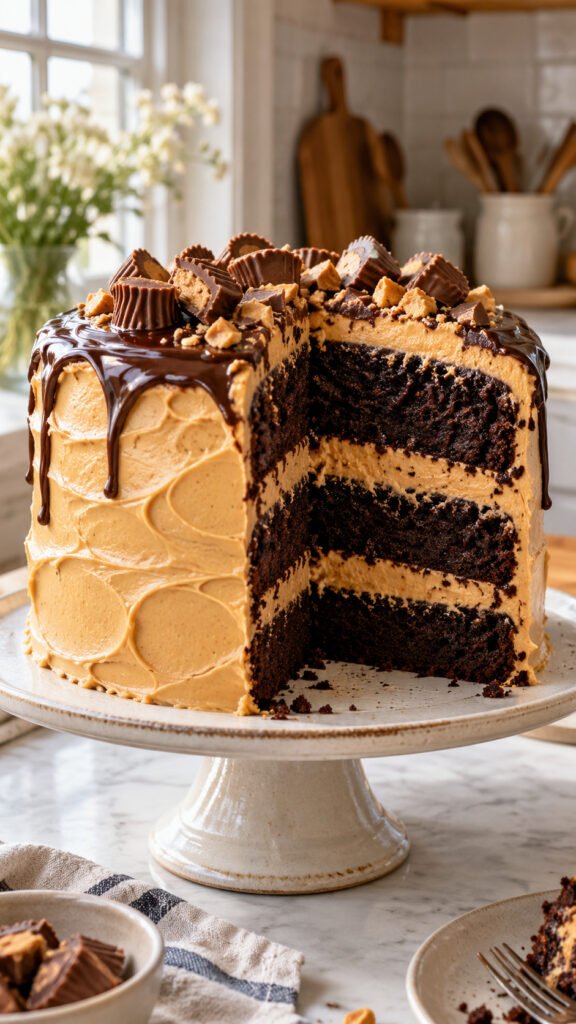
Create Clean Chocolate and Peanut Butter Stripes Between Each Layer
The inside of a layer cake matters almost as much as the top. Clean stripes make each slice look intentional instead of like several soft fillings were pressed together.
Work in a simple order:
Level each chocolate cake before stacking.
Spread the peanut butter filling to an even thickness.
Keep any ganache thinner than the frosting.
Check the cake from the side after every new layer.
🥜
Filling
Smooth and controlled
🧁
Skill
Beginner friendly with chilling
Add Chopped Peanuts for a Small Crunch Between Soft Cake Layers
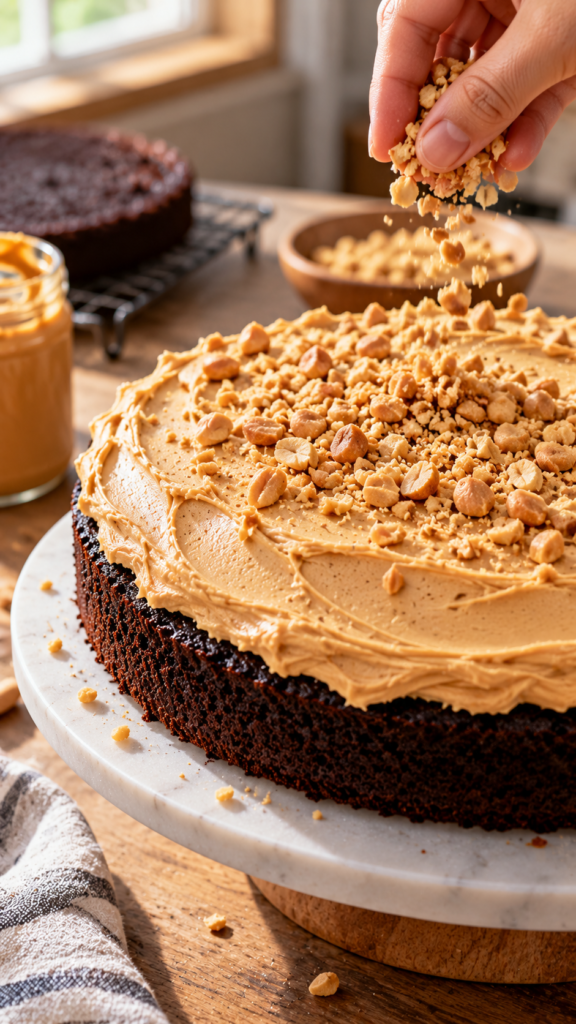
Soft chocolate cake and creamy frosting can start to feel a little too similar after a few bites. A small layer of chopped roasted peanuts breaks that up without changing the character of the cake.
Keep the pieces fairly small. Large peanut chunks can make slicing messy and may push frosting out as the knife moves through the cake.
For the cleanest result:
Sprinkle peanuts over the peanut butter frosting.
Keep them away from the very outer edge.
Press them in lightly so they stay put.
Use less than you think you need.
Crunch checklist
✅Use roasted peanuts for a deeper nutty flavor.
✅Chop them small enough for clean slices.
✅Leave a clear border near the edge of the cake.
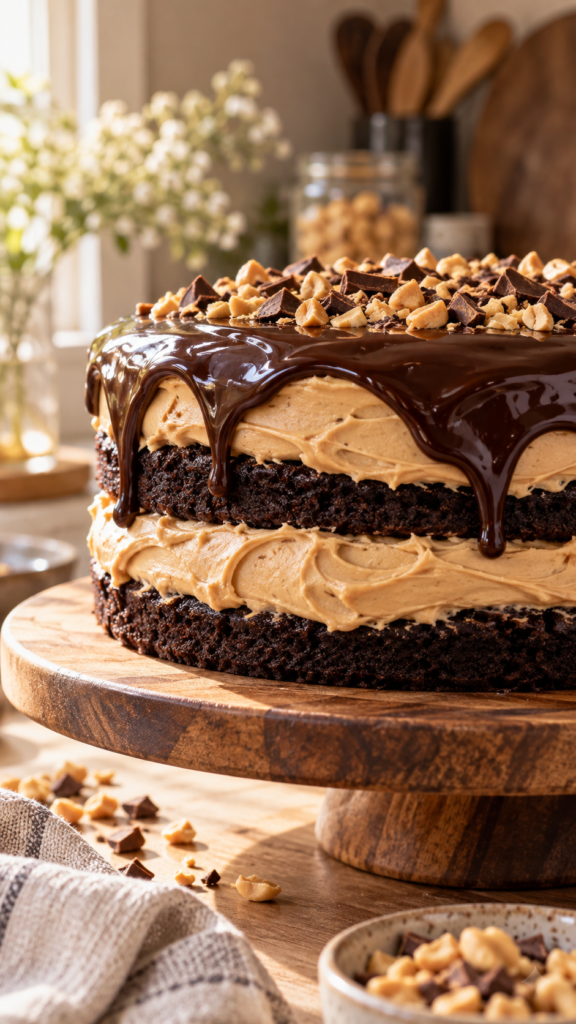
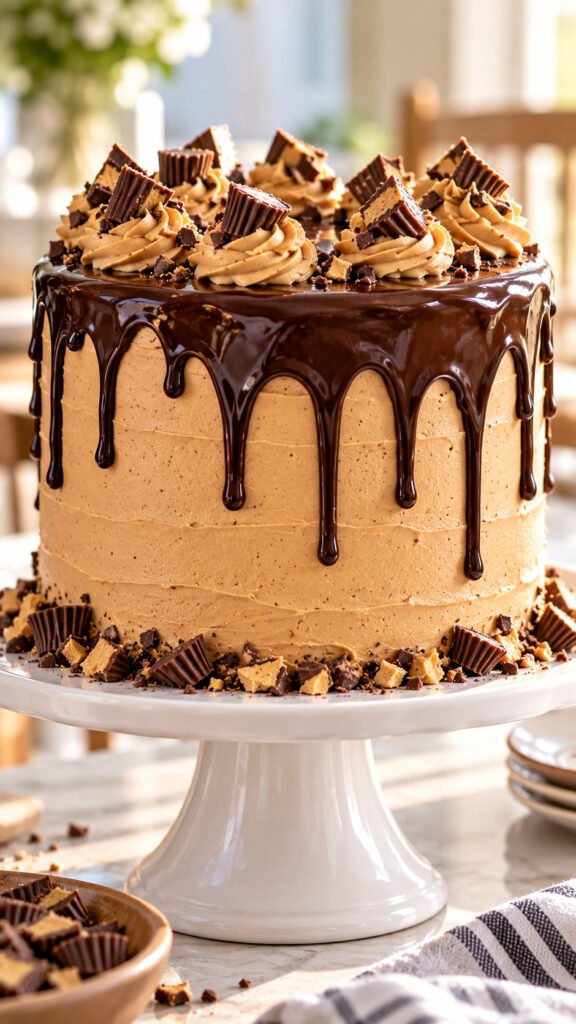
Pour a Dark Chocolate Drip Around the Top Edge
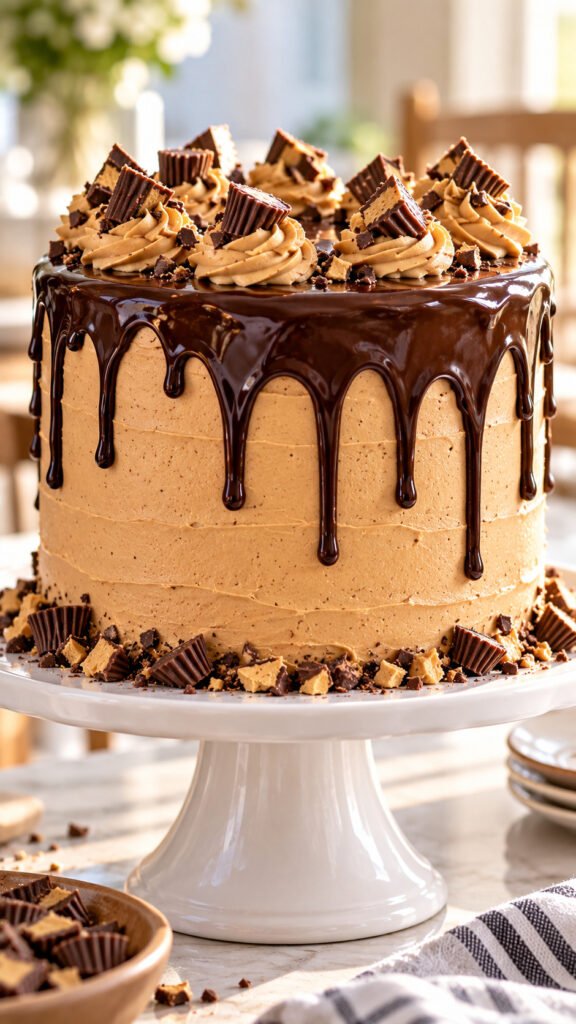
A chocolate drip gives the cake a strong finish without covering all that peanut butter frosting underneath. The trick is controlling the consistency before it touches the cake.
Ganache that is too warm can race down the sides. Ganache that has cooled too much may sit at the top in thick blobs.
Test one drip on the back of the chilled cake first. Let it travel a short distance before deciding whether to continue.
Small drips usually look cleaner than long, identical lines. Vary the spacing slightly so the finish feels natural instead of stamped around the edge.
✅ Do this
Chill the frosted cake before adding the drip.
Test one small drip before working around the entire edge.
🚫 Skip this
Do not pour hot ganache over soft frosting.
Do not force every drip to be the same length.
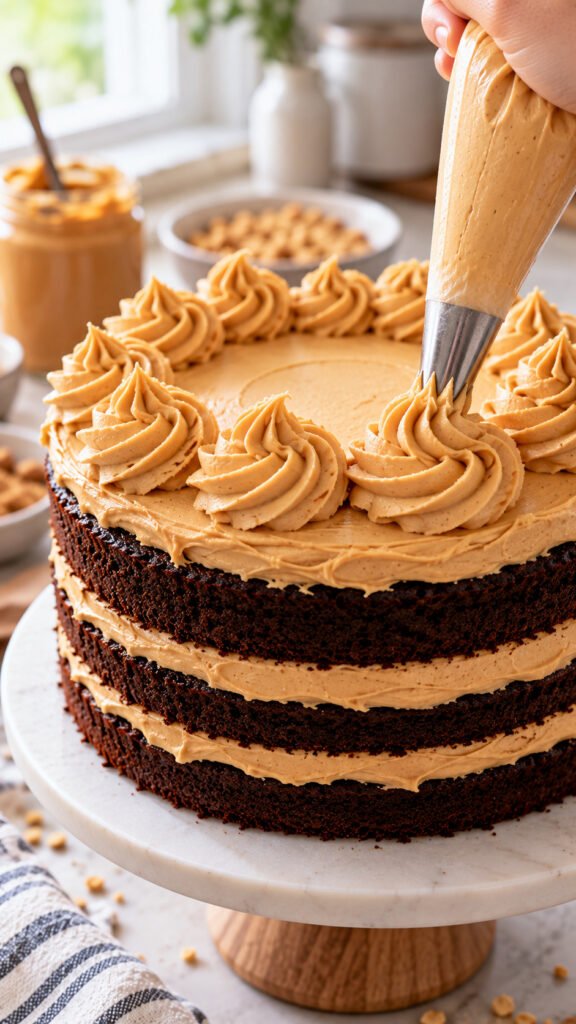
Pipe Peanut Butter Swirls Around the Top Instead of Frosting It Flat
A row of peanut butter swirls can make a simple cake look finished without adding several different decorations.
Keep the center fairly open and pipe the swirls around the outside edge. This leaves room for a chocolate drip, chopped peanuts, or a small candy garnish without overcrowding the top.
You do not need advanced piping skills. A basic star tip works well because the ridges make each swirl look defined.
If the frosting starts losing its shape halfway around the cake, chill the piping bag briefly. Soft frosting gives flatter swirls, especially in a warm kitchen.
1
Fit a piping bag with a medium or large star tip and fill it with firm peanut butter frosting.
2
Pipe one swirl, then leave a small even space before starting the next.
3
Finish the circle, then add any center garnish only after the swirls are in place.
🥜
Whole
Stand upright between frosting swirls
🔪
Halved
Show the peanut butter center
🍰
Clustered
Group on one side for a looser finish
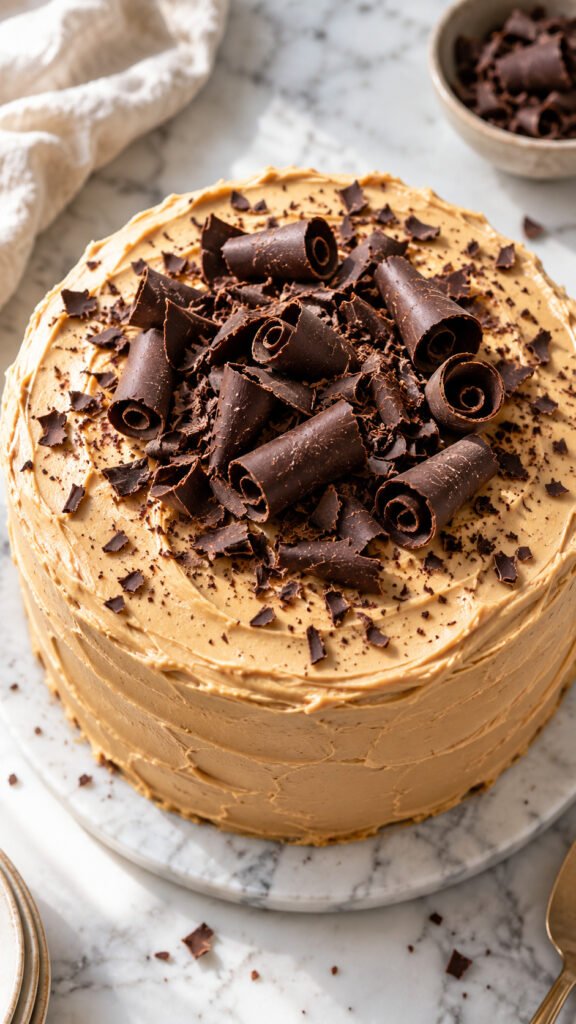
Use Chocolate Curls Instead of Sprinkles for a More Grown Up Look
Sprinkles can make the cake feel playful, but chocolate curls keep the decoration tied closely to the dessert itself. They add height and texture without competing with the peanut butter frosting.
You do not need perfectly shaped curls. Thin chocolate shavings, loose ribbons, and a few larger pieces can work together.
Place most of them near the center or tuck them between frosting swirls. Avoid pressing delicate curls deep into warm frosting because they can soften quickly.
For a cleaner finish, keep the sides simple. Let the dark chocolate curls create the detail on top while the peanut butter frosting stays smooth below.
▸Use loose curls for height near the center.
▸Add fine shavings to fill small gaps.
▸Keep the sides restrained so the top decoration stays noticeable.
Add a Peanut Butter Ganache Center for a Softer Surprise Inside
A peanut butter ganache center gives the cake a softer, almost truffle-like layer without making every part of the frosting heavier.
Keep this filling closer to the middle of each cake layer rather than spreading it all the way to the edge. Pipe a ring of firmer peanut butter frosting around the outside first, then spoon the softer ganache inside that border.
That little frosting wall matters. It helps stop the center from squeezing out once the next chocolate layer is placed on top.
Use a modest amount. The best slice still shows clear chocolate cake and peanut butter frosting instead of one thick band of filling taking over the middle.
STANDARD FILLING
Peanut butter frosting gives the cake a firmer, more even layer from edge to edge.
GANACHE CENTER 🥜
A softer center adds contrast while the outer frosting border keeps the layer stable.
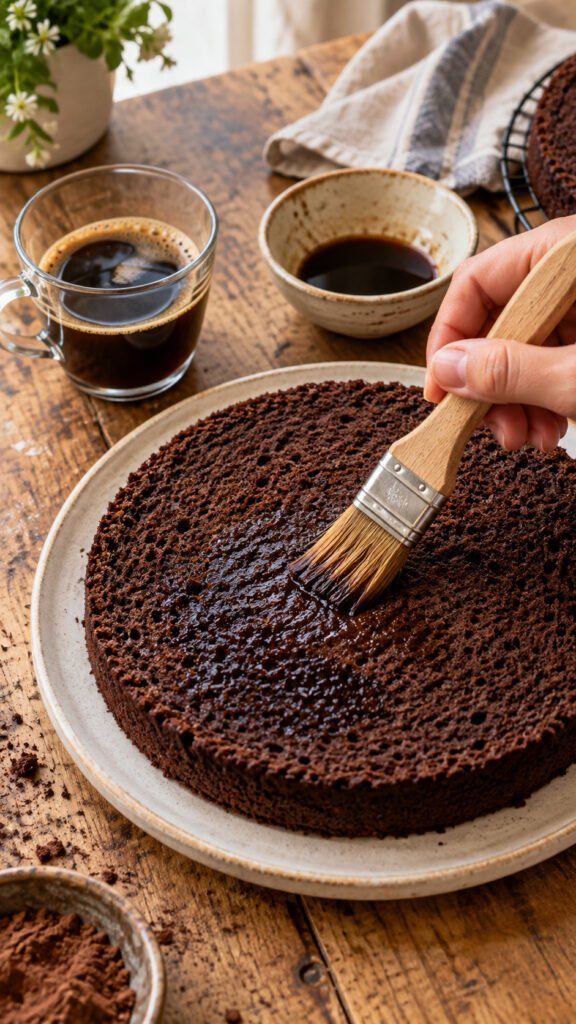
Brush the Chocolate Layers With Coffee for Deeper Cocoa Flavor
Coffee can make chocolate taste darker and fuller without turning the finished cake into a coffee dessert.
The key is using a light hand. Brush a small amount over each cooled chocolate layer instead of soaking the cake. You want the surface slightly moistened, not wet enough to weaken the crumb.
Keep the coffee plain and let it cool first. Sweet coffee or heavily flavored coffee can compete with the peanut butter frosting.
This works especially well when the cake layers were baked a day ahead and have been wrapped overnight. A light brushing can freshen the surface before you begin stacking.
📌 Good To Know
Use just enough cooled coffee to lightly dampen the surface. If liquid pools on the cake, you have gone too far.
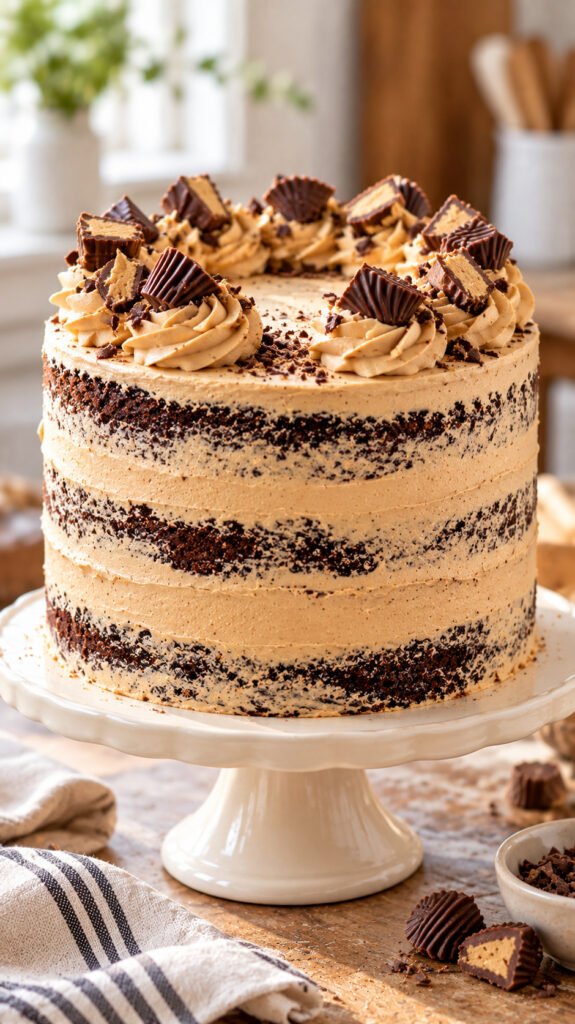
Finish the Sides With a Semi Naked Frosting Style
You do not need a thick outer coat to make a layer cake look finished. A semi naked finish lets hints of dark chocolate cake show through the peanut butter frosting, which suits the two tone look naturally.
Start with a thin crumb coat, then scrape away some of the extra frosting as you smooth the sides.
The trick is restraint. You still want enough frosting to hold crumbs in place and keep the cake from looking unfinished.
A straight bench scraper helps, but perfection is not the goal here. Slight variation around the sides often looks better than trying to expose exactly the same amount of cake everywhere.
THE ONE THING TO REMEMBER
Remove enough frosting to reveal soft patches of chocolate cake, but leave a complete thin coat so the sides still look intentional.
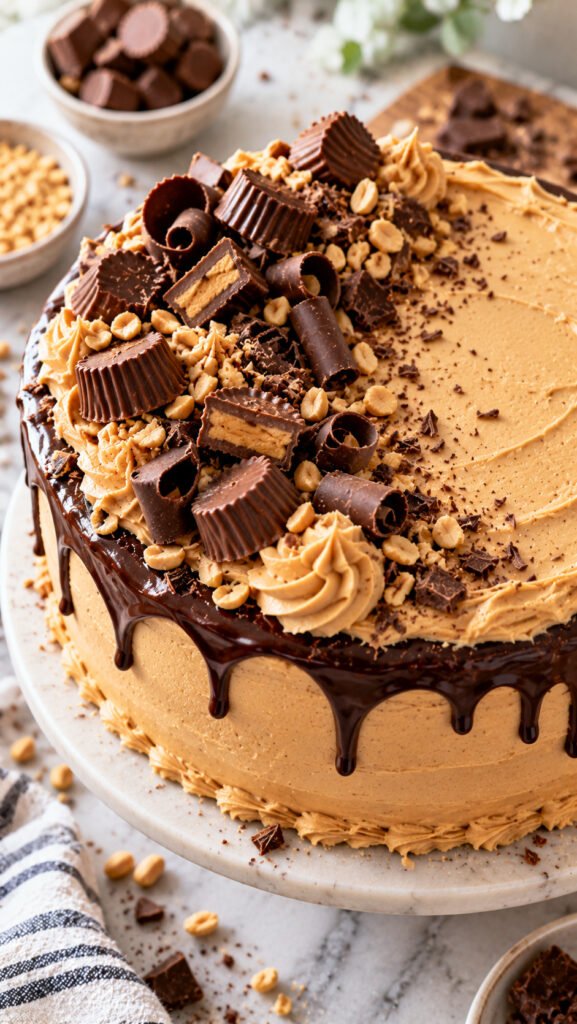
Turn the Top Into a Chocolate and Peanut Butter Candy Cluster
A candy cluster works best when it looks gathered rather than scattered across every inch of frosting.
Choose a few treats that repeat flavors already in the cake. Mini peanut butter cups, chocolate pieces, chopped peanuts, and small chocolate curls are enough. You do not need a full candy aisle.
Build the cluster slightly off center or along one side of the top. Start with the largest pieces, then use smaller bits to fill the spaces around them.
Leave some plain frosting visible. That open space stops the decoration from looking crowded and makes the candy details easier to notice.
Gather before decorating
✅A few mini peanut butter cups for the largest pieces.
✅Chocolate chunks or curls for height and shape.
✅Chopped roasted peanuts to fill small gaps without adding bulky candy.
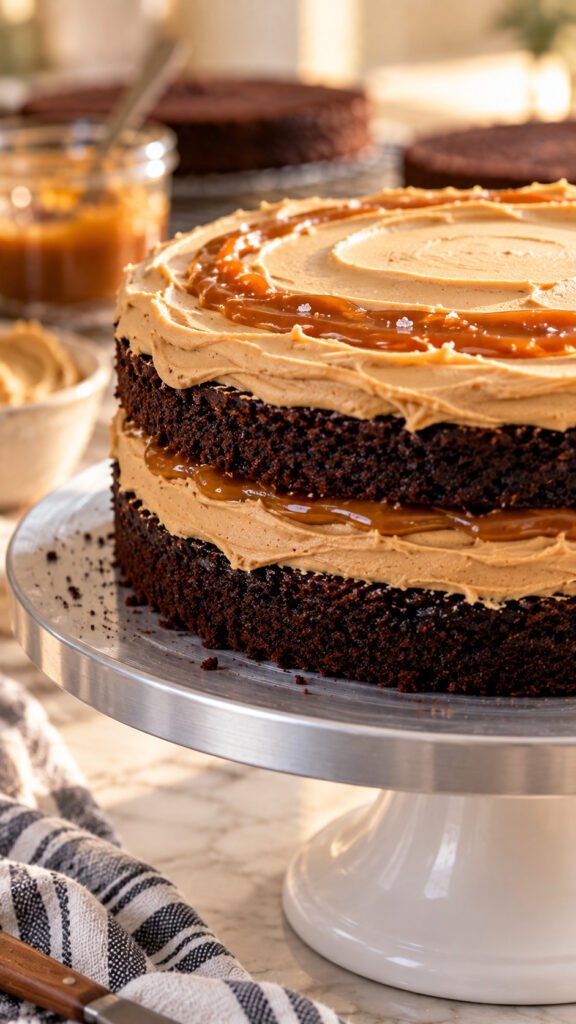
Layer in Salted Caramel Without Losing the Peanut Butter Flavor
Salted caramel can work with chocolate and peanut butter, but it needs to stay in the background. A thick caramel layer can quickly become the first thing you taste.
Use it as a thin ribbon over the peanut butter filling rather than a separate heavy layer. Keep it away from the outer edge so it does not escape when the cake is stacked.
The salt is useful here because it cuts some of the sweetness from the frosting and chocolate.
Skip extra caramel on top if you are already using a chocolate drip, candy cluster, and peanut butter swirls. Too many sauces can hide the clean contrast that makes the cake appealing in the first place.
✅ Do this
Use a thin caramel ribbon between layers.
Let peanut butter remain the main filling flavor.
🚫 Skip this
Do not spread caramel all the way to the cake edge.
Avoid piling several sweet sauces onto the same finished cake.
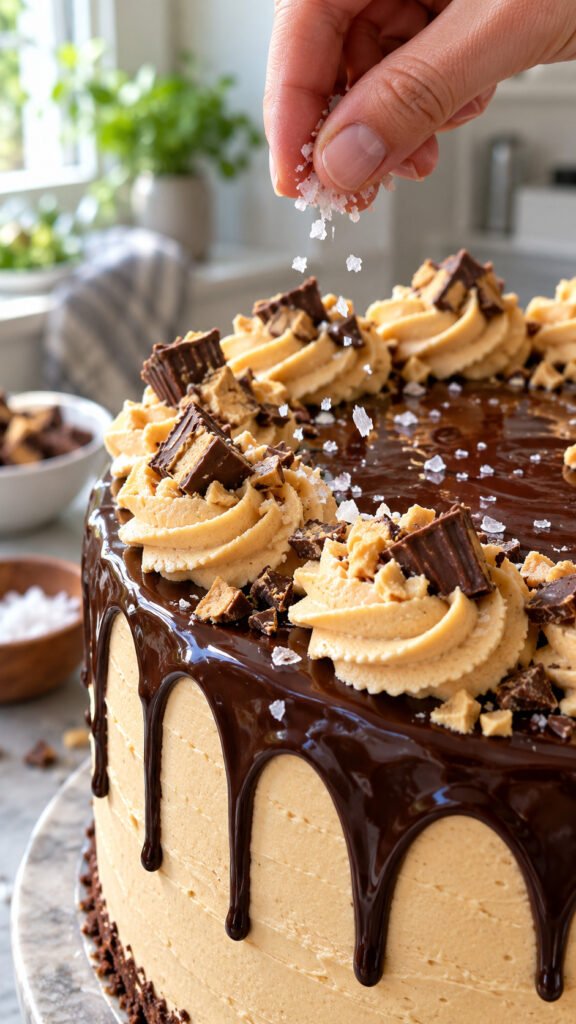
Add a Pinch of Flaky Salt to Cut Through the Sweet Frosting
A tiny amount of flaky salt can make the chocolate and peanut butter taste clearer, especially once the cake has several layers of frosting and ganache.
Do not mix a heavy amount into every component. Use it as a finishing detail instead.
A few good places are:
Over the final chocolate drip.
On top of peanut butter swirls.
Across a candy cluster just before serving.
The flakes should be visible here and there, not form a salty coating. Add them at the end so they stay distinct instead of dissolving into warm ganache or soft frosting.
1
Finish the frosting and chocolate decorations first.
2
Pinch a very small amount of flaky salt between your fingers.
3
Scatter it over selected areas instead of covering the whole top.
Make the Cake Taller With Four Thin Layers Instead of Two Thick Ones
Four thinner layers give you more chances to repeat that chocolate and peanut butter pattern, so each slice looks more dramatic without needing elaborate decoration.
The important part is keeping every layer level. Uneven thin cakes become noticeable once they are stacked.
Use restrained amounts of filling between them. Four layers already create more frosting in each slice than a simple two layer cake, so there is no need for thick bands in the middle.
A taller cake also benefits from chilling during assembly. Once two or three layers are stacked, a short chill can firm everything up before you finish the rest.
🎂
Look
Tall and layered
🥜
Filling
Use thinner bands
❄️
Best Move
Chill as you stack
Decorate With Chocolate Shards for a Simple Bakery Style Finish
Chocolate shards work well when you want height on top of the cake without covering it in candy.
Break them into a mix of narrow and slightly wider pieces rather than trying to make every shard identical. Push a few into the frosting at different angles, then stop before the top becomes crowded.
Shards make more of a statement than delicate curls, so they suit cakes with fairly simple sides.
If you are already using a heavy drip and large peanut butter cups, choose smaller shards. Keeping one decoration dominant usually gives the cake a cleaner finish.
Chocolate Shards
Chocolate Curls
Create strong height
Create softer texture
Work well as the main decoration
Fit easily around other toppings
Best with simpler cake sides
Good for a lighter finishing touch
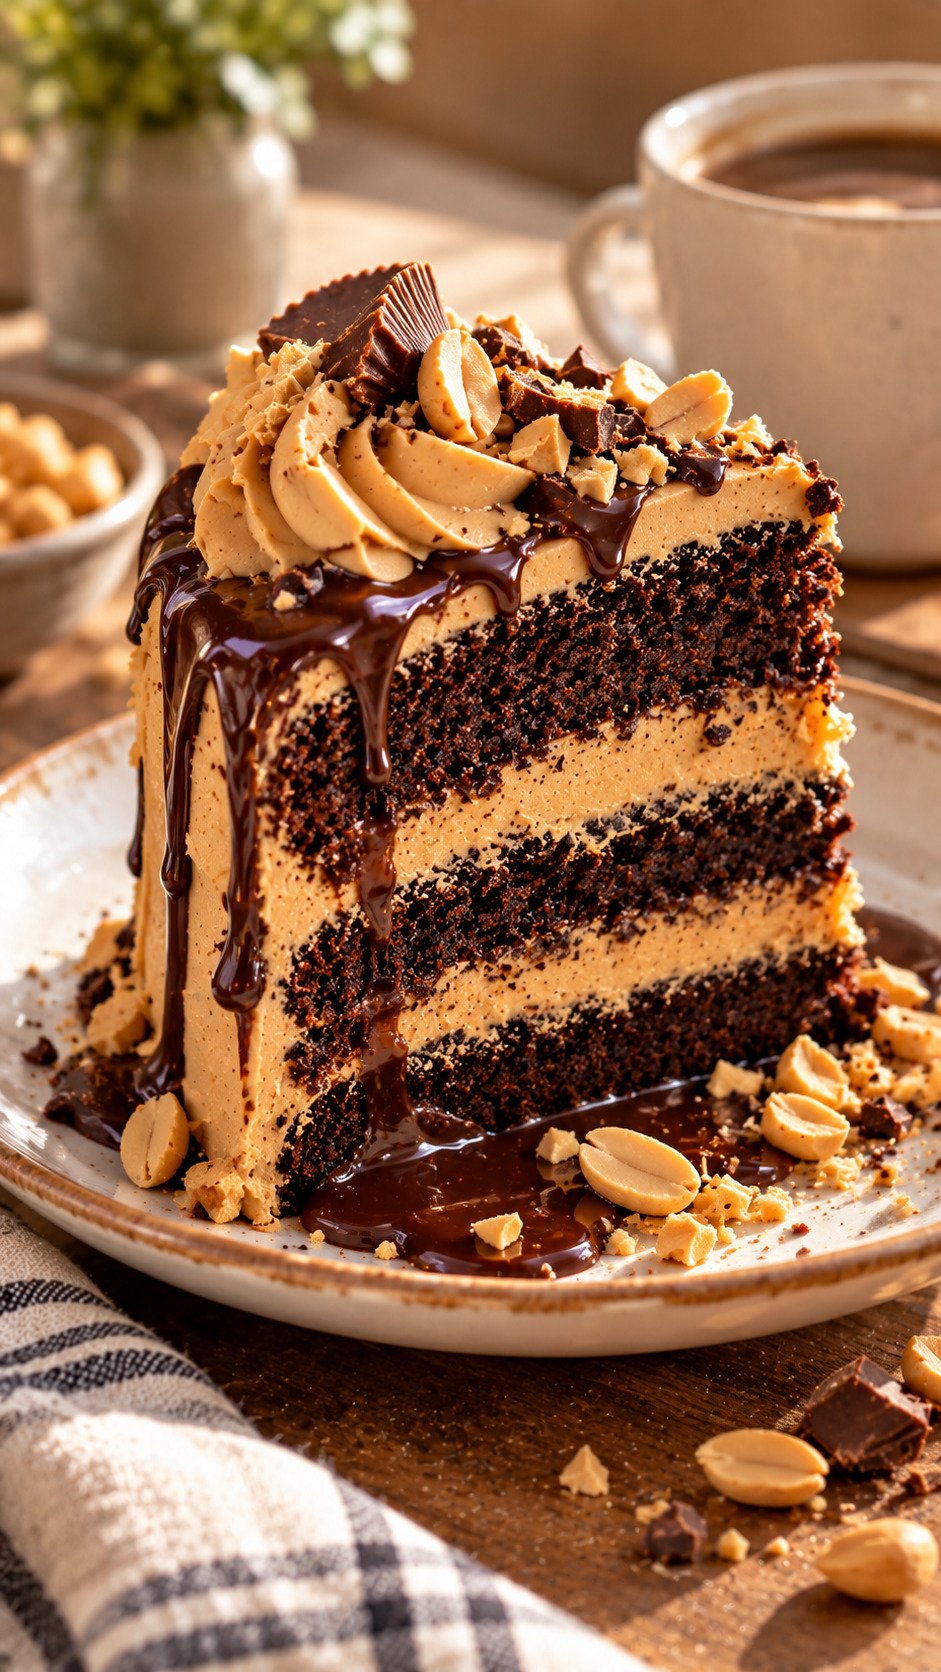
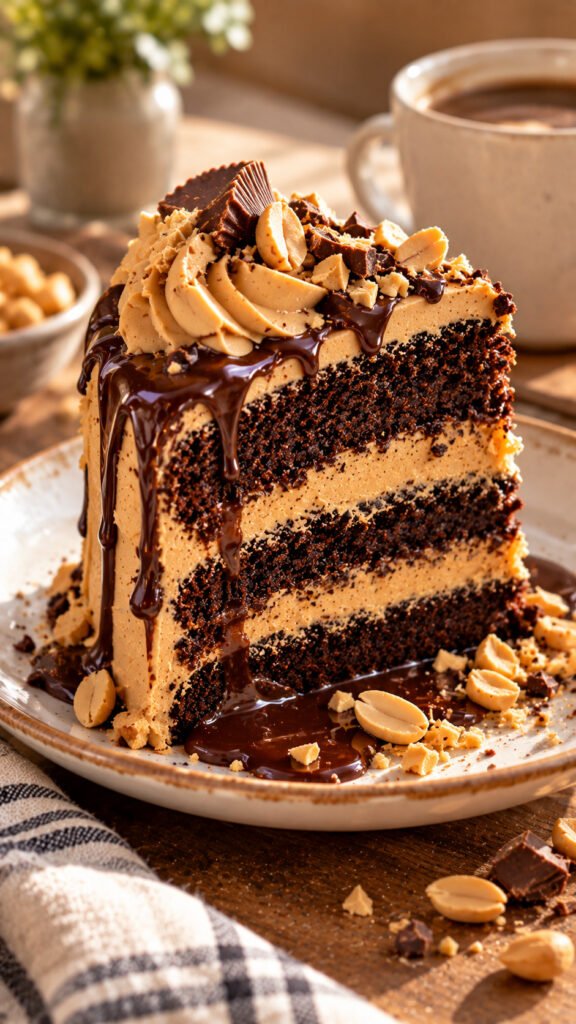
Serve Each Slice With Warm Chocolate Sauce and Roasted Peanuts
The cake can be fully decorated before it reaches the table, but the final plate is another chance to bring out the chocolate and peanut butter contrast.
Use warm chocolate sauce beside or lightly over the slice rather than soaking the cake. Then add a small pinch of roasted peanuts for crunch.
Serving the sauce separately works especially well if the cake already has plenty of ganache on top. Guests can add as much as they want, and the plated slice stays neat.
A glass of cold milk or plain coffee alongside it keeps the serving simple. With a cake this rich, the plate does not need many extras.
🍫
Sauce
Warm and used lightly
🥜
Crunch
Roasted peanuts on the plate
☕
Pairing
Keep the drink simple
CONCLUSION
A good Peanut Butter Chocolate Layer Cake comes down to balance. The chocolate should stay deep and noticeable, the peanut butter frosting should feel creamy rather than heavy, and the decorations should support those flavors instead of covering them up.
You can keep the finish simple with chocolate curls and a few peanut butter swirls, or build more detail with ganache, caramel, candy, and crunchy peanuts. Even one or two of these ideas can make a basic layer cake feel more thoughtful.
The best part is that most of the details can be adjusted to match your skill level and the occasion.
Save this list on Pinterest for the next time you want to make a rich chocolate and peanut butter cake with a little extra detail.
Frequently Asked Questions
What is the best peanut butter to use for a Peanut Butter Chocolate Layer Cake?
Creamy peanut butter is usually the easiest choice for frosting because it gives a smoother and more stable texture. Natural peanut butter can work, but it should be stirred very well first since the oil can separate.
How do I keep the cake layers from sliding?
Make sure the cake layers are completely cool before stacking. Use frosting that is thick enough to hold its shape, avoid overfilling the center, and chill the cake briefly as you build the layers.
Can I make this cake ahead of time?
Yes. The chocolate cake layers can be baked ahead, cooled completely, wrapped well, and stored until you are ready to assemble the cake. Decorating closer to serving helps the frosting and toppings look fresher.
How do I stop chocolate ganache from running too far down the cake?
Let the ganache cool slightly before adding it to a chilled cake. Test one small drip first. If it runs too quickly, give the ganache a little more time to cool before continuing.
Can I use natural peanut butter in the frosting?
You can, but the texture may be softer or less predictable because natural peanut butter often separates. Stir it thoroughly before using and check the frosting consistency before assembling the cake.
What flavors go well with chocolate and peanut butter cake?
Salted caramel, roasted peanuts, dark chocolate, coffee, and a small amount of flaky salt all work well. Use extra flavors lightly so the chocolate and peanut butter remain the main focus.
How can I make the cake look bakery style without advanced decorating skills?
Try a smooth or semi naked frosting finish, a simple chocolate drip, peanut butter swirls, chocolate curls, or a small candy cluster. One or two neat decorating details usually look better than covering the cake with too many toppings.
Should Peanut Butter Chocolate Layer Cake be refrigerated?
If the cake has soft fillings, ganache, or frosting that becomes loose in a warm room, chilling helps it stay stable. Let chilled slices sit briefly before serving so the cake and frosting can soften slightly.
How do I get clean slices from a tall layer cake?
Chill the assembled cake until the layers feel firm, then use a sharp knife. Wipe the blade clean between cuts so chocolate, frosting, and ganache do not smear across the next slice.
Can I make this cake with four layers instead of two?
Yes. Four thinner layers create a taller cake and give you more visible peanut butter filling between the chocolate layers. Keep each filling layer fairly thin so the finished cake stays balanced and easy to slice.