
23 Christmas Candy Recipes
The holiday candy tray is the best part of December, and these christmas candy recipes cover every classic worth making. From creamy fudge and crunchy brittle to silky truffles and sparkling sugar plums, this collection gives you a candy for every taste, every skill level, and every gift list.
Most of these candies need no special equipment beyond a thermometer and a lined pan, and many of them set in an hour or less. Pick one to start, or make a whole tray: either way, your kitchen will smell like the holidays and your gift tins will fill up fast.
Why You Will Love These Christmas Candy Recipes
- A candy for every taste: fudge, truffles, bark, caramels, toffee, and brittle
- Perfect for gifting: most candies pack, travel, and keep beautifully
- Many are no bake or one pan, so beginners can join in too
- Make ahead friendly: most taste better after a day or two
- Kid friendly projects: bark, clusters, and rock candy are fun to make together
1. Classic Chocolate Fudge
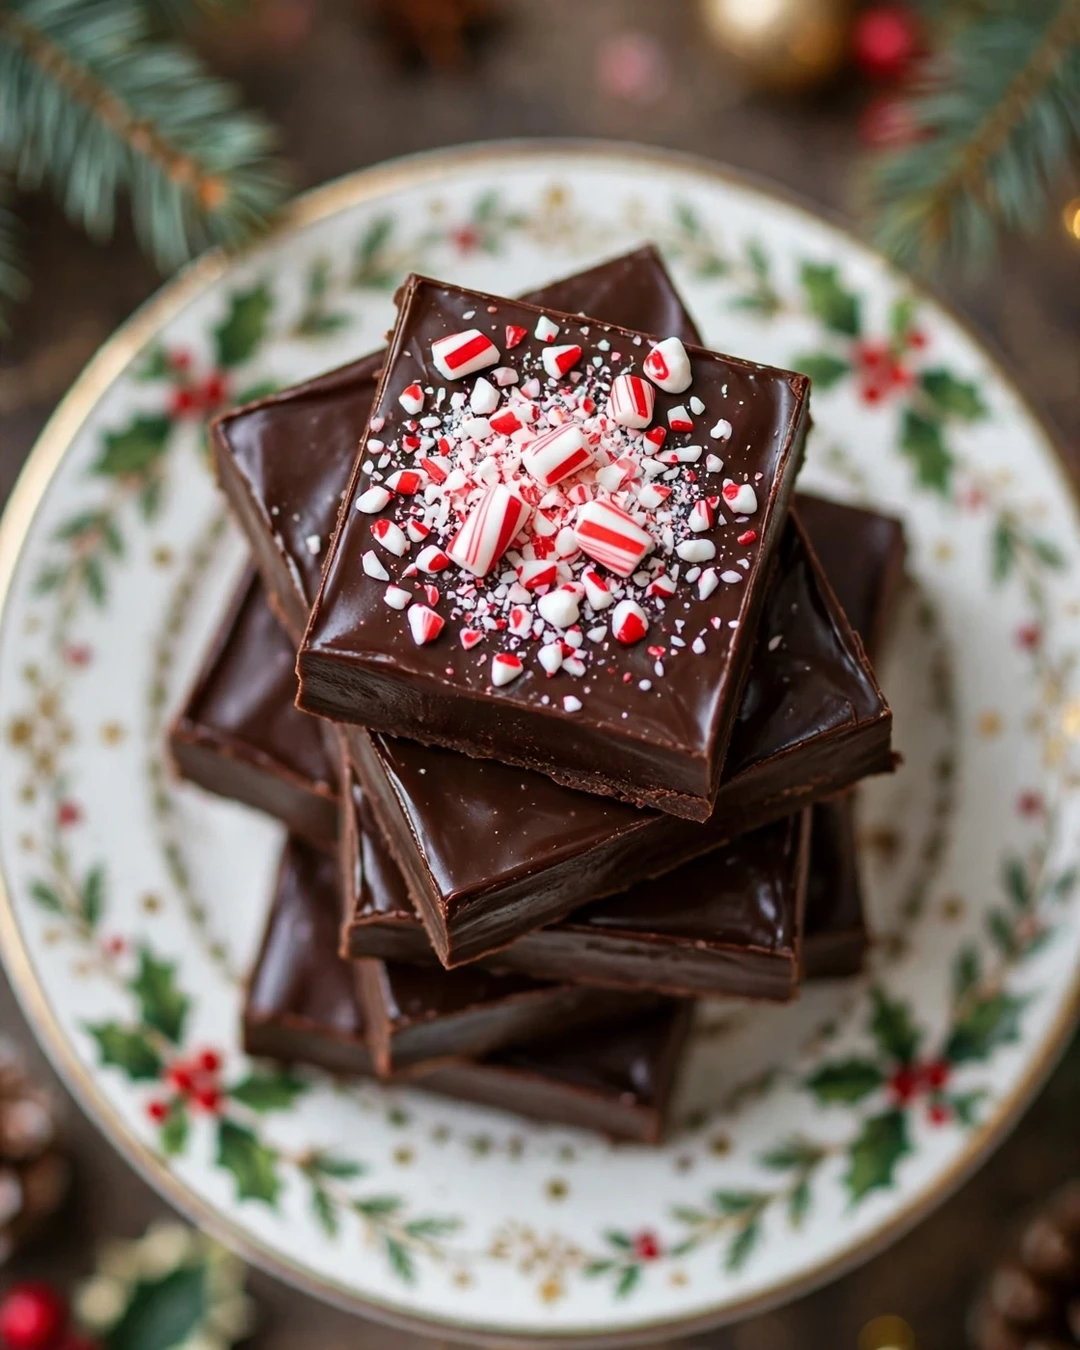
Every Christmas candy table needs a pan of classic chocolate fudge, and this is the version that never lets you down. It is dense, creamy, and deeply chocolatey, with a smooth bite that melts slowly instead of crumbling. Made with chocolate, sweetened condensed milk, butter, and a pinch of salt, it sets firm enough to cut into neat squares but stays soft in the center.
The trick is patience at the stove and a good stir at the end. Melt everything gently so the chocolate never scorches, then beat the mixture until it loses its shine and starts to thicken. That beating step is what gives fudge its fine, even texture, so do not rush it or pour it too early.
Line the pan with parchment with overhang on two sides so the whole slab lifts out cleanly for cutting. Use a sharp, warm knife and wipe it between cuts for bakery neat squares. A little flaky salt or crushed peppermint on top turns the plain version into a holiday showpiece without any extra work.
Pro Tips
Let the fudge cool fully at room temperature before cutting, since warm fudge drags and tears. If your kitchen is warm, chill the slab for twenty minutes first. Store cut pieces between layers of parchment so they do not stick together in the tin.
- Melt chocolate gently over low heat
- Beat until the shine fades and it thickens
- Line the pan with parchment overhang
- Cut with a warm, wiped knife
Serving Suggestions
Serve small squares on a dessert board beside cookies and nuts, since a little fudge goes a long way. It also makes a lovely host gift packed in a tin. For even more ideas, these fudge recipes cover every flavor you could want.
Variation to try: swap half the chocolate for peanut butter chips and swirl them through before the fudge sets, or fold in toasted walnuts and dried cherries for a chunky holiday version. Both changes keep the same method and setting time, so the batch stays foolproof.
2. Peanut Butter Fudge
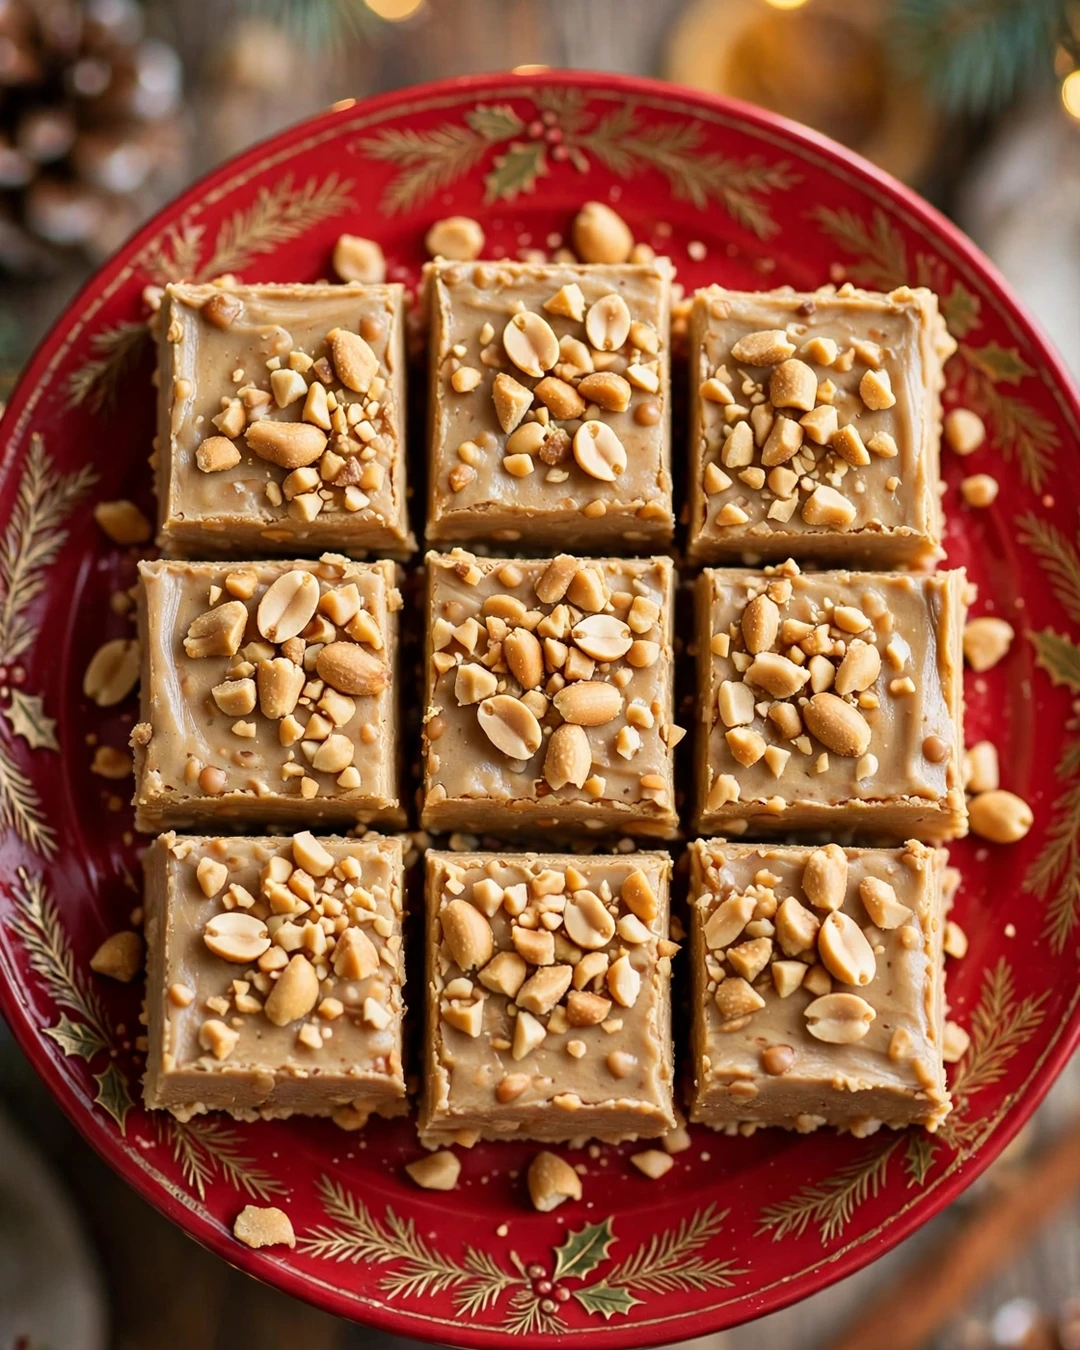
Peanut butter fudge tastes like the best part of a peanut butter cup, only softer and richer. It is sweet, salty, and unmistakably peanutty, with a melt in your mouth texture that sits between fudge and frosting. Kids ask for it by name, and adults quietly eat three pieces before dinner.
Use creamy peanut butter for the smoothest result, and measure it carefully, since too much can make the fudge greasy. Butter and sweetened condensed milk carry the sweetness, while a good pinch of salt keeps the whole batch from tasting flat. Vanilla stirred in at the end rounds out the flavor.
Pour the mixture into a lined pan and smooth the top with a spatula dipped in warm water. Sprinkle chopped roasted peanuts over the top while it is still soft so they stick. Let it set at room temperature for the creamiest texture, then chill briefly only if you need clean cuts.
Pro Tips
Do not boil this fudge hard, or it turns grainy. Gentle heat and steady stirring are all it needs. If the mixture looks oily, keep stirring off the heat until it comes back together and turns thick and glossy.
- Use creamy peanut butter for smooth texture
- Add salt to balance the sweetness
- Smooth the top with a warm spatula
- Let it set at room temperature first
Serving Suggestions
Pair a square with a glass of cold milk or tuck pieces into cookie gift boxes for variety. It sits happily next to shortbread and sugar cookies. These peanut butter cookie recipes make a perfect match on the same tray.
Pairing idea: press a layer of this fudge over a brownie base for a two layer holiday bar, or sandwich a thin square between two plain butter cookies. Either way, keep portions small, since the peanut flavor is rich and a little goes a long way at a party.
3. Peppermint Bark
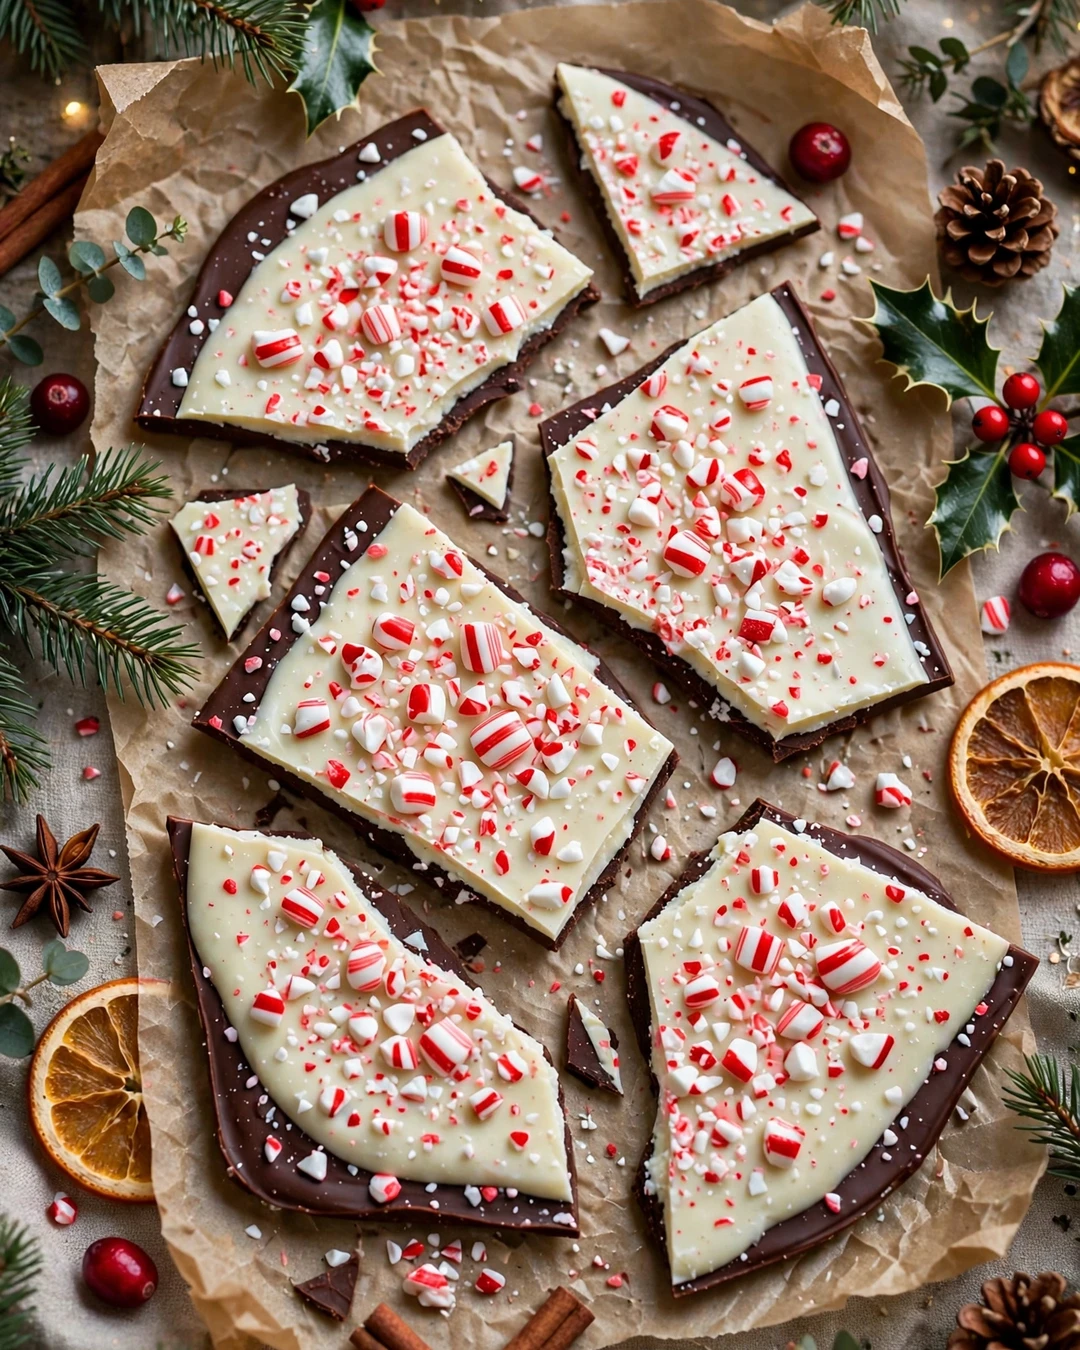
Peppermint bark is the easiest impressive candy on this list, and it disappears faster than anything else on the tray. Layers of dark chocolate and white chocolate sandwich a shower of crushed candy cane, giving every shard a crisp snap, a cool mint finish, and a festive red and white look.
Melt each chocolate separately and spread the dark layer first, chilling it just until firm but not rock hard so the layers bond. Pour the white chocolate over the top, then scatter crushed candy cane immediately before it sets. A light press helps the candy stick without sinking.
Use a rimmed baking sheet lined with parchment for even layers, and keep the layers fairly thin so the bark snaps cleanly. Break it by hand into rustic pieces rather than cutting it, since irregular shards look more homemade and charming in a gift bag.
Pro Tips
Crush the candy canes in a zip bag with a rolling pin, and pick out any dusty powder so the topping stays crunchy and pretty. If the white chocolate seizes, a teaspoon of neutral oil stirred in gently can rescue the texture.
- Spread dark chocolate first and chill briefly
- Pour white chocolate while the base is still tacky
- Scatter candy cane before the top sets
- Break by hand for rustic shards
Serving Suggestions
Pile shards in a clear cellophane bag tied with ribbon for an instant gift, or scatter them over a dessert board. They also make a crunchy topping for hot cocoa and ice cream sundaes.
Pro tip for gifting: pack bark in a rigid tin rather than a soft bag, since thin shards break in transit. Layer pieces with parchment, keep the tin cool, and it will arrive looking as good as it did in your kitchen.
4. Cranberry Pistachio White Chocolate Bark
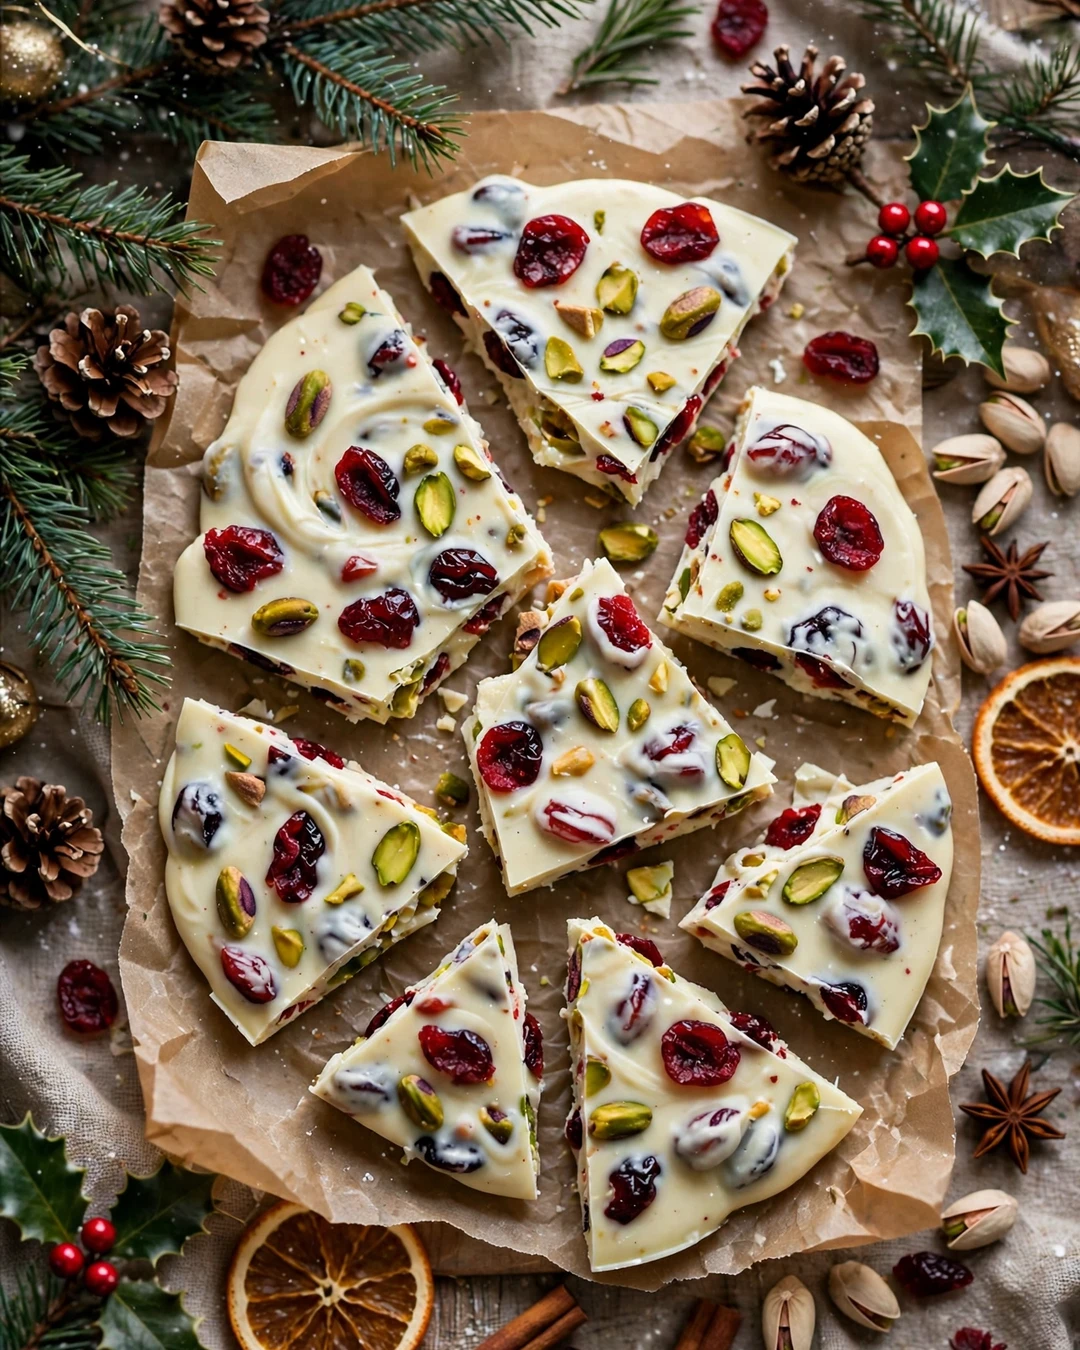
Cranberry pistachio bark looks like Christmas in candy form, with ruby cranberries and green pistachios scattered across creamy white chocolate. It is sweet, tart, salty, and crunchy all at once, and it takes about fifteen minutes of active work from start to finish.
Melt white chocolate gently, since it scorches faster than dark chocolate, and stir in most of the cranberries and pistachios so every bite has mix-ins. Spread it on parchment, press the remaining fruit and nuts on top for color, and let it set completely before breaking it up.
Keep the bark layer even, about a quarter inch thick, so it snaps cleanly and the toppings stay put. A sprinkle of flaky salt or orange zest on top adds a grown up note that balances the sweetness of the white chocolate beautifully.
Pro Tips
White chocolate needs low, gentle heat, so use a double boiler or short microwave bursts with stirring between each one. If it thickens too much, stir in a tiny amount of coconut oil until it flows again.
- Melt white chocolate on low, gentle heat
- Stir most mix-ins into the chocolate
- Press extra toppings on top for color
- Keep the layer about a quarter inch thick
Serving Suggestions
Serve this bark on a holiday dessert board with cheese, crackers, and dried fruit, where its sweetness balances savory bites. It also packs beautifully into gift tins alongside fudge and truffles.
Variation to try: swap pistachios for toasted almonds and add a handful of chopped dried apricots for a jewel toned version. The method stays exactly the same, and the color still reads festive on any holiday table, and everyone will love the result.
5. Dark Chocolate Sea Salt Truffles
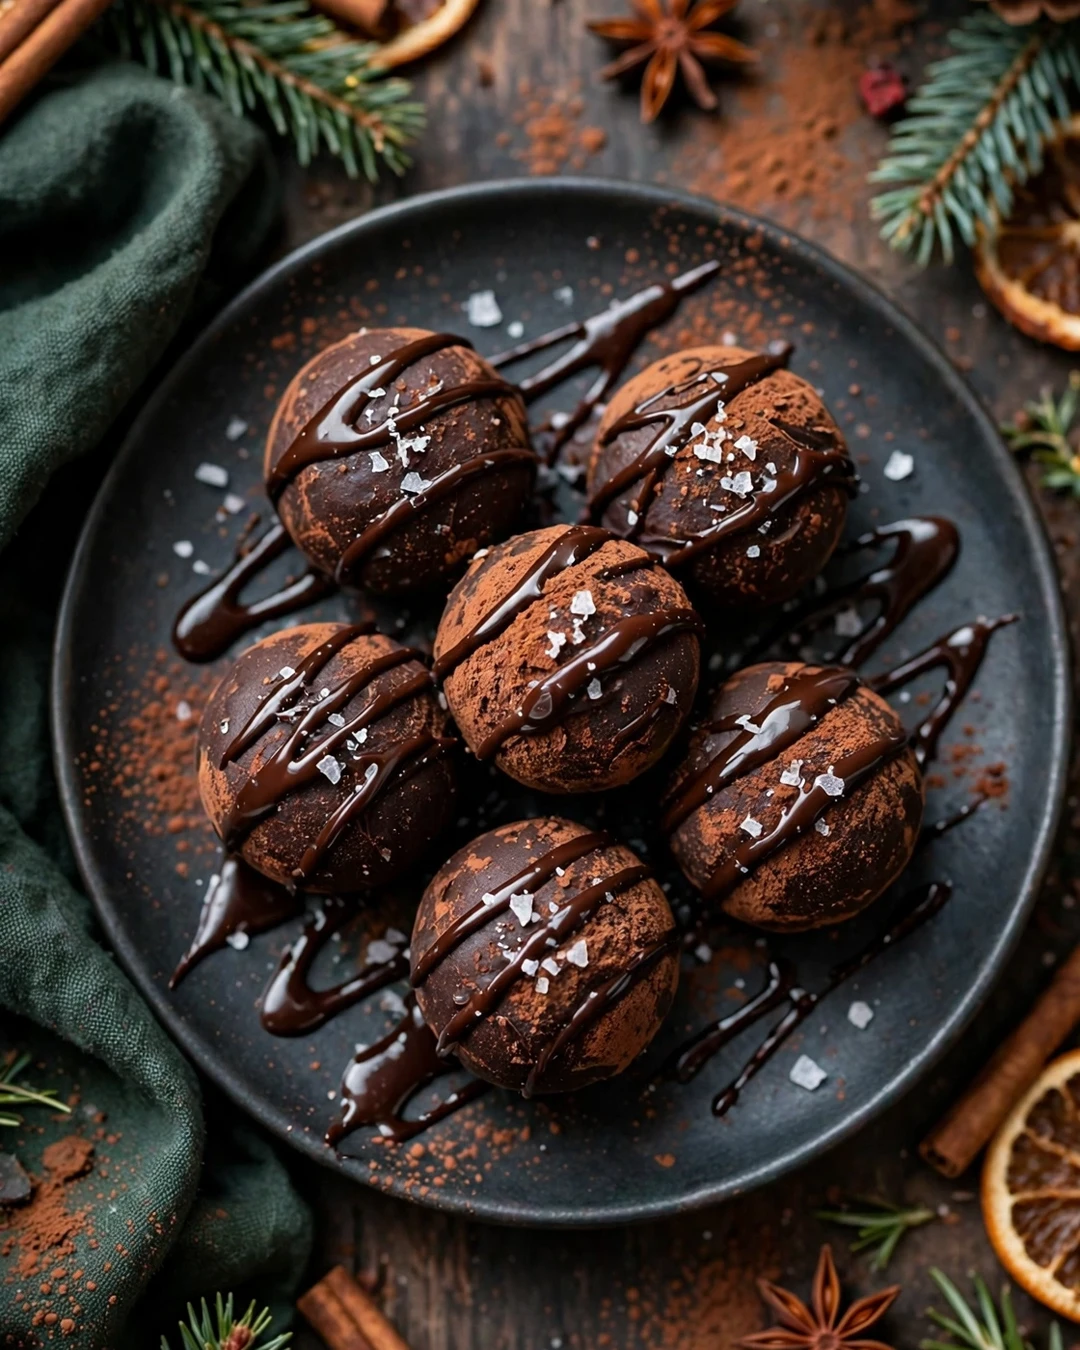
Dark chocolate sea salt truffles are the grown up candy of the season: rich, slightly bitter, silky in the center, and finished with a crackle of salt that makes the chocolate taste even more intense. They look like something from a fancy chocolate shop, but the method is just ganache, chill, and roll.
Warm cream poured over chopped dark chocolate makes a smooth ganache, and a knob of butter stirred in at the end gives it shine and a softer bite. Chill the ganache until it scoops cleanly, then roll quickly with cool hands so the centers stay round and neat.
Roll the finished truffles in cocoa powder, chopped nuts, or a mix of cocoa and flaky salt, depending on the look you want. Cocoa gives a classic dusty finish, while a salted cocoa roll adds crunch and a little sparkle on top of each piece.
Pro Tips
Keep your hands cool and work in small batches, returning the ganache to the fridge when it softens. If the centers get sticky, a quick chill firms them up again without changing the flavor at all.
- Use good dark chocolate for deep flavor
- Stir butter in at the end for shine
- Chill ganache until it scoops cleanly
- Roll with cool hands in small batches
Serving Suggestions
Serve truffles in mini paper cups on a dessert tray, or box a dozen as a gift. They pair beautifully with coffee after dinner. For a full dessert spread, these chocolate cake recipes round out the chocolate theme nicely.
Serving idea: set out truffles with espresso or strong coffee at the end of a holiday meal, since bitter coffee and dark chocolate bring out the best in each other. Two truffles per guest is plenty, and the small size keeps the course feeling elegant.
6. Eggnog Truffles
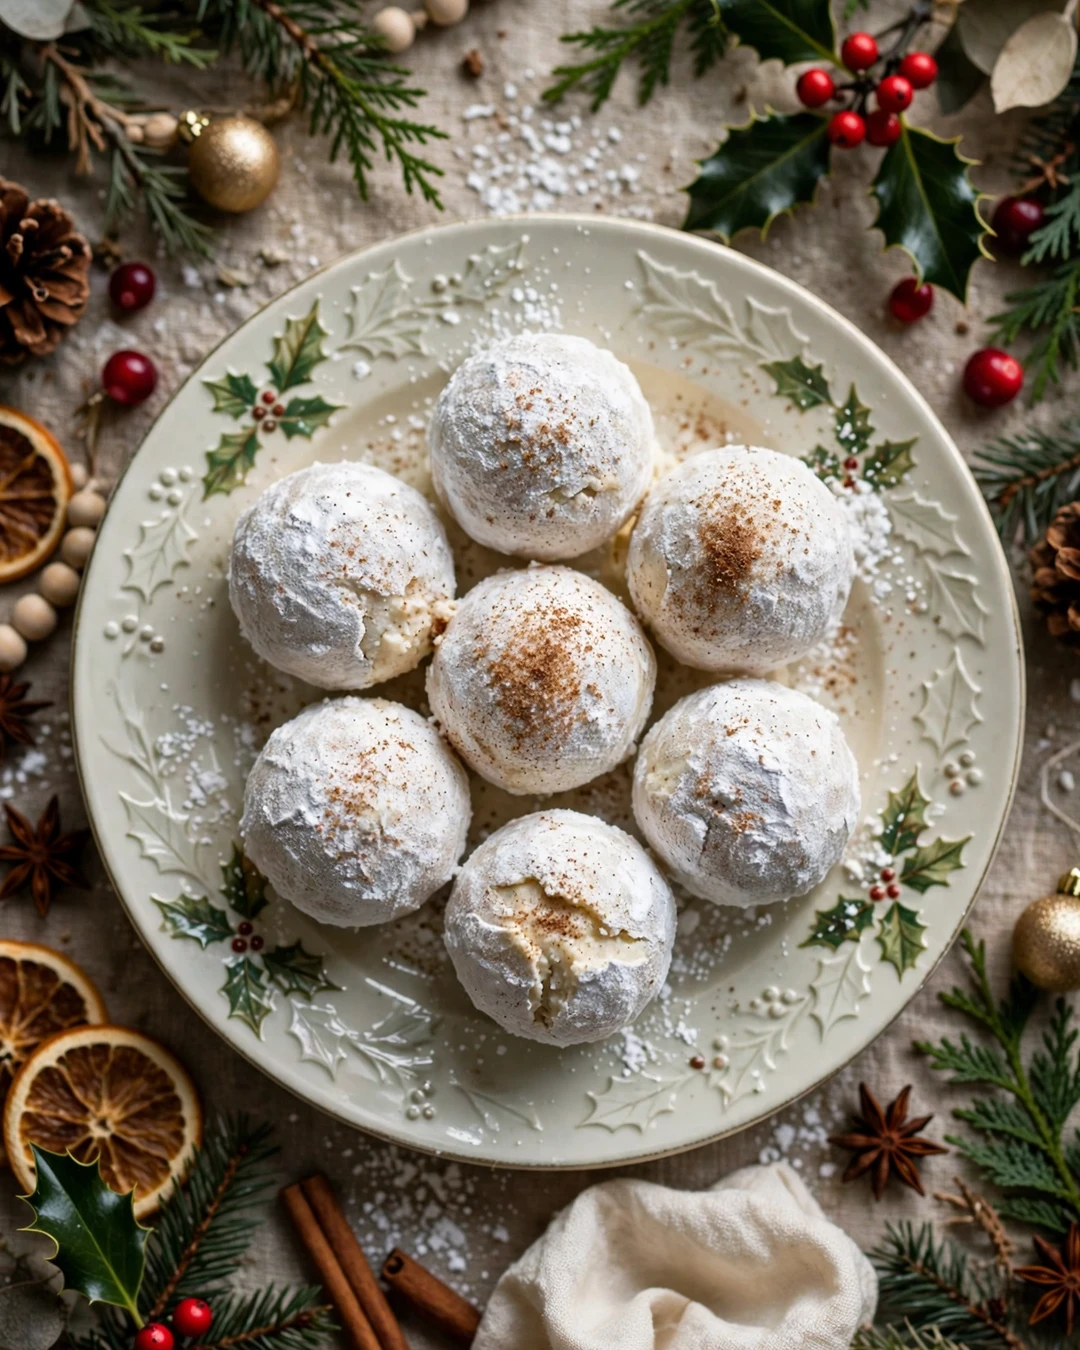
Eggnog truffles capture the whole holiday drink in one creamy bite: vanilla, nutmeg, a whisper of rum flavor, and a soft white chocolate center. They taste festive without any alcohol, which makes them a safe bet for family gatherings and cookie exchanges alike.
Melt white chocolate with a little cream, then stir in nutmeg, vanilla, and rum extract until the ganache smells like fresh eggnog. Chill it until firm, scoop small balls, and roll them in powdered sugar or crushed vanilla wafers for a snowy finish.
Keep the centers small, about a teaspoon each, since white chocolate truffles are very sweet. A dusting of fresh nutmeg right before serving adds aroma and makes them look freshly made, even if you rolled them a day ahead.
Pro Tips
White chocolate ganache softens fast, so chill the scooped balls again before the final roll. If the coating gets damp in the fridge, re-roll in fresh powdered sugar just before serving for a clean, snowy look.
- Keep centers small, about a teaspoon
- Add nutmeg and rum extract to taste
- Chill scooped balls before rolling
- Re-roll in sugar before serving if needed
Serving Suggestions
Serve these in mini cups on a dessert board next to gingerbread and shortbread. They also make a sweet addition to a holiday brunch table, where their creamy flavor fits right in.
Pairing idea: serve eggnog truffles alongside actual eggnog or hot spiced cider at a party, since the matching flavors feel intentional. Guests love the echo, and the truffles give non drinkers a festive treat that still tastes like the season.
7. Soft Salted Caramels
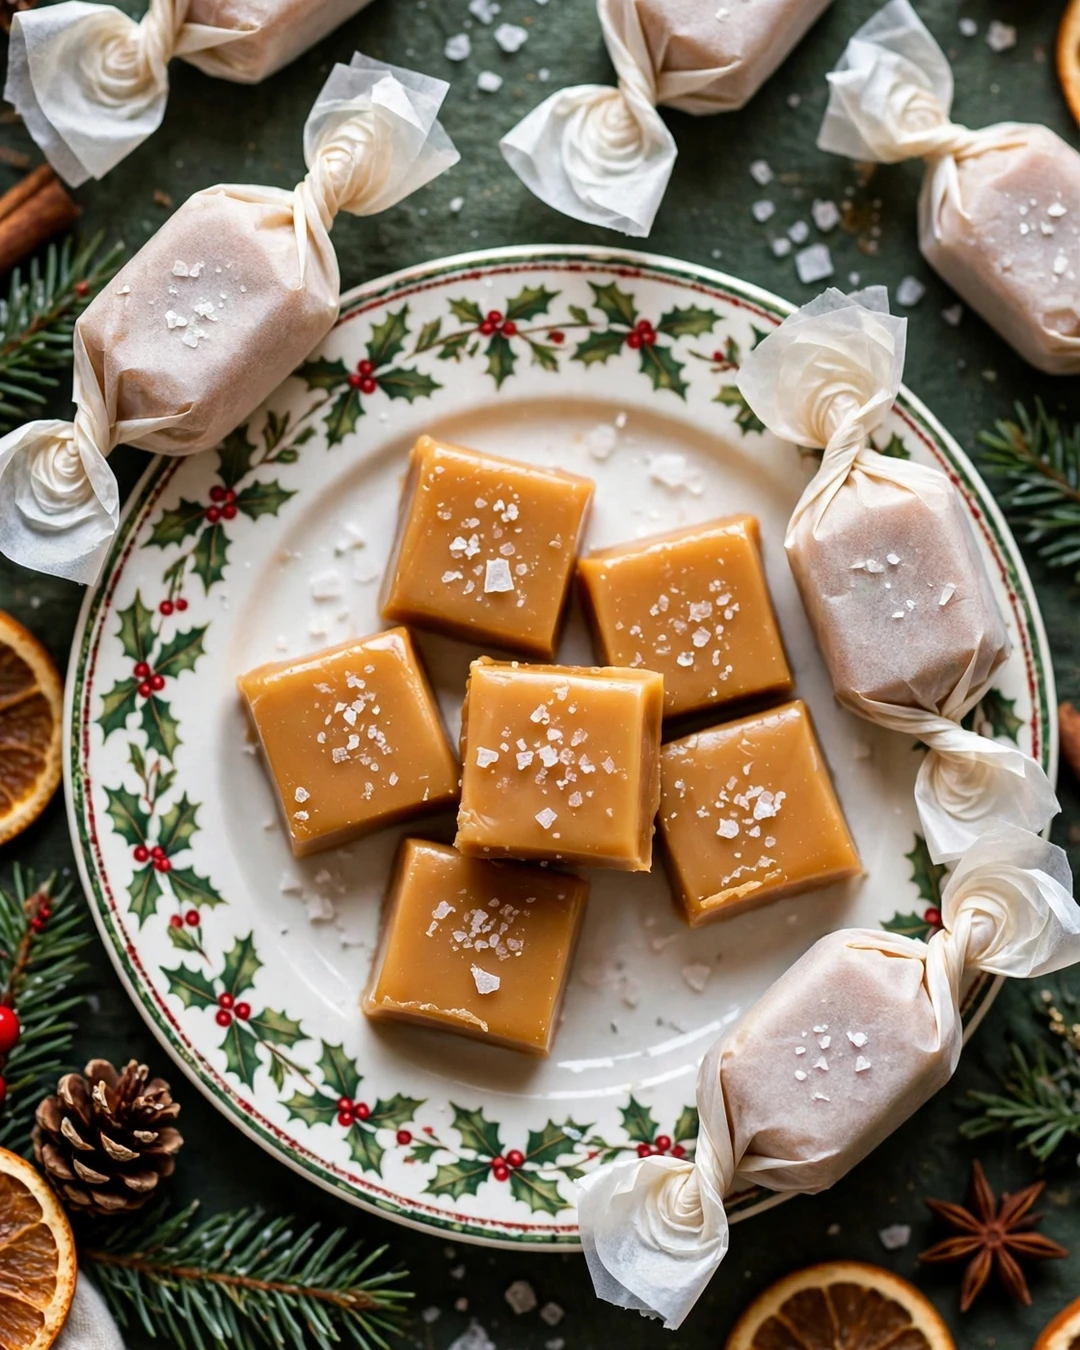
Soft salted caramels are the candy everyone reaches for first, and for good reason. They are buttery, slowly sweet, and just salty enough, with a chewy pull that stretches without sticking to your teeth. Wrapped in wax paper twists, they look like old fashioned candy shop treats.
Cook sugar, butter, and cream to the soft ball stage, stirring steadily so the mixture never scorches on the bottom. A candy thermometer takes the guesswork out of it, and pulling the pan at the right temperature is the whole secret to a soft, chewy caramel.
Pour the caramel into a lined pan, sprinkle flaky salt over the top while it is still warm, and let it cool completely before cutting. Use a buttered knife and wipe it clean between cuts so each square comes out neat and tidy.
Pro Tips
Calibrate your thermometer in boiling water first, since even a few degrees off changes the texture. If the caramel turns too firm, warm it briefly and cut it smaller; if too soft, chill it before wrapping.
- Cook to the soft ball stage, 235 to 240 F
- Stir steadily so nothing scorches
- Salt the top while still warm
- Cut with a buttered, wiped knife
Serving Suggestions
Wrap caramels in wax paper twists for gifts, or serve them unwrapped in a small bowl by the coffee. They also melt beautifully into hot chocolate. These snickerdoodle recipes share the same buttery, cinnamon warmth on a dessert tray.
Variation to try: stir a spoonful of bourbon or vanilla bean paste into the cream before cooking, or press chopped toasted pecans into the top before cutting. Both twists keep the soft texture intact and give repeat guests something new to discover.
8. Pecan Caramel Turtles
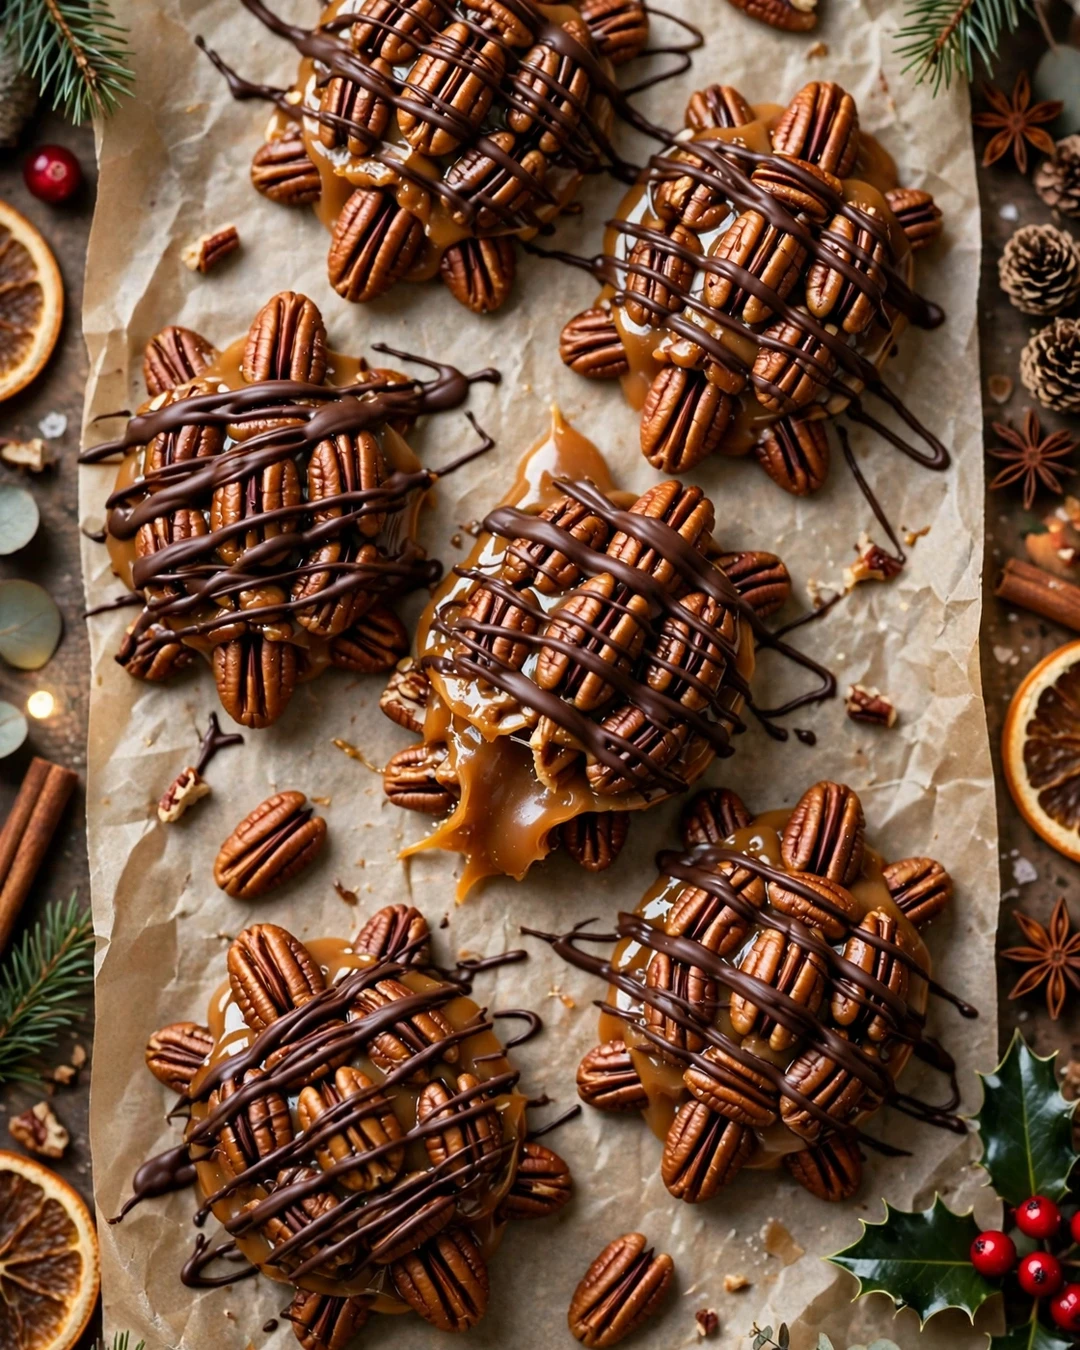
Pecan caramel turtles are pure nostalgia: a cluster of toasted pecans, a puddle of soft caramel, and a cap of chocolate, all in one bite. The crunch, the chew, and the chocolate come together in a way that feels both homemade and a little bit fancy.
Arrange small pecan clusters on parchment first, then spoon warm caramel over the center of each one so it holds the nuts together. Let the caramel set briefly, then spoon melted chocolate over the top and nudge it to cover the caramel without hiding the pecan edges.
Toast the pecans before you start, since toasting deepens their flavor and keeps them crisp under the caramel. Use pecan halves for a classic look, or chopped pecans for smaller, easier to eat clusters that kids can handle.
Candy Thermometer Basics
Clip the thermometer to the pan so the bulb sits in the syrup, not touching the bottom. Read it at eye level and pull the pan off the heat a degree or two before the target, since the hot syrup keeps climbing for a short while after you stop cooking.
Pro Tips
Work with caramel that is warm but not runny, so it stays in a neat mound. If it spreads too far, chill the clusters for ten minutes and spoon a little more caramel on top to rebuild the shape.
- Toast pecans first for deeper flavor
- Arrange nut clusters before adding caramel
- Let caramel set briefly before chocolate
- Keep chocolate off the pecan edges
Serving Suggestions
Serve turtles on a dessert board or pack them in mini cups for gifts. They are rich, so one or two per person is plenty alongside lighter cookies and fruit.
Pro tip for parties: make turtles a day ahead and keep them cool, since the chocolate sets firm and the caramel stays soft. Bring them to room temperature for twenty minutes before serving so the caramel turns gooey again before guests arrive.
9. Buttercrunch English Toffee
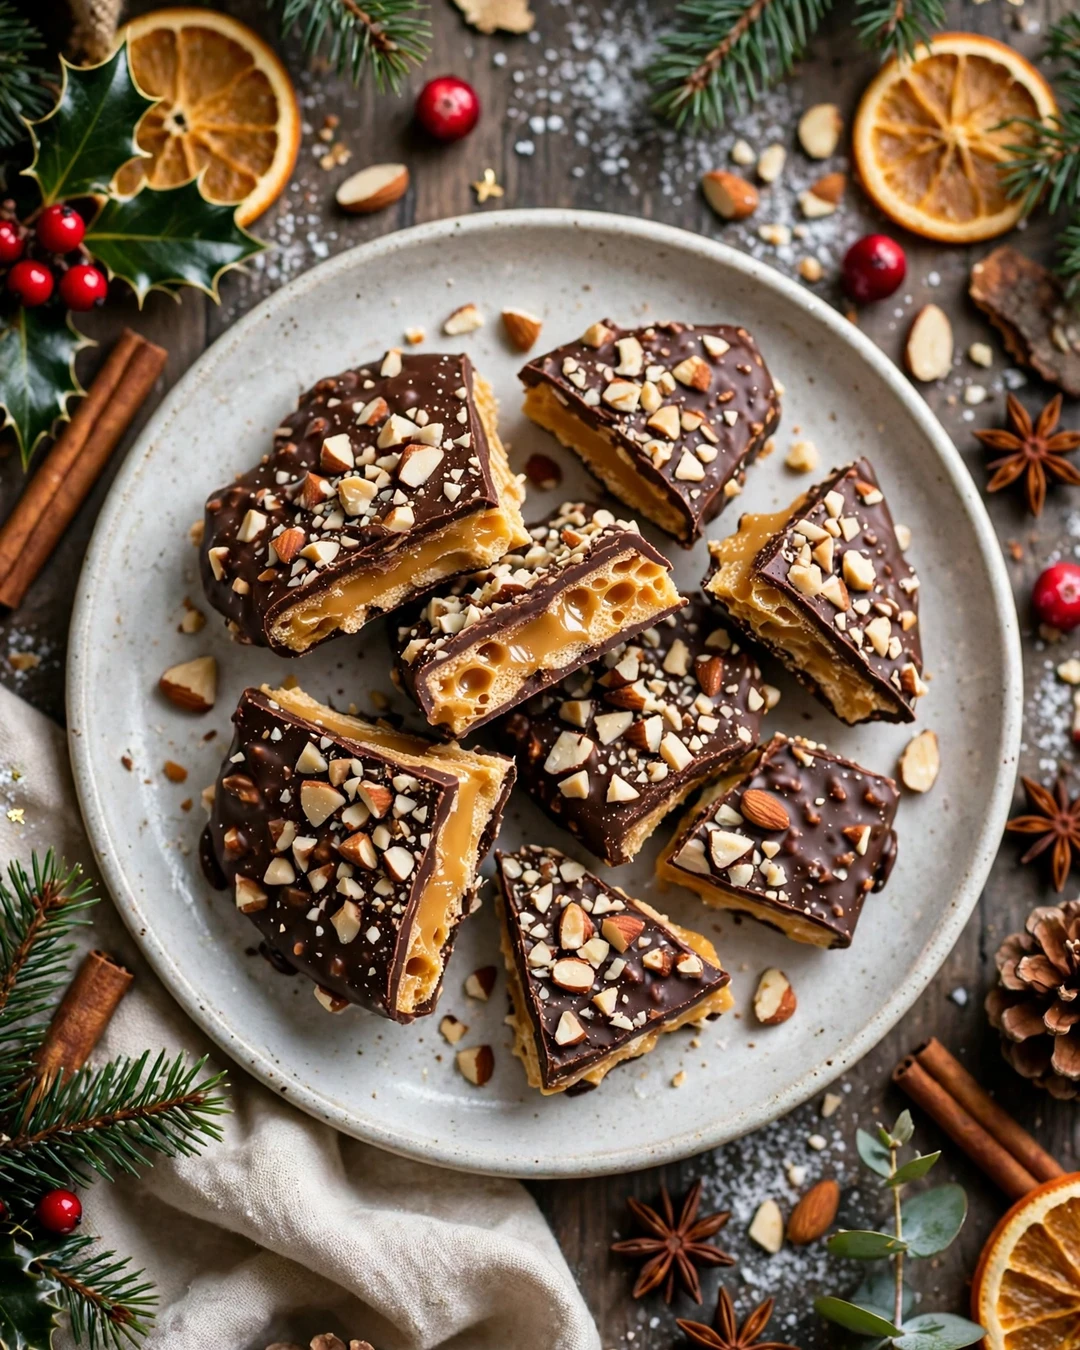
Buttercrunch English toffee snaps like glass, melts like butter, and tastes like the best part of the holidays. A thin sheet of caramelized butter and sugar gets coated in chocolate and chopped almonds, giving every piece crunch, richness, and a nutty finish.
Cook butter and sugar together, stirring constantly, until the mixture turns deep amber and hits the hard crack stage. Pour it onto a lined sheet quickly, spread it thin, and sprinkle chocolate chips over the hot surface so they melt into a smooth coating.
Spread the melted chocolate with an offset spatula, scatter chopped almonds over the top, and let the whole sheet cool completely before breaking it. Thin toffee snaps cleanly and looks beautiful in a tin, while thick pieces can feel hard to bite.
Pro Tips
Stir constantly and watch the color closely, since toffee goes from perfect to burnt in seconds. Have the lined sheet ready before you start cooking, because there is no time to hunt for it once the sugar is done.
- Stir constantly until deep amber
- Have the lined sheet ready first
- Spread chocolate while the toffee is hot
- Cool fully before breaking
Serving Suggestions
Break toffee into irregular pieces for a dessert board, or crush it over ice cream for a crunchy topping. It also makes a wonderful gift in a lined tin, since it travels well and keeps for weeks.
Pairing idea: crumble toffee over vanilla ice cream or fold it into whipped cream for a quick holiday dessert. The buttery crunch adds texture to soft desserts, and a little goes a long way, so one batch stretches across several servings.
10. Classic Peanut Brittle
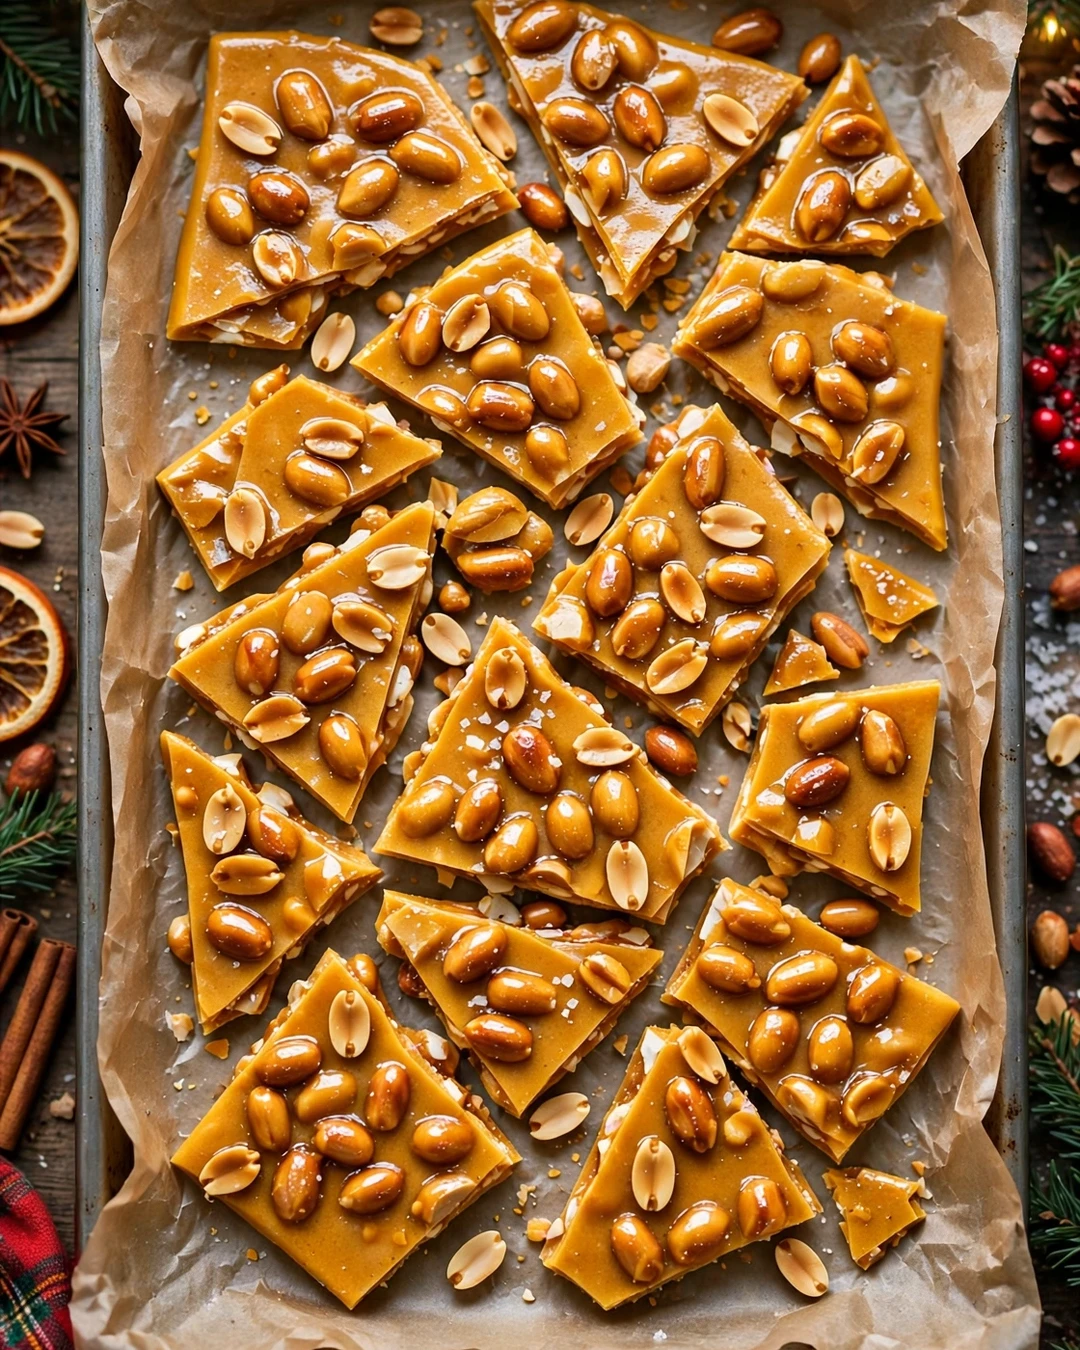
Classic peanut brittle is loud, golden, and gloriously crunchy, with roasted peanuts locked into a glassy sugar sheet. It is the candy that gets passed around the room while people are still talking about dinner, and the tin always comes back empty.
Cook sugar, corn syrup, and water to the hard crack stage, stir in butter, baking soda, and peanuts, then pour the foaming mixture onto a buttered sheet and stretch it thin. The baking soda gives brittle its airy, easy to bite texture instead of a tooth breaking slab.
Do and Do Not
Do work on a dry day when you can, since humidity makes fudge and brittle sticky. Do not stir sugar syrup once it boils unless the recipe says to, because stirring can trigger grainy crystals that spoil a smooth finish.
Work fast once the peanuts go in, since the mixture sets in seconds. Use two forks to pull the edges thinner while it is still warm, and let it cool fully before breaking it into shards of all sizes.
Pro Tips
Butter the sheet and have the peanuts measured before cooking starts, because there is no pause once the sugar hits temperature. If the brittle cools too thick, warm it briefly in a low oven and stretch it again.
- Cook to hard crack, 300 to 310 F
- Have peanuts measured before cooking
- Pour and stretch fast while warm
- Cool fully before breaking
Serving Suggestions
Serve brittle shards standing up in a jar for a pretty table display, or bag them for gifts. It pairs well with coffee and cheese boards. These oatmeal cookie recipes balance its sweetness with a hearty, oaty bite.
Variation to try: swap peanuts for cashews or mixed nuts, or add a pinch of chili powder and cinnamon for a warm spiced version. The cooking method stays the same, and the nut swap alone makes the batch feel brand new.
11. Peppermint Patties
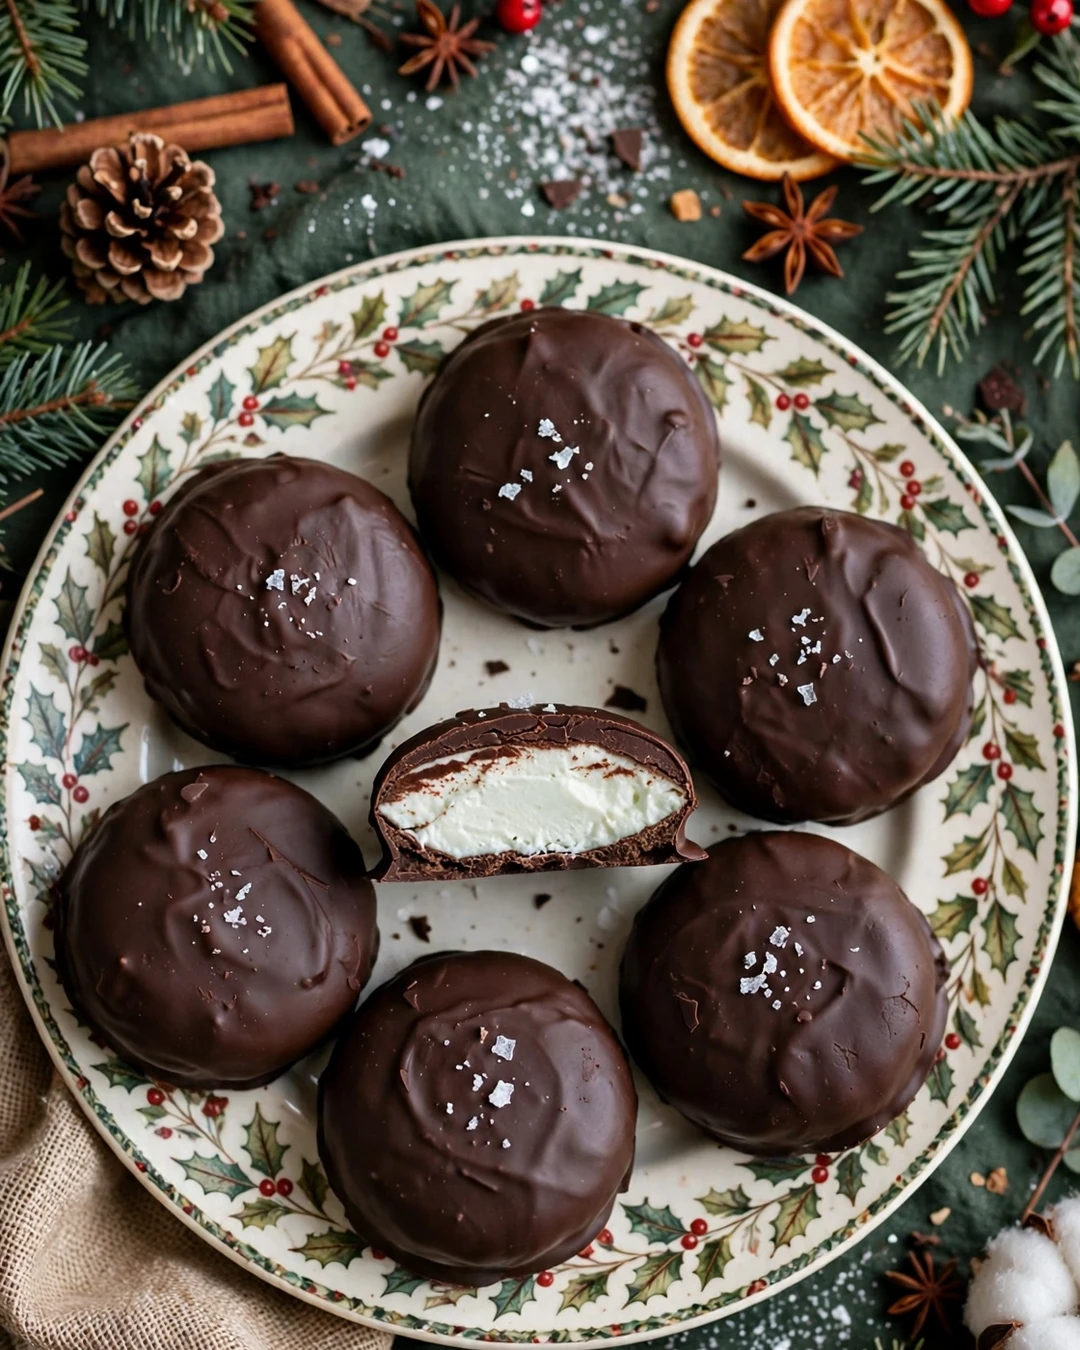
Homemade peppermint patties beat the store version by a mile, with a cool, creamy mint center and a thin dark chocolate shell that cracks when you bite it. They taste clean and refreshing after a rich holiday meal, which is exactly when you want them most.
Sugar Stages at a Glance
| Stage | Temp | Use |
|---|---|---|
| Soft ball | 235 to 240 F | Fudge and caramels |
| Hard ball | 250 to 266 F | Divinity and nougat |
| Hard crack | 300 to 310 F | Brittle and toffee |
Mix powdered sugar, sweetened condensed milk, and peppermint extract into a firm dough, roll it out, and cut small rounds. Chill the rounds until firm, then dip them quickly in melted chocolate and let them set on parchment.
Keep the mint centers cold and the chocolate warm but not hot for the neatest dip. A fork is the best dipping tool: lower the round in, lift it out, tap off the excess, and slide it onto parchment with a second fork.
Pro Tips
Taste the mint dough before rolling, since peppermint extract strength varies by brand. Add it a little at a time until the cool mint flavor is clear but not sharp or soapy.
- Chill mint rounds until very firm
- Dip with a fork for a neat coating
- Keep chocolate warm, not hot
- Taste dough and adjust mint slowly
Serving Suggestions
Serve peppermint patties after dinner with coffee, or tuck them into gift boxes as a refreshing contrast to fudge and caramels. They also make a lovely garnish on top of a chocolate dessert.
Pro tip for clean edges: chill dipped patties until the chocolate sets, then trim any chocolate foot with a small knife. The extra minute of tidying makes homemade patties look store bought, only fresher and far more minty every single time.
12. Divinity Candy
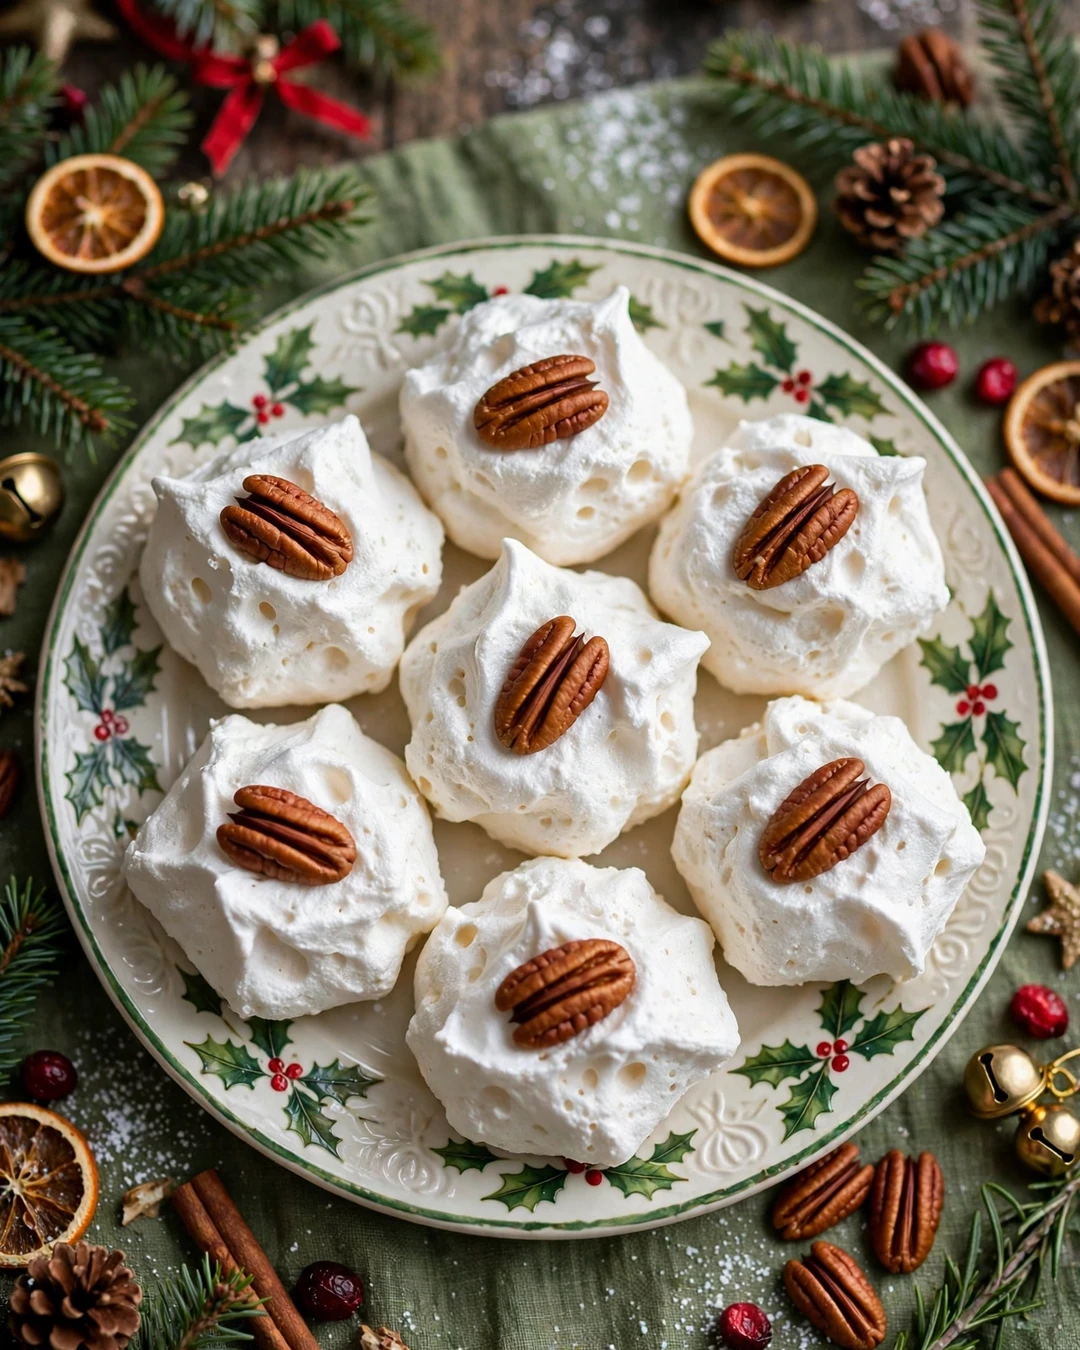
Divinity candy is a Southern holiday treasure: billowy, cloud white, sweet, and just a little bit magical. Whipped egg whites and hot sugar syrup turn into a fluffy candy that sets into soft, pillowy pieces, each one crowned with a pecan.
Beat egg whites to stiff peaks while the sugar syrup cooks to the hard ball stage, then pour the hot syrup in a slow stream into the whipping whites. Keep beating until the mixture loses its gloss and holds its shape, then drop spoonfuls onto parchment fast.
Humidity is divinity’s enemy, so pick a dry day if you can. On a humid day the candy may stay soft and sticky, so beat it a little longer and drop smaller pieces that set faster and hold their shape better.
Pro Tips
Use a stand mixer if you have one, since the beating takes several minutes and your arm will thank you. If the mixture sets in the bowl, a spoonful of hot water beaten in can loosen it enough to drop.
- Pick a dry day for best results
- Pour hot syrup in a slow stream
- Beat until gloss fades and shape holds
- Drop spoonfuls fast onto parchment
Serving Suggestions
Serve divinity on a white plate where its snowy color stands out, or pack it gently in a tin lined with parchment. It pairs with fruit and nuts on a dessert board. These brownie recipes offer a rich chocolate contrast beside it.
Variation to try: fold in chopped dried cherries or crushed peppermint for color, or top each piece with a whole pecan as tradition demands. Small mix-ins keep the cloud like texture intact while giving each batch its own festive personality.
13. Rocky Road Clusters
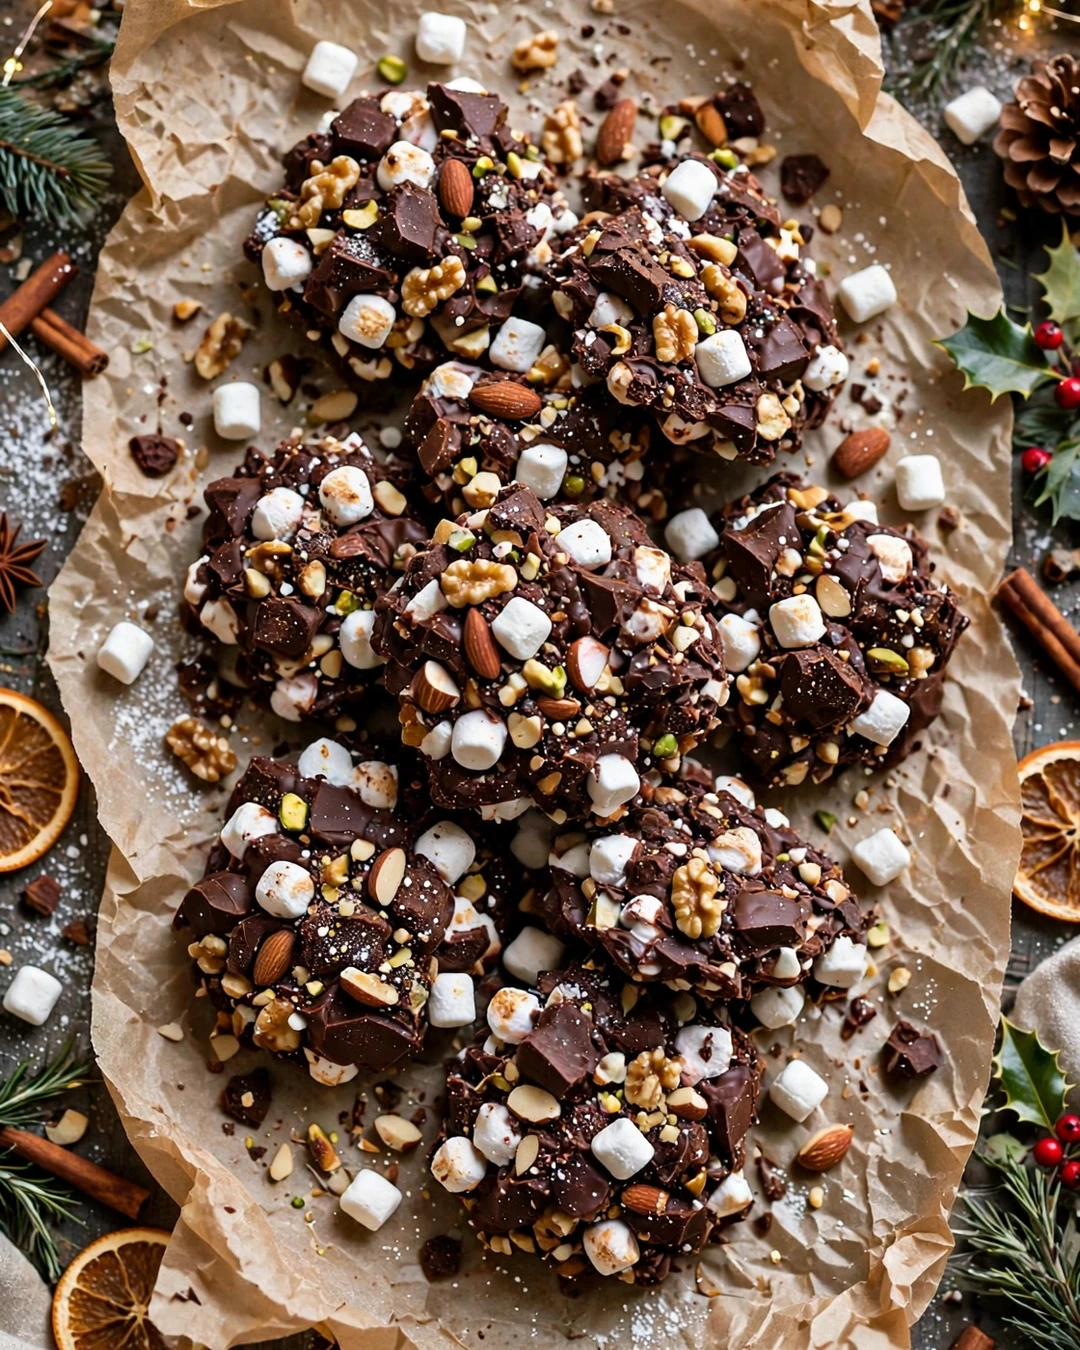
Rocky road clusters are the easiest candy to make with kids, and one of the most loved. Melted chocolate holds together mini marshmallows and chopped nuts in craggy little mounds that are crunchy, chewy, and chocolatey in every single bite.
Melt chocolate gently, stir in marshmallows and nuts off the heat, then drop spoonfuls onto parchment and let them set. The marshmallows soften slightly from the warm chocolate but keep their shape, which gives each cluster its signature bumpy look.
Use a mix of milk and dark chocolate for depth, and toast the nuts first so they stay crisp. Mini marshmallows work best, since large ones make the clusters hard to bite and harder to stack in a tin.
Pro Tips
Let the chocolate cool slightly before adding marshmallows, or they melt into a sticky mess. If the mixture gets too thick, a spoonful of coconut oil stirred in loosens it without dulling the chocolate flavor.
- Cool chocolate slightly before adding marshmallows
- Use mini marshmallows for best shape
- Toast nuts so they stay crisp
- Drop spoonfuls and let set fully
Serving Suggestions
Pile clusters in a bowl for parties, or pack them in cellophane bags for gifts. They are sturdy, travel well, and need no refrigeration, which makes them ideal for shipping to family.
Pairing idea: crumble a cluster over ice cream or hot chocolate for instant rocky road sundaes. The same batch does double duty as a candy and a topping, which makes it a smart pick when you are short on time.
14. Marzipan Fruits
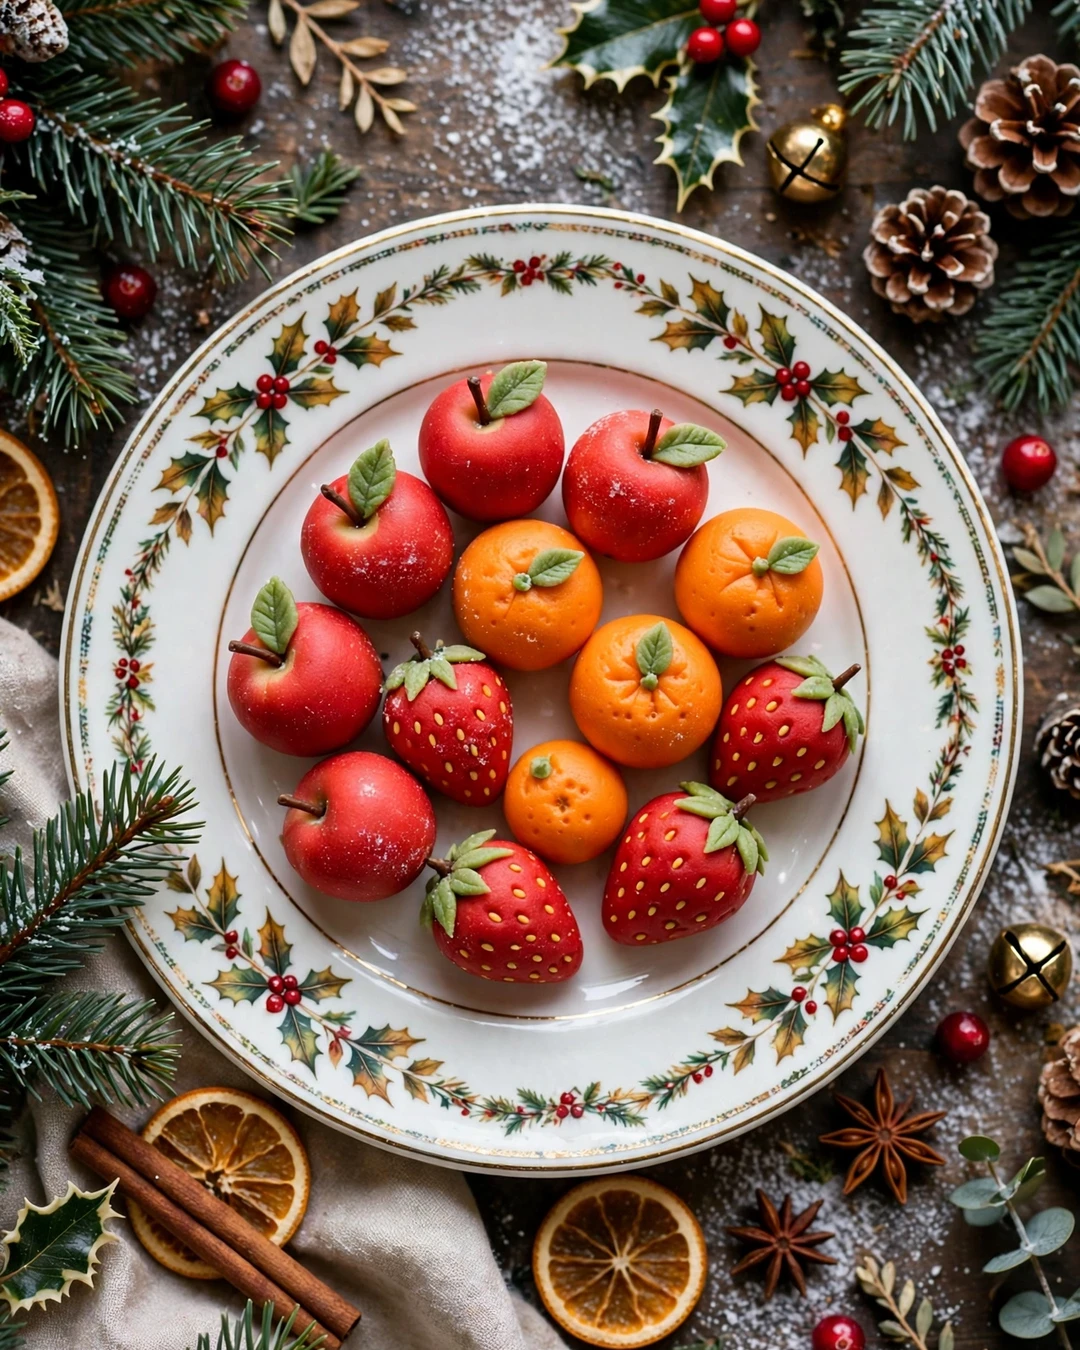
Marzipan fruits are the prettiest candy on the holiday table, tiny apples, oranges, and strawberries shaped by hand and painted with food coloring. They look like a miniature fruit stand, and guests always ask whether they are real before taking a bite.
Knead almond marzipan until smooth, tint small portions with gel food coloring, and shape each fruit by hand. A toothpick adds dimples and stems, a clove makes a perfect strawberry top, and a light brush of color gives each piece a lifelike blush.
Keep the marzipan covered while you work, since it dries out fast in open air. Work with small pieces at a time, and store finished fruits in an airtight tin so they stay soft and do not crack before serving.
Pro Tips
Start with simple shapes like oranges and lemons before trying strawberries or apples. A little practice goes a long way, and even slightly imperfect fruits look charming arranged together in a bowl.
- Keep marzipan covered while working
- Tint small portions at a time
- Use toothpicks for dimples and stems
- Store in an airtight tin
Serving Suggestions
Arrange marzipan fruits in a small bowl or on a dessert board as decoration that guests can eat. They also make a delightful topper for a holiday cake or a gift box centerpiece.
Pro tip for painting: use a dry brush and a tiny amount of gel color, building up shade in thin layers. Heavy wet color makes the surface sticky, while light layers give a soft, realistic finish that dries quickly for beautiful results.
15. Gingerbread Truffles
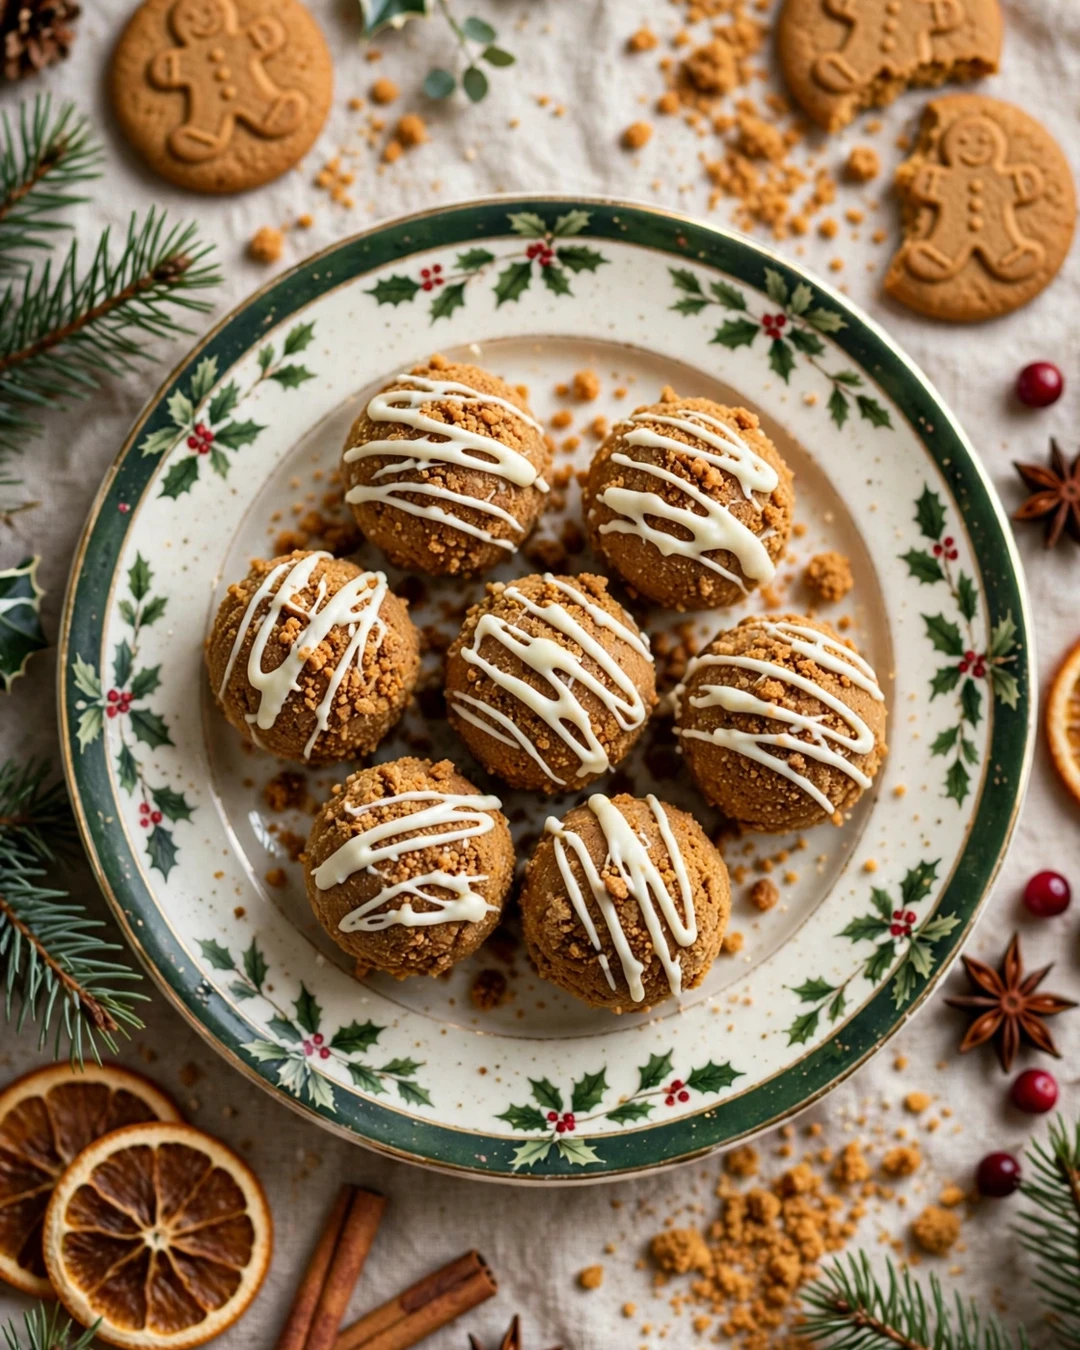
Gingerbread truffles taste like a gingerbread house in truffle form, with warm spice, molasses, and a creamy center rolled in gingersnap crumbs. They are no bake, fast, and they smell like December the moment you crush the cookies.
Crush gingersnap cookies to fine crumbs, mix with cream cheese and spices until a firm dough forms, then roll small balls and chill them. Dip or drizzle with melted white chocolate, then roll in extra crumbs while the coating is still soft.
Use crisp gingersnaps, not soft ginger cookies, since the crumbs need to hold their crunch. Taste the dough and adjust the spice: a little extra ginger or cinnamon makes the flavor pop without overpowering the cream cheese.
Pro Tips
Chill the rolled balls well before coating, or they soften and lose their shape in warm chocolate. If the dough sticks to your hands, dampen them lightly or chill the dough for ten minutes.
- Use crisp gingersnaps for crunch
- Chill balls well before coating
- Adjust ginger and cinnamon to taste
- Roll in crumbs while coating is soft
Serving Suggestions
Serve gingerbread truffles on a dessert board with hot cider or coffee, or pack them in a tin for a cookie exchange. They travel well and taste even better the next day.
Variation to try: roll the centers in cocoa instead of crumbs for a darker look, or drizzle with dark chocolate rather than white. Either change keeps the spiced center the same while giving the batch a completely different finish for your holiday table.
16. Coconut Bonbons
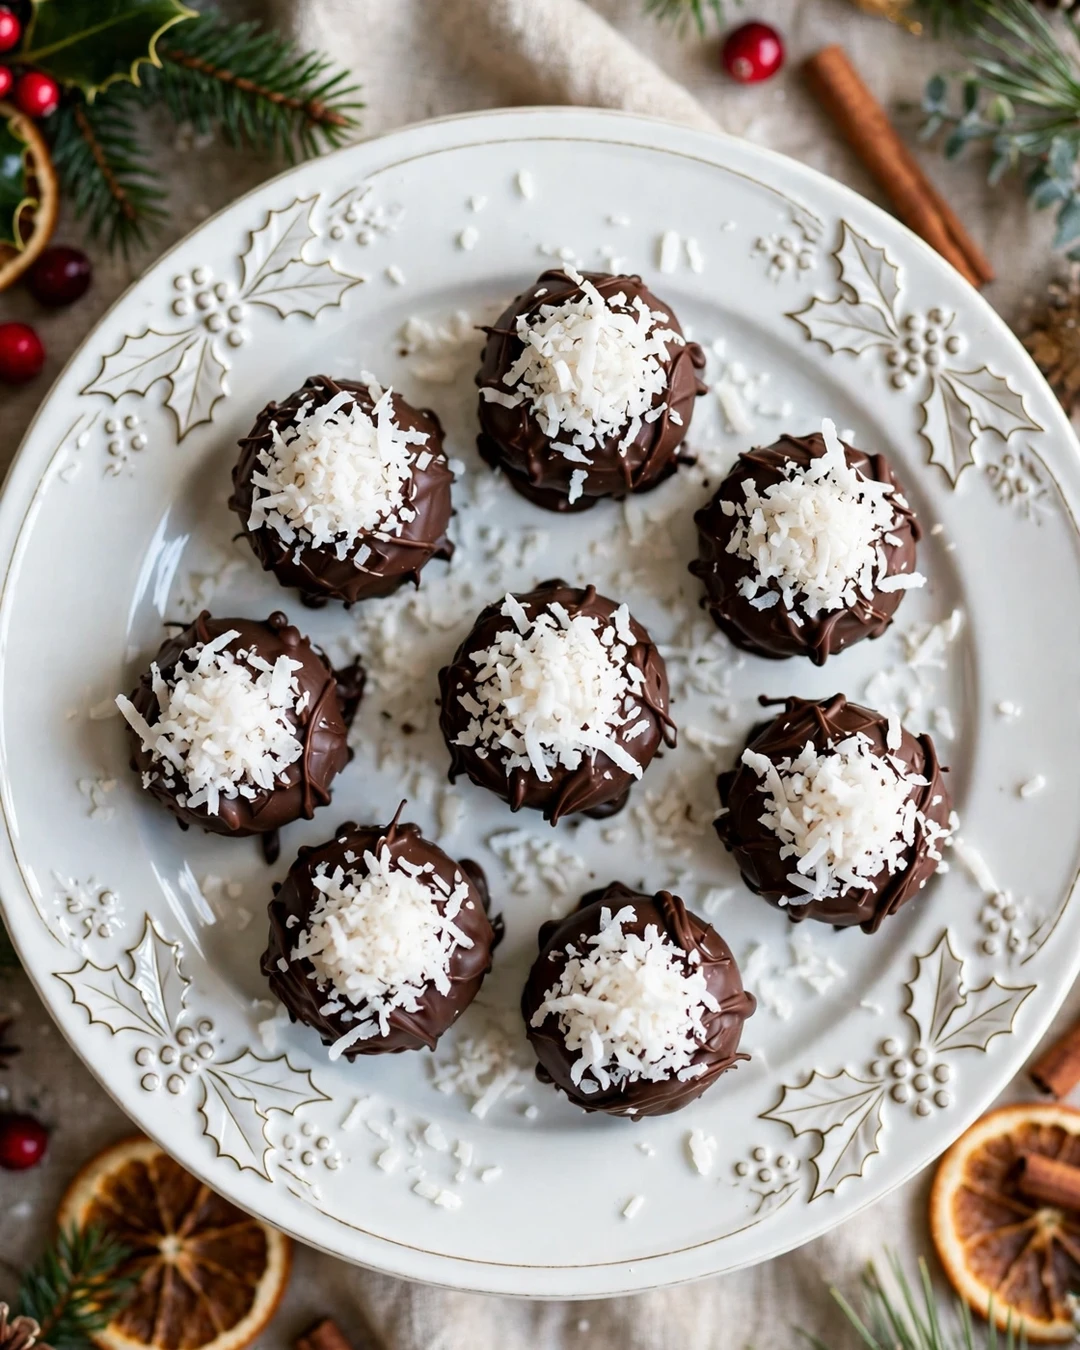
Coconut bonbons are snowy, sweet, and satisfyingly chewy, with a soft coconut center dipped in chocolate. They taste like a tropical holiday, and their white and brown contrast looks beautiful on a tray full of darker candies.
Mix shredded coconut with sweetened condensed milk and powdered sugar until a firm dough forms, shape small balls or logs, and chill them until firm. Dip in melted chocolate, sprinkle with extra coconut while the coating is wet, and let them set on parchment.
Use sweetened shredded coconut for the classic flavor and texture, and squeeze the mixture firmly when shaping so the centers hold together. Chilling the centers well is the key to a clean dip without crumbs in the chocolate.
Holiday Candy Checklist
Thermometer calibrated, pans lined, butter measured, and tins ready before you start. Candy making moves fast once sugar hits temperature, so set out every tool and ingredient first and you will never scramble mid batch.
Pro Tips
If the coconut mixture feels too wet, add powdered sugar a spoonful at a time until it shapes cleanly. If it feels dry, add condensed milk by the teaspoon until it just holds together.
- Use sweetened shredded coconut
- Chill centers well before dipping
- Squeeze firmly when shaping
- Sprinkle coconut while coating is wet
Serving Suggestions
Serve bonbons in mini cups on a dessert tray, or box them with truffles for a mixed gift. They pair well with coffee and fruit. These rice krispie treat recipes share the same chewy, kid friendly appeal on a party table.
Pairing idea: serve coconut bonbons with pineapple chunks and toasted almonds on a dessert board for a tropical corner among the traditional candies. The contrast feels fresh, and guests who love coconut will head straight for that section, and enjoy the tropical twist.
17. Maple Walnut Fudge
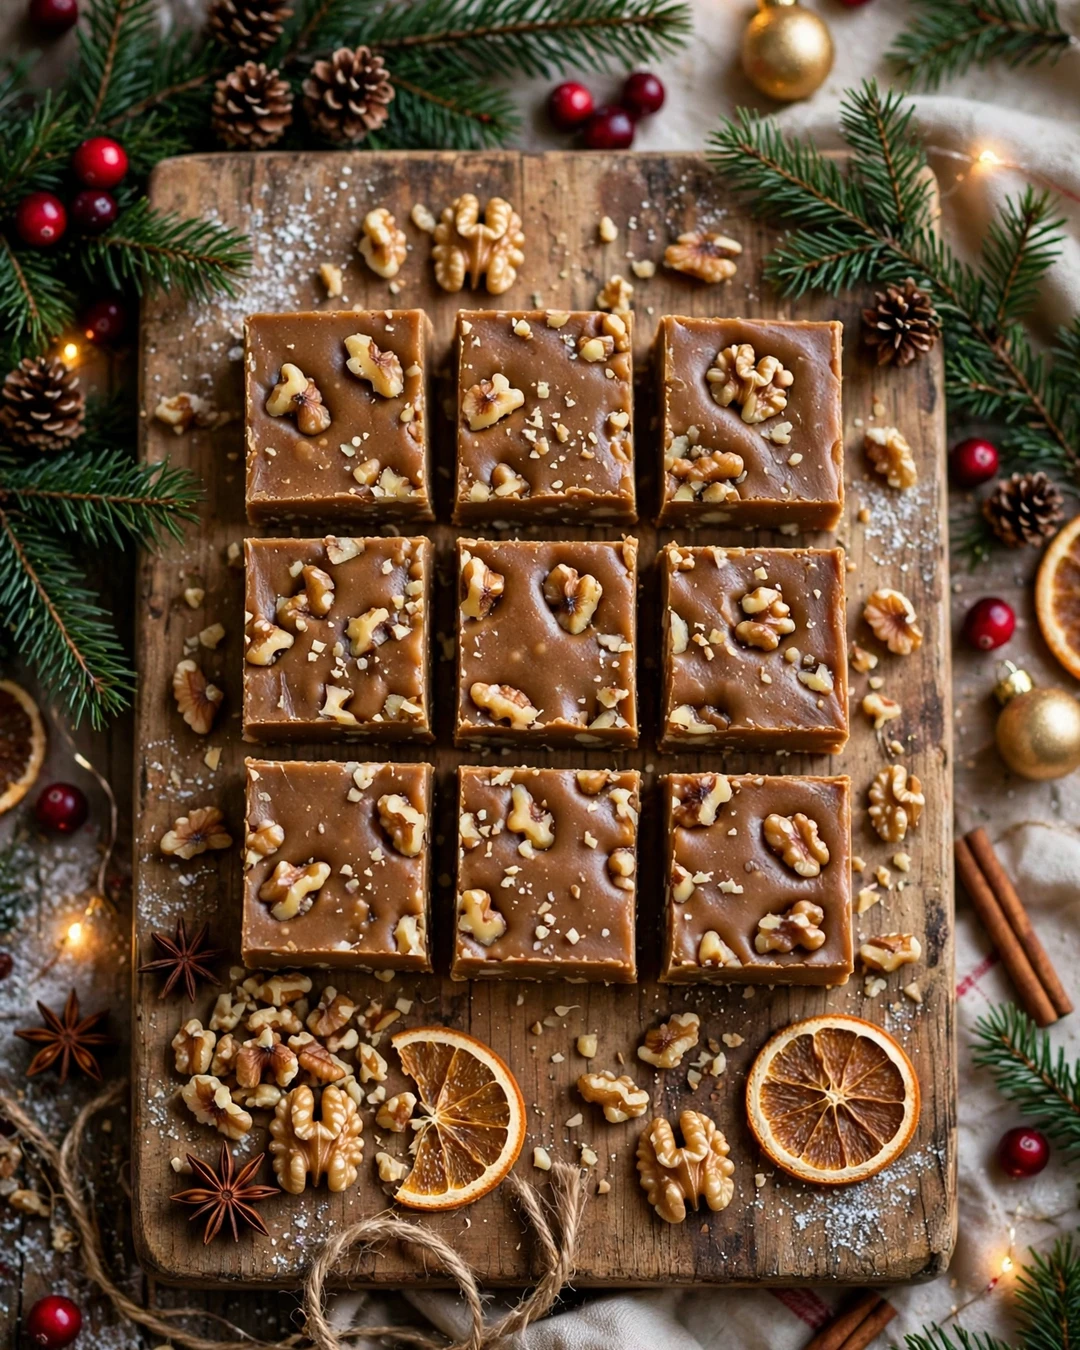
Maple walnut fudge tastes like a winter cabin morning, with real maple syrup flavor and crunchy toasted walnuts in every bite. It is less chocolatey than classic fudge, which makes it a welcome change on a tray full of dark candies.
Cook maple syrup, sugar, butter, and cream to the soft ball stage, cool the mixture without stirring, then beat it until it turns thick and creamy. Fold in toasted walnuts at the end so they stay crisp and evenly spread through the slab.
Use pure maple syrup, not pancake syrup, since the flavor is the whole point of this fudge. Dark amber syrup gives a stronger maple taste, while golden syrup keeps the flavor lighter and more delicate.
Pro Tips
Cool the cooked mixture undisturbed until lukewarm before beating, or the fudge turns grainy. Beat steadily until it loses its shine, then pour fast, since maple fudge sets quickly once it starts to thicken.
- Use pure maple syrup only
- Cool undisturbed before beating
- Fold walnuts in at the end
- Pour fast once it thickens
Serving Suggestions
Serve maple walnut fudge in small squares beside coffee, since its maple flavor pairs perfectly with a hot drink. It also makes a thoughtful gift for anyone who loves maple anything.
Variation to try: swap walnuts for pecans, or add a pinch of cinnamon and a handful of dried cranberries for a holiday twist. Both swaps keep the maple base intact and give the fudge a seasonal color that looks lovely in a tin.
18. Mint Chocolate Truffles
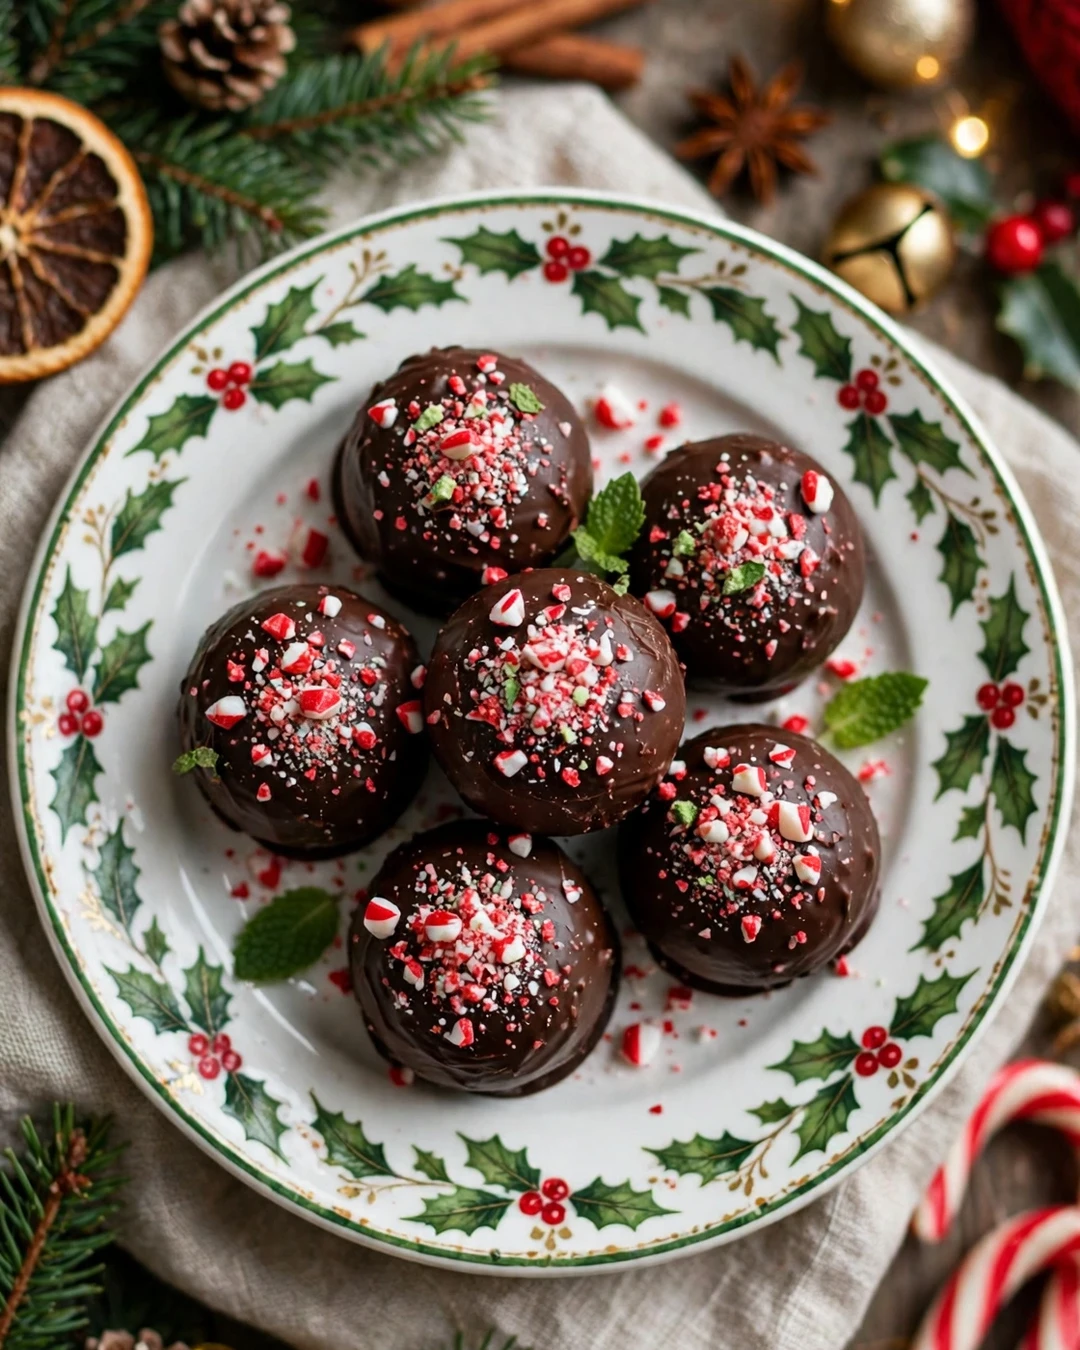
Mint chocolate truffles pair cool mint with rich chocolate in a way that feels instantly festive. The center is creamy and minty, the shell is dark and snappy, and a sprinkle of crushed mint candy on top tells guests exactly what flavor to expect.
Make a chocolate ganache with cream and chopped chocolate, stir in peppermint extract a little at a time, chill until scoopable, then roll and dip in melted dark chocolate. Sprinkle crushed mint candy over the coating before it sets for color and crunch.
Taste the ganache before chilling, since mint strength varies and too much can taste sharp. A tiny pinch of salt deepens the chocolate and keeps the mint from tasting like toothpaste, which is a real risk with this flavor.
Pro Tips
Roll the centers with cool hands and chill them again before dipping, so the warm chocolate does not melt them. Work in small batches and keep the rest in the fridge while you dip.
- Taste ganache and adjust mint slowly
- Add a pinch of salt for depth
- Chill centers again before dipping
- Sprinkle topping before coating sets
Serving Suggestions
Serve mint truffles after dinner with coffee, or arrange them on a dessert board with peppermint bark for a mint themed corner. They also make a refreshing gift after a season of heavy desserts.
Pro tip for gifting: pack mint truffles separately from other candies, since mint flavor can drift onto nearby fudge and caramels. A small sealed bag inside the gift tin keeps every candy tasting exactly as it should, and keep flavors pure and fresh.
19. Chocolate Covered Orange Peel
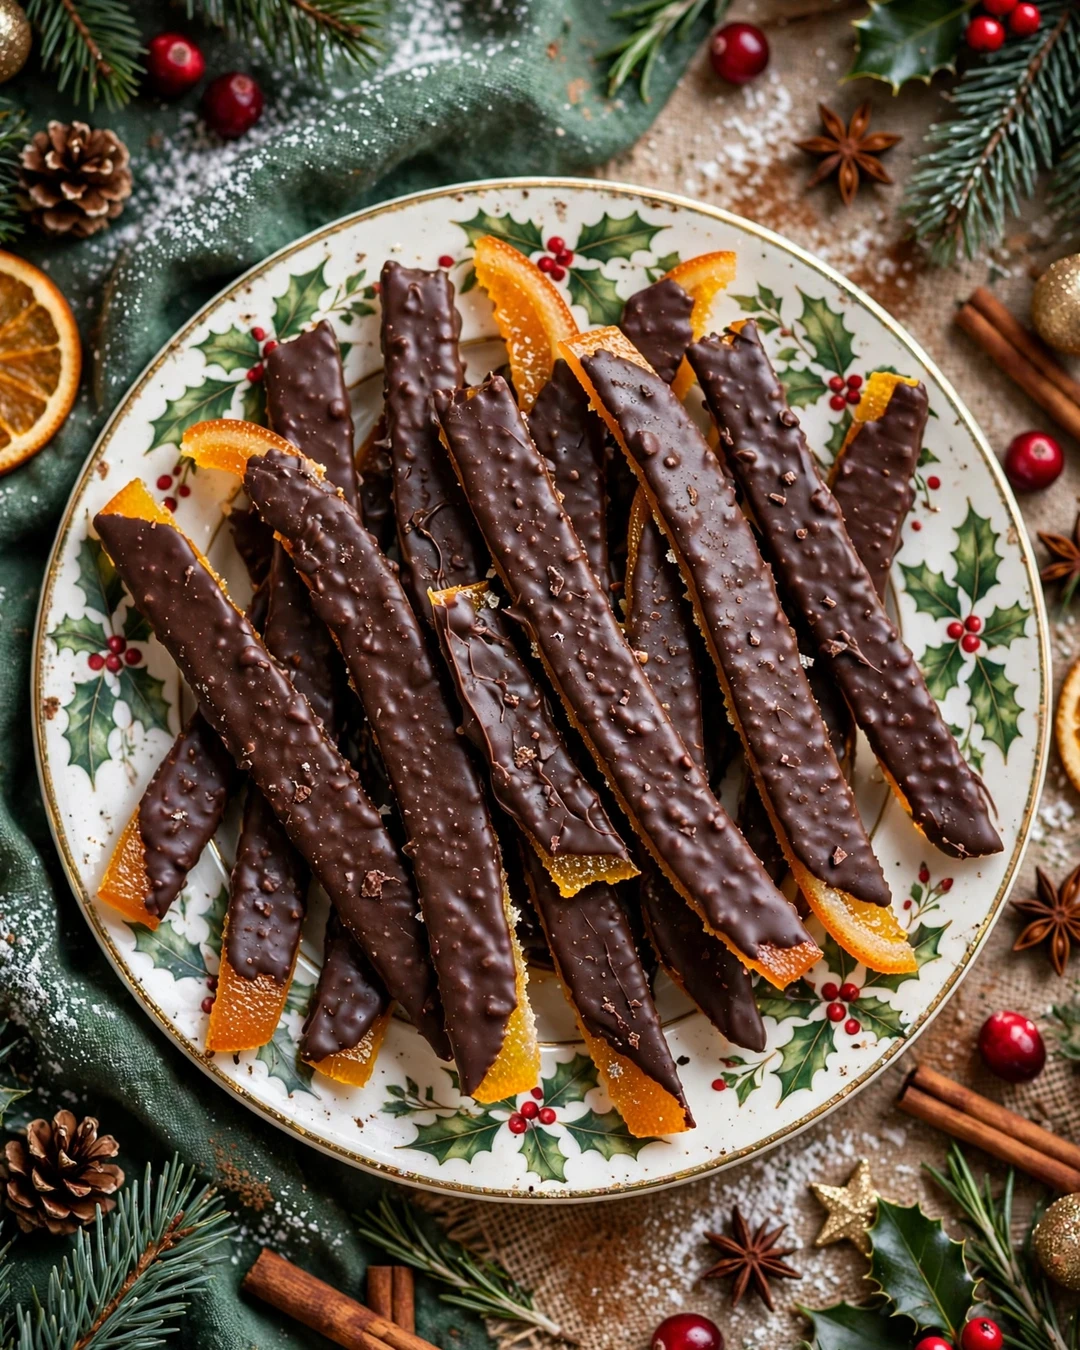
Chocolate covered orange peel is an old fashioned candy that feels elegant and a little bit special. Bitter orange peel, candied until tender and sweet, gets dipped in dark chocolate for a treat that is fragrant, slightly bitter, and completely addictive.
Simmer orange peel strips in water to soften them, then cook them gently in sugar syrup until translucent. Drain and dry the peels, toss them in sugar, then dip half of each strip in melted dark chocolate and let them set on parchment.
Use thick skinned oranges and scrape away most of the white pith, since too much pith turns bitter. Cut the peels into even strips so they candy at the same rate and dip neatly without breaking.
Gift Ready in Under an Hour
Most candies on this list set in an hour or less, which makes them perfect for last minute gifts. Line a tin, layer the pieces with parchment, and tie it with ribbon.
Pro Tips
Dry the candied peels well before dipping, or the chocolate will not stick. If the chocolate thickens while you work, warm it gently in short bursts and stir until it flows smoothly again.
- Scrape away most white pith
- Cut peels into even strips
- Dry peels well before dipping
- Dip only half of each strip
Serving Suggestions
Serve orange peel strips standing in a small glass or fanned on a plate for an elegant look. They pair beautifully with coffee and cheese. These lemon bar recipes share the same bright citrus spirit on a dessert table.
Pairing idea: chop leftover chocolate orange peel and fold it into cookie dough or brownie batter for a fragrant twist. The candied peel adds chew and citrus notes, and the chocolate coating melts into the baked good in the most delicious way.
20. Cinnamon Rock Candy
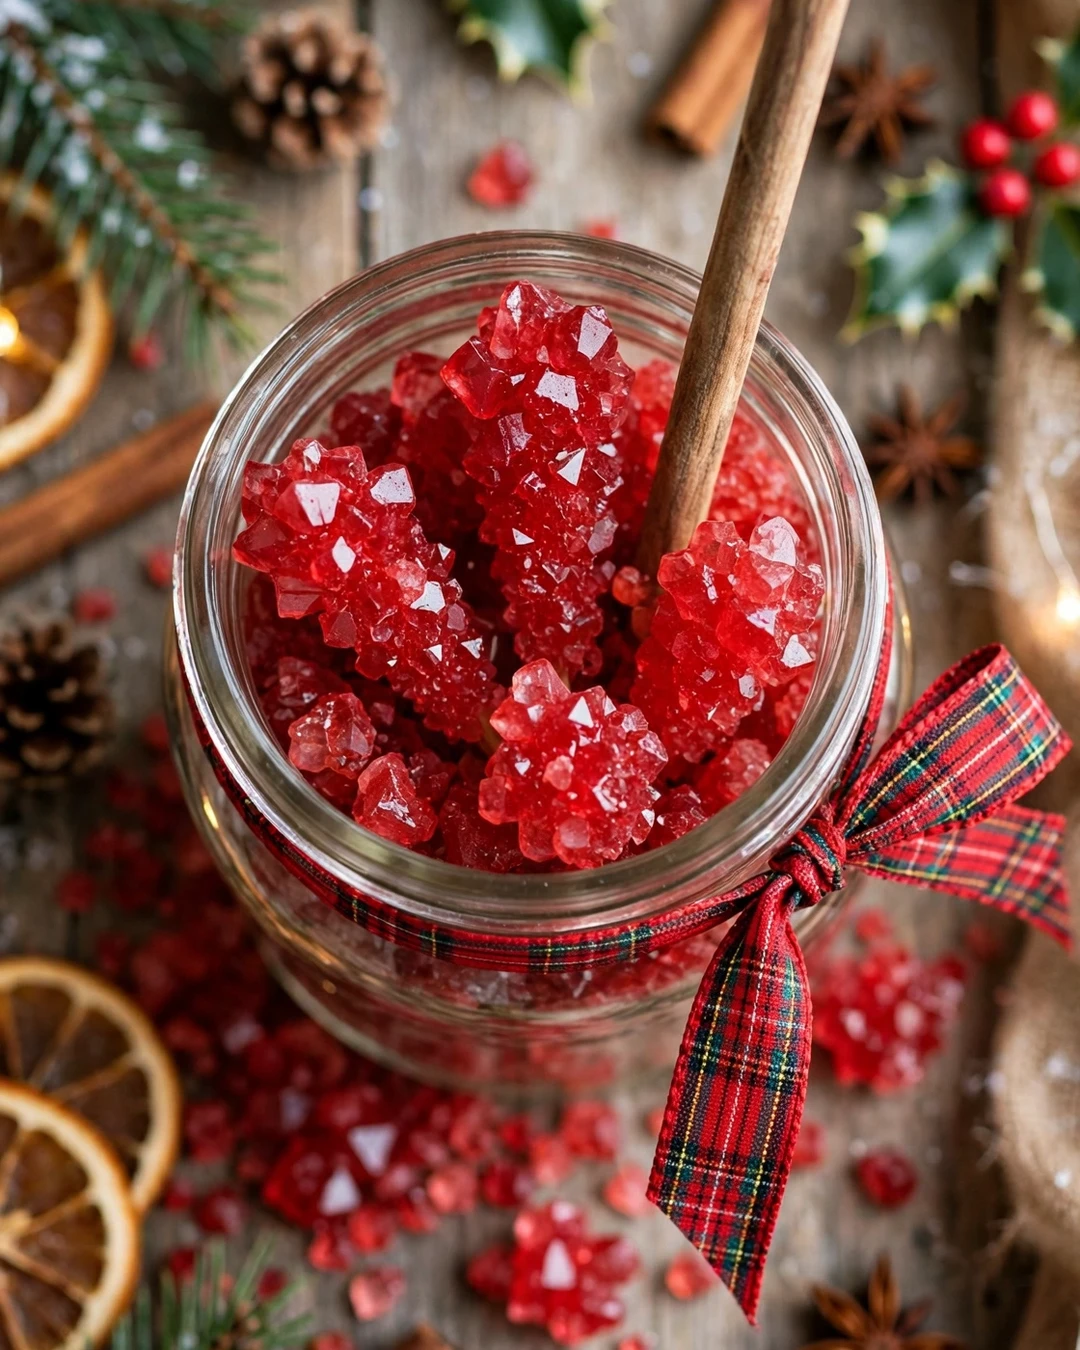
Cinnamon rock candy is pure holiday nostalgia, with fiery cinnamon flavor and sparkling red crystals that look like jewels. It takes patience while the crystals grow, but the process is simple, and kids love watching the jar change day by day.
Dissolve sugar in boiling water with cinnamon oil, pour the syrup into clean jars, and hang a sugar coated stick or string inside. Leave the jars undisturbed in a cool spot for a week while crystals grow, then lift out the sticks and let them dry.
Use a clean jar and a stick coated in dry sugar to give crystals a place to start growing. Do not move or bump the jars during the week, since disturbance can stop crystal growth or knock the young crystals off the stick.
Pro Tips
Cinnamon oil is very strong, so measure it carefully and add it off the heat. If the flavor is too mild, you can brush the finished crystals lightly with more oil, but start with less than you think you need.
- Use a clean jar and sugared stick
- Do not move jars while crystals grow
- Measure cinnamon oil carefully
- Let sticks dry fully before wrapping
Serving Suggestions
Serve rock candy sticks in a jar as a table decoration guests can take home, or wrap individual sticks in cellophane for party favors. They also stir beautifully into hot tea and cocoa.
Variation to try: swap cinnamon oil for peppermint or lemon oil and change the food coloring to match, creating a whole rainbow of flavored rock candy. The growing method stays the same, and a set of different colors makes a stunning gift.
21. Honeycomb Crunch
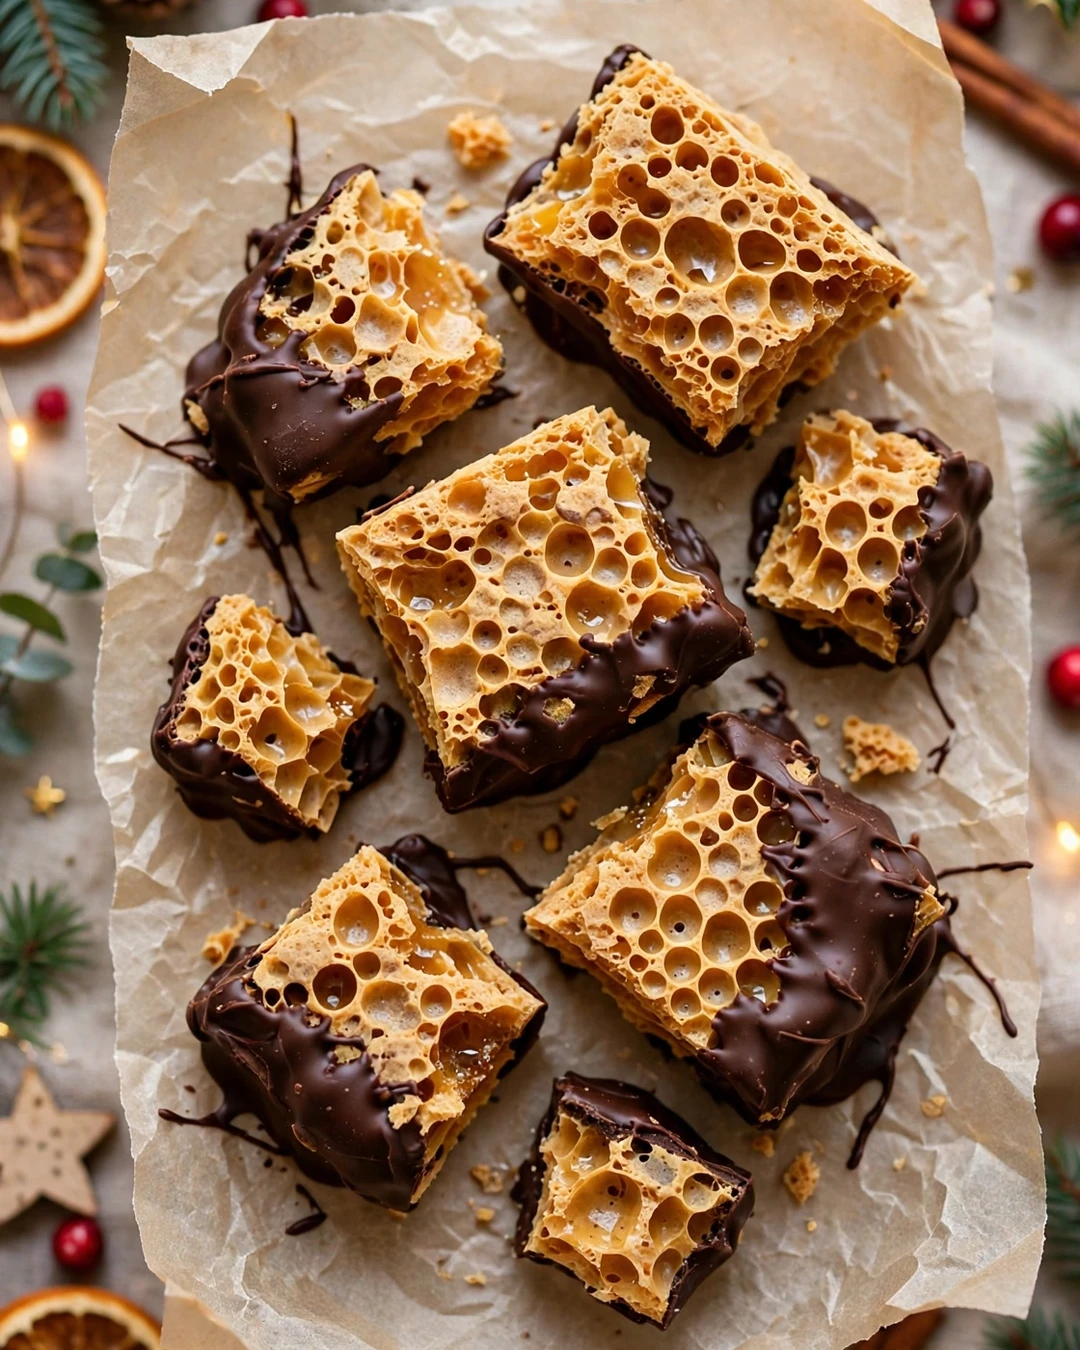
Honeycomb crunch, also called sponge candy, is a golden, airy candy that shatters into a thousand crisp bubbles when you bite it. Dipped in chocolate, it becomes a treat that is light, crunchy, and strangely hard to stop eating.
Cook sugar, corn syrup, and honey to the hard crack stage, then whisk in baking soda off the heat and pour the foaming mixture into a lined pan without stirring. Let it cool completely, break it into chunks, and dip the pieces in melted chocolate.
Do not stir after the baking soda goes in, since stirring knocks out the bubbles that make honeycomb light. Pour in one steady motion and let the mixture settle on its own into a thick, foamy slab.
Pro Tips
Work fast and have the pan ready, since the mixture sets quickly once it foams. If the honeycomb turns sticky in humidity, store it in an airtight tin with a piece of parchment between layers.
- Do not stir after adding baking soda
- Have the lined pan ready first
- Pour in one steady motion
- Store in an airtight tin
Serving Suggestions
Serve honeycomb chunks in a bowl for parties, or crush them over ice cream for a crunchy topping. Chocolate dipped pieces also pack well in gift tins, as long as the tin stays cool and dry.
Pro tip for clean dipping: use a fork and dip only the bottom half of each chunk, leaving the golden top exposed. The two tone look is beautiful, and guests can see the airy honeycomb texture before they even take a bite.
22. Rum Balls
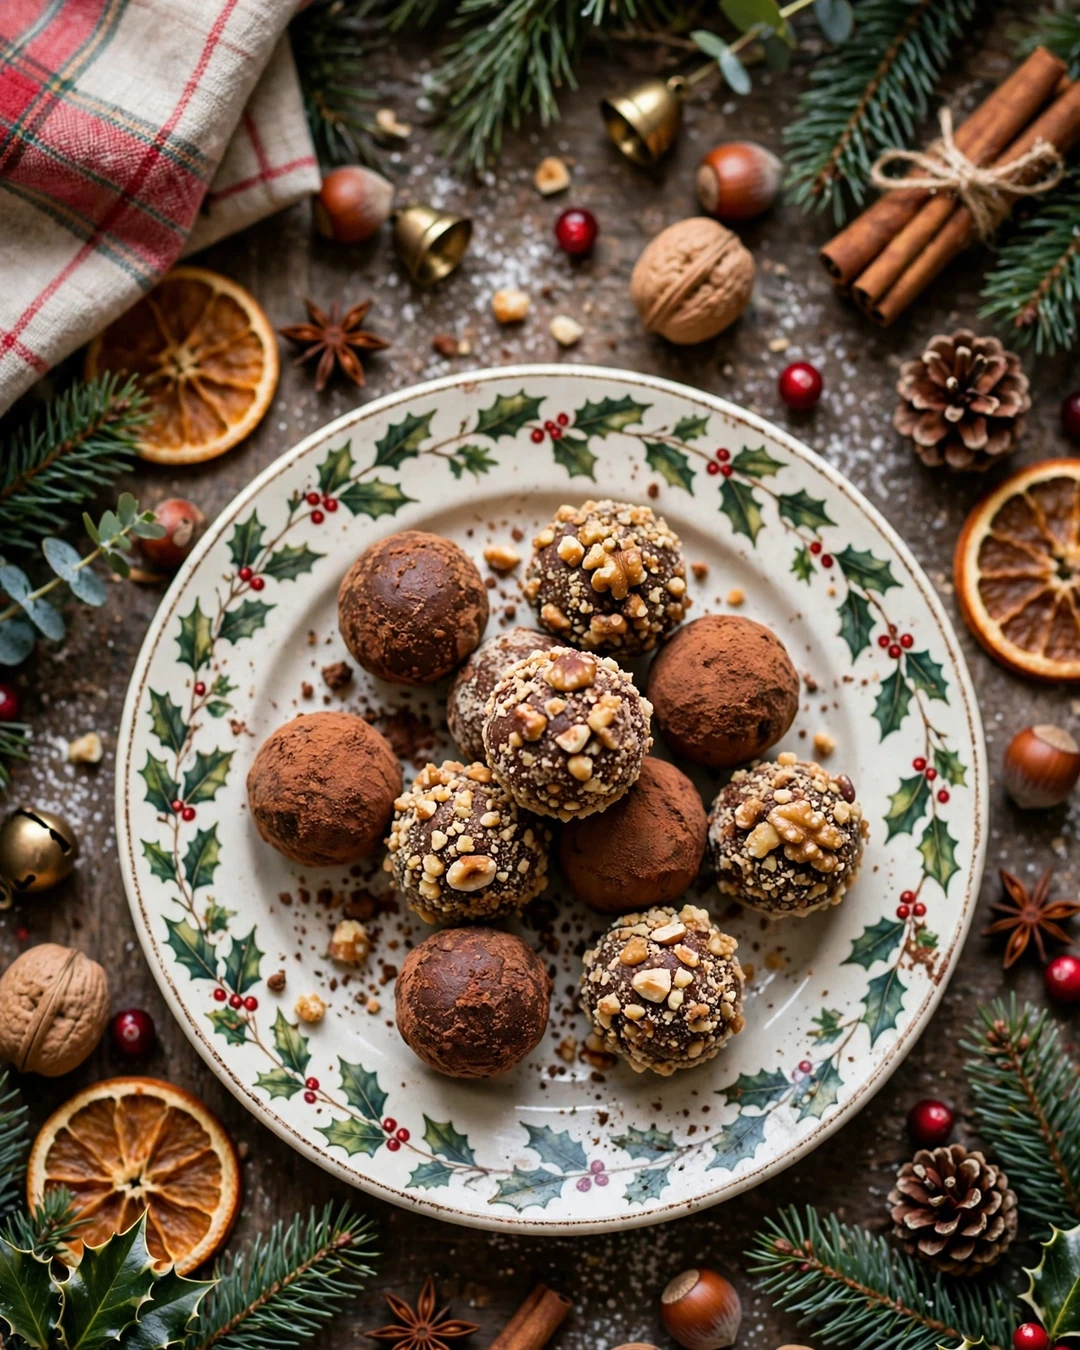
Rum balls are a no bake holiday classic, with crushed cookies, cocoa, nuts, and a splash of rum rolled into rich little bites. They taste better after a day or two, when the flavors mellow and meld, which makes them perfect for making ahead.
Crush vanilla wafers or chocolate cookies to fine crumbs, mix with cocoa, powdered sugar, chopped nuts, and rum until a firm dough forms, then roll small balls and coat them in cocoa, powdered sugar, or crushed nuts. Chill them until firm before serving.
Use rum extract instead of real rum if kids will be eating them, and taste the dough before rolling so the rum flavor is present but not harsh. A spoonful of corn syrup helps the dough hold together and gives the centers a fudgy texture.
Pro Tips
Roll the balls small, about a teaspoon each, since they are rich. Store them in an airtight tin in the fridge, and bring them to room temperature for twenty minutes before serving so they soften nicely.
Tempering Chocolate in 4 Steps
Melt two thirds of the chocolate gently, stir in the remaining third off the heat, stir until smooth and glossy, then test a spoonful on parchment. If it sets firm and shiny within minutes, it is ready for dipping.
- Roll small, about a teaspoon each
- Taste dough and adjust rum slowly
- Chill until firm before serving
- Store in an airtight tin
Serving Suggestions
Serve rum balls in mini cups on a dessert board, or pack them in a tin for a make ahead gift. They pair well with coffee and after dinner drinks for adult guests.
Variation to try: swap rum for bourbon or orange liqueur, or roll the balls in crushed candy cane for a minty holiday version. The base dough stays the same, so one recipe can produce several different flavors for a varied gift tin.
23. Sugar Plums
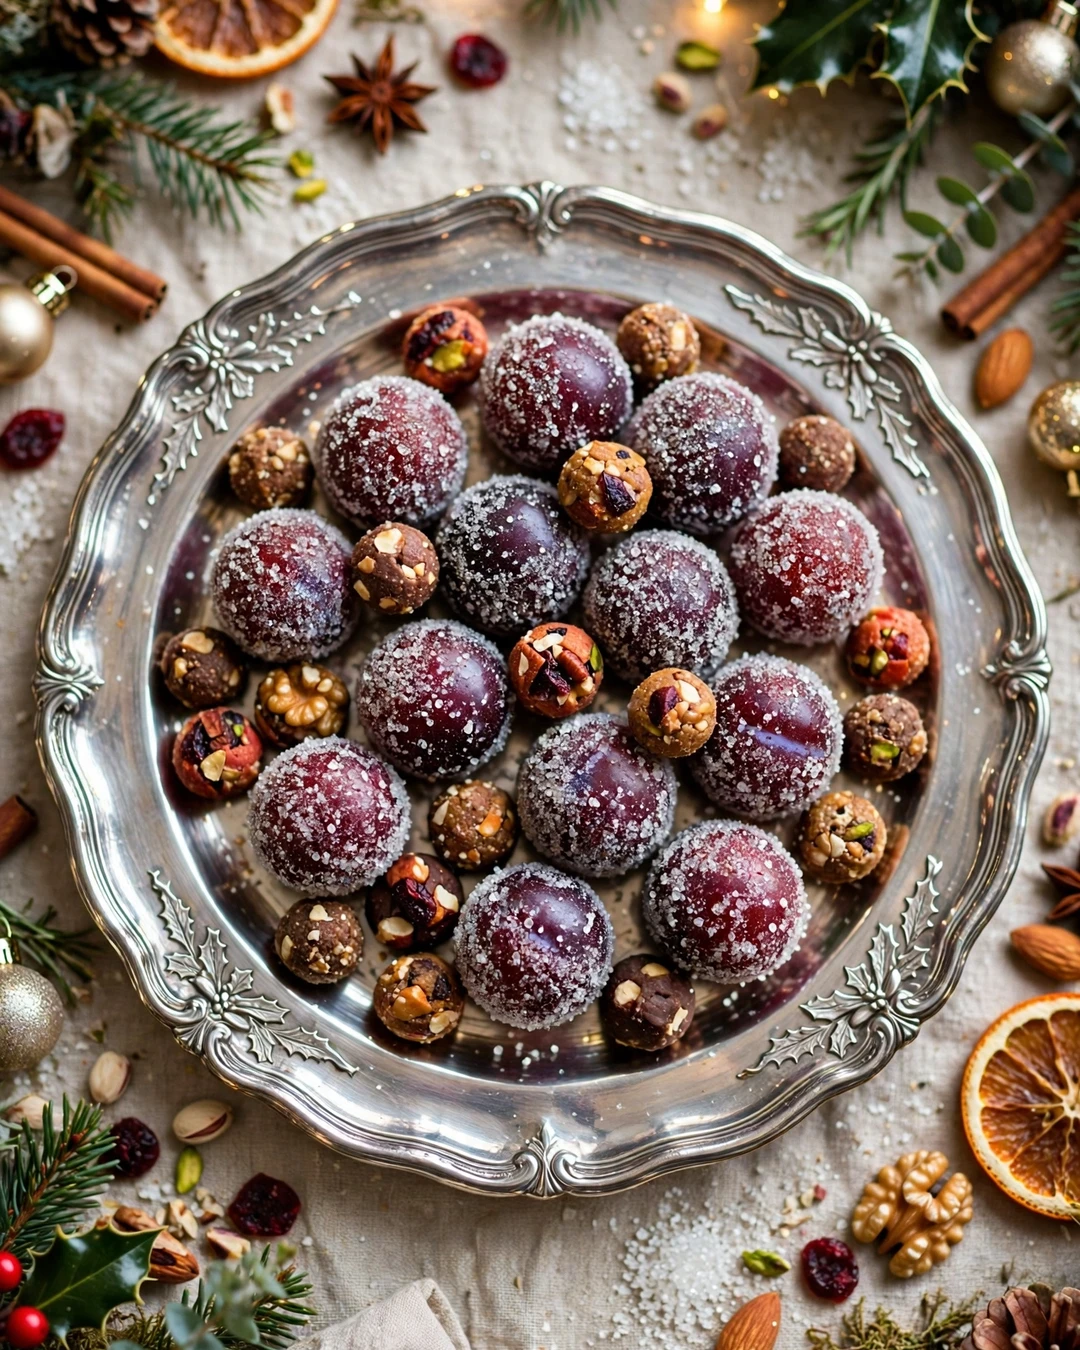
Sugar plums are the candy from the poem, and they live up to the magic: little balls of dried fruit, nuts, and warm spice rolled in sparkling sugar. They taste like Christmas itself, with figs, dates, and a hint of orange zest in every bite.
Pulse dried fruit and nuts in a food processor until a sticky dough forms, stir in orange zest, cinnamon, and a pinch of clove, then roll small balls and coat them in coarse sparkling sugar. Chill them briefly so they hold their shape before serving.
Use soft, moist dried fruit for the best texture, and chop any large pieces before processing so the dough comes together evenly. Taste and adjust the spice, since dried fruit sweetness varies and the spice needs to balance it.
Pro Tips
Roll the balls evenly and coat them generously, since the sparkling sugar is half the charm. If the coating falls off, roll the balls again lightly between damp hands and re-roll in sugar.
- Use soft, moist dried fruit
- Chop large pieces before processing
- Adjust spice to balance sweetness
- Coat generously in sparkling sugar
Serving Suggestions
Serve sugar plums in a beautiful bowl as a centerpiece candy, or pack them in a tin for a gift that feels straight out of a storybook. They keep well for weeks and need no refrigeration.
Pairing idea: serve sugar plums with a cheese board at a holiday gathering, since their sweet fruit and spice flavors pair beautifully with sharp cheddar and creamy brie. Guests will be surprised by how well candy and cheese work together.
Christmas Candy FAQs
Do I need a candy thermometer to make holiday candy?
A thermometer makes fudge, caramels, toffee, and brittle far more reliable, since a few degrees change the texture completely. For no bake candies like bark, truffles, and clusters, you do not need one at all. If you buy one tool for candy making, make it a good thermometer.
How far ahead can I make Christmas candy?
Most candies keep well for two to three weeks in an airtight tin at cool room temperature. Fudge and caramels last about two weeks, while toffee, brittle, and rock candy keep even longer. Truffles with cream centers should be refrigerated and eaten within a week.
Can I make candy on a humid day?
Humidity makes fudge, brittle, and divinity sticky and slow to set, so a dry day is best when you have a choice. If you must cook on a humid day, cook syrups a degree or two higher, cool candies fully before packing, and store them in airtight tins with parchment between layers.
What is the best chocolate for dipping candy?
Use real chocolate with cocoa butter for the best flavor and snap, and melt it gently so it never scorches. Chocolate chips work fine for bark and clusters, but for dipped truffles and bonbons, chopped bar chocolate melts more smoothly and sets with a nicer shine.
How do I package candy for gifts?
Line tins or boxes with parchment, layer pieces with parchment between them, and keep strong flavors like mint separate from other candies. Add a small card listing the candy names, and keep the box cool during transport so chocolate does not melt or bloom.
Can kids help make holiday candy?
Yes, kids love breaking bark, rolling truffles, and dropping clusters, and those jobs are safe and fun. Keep children away from hot sugar syrup and melted chocolate handling, and let them take over once mixtures have cooled enough to shape, roll, and decorate.
Final Thought
From the first pan of fudge to the last sparkling sugar plum, these christmas candy recipes turn an ordinary December kitchen into a candy shop. Pick your favorites, fill your tins, and share the sweetest part of the season with the people you love most.