If you’ve been told gluten-free bread has to be dense, or that vegan dough can’t get those classic charred bubbles, this recipe is going to surprise you. Vegan and gluten free 2 ingredient naan comes together with nothing but self-rising flour and dairy-free yogurt no yeast, no proofing, no eggs, no dairy. You mix, you rest, you roll, you cook. That’s it.
The trick is picking a self-rising gluten-free flour blend, since the baking powder already mixed into it does the heavy lifting that yeast normally handles. Pair that with a thick, plain dairy-free yogurt and you get a dough that’s soft enough to roll, sturdy enough to flip, and puffs up into real bubbles the second it hits a hot pan.
From the moment you start mixing to the moment you’re tearing into a warm piece of naan, you’re looking at about 35 minutes, most of which is hands-off resting time. No special equipment, no oven needed just a bowl, a rolling pin, and a skillet you already own. Let’s get your dough started.
Total Time
35 minutes
Active Time
25 minutes
Difficulty
Beginner
What You Need
Ingredients
- 2 cups (300g) gluten-free self-rising flour
- 1 cup (240g) plain, unsweetened dairy-free yogurt
- Extra gluten-free flour, for dusting
- Vegan butter, for brushing (optional)
Tools
- Mixing bowl
- Spoon
- Rolling pin (or clean bottle)
- Nonstick or cast iron skillet
- Spatula
- Clean kitchen towel
At a Glance
- Check your gluten-free self-rising flour before you start
- Spoon the flour into a mixing bowl
- Add the dairy-free yogurt
- Mix with a spoon until shaggy
- Bring the dough together with your hands
- Rest the dough for 10 minutes
- Divide the dough into equal pieces
- Dust your surface with gluten-free flour
- Roll one piece into an oval
- Heat the skillet until it’s ready
- Cook the first side until bubbles form
- Flip and cook the second side
- Brush with vegan butter (optional)
- Keep naan warm while you repeat
Check your gluten-free self-rising flour before you start
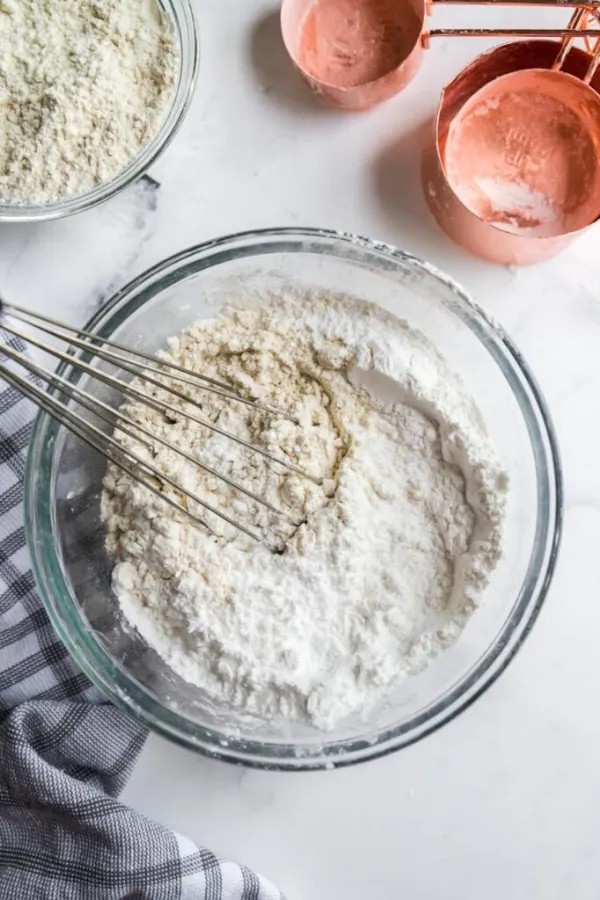
Not all gluten-free flours are self-rising, and that difference decides whether your naan puffs up or sits flat. Self-rising blends already contain baking powder and salt, which is what replaces the yeast in this recipe. Look at the ingredient list on the bag. If you only have plain gluten-free flour, whisk in 2 teaspoons baking powder and ½ teaspoon salt per 2 cups before moving on.
Spoon the flour into a mixing bowl
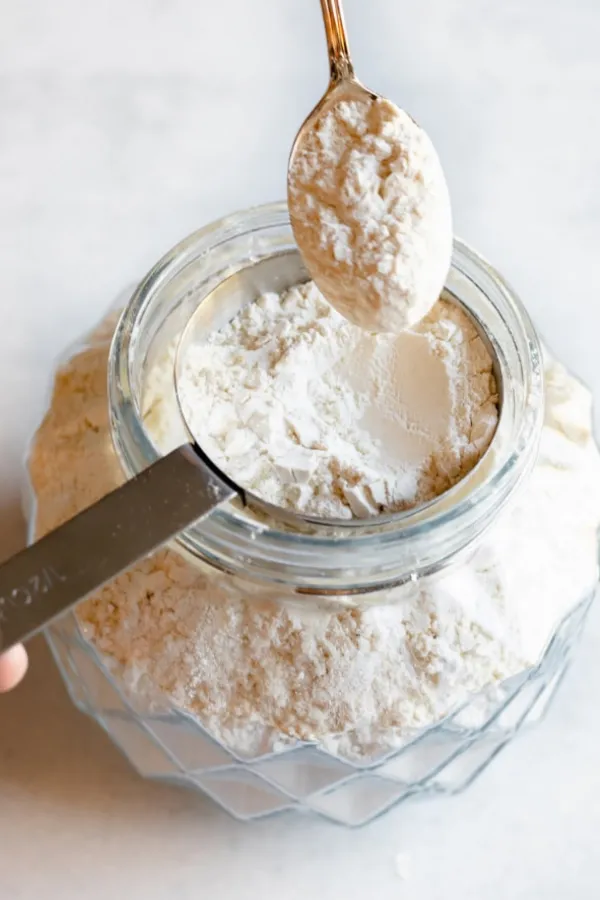
Measure 2 cups (300g) of your gluten-free self-rising flour, spooning it into the cup rather than scooping straight from the bag. Scooping packs the flour down and can leave you with too much, which makes the dough dry and cracked at the edges. Level off the top with the back of a knife. Pour the flour into a medium mixing bowl and set it aside.
Add the dairy-free yogurt
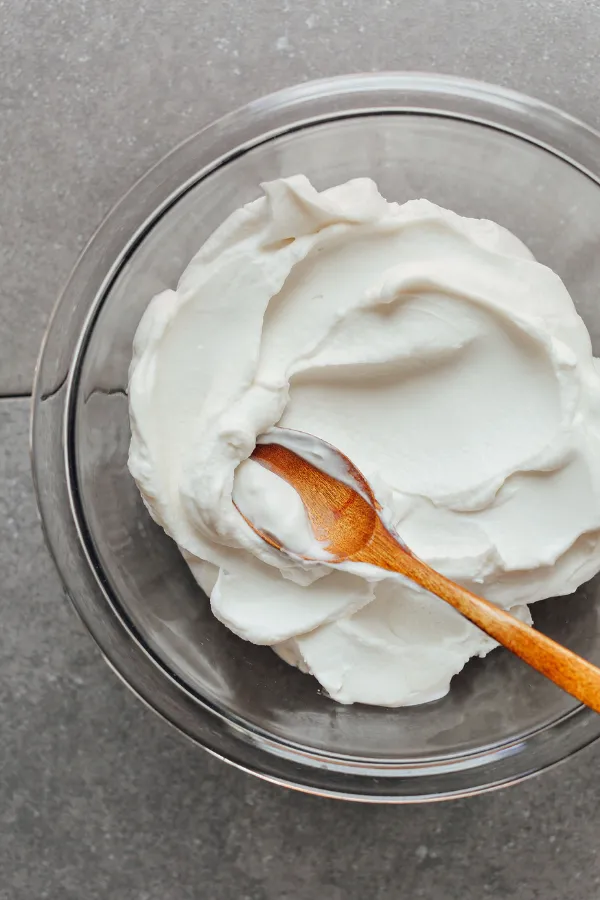
Grab 1 cup (240g) of plain, unsweetened dairy-free yogurt coconut, soy, or oat-based all work, as long as it’s thick rather than runny. A thin yogurt makes sticky, hard-to-roll dough. Spoon it directly on top of the flour in the bowl. Don’t stir yet. If your yogurt looks watery on top, stir it in its container first and pour off any excess liquid before measuring.
Mix with a spoon until shaggy
Stir the yogurt into the flour using a spoon, turning the bowl as you go instead of stirring in one spot. You’re not aiming for smooth here — shaggy, clumpy dough with dry patches still visible is exactly right at this stage. Overmixing with a spoon activates the starches too early and makes the naan gummy once cooked. Stop as soon as no dry flour is left loose at the bottom of the bowl.
Bring the dough together with your hands
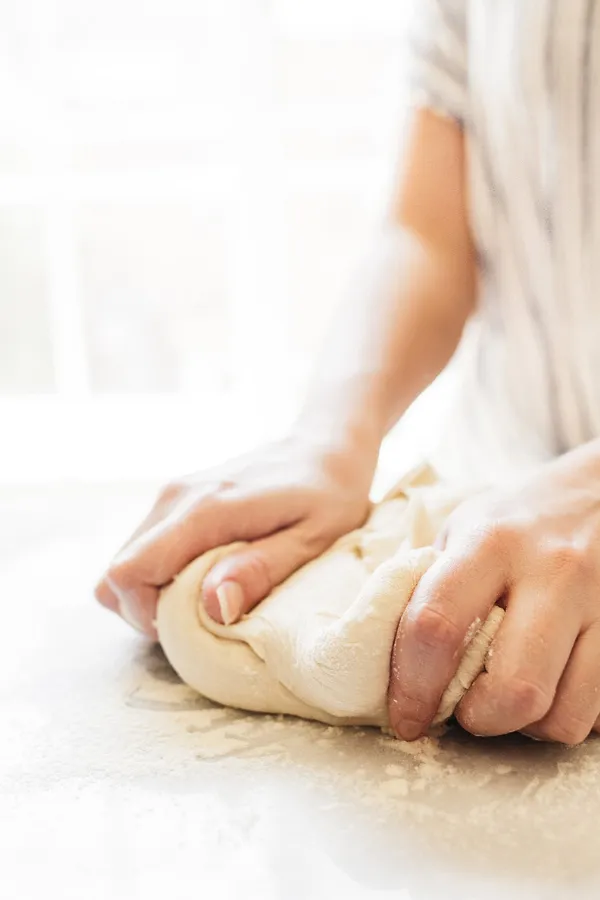
Once the spoon can’t do much more, switch to your hands. Press and fold the dough against the side of the bowl for about 30 seconds, just until it holds together in one ball without falling apart.
Heads Up
If the dough is sticking heavily to your fingers, sprinkle in gluten-free flour 1 teaspoon at a time. Don’t add it all at once — too much dry flour turns the naan tough instead of soft.
Rest the dough for 10 minutes
Cover the bowl with a clean kitchen towel and leave it alone. This short rest lets the gluten-free flour fully absorb the moisture from the yogurt, so the dough goes from tacky to workable. Skipping this step is the number one reason beginners end up with dough that tears the second they try to roll it. Set a timer for 10 minutes so you’re not tempted to guess.
Divide the dough into equal pieces
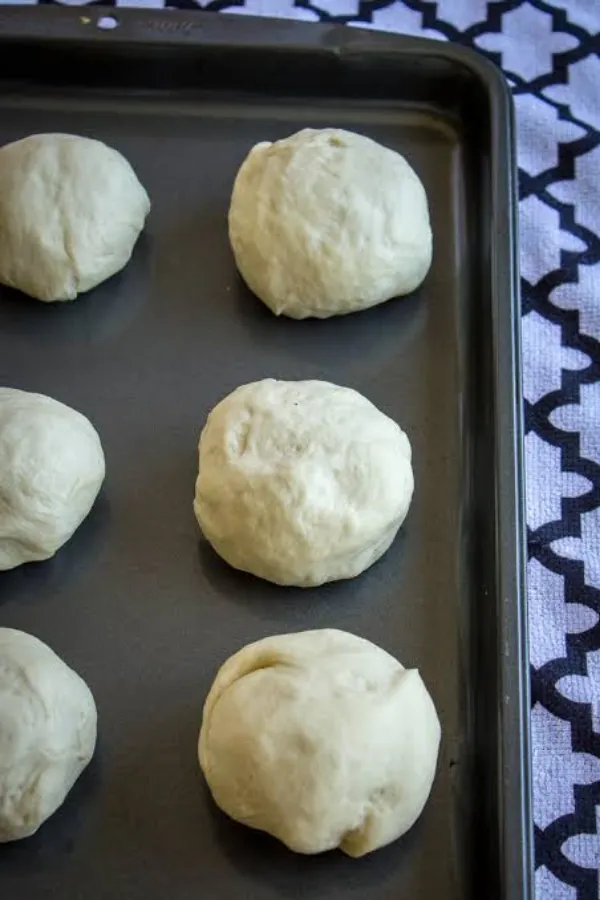
Uncover the bowl the dough should feel smooth and slightly springy now, not sticky. Turn it onto a clean surface and divide it into 4 equal pieces, about the size of a small fist each. A kitchen scale helps here if you have one, aiming for roughly 125g per piece, but eyeballing them close in size is fine too. Roll each piece into a smooth ball between your palms.
Dust your surface with gluten-free flour
Sprinkle a light, even layer of gluten-free flour across your rolling surface and over the top of your rolling pin. This dough is more delicate than wheat dough and tears easily if it sticks mid-roll. A silicone mat or piece of parchment paper makes cleanup easier and gives the dough less chance to grab onto the counter.
Roll one piece into an oval
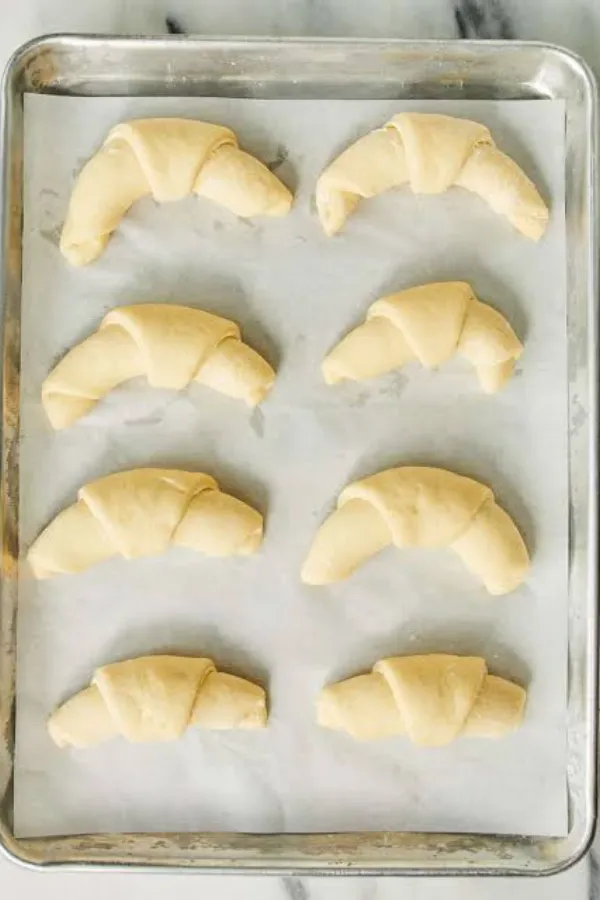
Set one dough ball on the floured surface and press it flat with your palm first. Roll from the center outward, turning the dough a quarter turn between passes so it doesn’t stick in one spot. Aim for an oval about 6 to 7 inches long and roughly ¼ inch thick thin enough to bubble, thick enough to stay soft in the middle.
Pro Tip
Don’t have a rolling pin? A clean glass bottle or a sturdy drinking glass works just as well. Roll the same way, from the center out.
Heat the skillet until it’s ready
Place a nonstick or cast iron skillet over medium-high heat and let it warm for a full 3 minutes before anything touches it. A pan that isn’t hot enough leaves naan pale and rubbery instead of blistered. Test it by flicking a drop of water onto the surface if it sizzles and disappears in under two seconds, the skillet is ready.
Cook the first side until bubbles form
Lay the rolled dough into the dry, hot skillet. Within 30 to 60 seconds, small bubbles should start pushing up across the surface that’s steam escaping, and it’s exactly what you want to see.
Heads Up
If no bubbles appear after 90 seconds, your skillet likely isn’t hot enough. Pull the naan, bump the heat up slightly, and let the pan reheat before trying the next piece.
Flip and cook the second side
Slide a spatula underneath and flip the naan over in one motion. The first side should show golden-brown charred spots where the bubbles were. Cook the second side for another 1 to 2 minutes, pressing down gently on any large bubbles with the back of the spatula so they cook through evenly instead of staying doughy in the center.
Brush with vegan butter (optional)
While the naan is still hot from the pan, brush the top lightly with melted vegan butter using a pastry brush or the back of a spoon. This step is optional, but it adds shine and a richer flavor without changing the “2 ingredient” dough itself. Skip it entirely if you want to keep things strictly plain.
Keep naan warm while you repeat
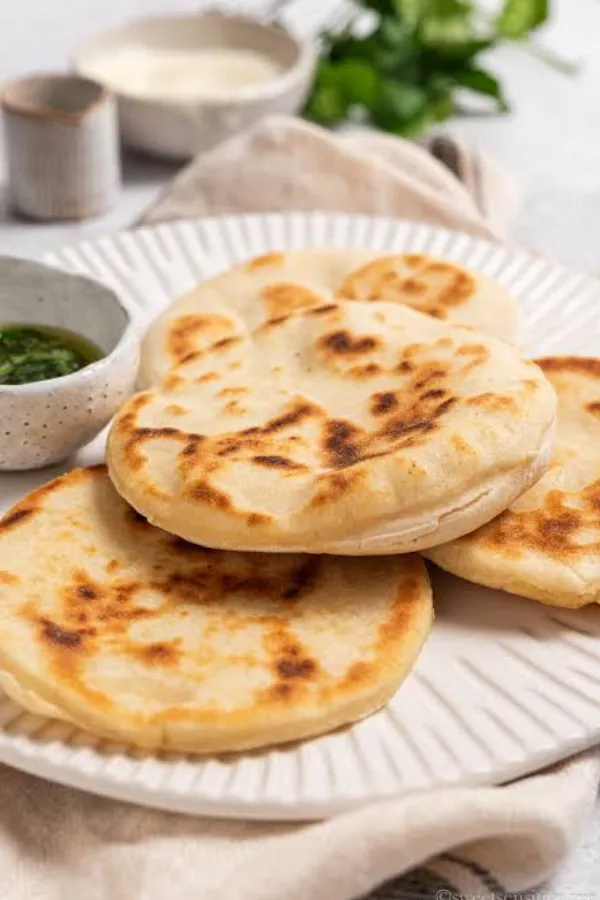
Wrap finished pieces in a clean kitchen towel as you go, stacking them together rather than laying them flat and uncovered. The trapped steam keeps each piece soft instead of letting the edges dry out and turn stiff. Repeat the rolling and cooking steps with the remaining dough balls, reheating the skillet for 1 minute between batches if it starts to cool.
Common Mistakes to Avoid
Using plain gluten-free flour instead of self-rising
Without baking powder built in, the naan stays flat and dense. Always check the label, or add your own baking powder and salt.
Skipping the rest time
Rolling the dough too soon leads to tearing and cracked edges. The full 10 minutes matters more than it looks like it should.
Rolling the dough too thin
Thin dough dries out fast in the pan and won’t stay soft in the middle. Stick close to ¼ inch thick.
Cooking in a cold skillet
A pan that hasn’t fully preheated gives you pale, chewy naan instead of blistered and charred. Give it the full 3 minutes before the first piece goes in.
Leaving finished naan uncovered
Naan left flat on a plate turns stiff within minutes. Stack and wrap in a towel as you cook each piece.
Frequently Asked Questions
Can I use regular yogurt instead of dairy-free?
Yes, if you don’t need it vegan. Regular plain yogurt works the same way in this recipe.
Why is my dough too sticky to roll?
Your yogurt was likely too thin, or too much was used. Dust with a little extra flour and knead it in gently before rolling.
Can I make the dough ahead of time?
You can refrigerate the dough, covered, for up to 24 hours. Let it sit at room temperature for 15 minutes before rolling.
How do I store leftover naan?
Keep it in an airtight container at room temperature for up to 2 days, or freeze for up to 1 month.
Can I reheat this naan?
Warm it in a dry skillet for 30 seconds per side, or microwave under a damp paper towel for 15 seconds.
Quick Reference Card
What You Need
2 cups gluten-free self-rising flour · 1 cup dairy-free yogurt · flour for dusting · vegan butter (optional)
Steps
- Check flour is self-rising
- Spoon flour into bowl
- Add yogurt
- Mix until shaggy
- Bring dough together by hand
- Rest 10 minutes
- Divide into 4 pieces
- Dust surface with flour
- Roll into 6–7″ oval
- Heat skillet 3 minutes
- Cook first side until bubbly
- Flip, cook second side
- Brush with vegan butter (optional)
- Wrap in towel, repeat
Conclusion
You just made real naan soft, bubbled, and torn straight from the skillet with two ingredients and zero yeast. That’s vegan and gluten free 2 ingredient naan done the way it should be, no special equipment required.
Next time, try tearing a warm piece to scoop up curry or hummus, or freeze a few extra for busy weeknights.
Save this recipe now so you have it ready the next time the craving hits.
Vegan and Gluten Free 2 Ingredient Naan
Ingredients
Equipment
Method
- Check that your gluten-free flour is self-rising; if not, whisk in 2 teaspoons baking powder and ½ teaspoon salt per 2 cups.
- Spoon 2 cups flour into a mixing bowl.
- Add 1 cup dairy-free yogurt on top.
- Mix with a spoon until shaggy, with no dry flour left loose.
- Bring the dough together with your hands for about 30 seconds until it forms one ball.
- Cover and rest the dough for 10 minutes.
- Divide the dough into 4 equal pieces and roll into balls.
- Dust your surface and rolling pin with gluten-free flour.
- Roll one piece into a 6–7 inch oval, about ¼ inch thick.
- Heat a skillet over medium-high for 3 minutes until a water drop sizzles instantly.
- Cook the dough in the dry skillet until bubbles form, 30–60 seconds.
- Flip and cook the second side 1–2 minutes, pressing large bubbles flat.
- Brush with melted vegan butter while hot, if using.
- Wrap in a towel to keep warm and repeat with remaining dough.