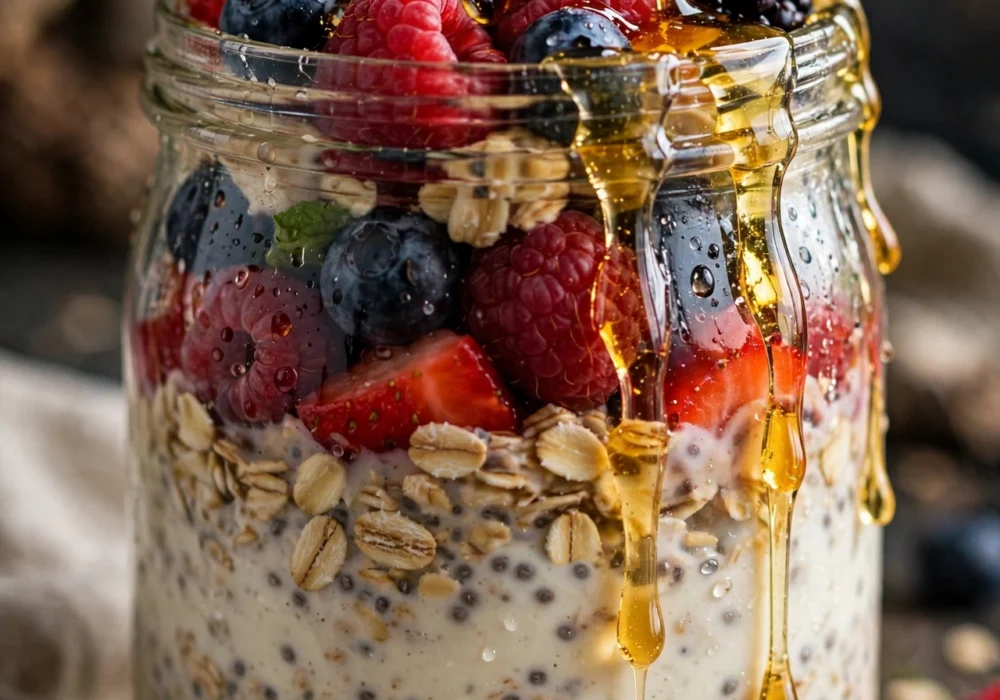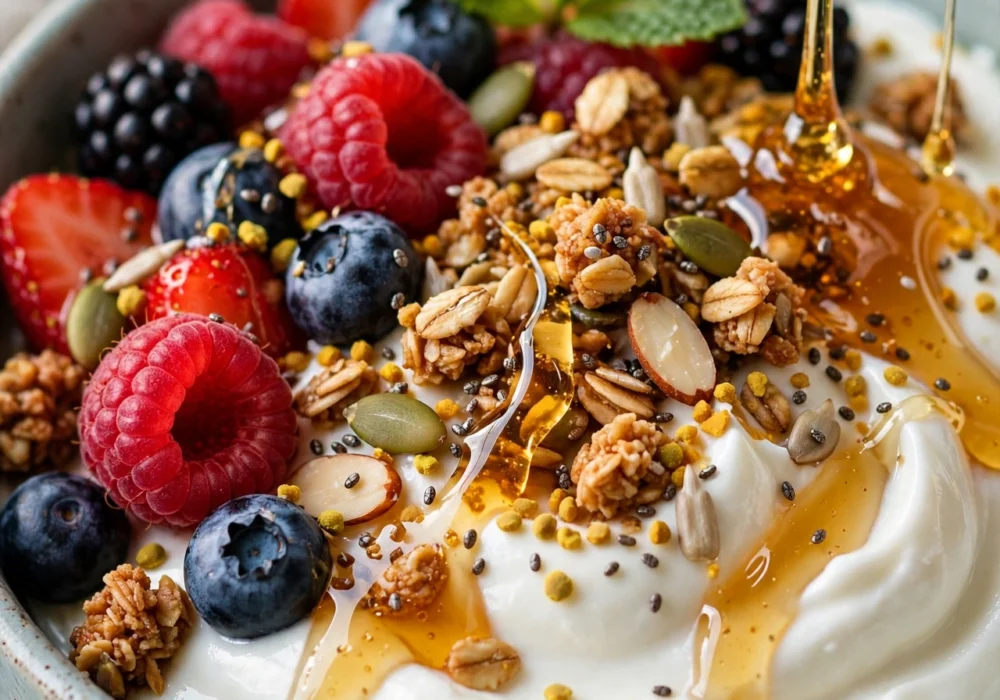

Strawberry season hits and suddenly you want something layered, creamy, and impressive sitting in your fridge but turning on the oven feels like too much work. This no bake strawberry shortcake recipe solves that problem completely. No baking, no fussy timing, no risk of a dry cake layer. Just juicy strawberries, a rich whipped cream filling, and a soft base that chills into something sliceable and gorgeous.
Here’s why this method actually works: letting the strawberries sit with sugar first pulls out their natural juice, which soaks into the base layer as everything chills. That juice is what turns a plain ladyfinger or pound cake layer into something that tastes soaked and intentional, not dry and forgotten. The whipped cream filling holds its shape because of how it’s whipped and folded, not because of any tricky technique.
Active time is under 30 minutes. The rest is chill time, so plan for that. You will need a mixing bowl, a hand mixer or stand mixer, a rectangular dish, and a few hours of patience while it sets in the fridge. Beginners can absolutely pull this off on the first try. Let’s build it layer by layer.
Total Time
4 hrs 30 min
Active Time
25 min
Difficulty
Beginner
What You Need
- 2 pounds fresh strawberries
- 1/3 cup granulated sugar (for strawberries)
- 2 cups heavy whipping cream
- 1/2 cup powdered sugar
- 8 oz cream cheese, softened
- 1 teaspoon vanilla extract
- 24 ladyfinger cookies (or pound cake/graham crackers)
- Mixing bowls
- Hand mixer or stand mixer
- 9×9 inch dish or trifle bowl
At a Glance
- Wash and slice your strawberries first
- Macerate the strawberries with sugar
- Whip the heavy cream to soft peaks
- Fold in the cream cheese mixture
- Crush or break up your shortcake base
- Layer the base in your dish
- Spread the first layer of cream filling
- Add a layer of macerated strawberries
- Repeat the layers
- Chill the assembled shortcake
- Add the final garnish before serving
Wash and Slice Your Strawberries First
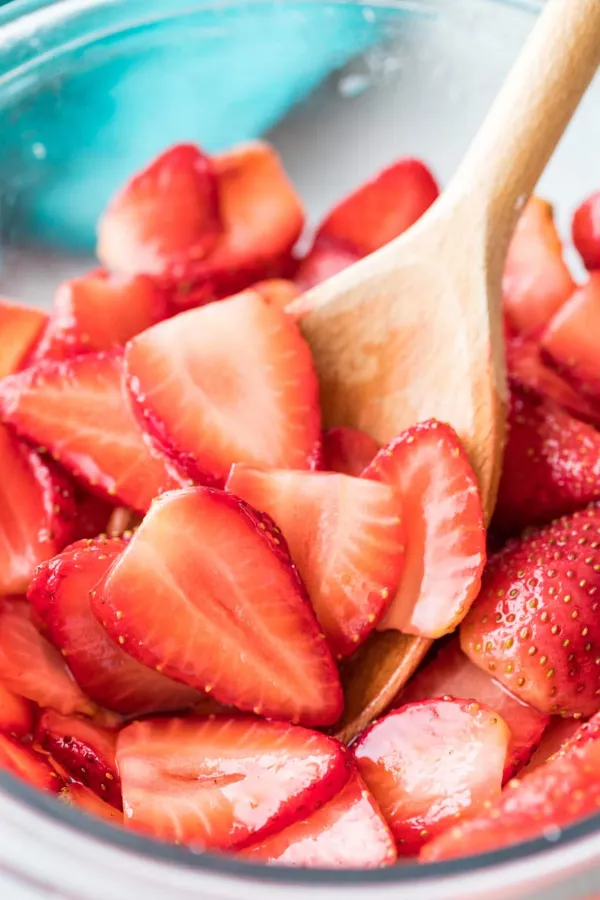
Rinse 2 pounds of strawberries under cool water and pat them completely dry with a towel. Wet strawberries water down your filling later, so don’t skip the drying step. Remove the green tops with a paring knife, then slice each berry into 1/4 inch thick pieces. Set aside a handful of the prettiest whole berries for garnish at the end you’ll want them later and it’s easier to grab them now.
Macerate the Strawberries with Sugar
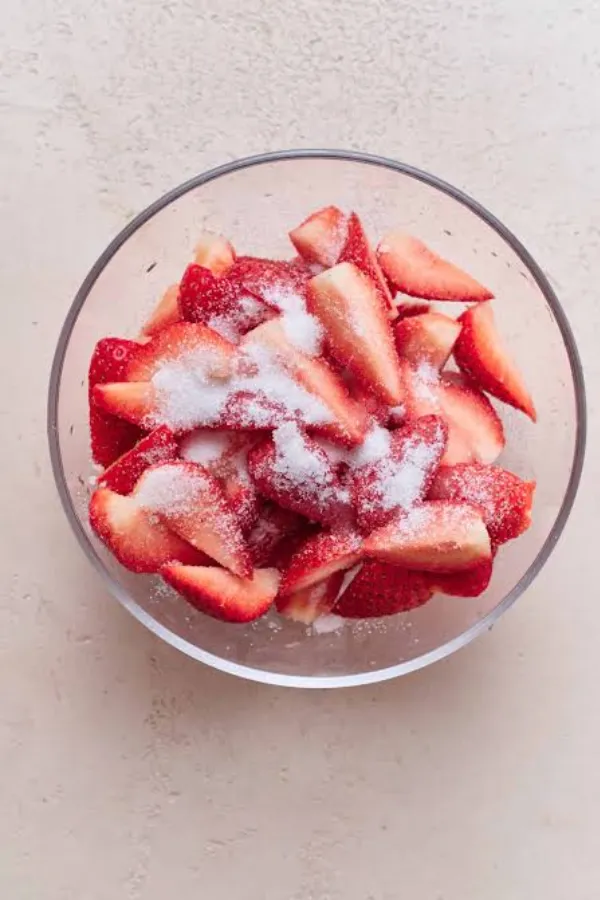
Place your sliced strawberries in a bowl and sprinkle 1/3 cup of granulated sugar over the top. Stir gently to coat every piece. Let the bowl sit at room temperature for 20 minutes. This step draws out the natural juice inside the berries, which is exactly what soaks into your base layer later and gives the whole dessert that soft, soaked texture instead of a dry, crumbly one.
Pro Tip: If your strawberries aren’t very sweet, add an extra tablespoon of sugar. Taste one slice after 10 minutes of resting to check how much juice has released before deciding.
Whip the Heavy Cream to Soft Peaks
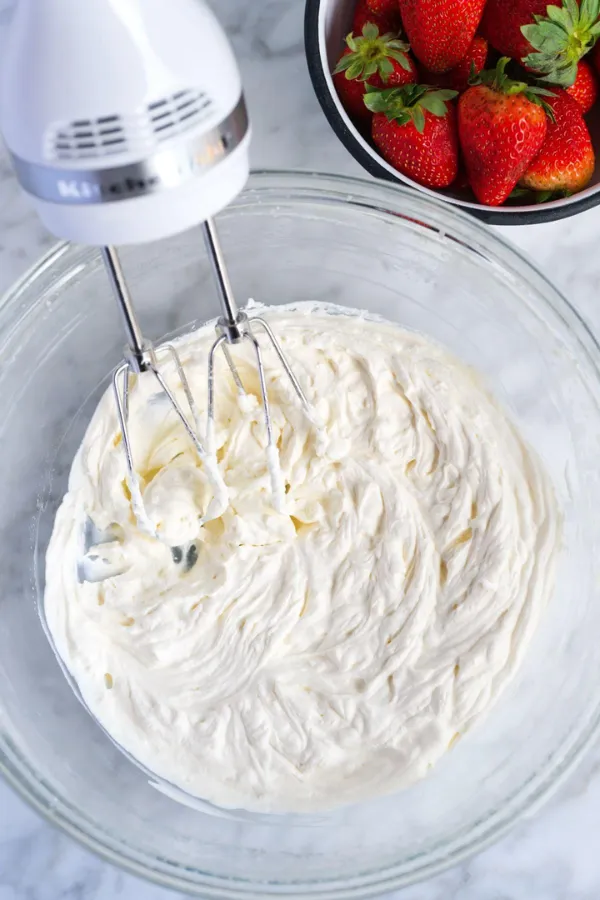
Pour 2 cups of cold heavy cream into a clean, chilled mixing bowl. Cold cream whips faster and holds its structure better, so if you have time, chill your bowl and beaters in the freezer for 10 minutes first. Beat on medium-high speed until soft peaks form — meaning the cream holds a shape but the tip gently folds over when you lift the beater. This usually takes 3 to 4 minutes.
Heads Up: Overwhipped cream turns grainy and eventually splits into butter and liquid. Stop as soon as soft peaks form. If it starts looking lumpy or separated, you’ve gone too far and need to start over with fresh cream.
Fold in the Cream Cheese Mixture
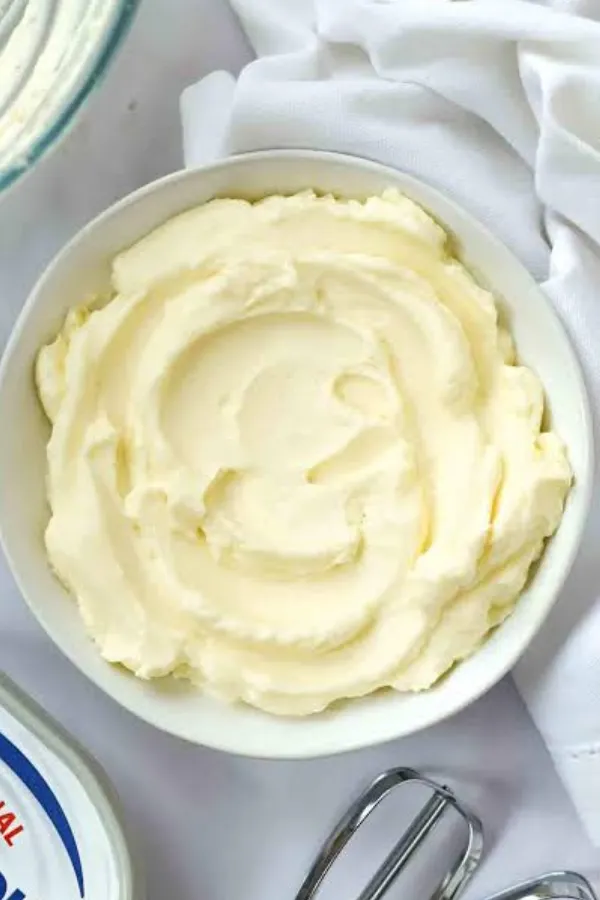
Softened cream cheese blends smoothly, so make sure yours has been sitting at room temperature for at least 30 minutes before you start. In a separate bowl:
- Beat the cream cheese until smooth
- Add 1/2 cup powdered sugar
- Mix in 1 teaspoon vanilla extract
- Fold the whipped cream in gently, a third at a time
Folding instead of stirring keeps the air in the cream, which is what gives your filling that light, mousse-like texture instead of something dense.
Crush or Break Up Your Shortcake Base
24 ladyfinger cookies break apart easily by hand no food processor needed. Snap each one into two or three pieces and set them in a bowl nearby. If you’re using pound cake instead, cut it into 1/2 inch cubes. Graham crackers work too; just crush them coarsely so you still get some texture in each bite instead of fine crumbs.
Layer the Base in Your Dish
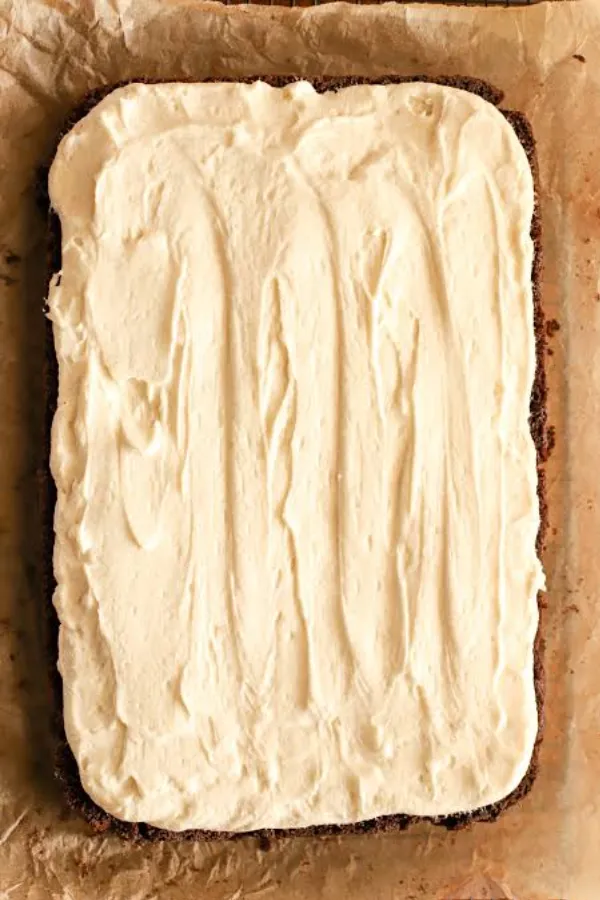
Your dish’s bottom is the foundation for every layer that follows, so cover it fully edge to edge. Use smaller broken pieces to patch any visible gaps those gaps are where a slice falls apart later when you serve it. Press down lightly with your fingers so the layer sits flat and even, not piled up in one corner.
Pro Tip: Save a spoonful of the strawberry juice from the maceration bowl and drizzle it lightly over this base layer before adding cream. It jump-starts the soaking process while everything chills.
Spread the First Layer of Cream Filling
Scoop about half of your cream cheese mixture over the base layer. Spread it gently with the back of a spoon or an offset spatula, working from the center outward so you don’t drag up pieces of the base underneath. An even layer here matters more than a thick one you’ll have more filling for the layers above, so don’t overdo it now.
Add a Layer of Macerated Strawberries
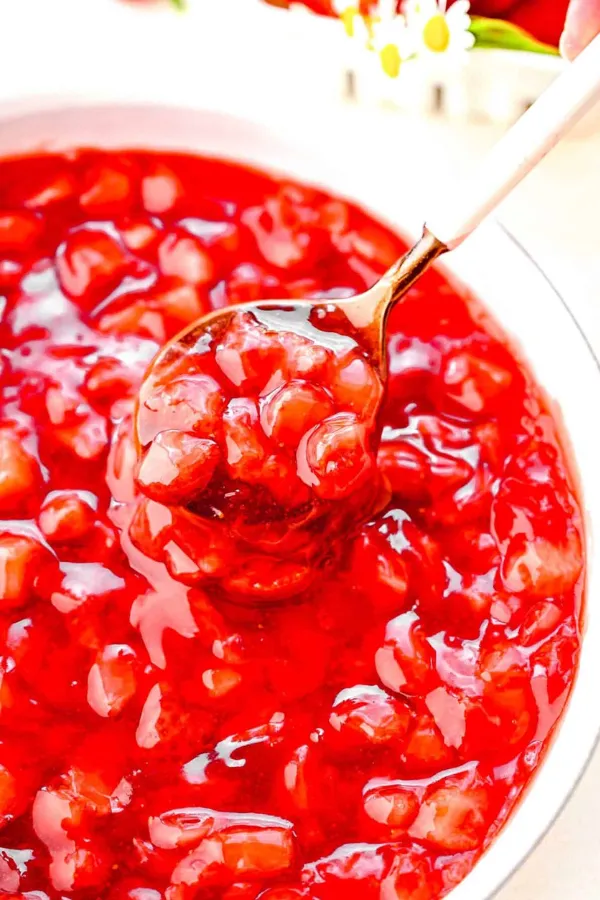
Drain the strawberries slightly before adding them, saving the leftover juice in a small cup you’ll use it again in a moment. Spoon the berries evenly over the cream layer, covering the surface in a single layer rather than piling them in the middle. That leftover juice? Drizzle a spoonful of it over the top now for extra flavor in every bite.
Repeat the Layers
One more full round completes the dessert: base, cream, then strawberries again, in that exact order. Use up the remaining ladyfingers, the rest of the cream mixture, and the last of the strawberries as you go. If you’re using a trifle bowl instead of a rectangular dish, this is where the layers really start to show through the glass, so keep each one neat.
Heads Up: Don’t press down on the layers as you build. Pressing squeezes out juice and filling from the sides, making a mess and flattening the texture you worked to create.
Chill the Assembled Shortcake
At least 4 hours in the fridge is what turns this from a bowl of layered ingredients into an actual sliceable dessert. Cover the dish tightly with plastic wrap so it doesn’t absorb other fridge smells. Overnight chilling works even better if you have the time, since the base has longer to soak up all that strawberry juice and soften into a cake-like texture.
Add the Final Garnish Before Serving
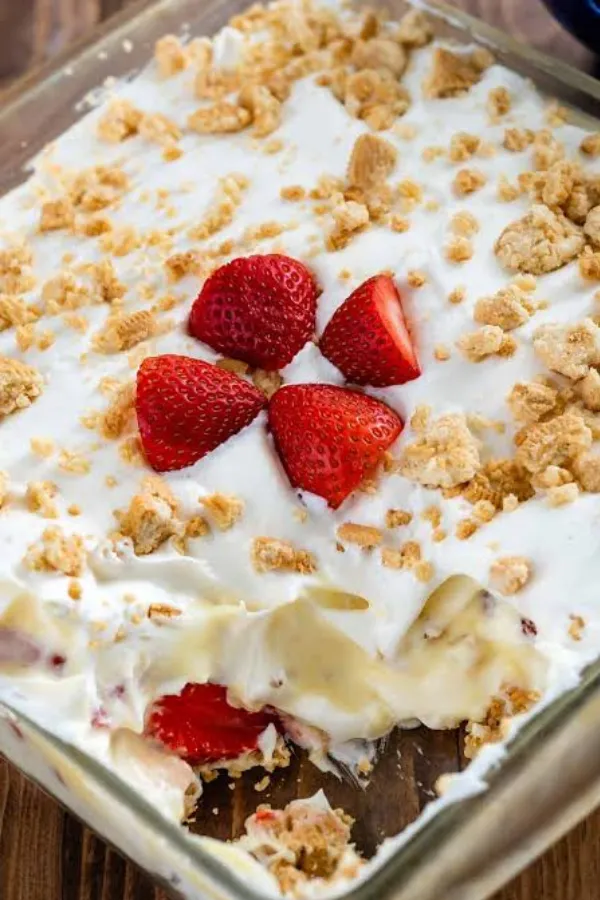
Ready to serve? Top the dessert with the whole strawberries you set aside back in step one, sliced in half or left whole depending on your dish size. A few mint leaves add color if you have them on hand, though they’re completely optional. Slice with a sharp knife wiped clean between cuts for the neatest layers in each piece.
Common Mistakes to Avoid
Skipping the maceration time
Rushing this step means dry, flavorless berries and a base layer that never softens properly. Give the strawberries the full 20 minutes.
Using warm cream cheese
Cold cream cheese leaves lumps that never fully smooth out, even with a lot of mixing. Let it sit out for a full 30 minutes first.
Overwhipping the cream
Grainy, separated cream can’t be saved by more mixing. Watch closely once soft peaks start to form and stop right there.
Not chilling long enough
Cutting into it after just an hour means a soupy, unset dessert. The base needs the full 4 hours to soften and hold together.
Slicing with a dull, dirty knife
Dragging a dull blade through the layers smears everything together. Use a sharp knife and wipe it clean between each cut.
Frequently Asked Questions
Can I use frozen strawberries?
Fresh works best for texture, but thawed frozen berries work in a pinch. Drain them well first since they release extra water as they thaw.
How far ahead can I make this?
Up to **24 hours** ahead. It actually tastes better the next day once the base has fully soaked through.
Can I substitute Cool Whip for the whipped cream?
Yes, an 8 oz tub works as a shortcut. Fold it into the cream cheese mixture the same way as the homemade whipped cream.
How long does it last in the fridge?
About **3 days** covered tightly. The base does get softer over time, so it’s best within the first two days.
Can I freeze no bake strawberry shortcake?
Freezing isn’t recommended. The whipped cream filling separates and turns watery once thawed, and the berries lose their texture.
Quick Reference Card
What You Need:
2 lbs strawberries • 1/3 cup sugar • 2 cups heavy cream • 1/2 cup powdered sugar • 8 oz cream cheese • 1 tsp vanilla • 24 ladyfingers
Steps:
- Wash and slice strawberries
- Macerate with sugar — 20 min
- Whip cream to soft peaks — 3-4 min
- Fold in cream cheese mixture
- Break up ladyfingers
- Layer base in dish
- Spread first cream layer
- Add strawberry layer
- Repeat layers once more
- Chill — at least 4 hours
- Garnish and slice to serve
Conclusion
You just built a layered, chilled dessert without ever touching the oven. That’s a real skill, and now you know exactly how the juice, the cream, and the chill time work together to create it. This no bake strawberry shortcake recipe is one you’ll come back to all summer, especially when the kitchen is already too warm to bake.
Next time, try swapping in blueberries or a mix of berries once you’ve got the layering down. Save this recipe now so it’s ready for you the next time you need a no-fuss dessert that still looks like you tried hard.
No Bake Strawberry Shortcake
Ingredients
Equipment
Method
- Wash, dry, and slice strawberries; set aside whole ones for garnish.
- Toss sliced strawberries with sugar and let sit 20 minutes.
- Whip cold heavy cream to soft peaks, about 3-4 minutes.
- Beat cream cheese until smooth, mix in powdered sugar and vanilla, then fold in whipped cream.
- Break ladyfingers into pieces.
- Line the bottom of the dish with a layer of ladyfingers.
- Spread half the cream mixture over the base.
- Add a layer of drained macerated strawberries.
- Repeat with remaining ladyfingers, cream mixture, and strawberries.
- Cover and chill at least 4 hours, or overnight.
- Garnish with reserved whole strawberries and mint, then slice to serve.