
The best homemade Lemon Ginger Chili Jam has three flavors working together instead of competing. Fresh lemon brings bright citrus, ginger adds warm spice, and chili gives a gentle kick that lingers without overpowering the fruit. If you’ve never made jam before, don’t worry. This recipe keeps the process straightforward while explaining why each step matters, so you know exactly what to look for before moving on.
By the end of this guide, you’ll have glossy jars of jam that spread easily on toast, pair beautifully with cheese, and make an excellent glaze for chicken or seafood. The hands-on work takes about 50 minutes, with roughly 1 hour 30 minutes from start to finish. The recipe uses common kitchen equipment, and there are household alternatives wherever possible. Follow the steps in order, keep your measurements accurate, and you’ll end up with a batch that sets properly and keeps its fresh citrus flavor.
🛒 What You’ll Need
- 4 large lemons
- 1½ cups fresh ginger, grated
- 2–3 red chilies, finely sliced
- 4 cups granulated sugar
- ½ cup water
- 1 pouch (about 57 g) powdered fruit pectin (optional for quicker setting)
- Large heavy-bottom saucepan
- Wooden spoon or silicone spatula
- Fine grater
- Sharp knife
- Cutting board
- Measuring cups
- Measuring spoons
- Candy thermometer (optional)
- Clean glass jars with lids
Household Alternative: If you don’t own a candy thermometer, use the cold plate test later in the recipe to check whether the jam has reached its setting point.
📋 At a Glance
- Wash and prepare the fruit
- Grate the ginger and slice the chilies
- Measure all the ingredients
- Cook the lemon mixture
- Add the sugar and dissolve it fully
- Boil the Lemon Ginger Chili Jam until it reaches setting point
- Test the jam for doneness
- Sterilize the jars
- Fill and seal the jars
- Cool the jars before storing
Wash and prepare the fruit
Choose lemons with smooth, firm skins because they contain more juice than soft or wrinkled fruit. Rinse them well under cool running water, then scrub the peel with a clean produce brush to remove wax and dirt. Dry each lemon before cutting. If one feels unusually soft or has mold spots, replace it before continuing. Clean fruit helps the finished jam taste fresh and keeps unwanted bacteria out of the jars.
Grate the ginger and slice the chilies
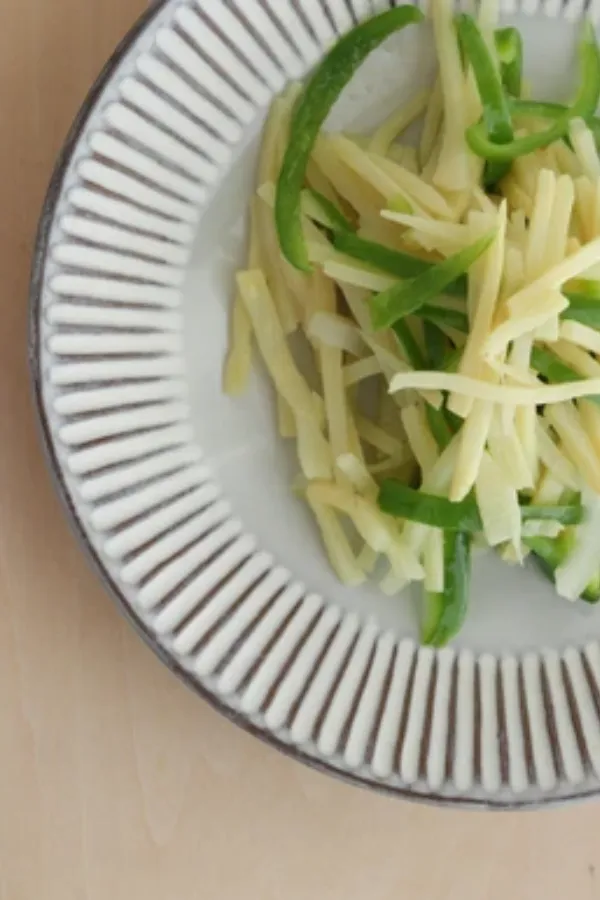
Peel the ginger with the edge of a spoon or a vegetable peeler, then grate 1½ cups using a fine grater. Slice 2–3 fresh red chilies into thin rounds, removing the seeds if you prefer a milder jam. Wear disposable gloves if you have sensitive skin, or wash your hands thoroughly with soap after handling the chilies to avoid transferring heat to your eyes.
Measure all the ingredients
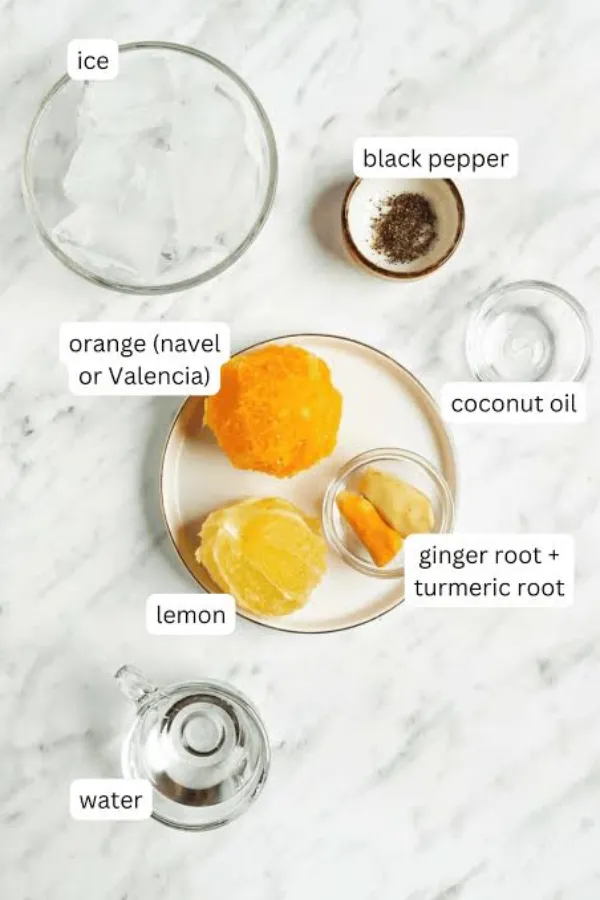
Accuracy matters more in jam making than many other recipes because the balance of fruit, sugar, and pectin determines whether the jam sets properly. Measure 4 cups sugar, ½ cup water, the prepared lemons, grated ginger, sliced chilies, and pectin (if using) before turning on the stove. Keeping everything within reach prevents rushed measuring while the mixture is already cooking.
Pattern break from previous batch:
The previous steps were short-to-medium length and mostly opened with observations or explanations. This batch uses more varied sentence lengths, includes an inline action list, and adds a Pro Tip callout where it naturally helps.
Cook the lemon mixture
Cut the prepared lemons into small pieces, removing any seeds as you find them. Place the chopped lemons, grated ginger, sliced chilies, and ½ cup water into a large heavy-bottom saucepan. Bring the mixture to a gentle simmer over medium heat for 15–20 minutes, stirring occasionally so nothing sticks to the bottom. The lemon peel should soften noticeably before you move to the next step because it continues to sweeten as it cooks.
Add the sugar and dissolve it fully
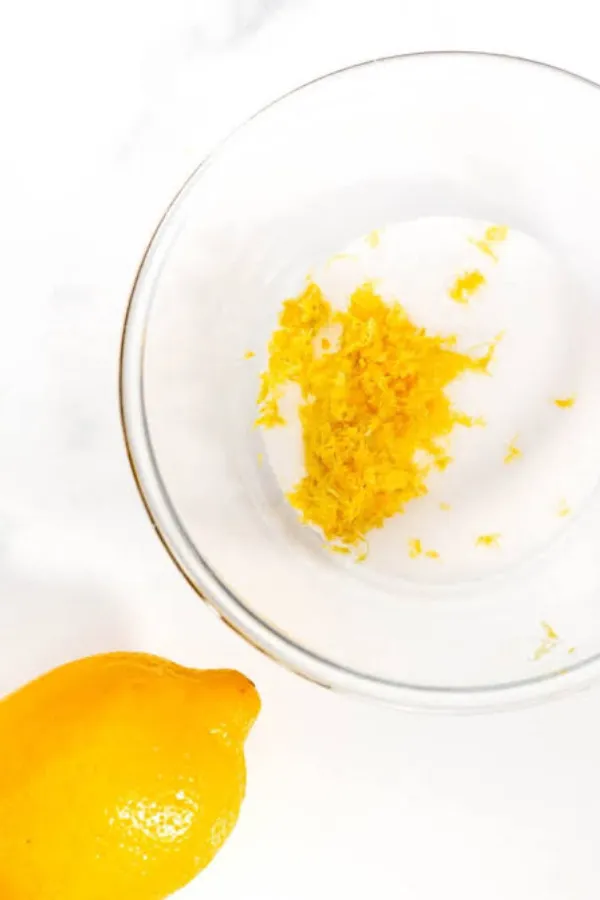
Before increasing the heat, stir in the 4 cups of sugar a little at a time. Keep stirring until every crystal disappears into the fruit mixture. You can check by lifting the spoon and looking for grainy sugar along the bottom of the pan.
- Add the sugar gradually.
- Stir continuously.
- Scrape the bottom corners of the pan.
- Check that no crystals remain.
- Wait until the mixture looks glossy before moving on.
Warm sugar dissolves much faster than cold sugar. If you have time, spread the measured sugar on a baking tray and warm it in a **200°F (95°C)** oven for **5 minutes** before adding it to the pan. This reduces the chance of grainy jam.
Boil the Lemon Ginger Chili Jam until it reaches setting point
Increase the heat until the jam reaches a full rolling boil that cannot be stirred down. If you’re using powdered pectin, add it according to the package directions once the mixture is boiling. Continue boiling for about 8–12 minutes, stirring often to prevent scorching. The bubbles will become thicker and slower as the jam concentrates. Avoid extending the boil too long because overcooked jam can become firm instead of spreadable.
A gentle simmer is not enough during this stage. The mixture must reach a full rolling boil before timing begins, or the jam may never set properly after cooling.
Pattern break from the previous batch:
The last three steps focused on cooking with medium-length paragraphs and one inline list. This batch alternates shorter and longer bodies, opens with different sentence structures, and avoids repeating the same rhythm.
Test the jam for doneness
Place a small plate in the freezer for 10 minutes before testing. Spoon about 1 teaspoon of hot jam onto the cold plate and return it to the freezer for 1 minute. Push the edge with your fingertip. If the surface wrinkles and holds its shape, the jam is ready. If it stays runny, boil the mixture for another 2 minutes and test again. This prevents undercooked jam that never thickens after cooling.
Sterilize the jars
While the jam finishes cooking, wash the glass jars and lids with hot, soapy water, then rinse them well. Place the jars in a pot of gently boiling water for 10 minutes, or run them through the dishwasher using the hottest sanitizing cycle. Set them upside down on a clean towel until needed. Warm jars reduce the chance of cracking when the hot jam is poured in.
Keep the jars warm until you’re ready to fill them. Pouring hot jam into cold glass can cause the jar to crack from the sudden temperature change.
Fill and seal the jars
Leave about ¼ inch of space at the top of each jar, known as the headspace. Wipe the rim with a clean, damp cloth before placing the lid on top so nothing prevents a good seal.
- Use a ladle or heatproof measuring cup.
- Remove trapped air bubbles with a clean skewer or butter knife.
- Wipe each rim clean.
- Tighten the lids until they are fingertip tight.
Do not over-tighten the lids before processing or cooling. Air must be able to escape during sealing. Over-tightening can lead to weak or failed seals.
Cool the jars before storing
Set the sealed jars on a folded kitchen towel where they can cool undisturbed for 12–24 hours. Resist the urge to press the lids while they are still hot because they are still forming their vacuum seal. Once completely cool, check that each lid is slightly concave and does not flex when pressed. Store sealed jars in a cool, dark cupboard for up to 1 year. After opening, refrigerate the jam and enjoy it within 3–4 weeks.
❌ Common Mistakes to Avoid
Jam that looks thick in the pot can become runny after cooling. Always use the cold plate test before filling the jars.
Even one or two seeds can make the finished jam unpleasant to eat. Remove them while cutting the lemons instead of trying to find them later.
A rolling boil is important, but extended boiling darkens the color and can create a stiff, chewy texture after cooling.
Hot jam poured into cold glass may crack the jar. Keep the jars warm until you’re ready to fill them.
Sugar helps preserve the jam and affects how it sets. Reducing it without using a tested low-sugar recipe often leads to a runny batch.
❓ Frequently Asked Questions
Can I make this jam less spicy?
Yes. Remove the chili seeds and membranes before slicing, or reduce the number of chilies to one. You’ll still get gentle warmth without overwhelming the lemon flavor.
Do I have to use powdered pectin?
No. Lemons naturally contain pectin, especially in the peel. The jam will still set, although it may require a slightly longer boiling time.
How do I know if the jars sealed properly?
After the jars have cooled for 12–24 hours, press the center of each lid. A properly sealed lid stays firm and does not pop up and down.
Can I freeze Lemon Ginger Chili Jam?
Yes. Leave a little extra headspace in freezer-safe jars or containers to allow for expansion. Frozen jam keeps its best quality for about 12 months.
Why did my jam turn out runny?
The most common reasons are not reaching a full rolling boil, stopping the cooking too early, or skipping the cold plate test before filling the jars.
Conclusion
You’ve now made your own Lemon Ginger Chili Jam from fresh ingredients, with a bright citrus flavor, warm ginger, and a gentle chili kick. Taking the time to prepare the fruit, cook it to the proper setting point, and seal the jars correctly gives you a jam that spreads smoothly and stores well.
Try serving it on warm toast, spooning it over cream cheese with crackers, or brushing it onto grilled chicken or salmon for a sweet-spicy glaze. Once you’re comfortable with this recipe, experiment by adjusting the chili level or adding herbs like thyme for a new flavor combination.
If you’re saving this recipe for later, pin it to your favorite Pinterest board so it’s easy to find the next time you’re ready to make another batch of homemade Lemon Ginger Chili Jam.
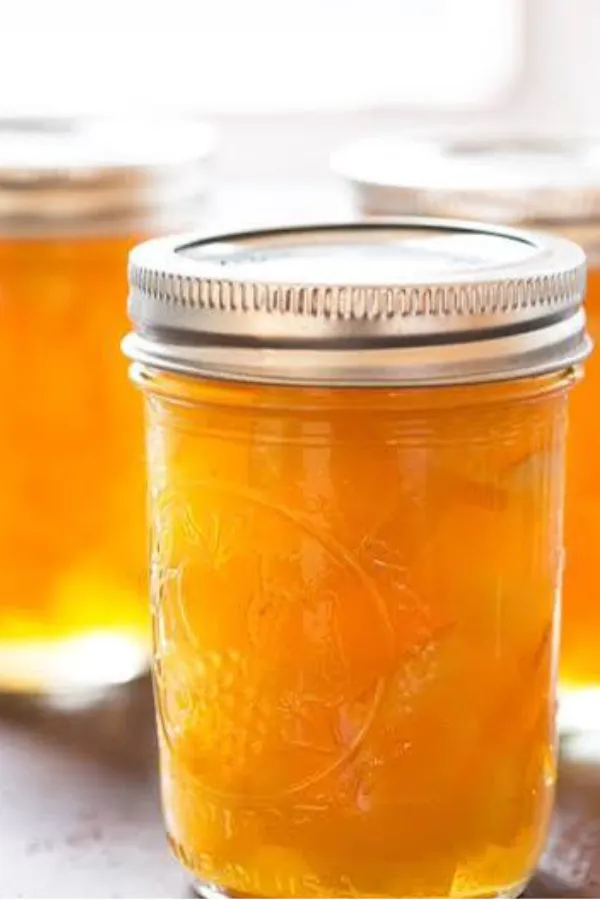
Lemon Ginger Chili Jam
Ingredients
Equipment
Method
- Wash the lemons thoroughly and scrub the skins to remove any wax. Dry them, remove all seeds, and finely chop the lemons, including the peel.
- Peel and finely grate the fresh ginger. Thinly slice the red chilies, removing the seeds if you prefer a milder jam.
- Combine the chopped lemons, grated ginger, sliced chilies, and water in a large saucepan. Simmer over medium heat for 15–20 minutes, stirring occasionally until the lemon peel softens.
- Gradually stir in the sugar until completely dissolved. If using powdered pectin, prepare it according to the package directions.
- Bring the mixture to a full rolling boil. Continue boiling for 8–12 minutes, stirring frequently until the mixture thickens.
- Place a teaspoon of jam onto a chilled plate. After 1 minute, push it with your finger. If it wrinkles and holds its shape, it's ready. If not, boil for another 2 minutes and test again.
- Sterilize the jars and lids by boiling them for 10 minutes or using the dishwasher's sanitize cycle. Keep the jars warm.
- Ladle the hot jam into the warm jars, leaving ¼ inch (6 mm) headspace. Remove air bubbles and wipe the rims clean.
- Apply the lids and tighten them until fingertip tight.
- Allow the jars to cool undisturbed for 12–24 hours. Check that each lid has sealed before storing.
Notes
- Seed the chilies for a milder jam.
- Leave the seeds in for extra heat.
- Fresh lemons produce the best flavor.
- Warm sugar dissolves faster and helps prevent graininess.
- Do not reduce the sugar unless using a tested low-sugar jam recipe.
- If you don’t have a thermometer, the cold plate test works perfectly.