Go Back

Lemon Ginger Chili Jam

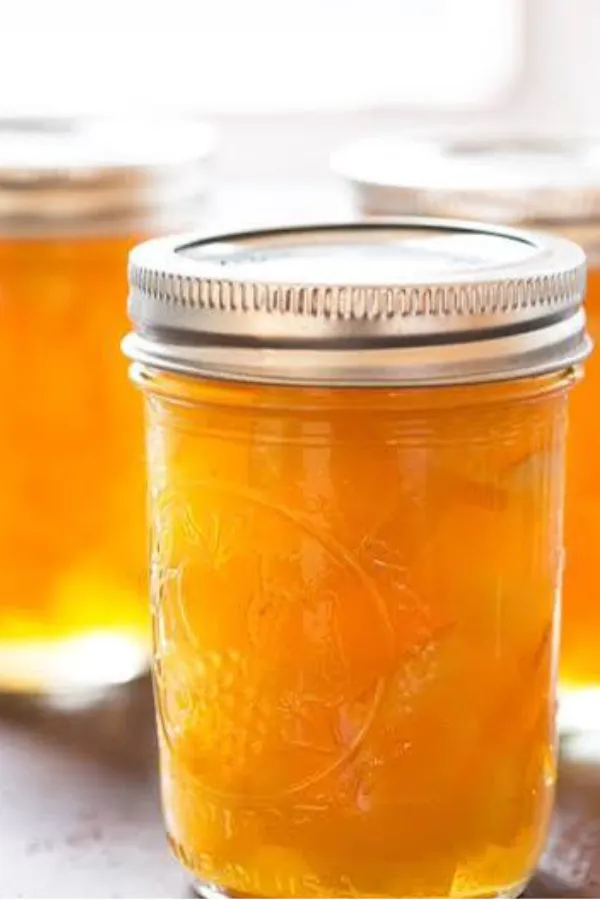
Bright, sweet, tangy, and gently spicy, this Lemon Ginger Chili Jam combines fresh lemons, aromatic ginger, and red chilies into a vibrant homemade preserve that's surprisingly beginner-friendly. With clear step-by-step instructions, you'll learn how to achieve the perfect jam consistency, safely fill and seal jars, and enjoy a flavorful spread that pairs beautifully with toast, cheese boards, grilled meats, seafood, and more. Whether you're making your first batch of jam or adding a unique preserve to your pantry, this recipe delivers bold flavor with simple ingredients.
Prep Time 25 minutes
Cook Time 35 minutes
Total Time 1 hour 30 minutes
Course: Condiment
Cuisine: Homemade Preserves
Calories: 48

Ingredients
  

  • 4 large lemons
  • 1½ cups (150 g) fresh ginger, finely grated
  • 2–3 fresh red chilies, thinly sliced (seeded for less heat)
  • 4 cups (800 g) granulated sugar
  • ½ cup (120 ml) water
  • 1 packet (57 g / 2 oz) powdered fruit pectin (optional for faster setting)

Equipment

  • Large heavy-bottom saucepan
  • Wooden spoon or silicone spatula
  • Fine grater
  • Sharp knife
  • Cutting board
  • Measuring cups and spoons
  • Ladle
  • Candy thermometer (optional)
  • 5–6 sterilized half-pint jars with lids
  • Small plate (for cold plate test)

Method
 

  1. Wash the lemons thoroughly and scrub the skins to remove any wax. Dry them, remove all seeds, and finely chop the lemons, including the peel.
  2. Peel and finely grate the fresh ginger. Thinly slice the red chilies, removing the seeds if you prefer a milder jam.
  3. Combine the chopped lemons, grated ginger, sliced chilies, and water in a large saucepan. Simmer over medium heat for 15–20 minutes, stirring occasionally until the lemon peel softens.
  4. Gradually stir in the sugar until completely dissolved. If using powdered pectin, prepare it according to the package directions.
  5. Bring the mixture to a full rolling boil. Continue boiling for 8–12 minutes, stirring frequently until the mixture thickens.
  6. Place a teaspoon of jam onto a chilled plate. After 1 minute, push it with your finger. If it wrinkles and holds its shape, it's ready. If not, boil for another 2 minutes and test again.
  7. Sterilize the jars and lids by boiling them for 10 minutes or using the dishwasher's sanitize cycle. Keep the jars warm.
  8. Ladle the hot jam into the warm jars, leaving ¼ inch (6 mm) headspace. Remove air bubbles and wipe the rims clean.
  9. Apply the lids and tighten them until fingertip tight.
  10. Allow the jars to cool undisturbed for 12–24 hours. Check that each lid has sealed before storing.
Notes

  • Seed the chilies for a milder jam.
  • Leave the seeds in for extra heat.
  • Fresh lemons produce the best flavor.
  • Warm sugar dissolves faster and helps prevent graininess.
  • Do not reduce the sugar unless using a tested low-sugar jam recipe.
  • If you don't have a thermometer, the cold plate test works perfectly.